ASTM B646-04
(Practice)Standard Practice for Fracture Toughness Testing of Aluminum Alloys
Standard Practice for Fracture Toughness Testing of Aluminum Alloys
SCOPE
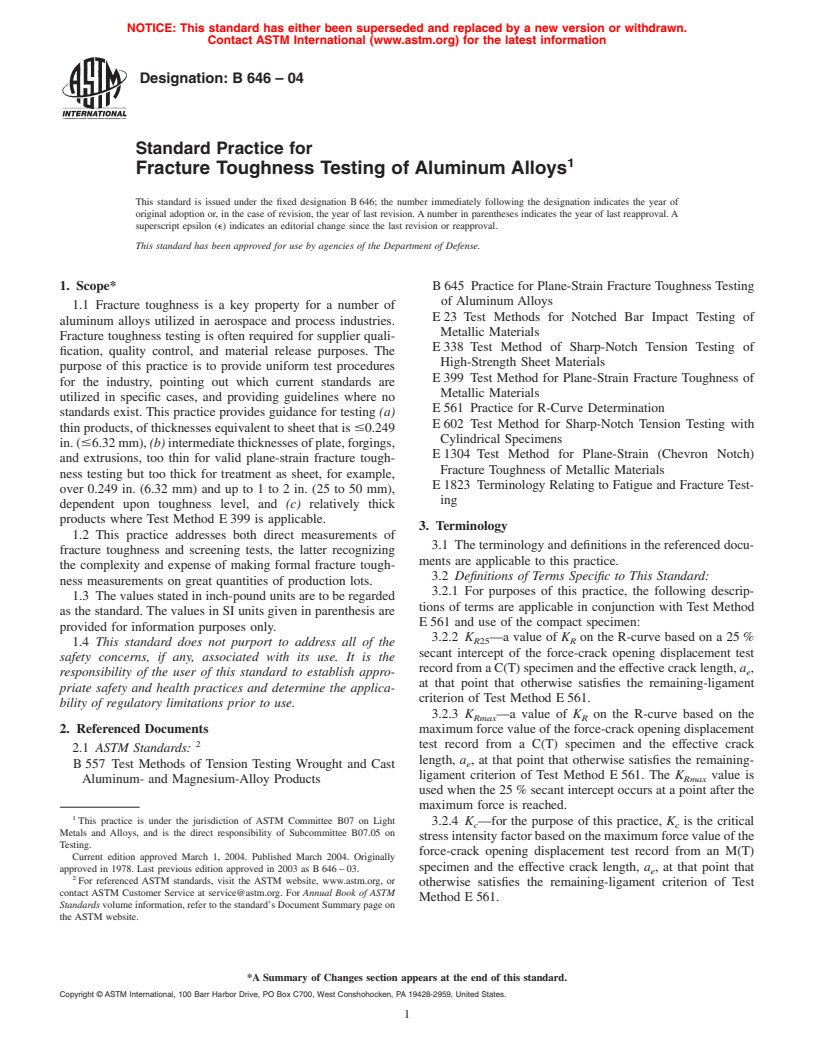
1.1 Fracture toughness is a key property for a number of aluminum alloys utilized in aerospace and process industries. Fracture toughness testing is often required for supplier qualification, quality control, and material release purposes. The purpose of this practice is to provide uniform test procedures for the industry, pointing out which current standards are utilized in specific cases, and providing guidelines where no standards exist. This practice provides guidance for testing (a) thin products, of thicknesses equivalent to sheet that is 0.249 in. (6.32 mm), (b) intermediate thicknesses of plate, forgings, and extrusions, too thin for valid plane-strain fracture toughness testing but too thick for treatment as sheet, for example, over 0.249 in. (6.32 mm) and up to 1 to 2 in. (25 to 50 mm), dependent upon toughness level, and (c) relatively thick products where Test Method E 399 is applicable.
1.2 This practice addresses both direct measurements of fracture toughness and screening tests, the latter recognizing the complexity and expense of making formal fracture toughness measurements on great quantities of production lots.
1.3 The values stated in inch-pound units are to be regarded as the standard. The values in SI units given in parenthesis are provided for information purposes only.
1.4 This standard does not purport to address all of the safety concerns, if any, associated with its use. It is the responsibility of the user of this standard to establish appropriate safety and health practices and determine the applicability of regulatory limitations prior to use.
General Information
Relations
Standards Content (Sample)
NOTICE: This standard has either been superseded and replaced by a new version or withdrawn.
Contact ASTM International (www.astm.org) for the latest information
Designation:B646–04
Standard Practice for
1
Fracture Toughness Testing of Aluminum Alloys
This standard is issued under the fixed designation B646; the number immediately following the designation indicates the year of
original adoption or, in the case of revision, the year of last revision.Anumber in parentheses indicates the year of last reapproval.A
superscript epsilon (e) indicates an editorial change since the last revision or reapproval.
This standard has been approved for use by agencies of the Department of Defense.
1. Scope* B645 Practice for Plane-Strain Fracture Toughness Testing
of Aluminum Alloys
1.1 Fracture toughness is a key property for a number of
E23 Test Methods for Notched Bar Impact Testing of
aluminum alloys utilized in aerospace and process industries.
Metallic Materials
Fracture toughness testing is often required for supplier quali-
E338 Test Method of Sharp-Notch Tension Testing of
fication, quality control, and material release purposes. The
High-Strength Sheet Materials
purpose of this practice is to provide uniform test procedures
E399 Test Method for Plane-Strain Fracture Toughness of
for the industry, pointing out which current standards are
Metallic Materials
utilized in specific cases, and providing guidelines where no
E561 Practice for R-Curve Determination
standards exist. This practice provides guidance for testing (a)
E602 Test Method for Sharp-Notch Tension Testing with
thinproducts,ofthicknessesequivalenttosheetthatis#0.249
Cylindrical Specimens
in.(#6.32mm), (b)intermediatethicknessesofplate,forgings,
E1304 Test Method for Plane-Strain (Chevron Notch)
and extrusions, too thin for valid plane-strain fracture tough-
Fracture Toughness of Metallic Materials
ness testing but too thick for treatment as sheet, for example,
E1823 Terminology Relating to Fatigue and Fracture Test-
over 0.249 in. (6.32 mm) and up to 1 to 2 in. (25 to 50 mm),
ing
dependent upon toughness level, and (c) relatively thick
products where Test Method E399 is applicable.
3. Terminology
1.2 This practice addresses both direct measurements of
3.1 The terminology and definitions in the referenced docu-
fracture toughness and screening tests, the latter recognizing
ments are applicable to this practice.
the complexity and expense of making formal fracture tough-
3.2 Definitions of Terms Specific to This Standard:
ness measurements on great quantities of production lots.
3.2.1 For purposes of this practice, the following descrip-
1.3 The values stated in inch-pound units are to be regarded
tions of terms are applicable in conjunction with Test Method
as the standard. The values in SI units given in parenthesis are
E561 and use of the compact specimen:
provided for information purposes only.
3.2.2 K —a value of K on the R-curve based on a 25%
R25 R
1.4 This standard does not purport to address all of the
secant intercept of the force-crack opening displacement test
safety concerns, if any, associated with its use. It is the
recordfromaC(T)specimenandtheeffectivecracklength, a ,
e
responsibility of the user of this standard to establish appro-
at that point that otherwise satisfies the remaining-ligament
priate safety and health practices and determine the applica-
criterion of Test Method E561.
bility of regulatory limitations prior to use.
3.2.3 K —a value of K on the R-curve based on the
Rmax R
2. Referenced Documents maximum force value of the force-crack opening displacement
2
test record from a C(T) specimen and the effective crack
2.1 ASTM Standards:
length, a , at that point that otherwise satisfies the remaining-
e
B557 Test Methods of Tension Testing Wrought and Cast
ligament criterion of Test Method E561. The K value is
Rmax
Aluminum- and Magnesium-Alloy Products
used when the 25% secant intercept occurs at a point after the
maximum force is reached.
1
This practice is under the jurisdiction of ASTM Committee B07 on Light 3.2.4 K —for the purpose of this practice, K is the critical
c c
Metals and Alloys, and is the direct responsibility of Subcommittee B07.05 on
stressintensityfactorbasedonthemaximumforcevalueofthe
Testing.
force-crack opening displacement test record from an M(T)
Current edition approved March 1, 2004. Published March 2004. Originally
specimen and the effective crack length, a , at that point that
approved in 1978. Last previous edition approved in 2003 as B646–03.
e
2
For referenced ASTM standards, visit the ASTM website, www.astm.org, or
otherwise satisfies the remaining-ligament criterion of Test
contact ASTM Customer Service at service@astm.org. For Annual Book of ASTM
Method E561.
Standards volume information, refer to the standard’s Document Summary page on
the ASTM website.
*A Summary of Changes section appears at the end of this standard.
Copyright © ASTM International, 100 Barr Harbor Drive, PO Box C700, West Conshoho
...


Questions, Comments and Discussion
Ask us and Technical Secretary will try to provide an answer. You can facilitate discussion about the standard in here.