ASTM B478-23
(Test Method)Standard Test Method for Cross Curvature of Thermostat Metals
Standard Test Method for Cross Curvature of Thermostat Metals
SIGNIFICANCE AND USE
4.1 This procedure provides a method for defining the magnitude and direction of cross curvature, an inherent property in thermostat metal.
SCOPE
1.1 This test method covers the determination of cross curvature of thermostat metals.
Note 1: This test method is not limited to thermostat metals, and may be used for other materials for which the cross curvature must be measured accurately.
Note 2: This standard includes means for calculating cross curvature for widths other than that of the specimen having the same radius of curvature.
1.2 The values stated in inch-pound units are to be regarded as standard. The values given in parentheses are mathematical conversions to SI units that are provided for information only and are not considered standard.
1.3 This standard does not purport to address all of the safety concerns, if any, associated with its use. It is the responsibility of the user of this standard to become familiar with all hazards including those identified in the appropriate Safety Data Sheet (SDS) for this product/material as provided by the manufacturer, to establish appropriate safety, health, and environmental practices, and determine the applicability of regulatory limitations prior to use.
1.4 This international standard was developed in accordance with internationally recognized principles on standardization established in the Decision on Principles for the Development of International Standards, Guides and Recommendations issued by the World Trade Organization Technical Barriers to Trade (TBT) Committee.
General Information
Relations
Buy Standard
Standards Content (Sample)
This international standard was developed in accordance with internationally recognized principles on standardization established in the Decision on Principles for the
Development of International Standards, Guides and Recommendations issued by the World Trade Organization Technical Barriers to Trade (TBT) Committee.
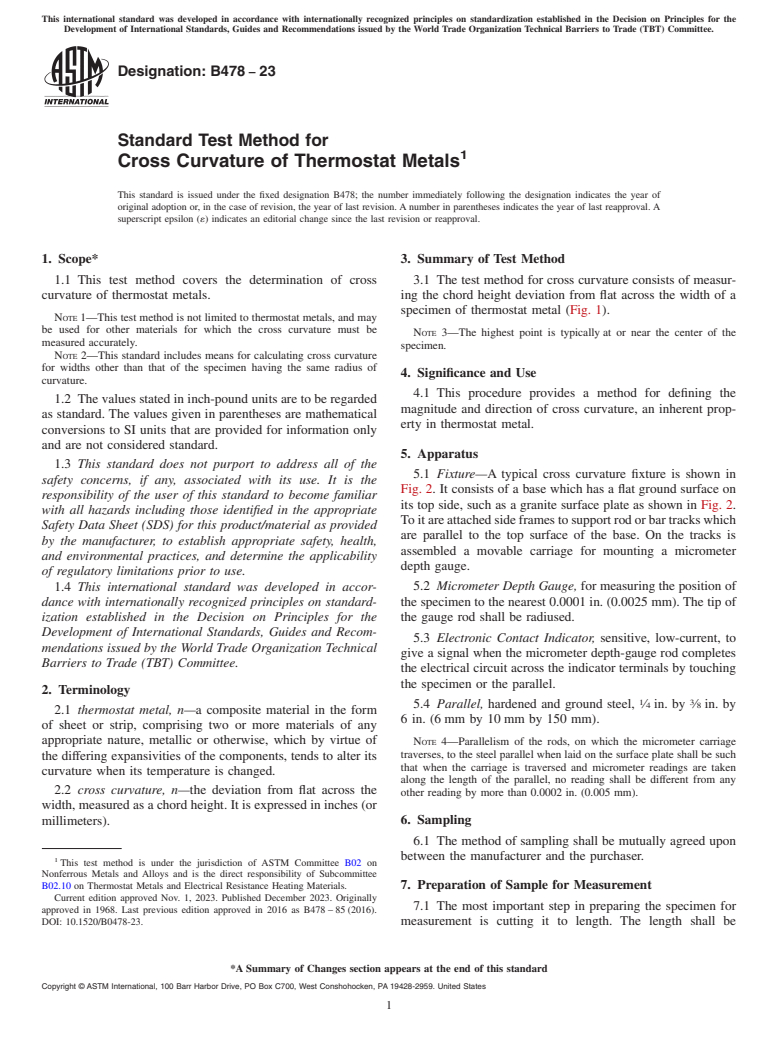
Designation: B478 − 23
Standard Test Method for
1
Cross Curvature of Thermostat Metals
This standard is issued under the fixed designation B478; the number immediately following the designation indicates the year of
original adoption or, in the case of revision, the year of last revision. A number in parentheses indicates the year of last reapproval. A
superscript epsilon (´) indicates an editorial change since the last revision or reapproval.
1. Scope* 3. Summary of Test Method
1.1 This test method covers the determination of cross 3.1 The test method for cross curvature consists of measur-
curvature of thermostat metals. ing the chord height deviation from flat across the width of a
specimen of thermostat metal (Fig. 1).
NOTE 1—This test method is not limited to thermostat metals, and may
be used for other materials for which the cross curvature must be
NOTE 3—The highest point is typically at or near the center of the
measured accurately.
specimen.
NOTE 2—This standard includes means for calculating cross curvature
for widths other than that of the specimen having the same radius of
4. Significance and Use
curvature.
4.1 This procedure provides a method for defining the
1.2 The values stated in inch-pound units are to be regarded
magnitude and direction of cross curvature, an inherent prop-
as standard. The values given in parentheses are mathematical
erty in thermostat metal.
conversions to SI units that are provided for information only
and are not considered standard.
5. Apparatus
1.3 This standard does not purport to address all of the
5.1 Fixture—A typical cross curvature fixture is shown in
safety concerns, if any, associated with its use. It is the
Fig. 2. It consists of a base which has a flat ground surface on
responsibility of the user of this standard to become familiar
its top side, such as a granite surface plate as shown in Fig. 2.
with all hazards including those identified in the appropriate
To it are attached side frames to support rod or bar tracks which
Safety Data Sheet (SDS) for this product/material as provided
are parallel to the top surface of the base. On the tracks is
by the manufacturer, to establish appropriate safety, health,
assembled a movable carriage for mounting a micrometer
and environmental practices, and determine the applicability
depth gauge.
of regulatory limitations prior to use.
1.4 This international standard was developed in accor- 5.2 Micrometer Depth Gauge, for measuring the position of
dance with internationally recognized principles on standard- the specimen to the nearest 0.0001 in. (0.0025 mm). The tip of
ization established in the Decision on Principles for the the gauge rod shall be radiused.
Development of International Standards, Guides and Recom-
5.3 Electronic Contact Indicator, sensitive, low-current, to
mendations issued by the World Trade Organization Technical
give a signal when the micrometer depth-gauge rod completes
Barriers to Trade (TBT) Committee.
the electrical circuit across the indicator terminals by touching
the specimen or the parallel.
2. Terminology
1 3
5.4 Parallel, hardened and ground steel, ⁄4 in. by ⁄8 in. by
2.1 thermostat metal, n—a composite material in the form
6 in. (6 mm by 10 mm by 150 mm).
of sheet or strip, comprising two or more materials of any
appropriate nature, metallic or otherwise, which by virtue of
NOTE 4—Parallelism of the rods, on which the micrometer carriage
traverses, to the steel parallel when laid on the surface plate shall be such
the differing expansivities of the components, tends to alter its
that when the carriage is traversed and micrometer readings are taken
curvature when its temperature is changed.
along the length of the parallel, no reading shall be different from any
2.2 cross curvature, n—the deviation from flat across the
other reading by more than 0.0002 in. (0.005 mm).
width, measured as a chord height. It is expressed in inches (or
6. Sampling
millimeters).
6.1 The method of sampling shall be mutually agreed upon
between the manufacturer and the purchaser.
1
This test method is under the jurisdiction of ASTM Committee B02 on
Nonferrous Metals and Alloys and is the direct responsibility of Subcommittee
B02.10 on Thermostat Metals and Electrical Resistance Heating Materials. 7. Preparation of Sample for Measurement
Current edition approved Nov. 1, 2023. Published December 2023. Originally
7.1 The most important step in preparing the specimen for
approved in 1968. Last previous edition approved in 2016 as B478 – 85 (2016).
DOI: 10.1520/B0478-23. measurement is cutting it to length. The length shall be
*A Summary of Changes section appears at the end of this standard
Copyright © ASTM I
...
This document is not an ASTM standard and is intended only to provide the user of an ASTM standard an indication of what changes have been made to the previous version. Because
it may not be technically possible to adequately depict all changes accurately, ASTM recommends that users consult prior editions as appropriate. In all cases only the current version
of the standard as published by ASTM is to be considered the official document.
Designation: B478 − 85 (Reapproved 2016) B478 − 23
Standard Test Method for
1
Cross Curvature of Thermostat Metals
This standard is issued under the fixed designation B478; the number immediately following the designation indicates the year of
original adoption or, in the case of revision, the year of last revision. A number in parentheses indicates the year of last reapproval. A
superscript epsilon (´) indicates an editorial change since the last revision or reapproval.
1. Scope Scope*
1.1 This test method covers the determination of cross curvature of thermostat metals.
NOTE 1—This test method is not limited to thermostat metals and canmetals, and may be used for other materials for which the cross curvature must be
measured accurately.
NOTE 2—This standard includes means for calculating cross curvature for widths other than that of the specimen having the same radius of curvature.
1.2 The values stated in inch-pound units are to be regarded as standard. The values given in parentheses are mathematical
conversions to SI units that are provided for information only and are not considered standard.
1.3 This standard does not purport to address all of the safety concerns, if any, associated with its use. It is the responsibility
of the user of this standard to become familiar with all hazards including those identified in the appropriate Safety Data Sheet
(SDS) for this product/material as provided by the manufacturer, to establish appropriate safety and healthsafety, health, and
environmental practices, and determine the applicability of regulatory limitations prior to use.
1.4 This international standard was developed in accordance with internationally recognized principles on standardization
established in the Decision on Principles for the Development of International Standards, Guides and Recommendations issued
by the World Trade Organization Technical Barriers to Trade (TBT) Committee.
2. Terminology
2.1 thermostat metal, n—a composite material, usually material in the form of sheet or strip, comprising two or more materials
of any appropriate nature, metallic or otherwise, which by virtue of the differing expansivities of the components, tends to alter
its curvature when its temperature is changed.
2.2 cross curvature, n—the deviation from flat across the width, measured as a chord height. It is expressed in inches or
millimetres.(or millimeters).
3. Summary of Test Method
3.1 The test method for cross curvature consists of measuring the chord height deviation from flat across the width of a specimen
of thermostat metal (Fig. 1).
NOTE 3—The highest point will normally be at is typically at or near the center of the specimen.
1
This test method is under the jurisdiction of ASTM Committee B02 on Nonferrous Metals and Alloys and is the direct responsibility of Subcommittee B02.10 on
Thermostat Metals and Electrical Resistance Heating Materials.
Current edition approved May 1, 2016Nov. 1, 2023. Published May 2016December 2023. Originally approved in 1968. Last previous edition approved in 20082016 as
B478 – 85 (2008).(2016). DOI: 10.1520/B0478-85R16.10.1520/B0478-23.
*A Summary of Changes section appears at the end of this standard
Copyright © ASTM International, 100 Barr Harbor Drive, PO Box C700, West Conshohocken, PA 19428-2959. United States
1
---------------------- Page: 1 ----------------------
B478 − 23
FIG. 1 Specimen Relationships
FIG. 2 A Typical Design of Apparatus
4. Significance and Use
4.1 This procedure provides the meansa method for defining the magnitude and direction of cross curvature (ancurvature, an
inherent property in thermostat metal).metal.
5. Apparatus
5.1 Fixture—A typical cross curvature fixture is shown in Fig. 2. It consists of a base which has a flat ground surface on its top
side. For convenienceside, such as a granite surface plate, as is pictured,plate as shown in Fig. 2can be used. . To it are attached
side frames to support rod or bar tracks which are parallel to the top surface of the base. On the tracks is assembled a movable
carriage for mounting a micrometer depth gage.gauge.
5.2 Micrometer Depth Gage,Gauge, for measuring the position of the specimen to the nearest 0.0001 in. (0.0025 mm). The tip
of the gagegauge rod shall be radiused.
5.3 Electronic Contact Indicator, sensitive, low-current, to give a signal when the micrometer depth-gagedepth-gauge rod
completes the electrical circuit across the indicator terminals by touching the specimen or the parallel.
1 3
5.4 Parallel, hardened and ground steel, ⁄4 in. by ⁄8 in. by 6 in. (6 by 10
...


Questions, Comments and Discussion
Ask us and Technical Secretary will try to provide an answer. You can facilitate discussion about the standard in here.