ASTM A799/A799M-92(1997)
(Practice)Standard Practice for Steel Castings, Stainless, Instrument Calibration, for Estimating Ferrite Content
Standard Practice for Steel Castings, Stainless, Instrument Calibration, for Estimating Ferrite Content
SCOPE
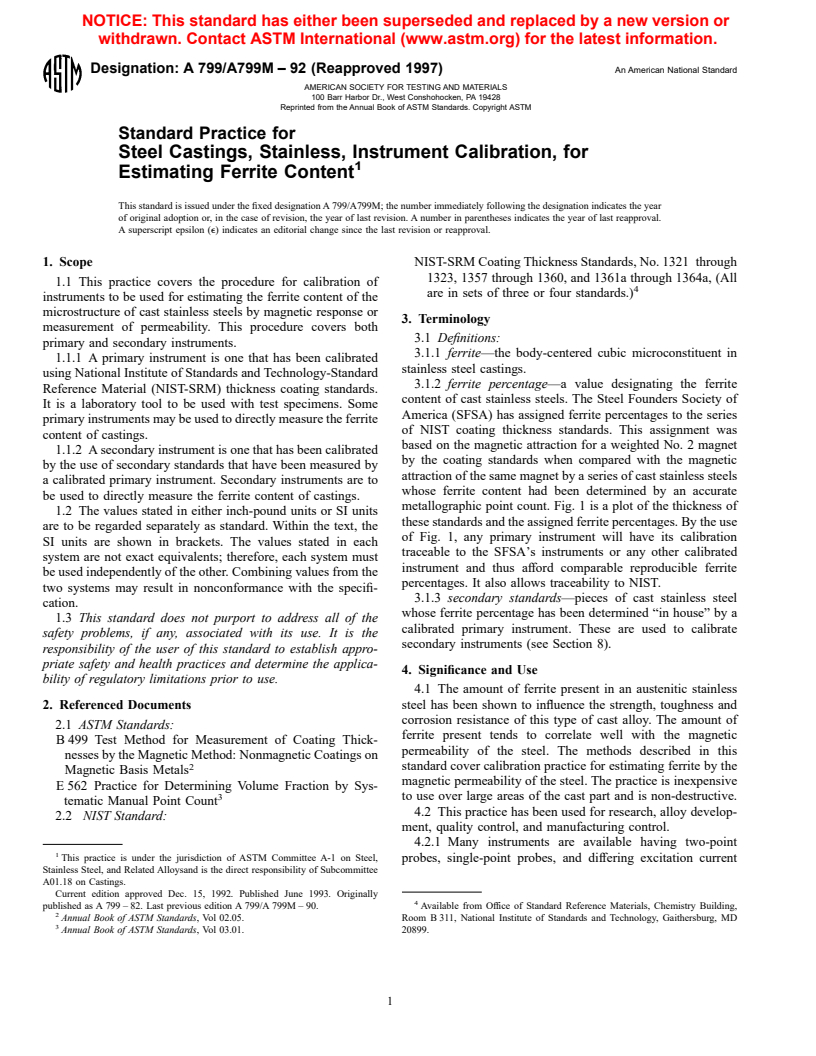
1.1 This practice covers the procedure for calibration of instruments to be used for estimating the ferrite content of the microstructure of cast stainless steels by magnetic response or measurement of permeability. This procedure covers both primary and secondary instruments.
1.1.1 A primary instrument is one that has been calibrated using National Institute of Standards and Technology-Standard Reference Material (NIST-SRM) thickness coating standards. It is a laboratory tool to be used with test specimens. Some primary instruments may be used to directly measure the ferrite content of castings.
1.1.2 A secondary instrument is one that has been calibrated by the use of secondary standards that have been measured by a calibrated primary instrument. Secondary instruments are to be used to directly measure the ferrite content of castings.
1.2 The values stated in either inch-pound units or SI units are to be regarded separately as standard. Within the text, the SI units are shown in brackets. The values stated in each system are not exact equivalents; therefore, each system must be used independently of the other. Combining values from the two systems may result in nonconformance with the specification.
1.3 This standard does not purport to address all of the safety problems, if any, associated with its use. It is the responsibility of the user of this standard to establish appropriate safety and health practices and determine the applicability of regulatory limitations prior to use.
General Information
Relations
Standards Content (Sample)
NOTICE: This standard has either been superseded and replaced by a new version or
withdrawn. Contact ASTM International (www.astm.org) for the latest information.
Designation: A 799/A799M – 92 (Reapproved 1997) An American National Standard
AMERICAN SOCIETY FOR TESTING AND MATERIALS
100 Barr Harbor Dr., West Conshohocken, PA 19428
Reprinted from the Annual Book of ASTM Standards. Copyright ASTM
Standard Practice for
Steel Castings, Stainless, Instrument Calibration, for
1
Estimating Ferrite Content
This standard is issued under the fixed designation A 799/A799M; the number immediately following the designation indicates the year
of original adoption or, in the case of revision, the year of last revision. A number in parentheses indicates the year of last reapproval.
A superscript epsilon (e) indicates an editorial change since the last revision or reapproval.
1. Scope NIST-SRM Coating Thickness Standards, No. 1321 through
1323, 1357 through 1360, and 1361a through 1364a, (All
1.1 This practice covers the procedure for calibration of
4
are in sets of three or four standards.)
instruments to be used for estimating the ferrite content of the
microstructure of cast stainless steels by magnetic response or
3. Terminology
measurement of permeability. This procedure covers both
3.1 Definitions:
primary and secondary instruments.
3.1.1 ferrite—the body-centered cubic microconstituent in
1.1.1 A primary instrument is one that has been calibrated
stainless steel castings.
using National Institute of Standards and Technology-Standard
3.1.2 ferrite percentage—a value designating the ferrite
Reference Material (NIST-SRM) thickness coating standards.
content of cast stainless steels. The Steel Founders Society of
It is a laboratory tool to be used with test specimens. Some
America (SFSA) has assigned ferrite percentages to the series
primary instruments may be used to directly measure the ferrite
of NIST coating thickness standards. This assignment was
content of castings.
based on the magnetic attraction for a weighted No. 2 magnet
1.1.2 A secondary instrument is one that has been calibrated
by the coating standards when compared with the magnetic
by the use of secondary standards that have been measured by
attraction of the same magnet by a series of cast stainless steels
a calibrated primary instrument. Secondary instruments are to
whose ferrite content had been determined by an accurate
be used to directly measure the ferrite content of castings.
metallographic point count. Fig. 1 is a plot of the thickness of
1.2 The values stated in either inch-pound units or SI units
these standards and the assigned ferrite percentages. By the use
are to be regarded separately as standard. Within the text, the
of Fig. 1, any primary instrument will have its calibration
SI units are shown in brackets. The values stated in each
traceable to the SFSA’s instruments or any other calibrated
system are not exact equivalents; therefore, each system must
instrument and thus afford comparable reproducible ferrite
be used independently of the other. Combining values from the
percentages. It also allows traceability to NIST.
two systems may result in nonconformance with the specifi-
3.1.3 secondary standards—pieces of cast stainless steel
cation.
whose ferrite percentage has been determined “in house” by a
1.3 This standard does not purport to address all of the
calibrated primary instrument. These are used to calibrate
safety problems, if any, associated with its use. It is the
secondary instruments (see Section 8).
responsibility of the user of this standard to establish appro-
priate safety and health practices and determine the applica-
4. Significance and Use
bility of regulatory limitations prior to use.
4.1 The amount of ferrite present in an austenitic stainless
2. Referenced Documents steel has been shown to influence the strength, toughness and
corrosion resistance of this type of cast alloy. The amount of
2.1 ASTM Standards:
ferrite present tends to correlate well with the magnetic
B 499 Test Method for Measurement of Coating Thick-
permeability of the steel. The methods described in this
nesses by the Magnetic Method: Nonmagnetic Coatings on
2 standard cover calibration practice for estimating ferrite by the
Magnetic Basis Metals
magnetic permeability of the steel. The practice is inexpensive
E 562 Practice for Determining Volume Fraction by Sys-
3 to use over large areas of the cast part and is non-destructive.
tematic Manual Point Count
4.2 This practice has been used for research, alloy develop-
2.2 NIST Standard:
ment, quality control, and manufacturing control.
4.2.1 Many instruments are available having two-point
1
This practice is under the jurisdiction of ASTM Committee A-1 on Steel, probes, single-point probes, and differing excitation current
Stainless Steel, and Related Alloysand is the direct responsibility of Subcommittee
A01.18 on Castings.
Current edition approved Dec. 15, 1992. Published June 1993. Originally
4
publis
...


Questions, Comments and Discussion
Ask us and Technical Secretary will try to provide an answer. You can facilitate discussion about the standard in here.