ASTM D6037-13e1
(Test Method)Standard Test Methods for Dry Abrasion Mar Resistance of High Gloss Coatings
Standard Test Methods for Dry Abrasion Mar Resistance of High Gloss Coatings
SIGNIFICANCE AND USE
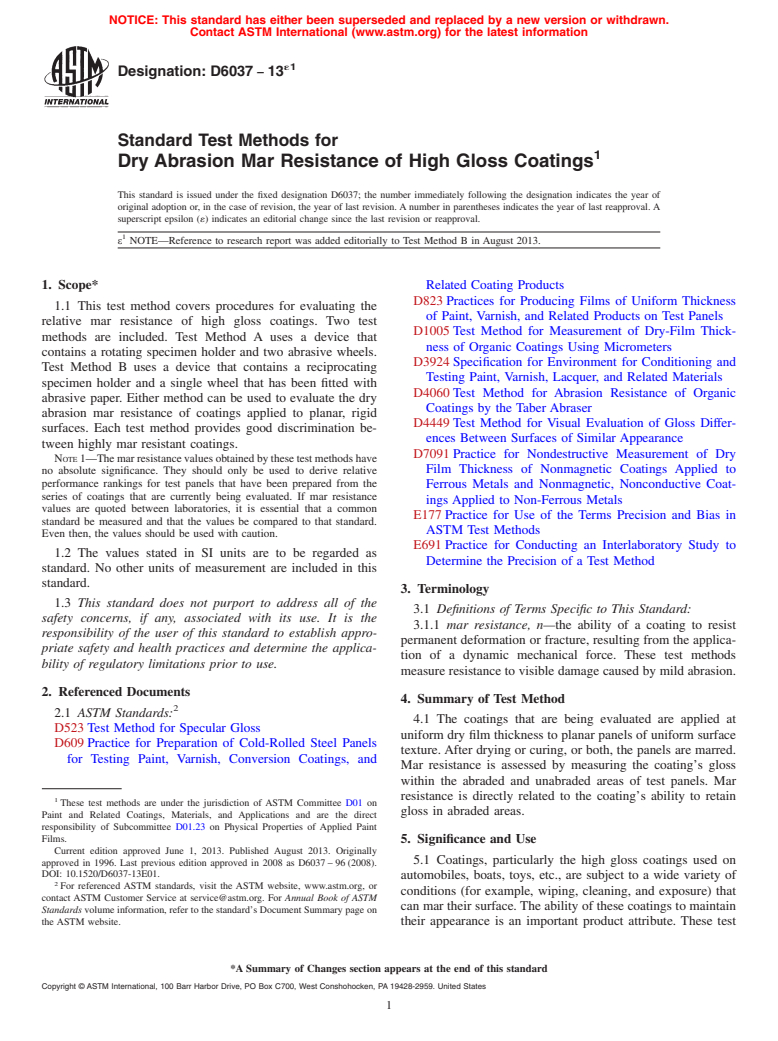
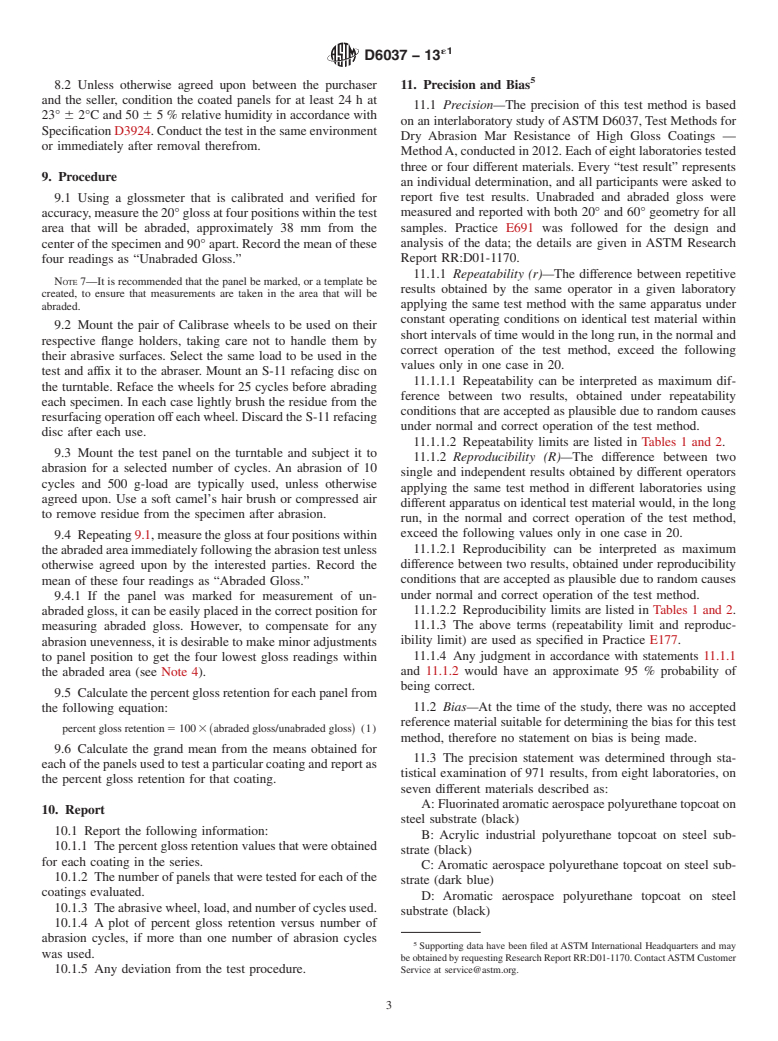
5.1 Coatings, particularly the high gloss coatings used on automobiles, boats, toys, etc., are subject to a wide variety of conditions (for example, wiping, cleaning, and exposure) that can mar their surface. The ability of these coatings to maintain their appearance is an important product attribute. These test methods provide a way to estimate the ability of high gloss coatings to resist mar damage.
5.2 These test methods do not provide fundamental values. However they are suitable for estimating the ability of high gloss coatings to resist mar.
5.3 Since the susceptibility of coatings to marring varies widely, the number of cycles that are needed to cause “relevant” mar damage also varies. Usually, 2 to 50 cycles are sufficient.
SCOPE
1.1 This test method covers procedures for evaluating the relative mar resistance of high gloss coatings. Two test methods are included. Test Method A uses a device that contains a rotating specimen holder and two abrasive wheels. Test Method B uses a device that contains a reciprocating specimen holder and a single wheel that has been fitted with abrasive paper. Either method can be used to evaluate the dry abrasion mar resistance of coatings applied to planar, rigid surfaces. Each test method provides good discrimination between highly mar resistant coatings.Note 1—The mar resistance values obtained by these test methods have no absolute significance. They should only be used to derive relative performance rankings for test panels that have been prepared from the series of coatings that are currently being evaluated. If mar resistance values are quoted between laboratories, it is essential that a common standard be measured and that the values be compared to that standard. Even then, the values should be used with caution.
1.2 The values stated in SI units are to be regarded as standard. No other units of measurement are included in this standard.
1.3 This standard does not purport to address all of the safety concerns, if any, associated with its use. It is the responsibility of the user of this standard to establish appropriate safety and health practices and determine the applicability of regulatory limitations prior to use.
General Information
Relations
Standards Content (Sample)
NOTICE: This standard has either been superseded and replaced by a new version or withdrawn.
Contact ASTM International (www.astm.org) for the latest information
´1
Designation: D6037 − 13
Standard Test Methods for
1
Dry Abrasion Mar Resistance of High Gloss Coatings
This standard is issued under the fixed designation D6037; the number immediately following the designation indicates the year of
original adoption or, in the case of revision, the year of last revision. A number in parentheses indicates the year of last reapproval. A
superscript epsilon (´) indicates an editorial change since the last revision or reapproval.
1
ε NOTE—Reference to research report was added editorially to Test Method B in August 2013.
1. Scope* Related Coating Products
D823 Practices for Producing Films of Uniform Thickness
1.1 This test method covers procedures for evaluating the
of Paint, Varnish, and Related Products on Test Panels
relative mar resistance of high gloss coatings. Two test
D1005 Test Method for Measurement of Dry-Film Thick-
methods are included. Test Method A uses a device that
ness of Organic Coatings Using Micrometers
contains a rotating specimen holder and two abrasive wheels.
D3924 Specification for Environment for Conditioning and
Test Method B uses a device that contains a reciprocating
Testing Paint, Varnish, Lacquer, and Related Materials
specimen holder and a single wheel that has been fitted with
D4060 Test Method for Abrasion Resistance of Organic
abrasive paper. Either method can be used to evaluate the dry
Coatings by the Taber Abraser
abrasion mar resistance of coatings applied to planar, rigid
D4449 Test Method for Visual Evaluation of Gloss Differ-
surfaces. Each test method provides good discrimination be-
ences Between Surfaces of Similar Appearance
tween highly mar resistant coatings.
D7091 Practice for Nondestructive Measurement of Dry
NOTE1—Themarresistancevaluesobtainedbythesetestmethodshave
Film Thickness of Nonmagnetic Coatings Applied to
no absolute significance. They should only be used to derive relative
performance rankings for test panels that have been prepared from the
Ferrous Metals and Nonmagnetic, Nonconductive Coat-
series of coatings that are currently being evaluated. If mar resistance
ings Applied to Non-Ferrous Metals
values are quoted between laboratories, it is essential that a common
E177 Practice for Use of the Terms Precision and Bias in
standard be measured and that the values be compared to that standard.
ASTM Test Methods
Even then, the values should be used with caution.
E691 Practice for Conducting an Interlaboratory Study to
1.2 The values stated in SI units are to be regarded as
Determine the Precision of a Test Method
standard. No other units of measurement are included in this
standard.
3. Terminology
1.3 This standard does not purport to address all of the
3.1 Definitions of Terms Specific to This Standard:
safety concerns, if any, associated with its use. It is the
3.1.1 mar resistance, n—the ability of a coating to resist
responsibility of the user of this standard to establish appro-
permanent deformation or fracture, resulting from the applica-
priate safety and health practices and determine the applica-
tion of a dynamic mechanical force. These test methods
bility of regulatory limitations prior to use.
measure resistance to visible damage caused by mild abrasion.
2. Referenced Documents
4. Summary of Test Method
2
2.1 ASTM Standards:
4.1 The coatings that are being evaluated are applied at
D523 Test Method for Specular Gloss
uniform dry film thickness to planar panels of uniform surface
D609 Practice for Preparation of Cold-Rolled Steel Panels
texture. After drying or curing, or both, the panels are marred.
for Testing Paint, Varnish, Conversion Coatings, and
Mar resistance is assessed by measuring the coating’s gloss
within the abraded and unabraded areas of test panels. Mar
resistance is directly related to the coating’s ability to retain
1
These test methods are under the jurisdiction of ASTM Committee D01 on
gloss in abraded areas.
Paint and Related Coatings, Materials, and Applications and are the direct
responsibility of Subcommittee D01.23 on Physical Properties of Applied Paint
Films.
5. Significance and Use
Current edition approved June 1, 2013. Published August 2013. Originally
5.1 Coatings, particularly the high gloss coatings used on
approved in 1996. Last previous edition approved in 2008 as D6037 – 96 (2008).
DOI: 10.1520/D6037-13E01.
automobiles, boats, toys, etc., are subject to a wide variety of
2
For referenced ASTM standards, visit the ASTM website, www.astm.org, or
conditions (for example, wiping, cleaning, and exposure) that
contact ASTM Customer Service at service@astm.org. For Annual Book of ASTM
can mar their surface. The ability of these coatings to maintain
Standards volume information, refer to the standard’s Document Summary page on
the ASTM website. their appearance is an important product attribute. These test
*A Summary of Cha
...


Questions, Comments and Discussion
Ask us and Technical Secretary will try to provide an answer. You can facilitate discussion about the standard in here.