ASTM E2092-00
(Test Method)Standard Test Method for Distortion Temperature in Three-Point Bending by Thermomechanical Analysis
Standard Test Method for Distortion Temperature in Three-Point Bending by Thermomechanical Analysis
SCOPE
1.1 This test method describes the determination of the temperature at which the specific modulus of a test specimen is realized by deflection in three-point bending. This temperature is identified as the distortion temperature measured. The distortion temperature is that temperature at which a test specimen of defined geometry deforms to a level of strain under applied stress of 0.455 and 1.82 MPa (66 and 264 psi) equivalent to those used in Test Method D 648. The test may be performed over the range of temperature from ambient to 300C.Note 1
Results may or may not agree with those obtained by Test Method D 648.
1.2 Electronic instrumentation or automated data analysis and reduction systems or treatments equivalent to this test method may be used.Note 2
Since all electronic data treatments are not equivalent, the user shall verify equivalency to this test method.
1.3 SI values are to be regarded as the standard. Inch-pound units in parentheses are for information only.
This standard does not purport to address all of the safety problems, if any, associated with its use. It is the responsibility of the user of this standard to establish appropriate safety and health practices and to determine the applicability of regulatory limitations prior to use.
1.4 There is no ISO standard equivalent to this test method.
General Information
Relations
Standards Content (Sample)
NOTICE: This standard has either been superceded and replaced by a new version or discontinued.
Contact ASTM International (www.astm.org) for the latest information.
Designation: E 2092 – 00
Standard Test Method for
Distortion Temperature in Three-Point Bending by
Thermomechanical Analysis
This standard is issued under the fixed designation E 2092; the number immediately following the designation indicates the year of
original adoption or, in the case of revision, the year of last revision. A number in parentheses indicates the year of last reapproval. A
superscript epsilon (e) indicates an editorial change since the last revision or reapproval.
1. Scope 3. Terminology
1.1 This test method describes the determination of the 3.1 Definitions—Specific technical terms used in this stan-
temperature at which the specific modulus of a test specimen is dard are defined in Terminologies E 473 and E 1142.
realized by deflection in three-point bending. This temperature 3.1.1 distortion temperature [°C], n—the temperature at
is identified as the distortion temperature measured. The which an arbitrary strain level is obtained in three-point
distortion temperature is that temperature at which a test bending under an arbitrary load.
specimen of defined geometry deforms to a level of strain 3.1.2 strain, r [mm/m], n—the dimension change in normal-
under applied stress of 0.455 and 1.82 MPa (66 and 264 psi) izing dimension due to an applied force.
equivalent to those used in Test Method D 648. The test may be 3.1.3 stress, S [Pa 5 N/m ], n—force per unit area.
performed over the range of temperature from ambient to
4. Summary of Test Method
300°C.
4.1 A test specimen of known dimensions is tested in
NOTE 1—Results may or may not agree with those obtained by Test
three-point bending mode. A known stress is applied to the
Method D 648.
center of a test specimen supported near its ends, as it is heated
1.2 Electronic instrumentation or automated data analysis
at a constant rate from ambient temperature to the upper
and reduction systems or treatments equivalent to this test
temperature limit for the material. The deflection of the test
method may be used.
specimen is recorded as a function of temperature. The
temperature at which a predetermined level of strain is ob-
NOTE 2—Since all electronic data treatments are not equivalent, the
user shall verify equivalency to this test method. served in the test specimen is analyzed as the distortion
temperature.
1.3 SI values are to be regarded as the standard. Inch-pound
units in parentheses are for information only.
5. Significance and Use
1.4 This standard does not purport to address all of the
5.1 Data obtained by this test method shall not be used to
safety problems, if any, associated with its use. It is the
predict the behavior of materials at elevated temperatures
responsibility of the user of this standard to establish appro-
except in applications in which the conditions of time, tem-
priate safety and health practices and to determine the
perature, method of loading, and stress are similar to those
applicability of regulatory limitations prior to use.
specified in the test.
1.5 There is no ISO standard equivalent to this test method.
5.2 This standard is particularly suited for quality control
2. Referenced Documents and development work. The data are not intended for use in
design or predicting endurance at elevated temperatures.
2.1 ASTM Standards:
D 648 Test Method for Deflection Temperature of Plastics
6. Apparatus
Under Flexural Load
3 6.1 A thermomechanical analyzer consisting of:
E 473 Terminology Relating to Thermal Analysis
6.1.1 Rigid Specimen Holder, of inert, low expansivity
E 1142 Terminology Relating to Thermophysical Proper-
3 material (< 20 μm/(m · °C)) to center the specimen in the
ties
furnace and to fix the specimen to mechanical ground.
E 1363 Test Method for Temperature Calibration of Ther-
3 6.1.2 Flexure Fixture, of inert, low expansivity material
momechanical Analyzers
(<20 μm/(m · °C)), to support the test specimen in a three-point
bending mode (see Fig. 1).
6.1.3 Rigid Knife Edge Compression Probe, of inert, low
This test method is under the jurisdiction of Committee E-37 on Thermal
Measurements and is the direct responsibility of Subcommittee E37.01 on Test
expansivity material (< 20 μm/(m· °C)) that contacts the
Methods and Recommended Practices.
specimen with an applied compression force (see Fig. 1).
Current edition approved May 10, 2000. Published July 2000.
6.1.4 Deflection Sensing Element, having a linear output
Annual Book of ASTM Standards, Vol 08.01.
Annual Book of ASTM Standards, Vol 14.02. over a minimum range of 5 mm to measure the displacement of
Copyright © ASTM, 100 Barr Harbor Drive, West Conshohocken, PA 19428-2959, United States.
NOTICE: This standard has either been superceded and replaced by a new version or discontinued.
Contact ASTM International (www.astm.org) for the latest information.
E 2092
7.2 Because the specimen size is small, care must be taken
to ensure that each specimen is homogeneous and representa-
tive of the sample as a whole.
7.3 The test specimen shall be isotropic. See 8.3.
8. Sampling
8.1 The specimens may be cut from sheets, plates, or
molded shapes, or may be molded to the desired finished
dimensions.
8.2 The specimens used in this test method are ordinarily in
the form of rectangular beams with aspect ratios of 1: 3: 10 for
thickness (d), width (b) and length (l), depending upon the
modulus of the sample and length of the support span (L).
NOTE 4—Other specimen and support dimensions may be used but care
must be taken that the support length to specimen thickness ratio (L/d)be
greater than 10.
NOTE 5—The specimen shall be long enough to allow overhanging on
each end of at least 10 % of the support span, that is, 1 $ 1.2 L.
NOTE 6—The overhang shall be sufficient to prevent the specimen from
slipping from the supports.
8.3 This test method assumes that the material is isotropic.
Should the specimen be anisotropic, such as in reinforced
composites, the direction of the reinforcing agent shall be
reported relative to the specimen dimensions.
8.4 Since duplicate determinations are required, at least 2
specimens shall be prepared from each sample.
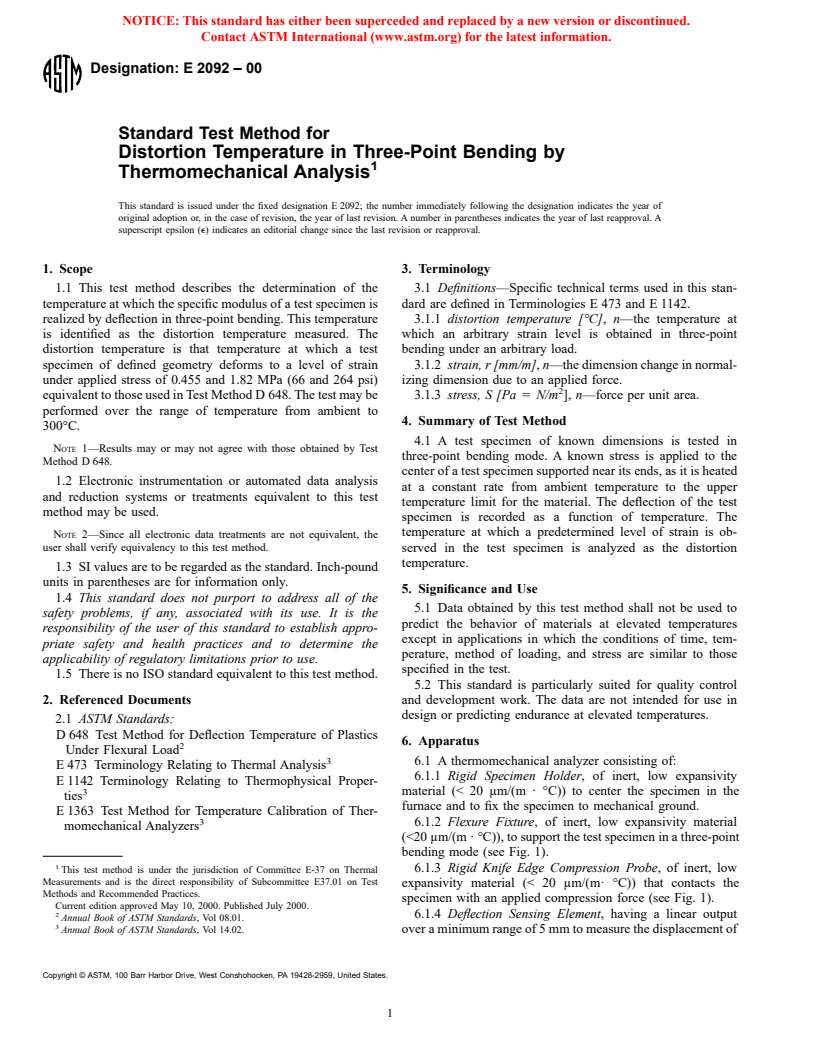
FIG. 1 Flexure Support Geometry
9. Calibration
the rigid compression probe (see 6.1.3) to within 6 0.1 μm.
9.1 Calibrate the temperature display of the apparatus ac-
6.1.5 Programmable Weight or Force Transducer, to gener-
cording to Test Method E 1363 using a heating rate of 2 6
ate a constant force (6 2.5 %) between at least 0.01 to 1.0 N,
0.1°C/min.
that is applied to the specimen through the rigid compression
9.2 Calibrate the deflection display of the apparatus accord-
probe (see 6.1.3).
ing to the instrument manufacturer’s instructions.
6.1.6 Temperature Sensor, that can be positioned reproduc-
9.3 Calibrate the mechanism for applying force to the test
ibly in close proximity to the specimen to measure its tempera-
specimen according to the instrument manufacturer’s instruc-
ture of the range between 25 and 300°C to 6 0.1°C.
tions.
6.1.7 Temperature Programmer and Furnace, capable of
temperature programming the test specimen from ambient to
10. Procedure
300°C at a linear rate of at least 2 6 0.1°C/min.
10.1 Measure the test length (L) of the test specimen as the
6.1.8 Means of Providing a Specimen Environment, of inert
distance between the two support points of the flexure support
gas at a purge rate of 50 mL/min 6 5%.
geometry to three significant figures (see Fig. 1).
NOTE 3—Typically, inert purge gases that inhibit specimen oxidation
10.2 Measure the width (b) and thickness (d) of the test
are 99.9+ % pure nitrogen, helium or argon. Subambient operation
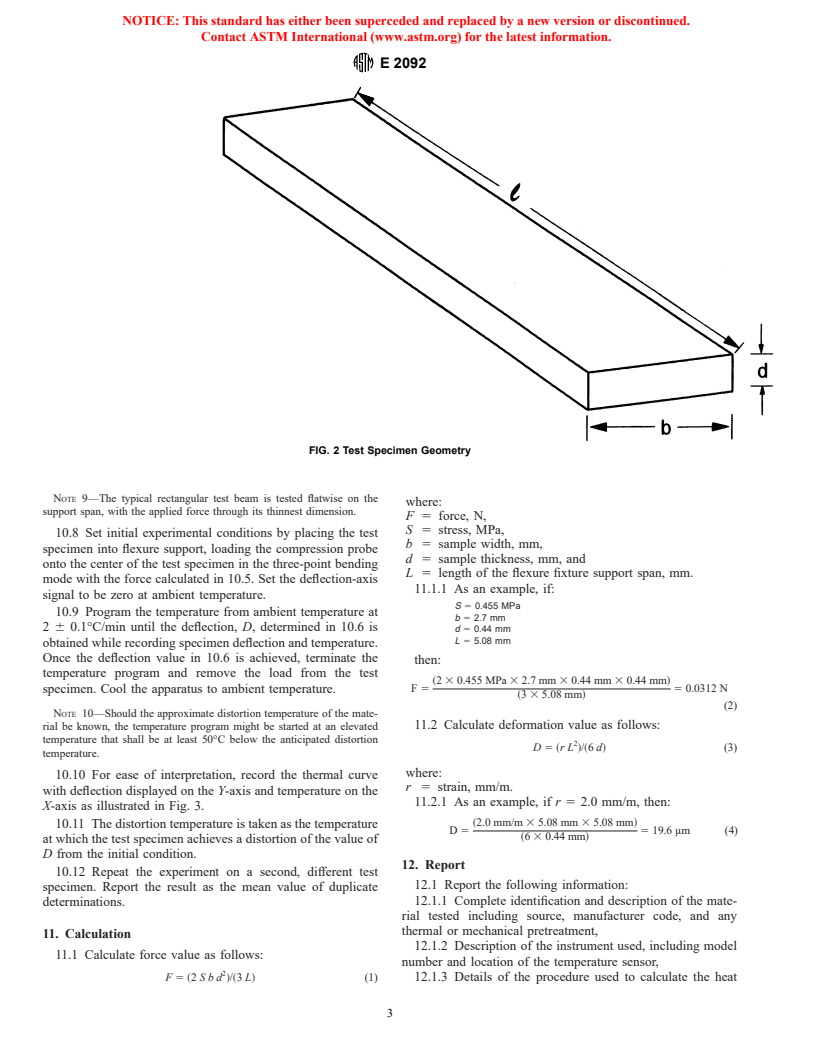
specimen to three significant figures (see Fig. 2).
requires dry purge gas. Dry gases are recommended for all experiments
10.3 Select the stress (S) to be applied to the test specimen.
unless the effect of moisture is part of the study.
This value is typically 0.455 or 1.82 MPa (66 or 264 psi) to
6.1.9 Recording Device, eit
...


Questions, Comments and Discussion
Ask us and Technical Secretary will try to provide an answer. You can facilitate discussion about the standard in here.