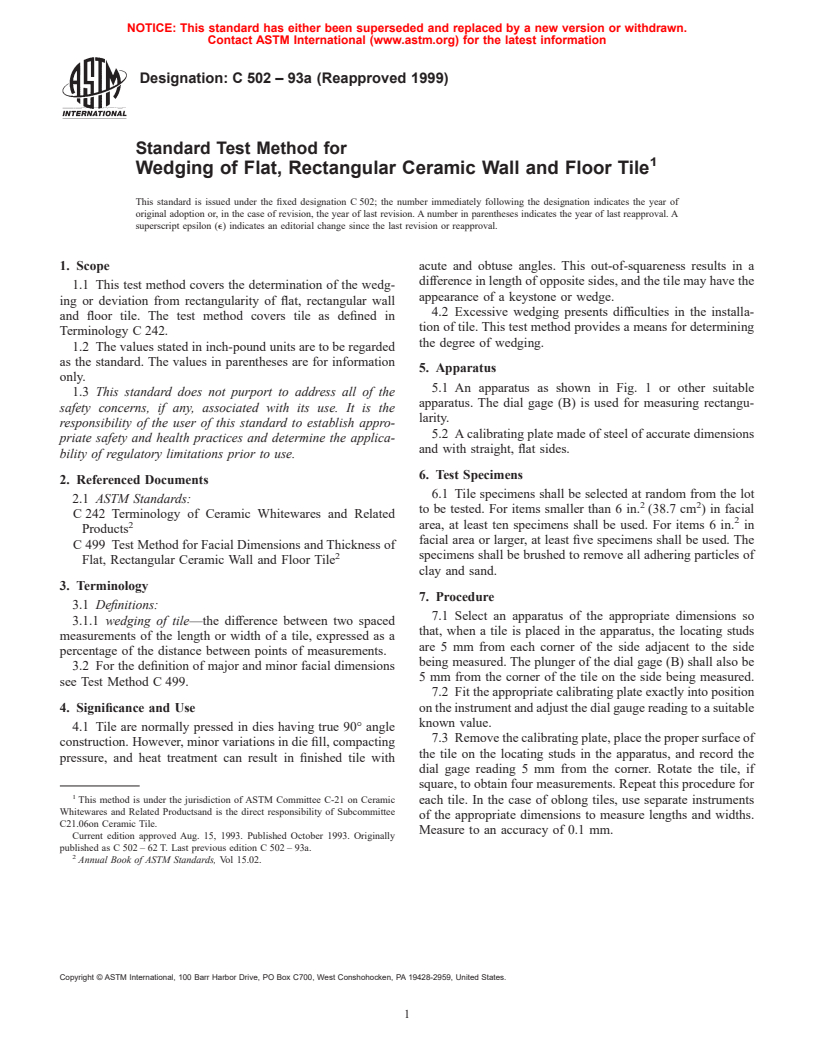
ASTM C502-93a(1999)
(Test Method)Standard Test Method for Wedging of Flat, Rectangular Ceramic Wall and Floor Tile
Standard Test Method for Wedging of Flat, Rectangular Ceramic Wall and Floor Tile
SCOPE
1.1 This test method covers the determination of the wedging or deviation from rectangularity of flat, rectangular wall and floor tile. The test method covers tile as defined in Terminology C242.
1.2 The values stated in inch-pound units are to be regarded as the standard. The values in parentheses are for information only.
1.3 This standard does not purport to address all of the safety problems, if any, associated with its use. It is the responsibility of the user of this standard to establish appropriate safety and health practices and determine the applicability of regulatory limitations prior to use.
General Information
Relations
Standards Content (Sample)
NOTICE: This standard has either been superseded and replaced by a new version or withdrawn.
Contact ASTM International (www.astm.org) for the latest information
Designation: C 502 – 93a (Reapproved 1999)
Standard Test Method for
Wedging of Flat, Rectangular Ceramic Wall and Floor Tile
This standard is issued under the fixed designation C 502; the number immediately following the designation indicates the year of
original adoption or, in the case of revision, the year of last revision. A number in parentheses indicates the year of last reapproval. A
superscript epsilon (e) indicates an editorial change since the last revision or reapproval.
1. Scope acute and obtuse angles. This out-of-squareness results in a
difference in length of opposite sides, and the tile may have the
1.1 This test method covers the determination of the wedg-
appearance of a keystone or wedge.
ing or deviation from rectangularity of flat, rectangular wall
4.2 Excessive wedging presents difficulties in the installa-
and floor tile. The test method covers tile as defined in
tion of tile. This test method provides a means for determining
Terminology C 242.
the degree of wedging.
1.2 The values stated in inch-pound units are to be regarded
as the standard. The values in parentheses are for information
5. Apparatus
only.
5.1 An apparatus as shown in Fig. 1 or other suitable
1.3 This standard does not purport to address all of the
apparatus. The dial gage (B) is used for measuring rectangu-
safety concerns, if any, associated with its use. It is the
larity.
responsibility of the user of this standard to establish appro-
5.2 A calibrating plate made of steel of accurate dimensions
priate safety and health practices and determine the applica-
and with straight, flat sides.
bility of regulatory limitations prior to use.
6. Test Specimens
2. Referenced Documents
6.1 Tile specimens shall be selected at random from the lot
2.1 ASTM Standards:
2 2
to be tested. For items smaller than 6 in. (38.7 cm ) in facial
C 242 Terminology of Ceramic Whitewares and Related
2 area, at least ten specimens shall be used. For items 6 in. in
Products
facial area or larger, at least five specimens shall be used. The
C 499 Test Method for Facial Dimensions and Thickness of
2 specimens shall be brushed to remove all adhering particles of
Flat, Rectangular Ceramic Wall and Floor Tile
clay and sand.
3. Terminology
7. Procedure
3.1 Definitions:
7.1 Select an apparatus of the appropriate dimensions so
3.1.1 wedging of tile—the difference between two spaced
that, when a tile is placed in the apparatus, the locating studs
measurements of the length or width of a tile, expressed as a
are 5 mm from each corner of the side adjacent to the side
percentage of the distance between points of measurements.
being measured. The plunger of the dial gage (B) shall also be
3.2 For the definition of major and minor facial dimensions
5 mm from the corner of the tile on the side being measured.
see Test Method C 499.
7.2 Fit the appropriate calibrating plate exactly into position
4. Significance and Use on the instrument and adjust the dial gauge reading to a suitable
known value.
4.1 Tile are normally pressed in dies having true 90° angle
7.3 Remove the calibrating plate, place the proper surface of
construction. However, minor variations in die fill, compacting
the tile on the locating studs in the apparatus, and record the
pressure, and heat treatment can result in finished tile with
dial gage reading 5 mm f
...


Questions, Comments and Discussion
Ask us and Technical Secretary will try to provide an answer. You can facilitate discussion about the standard in here.