ASTM C174/C174M-13
(Test Method)Standard Test Method for Measuring Thickness of Concrete Elements Using Drilled Concrete Cores
Standard Test Method for Measuring Thickness of Concrete Elements Using Drilled Concrete Cores
SIGNIFICANCE AND USE
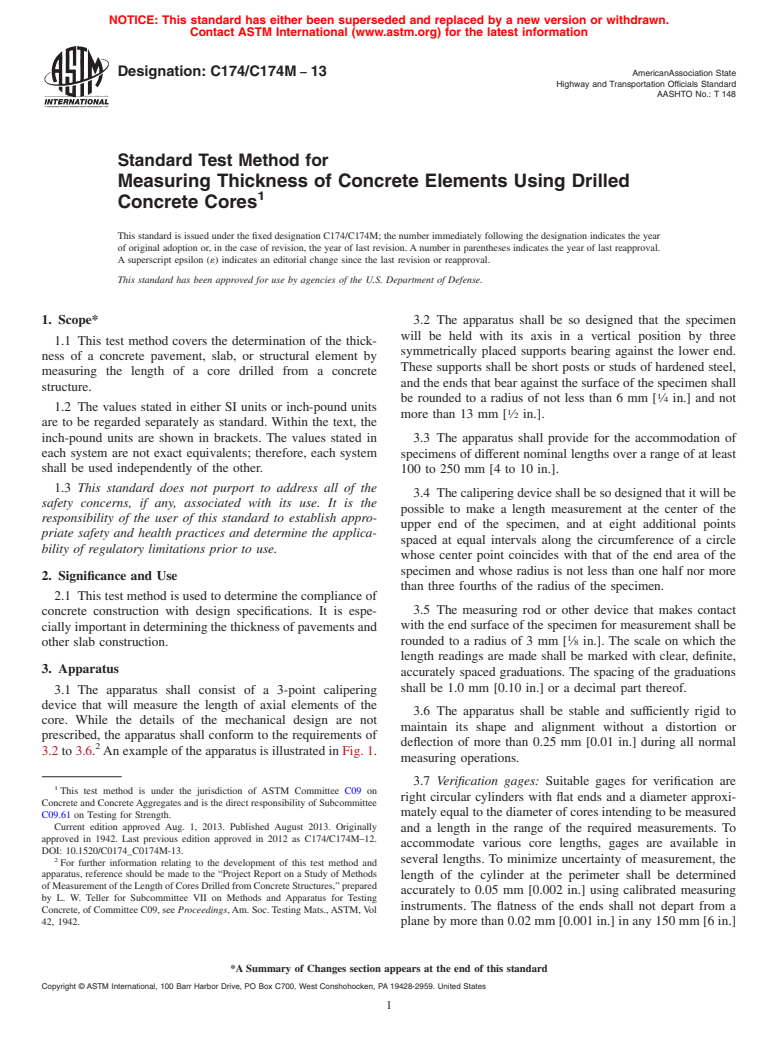
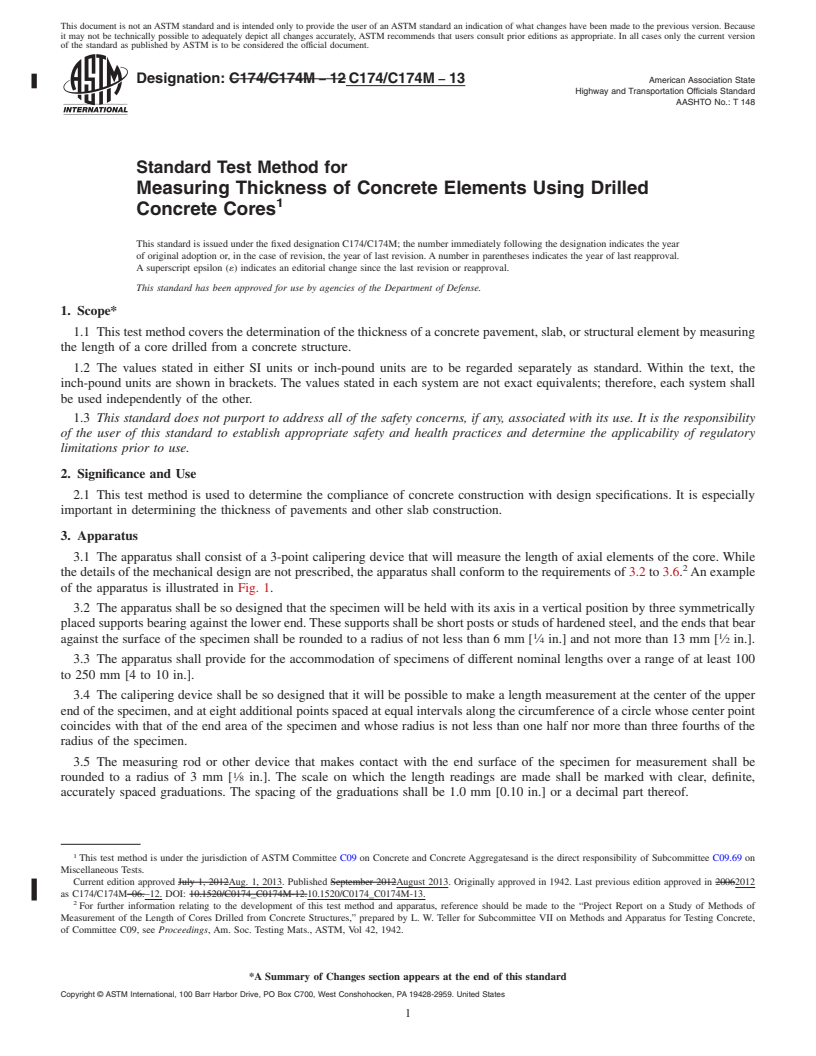
2.1 This test method is used to determine the compliance of concrete construction with design specifications. It is especially important in determining the thickness of pavements and other slab construction.
SCOPE
1.1 This test method covers the determination of the thickness of a concrete pavement, slab, or structural element by measuring the length of a core drilled from a concrete structure.
1.2 The values stated in either SI units or inch-pound units are to be regarded separately as standard. Within the text, the inch-pound units are shown in brackets. The values stated in each system are not exact equivalents; therefore, each system shall be used independently of the other.
1.3 This standard does not purport to address all of the safety concerns, if any, associated with its use. It is the responsibility of the user of this standard to establish appropriate safety and health practices and determine the applicability of regulatory limitations prior to use.
General Information
Relations
Buy Standard
Standards Content (Sample)
NOTICE: This standard has either been superseded and replaced by a new version or withdrawn.
Contact ASTM International (www.astm.org) for the latest information
Designation: C174/C174M − 13 AmericanAssociation State
Highway and Transportation Officials Standard
AASHTO No.: T 148
Standard Test Method for
Measuring Thickness of Concrete Elements Using Drilled
1
Concrete Cores
This standard is issued under the fixed designation C174/C174M; the number immediately following the designation indicates the year
of original adoption or, in the case of revision, the year of last revision. A number in parentheses indicates the year of last reapproval.
A superscript epsilon (´) indicates an editorial change since the last revision or reapproval.
This standard has been approved for use by agencies of the U.S. Department of Defense.
1. Scope* 3.2 The apparatus shall be so designed that the specimen
will be held with its axis in a vertical position by three
1.1 This test method covers the determination of the thick-
symmetrically placed supports bearing against the lower end.
ness of a concrete pavement, slab, or structural element by
These supports shall be short posts or studs of hardened steel,
measuring the length of a core drilled from a concrete
and the ends that bear against the surface of the specimen shall
structure.
1
be rounded to a radius of not less than 6 mm [ ⁄4 in.] and not
1.2 The values stated in either SI units or inch-pound units
1
more than 13 mm [ ⁄2 in.].
are to be regarded separately as standard. Within the text, the
inch-pound units are shown in brackets. The values stated in 3.3 The apparatus shall provide for the accommodation of
each system are not exact equivalents; therefore, each system specimens of different nominal lengths over a range of at least
shall be used independently of the other.
100 to 250 mm [4 to 10 in.].
1.3 This standard does not purport to address all of the
3.4 The calipering device shall be so designed that it will be
safety concerns, if any, associated with its use. It is the
possible to make a length measurement at the center of the
responsibility of the user of this standard to establish appro-
upper end of the specimen, and at eight additional points
priate safety and health practices and determine the applica-
spaced at equal intervals along the circumference of a circle
bility of regulatory limitations prior to use.
whose center point coincides with that of the end area of the
specimen and whose radius is not less than one half nor more
2. Significance and Use
than three fourths of the radius of the specimen.
2.1 This test method is used to determine the compliance of
3.5 The measuring rod or other device that makes contact
concrete construction with design specifications. It is espe-
with the end surface of the specimen for measurement shall be
cially important in determining the thickness of pavements and
1
rounded to a radius of 3 mm [ ⁄8 in.]. The scale on which the
other slab construction.
length readings are made shall be marked with clear, definite,
3. Apparatus
accurately spaced graduations. The spacing of the graduations
shall be 1.0 mm [0.10 in.] or a decimal part thereof.
3.1 The apparatus shall consist of a 3-point calipering
device that will measure the length of axial elements of the
3.6 The apparatus shall be stable and sufficiently rigid to
core. While the details of the mechanical design are not
maintain its shape and alignment without a distortion or
prescribed, the apparatus shall conform to the requirements of
deflection of more than 0.25 mm [0.01 in.] during all normal
2
3.2 to 3.6. An example of the apparatus is illustrated in Fig. 1.
measuring operations.
3.7 Verification gages: Suitable gages for verification are
1
This test method is under the jurisdiction of ASTM Committee C09 on
right circular cylinders with flat ends and a diameter approxi-
Concrete and ConcreteAggregates and is the direct responsibility of Subcommittee
mately equal to the diameter of cores intending to be measured
C09.61 on Testing for Strength.
Current edition approved Aug. 1, 2013. Published August 2013. Originally
and a length in the range of the required measurements. To
approved in 1942. Last previous edition approved in 2012 as C174/C174M–12.
accommodate various core lengths, gages are available in
DOI: 10.1520/C0174_C0174M-13.
2 several lengths. To minimize uncertainty of measurement, the
For further information relating to the development of this test method and
apparatus, reference should be made to the “Project Report on a Study of Methods
length of the cylinder at the perimeter shall be determined
of Measurement of the Length of Cores Drilled from Concrete Structures,” prepared
accurately to 0.05 mm [0.002 in.] using calibrated measuring
by L. W. Teller for Subcommittee VII on Methods and Apparatus for Testing
instruments. The flatness of the ends shall not depart from a
Concrete, of Committee C09, see Proceedings,Am. Soc. Testing Mats.,ASTM, Vol
42, 1942. plane by mo
...
This document is not an ASTM standard and is intended only to provide the user of an ASTM standard an indication of what changes have been made to the previous version. Because
it may not be technically possible to adequately depict all changes accurately, ASTM recommends that users consult prior editions as appropriate. In all cases only the current version
of the standard as published by ASTM is to be considered the official document.
Designation: C174/C174M − 12 C174/C174M − 13 American Association State
Highway and Transportation Officials Standard
AASHTO No.: T 148
Standard Test Method for
Measuring Thickness of Concrete Elements Using Drilled
1
Concrete Cores
This standard is issued under the fixed designation C174/C174M; the number immediately following the designation indicates the year
of original adoption or, in the case of revision, the year of last revision. A number in parentheses indicates the year of last reapproval.
A superscript epsilon (´) indicates an editorial change since the last revision or reapproval.
This standard has been approved for use by agencies of the Department of Defense.
1. Scope*
1.1 This test method covers the determination of the thickness of a concrete pavement, slab, or structural element by measuring
the length of a core drilled from a concrete structure.
1.2 The values stated in either SI units or inch-pound units are to be regarded separately as standard. Within the text, the
inch-pound units are shown in brackets. The values stated in each system are not exact equivalents; therefore, each system shall
be used independently of the other.
1.3 This standard does not purport to address all of the safety concerns, if any, associated with its use. It is the responsibility
of the user of this standard to establish appropriate safety and health practices and determine the applicability of regulatory
limitations prior to use.
2. Significance and Use
2.1 This test method is used to determine the compliance of concrete construction with design specifications. It is especially
important in determining the thickness of pavements and other slab construction.
3. Apparatus
3.1 The apparatus shall consist of a 3-point calipering device that will measure the length of axial elements of the core. While
2
the details of the mechanical design are not prescribed, the apparatus shall conform to the requirements of 3.2 to 3.6. An example
of the apparatus is illustrated in Fig. 1.
3.2 The apparatus shall be so designed that the specimen will be held with its axis in a vertical position by three symmetrically
placed supports bearing against the lower end. These supports shall be short posts or studs of hardened steel, and the ends that bear
1 1
against the surface of the specimen shall be rounded to a radius of not less than 6 mm [ ⁄4 in.] and not more than 13 mm [ ⁄2 in.].
3.3 The apparatus shall provide for the accommodation of specimens of different nominal lengths over a range of at least 100
to 250 mm [4 to 10 in.].
3.4 The calipering device shall be so designed that it will be possible to make a length measurement at the center of the upper
end of the specimen, and at eight additional points spaced at equal intervals along the circumference of a circle whose center point
coincides with that of the end area of the specimen and whose radius is not less than one half nor more than three fourths of the
radius of the specimen.
3.5 The measuring rod or other device that makes contact with the end surface of the specimen for measurement shall be
1
rounded to a radius of 3 mm [ ⁄8 in.]. The scale on which the length readings are made shall be marked with clear, definite,
accurately spaced graduations. The spacing of the graduations shall be 1.0 mm [0.10 in.] or a decimal part thereof.
1
This test method is under the jurisdiction of ASTM Committee C09 on Concrete and Concrete Aggregatesand is the direct responsibility of Subcommittee C09.69 on
Miscellaneous Tests.
Current edition approved July 1, 2012Aug. 1, 2013. Published September 2012August 2013. Originally approved in 1942. Last previous edition approved in 20062012
as C174/C174M–06.–12. DOI: 10.1520/C0174_C0174M-12.10.1520/C0174_C0174M-13.
2
For further information relating to the development of this test method and apparatus, reference should be made to the “Project Report on a Study of Methods of
Measurement of the Length of Cores Drilled from Concrete Structures,” prepared by L. W. Teller for Subcommittee VII on Methods and Apparatus for Testing Concrete,
of Committee C09, see Proceedings, Am. Soc. Testing Mats., ASTM, Vol 42, 1942.
*A Summary of Changes section appears at the end of this standard
Copyright © ASTM International, 100 Barr Harbor Drive, PO Box C700, West Conshohocken, PA 19428-2959. United States
1
---------------------- Page: 1 ----------------------
C174/C174M − 13
FIG. 1 Core Measuring Apparatus
3.6 The apparatus shall be stable and sufficiently rigid to maintain its shape and alignment without a distortion or defle
...


Questions, Comments and Discussion
Ask us and Technical Secretary will try to provide an answer. You can facilitate discussion about the standard in here.