ASTM D4562-01(2019)
(Test Method)Standard Test Method for Shear Strength of Adhesives Using Pin-and-Collar Specimen
Standard Test Method for Shear Strength of Adhesives Using Pin-and-Collar Specimen
SIGNIFICANCE AND USE
5.1 This test method provides reasonably accurate information with regard to the ability of an adhesive to withstand shearing forces. It may also be used to determine degree of cure and the effect of environment on shear strength.
SCOPE
1.1 This test method covers the determination of the shear strength of curing liquid adhesives used for retaining cylindrical assemblies or for locking and sealing threaded fasteners.
1.2 The values stated in inch-pound units are to be regarded as standard. The values given in parentheses are mathematical conversions to SI units that are provided for information only and are not considered standard.
1.3 This standard does not purport to address all of the safety concerns, if any, associated with its use. It is the responsibility of the user of this standard to establish appropriate safety, health, and environmental practices and determine the applicability of regulatory limitations prior to use.
1.4 This international standard was developed in accordance with internationally recognized principles on standardization established in the Decision on Principles for the Development of International Standards, Guides and Recommendations issued by the World Trade Organization Technical Barriers to Trade (TBT) Committee.
General Information
Relations
Standards Content (Sample)
This international standard was developed in accordance with internationally recognized principles on standardization established in the Decision on Principles for the
Development of International Standards, Guides and Recommendations issued by the World Trade Organization Technical Barriers to Trade (TBT) Committee.
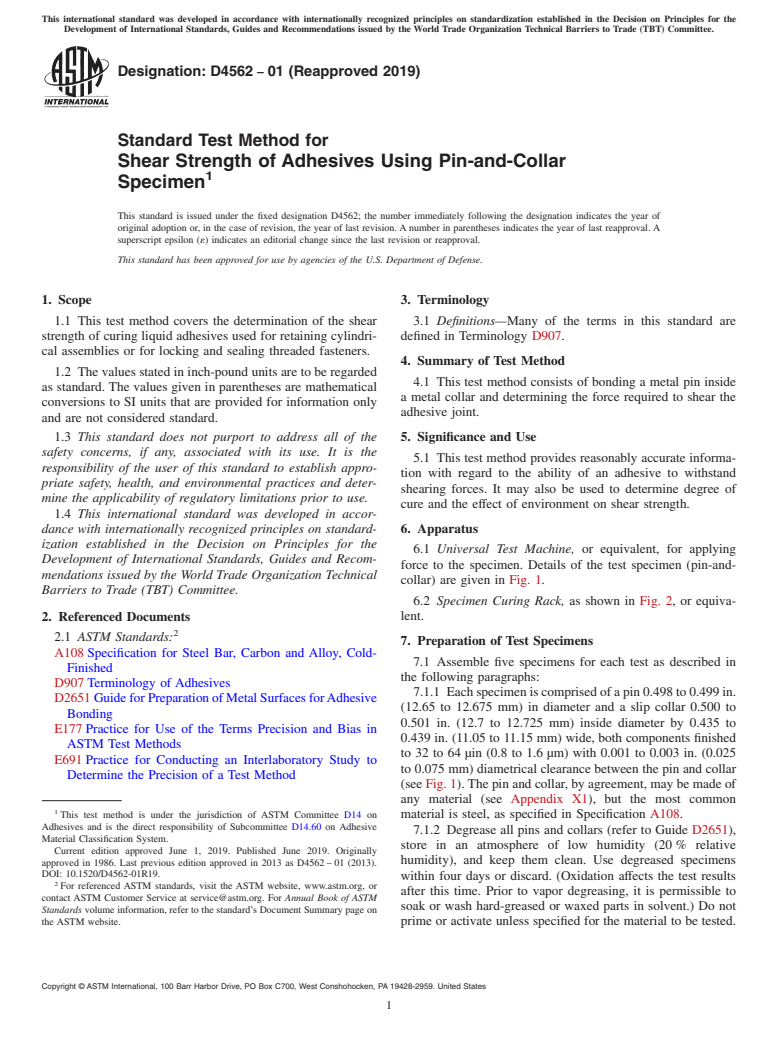
Designation: D4562 − 01 (Reapproved 2019)
Standard Test Method for
Shear Strength of Adhesives Using Pin-and-Collar
Specimen
This standard is issued under the fixed designation D4562; the number immediately following the designation indicates the year of
original adoption or, in the case of revision, the year of last revision. A number in parentheses indicates the year of last reapproval. A
superscript epsilon (´) indicates an editorial change since the last revision or reapproval.
This standard has been approved for use by agencies of the U.S. Department of Defense.
1. Scope 3. Terminology
1.1 This test method covers the determination of the shear 3.1 Definitions—Many of the terms in this standard are
strength of curing liquid adhesives used for retaining cylindri- defined in Terminology D907.
cal assemblies or for locking and sealing threaded fasteners.
4. Summary of Test Method
1.2 The values stated in inch-pound units are to be regarded
4.1 This test method consists of bonding a metal pin inside
as standard. The values given in parentheses are mathematical
a metal collar and determining the force required to shear the
conversions to SI units that are provided for information only
adhesive joint.
and are not considered standard.
1.3 This standard does not purport to address all of the 5. Significance and Use
safety concerns, if any, associated with its use. It is the
5.1 This test method provides reasonably accurate informa-
responsibility of the user of this standard to establish appro-
tion with regard to the ability of an adhesive to withstand
priate safety, health, and environmental practices and deter-
shearing forces. It may also be used to determine degree of
mine the applicability of regulatory limitations prior to use.
cure and the effect of environment on shear strength.
1.4 This international standard was developed in accor-
dance with internationally recognized principles on standard- 6. Apparatus
ization established in the Decision on Principles for the
6.1 Universal Test Machine, or equivalent, for applying
Development of International Standards, Guides and Recom-
force to the specimen. Details of the test specimen (pin-and-
mendations issued by the World Trade Organization Technical
collar) are given in Fig. 1.
Barriers to Trade (TBT) Committee.
6.2 Specimen Curing Rack, as shown in Fig. 2, or equiva-
lent.
2. Referenced Documents
2.1 ASTM Standards:
7. Preparation of Test Specimens
A108 Specification for Steel Bar, Carbon and Alloy, Cold-
7.1 Assemble five specimens for each test as described in
Finished
the following paragraphs:
D907 Terminology of Adhesives
7.1.1 Eachspecimeniscomprisedofapin0.498to0.499in.
D2651 GuideforPreparationofMetalSurfacesforAdhesive
(12.65 to 12.675 mm) in diameter and a slip collar 0.500 to
Bonding
0.501 in. (12.7 to 12.725 mm) inside diameter by 0.435 to
E177 Practice for Use of the Terms Precision and Bias in
0.439 in. (11.05 to 11.15 mm) wide, both components finished
ASTM Test Methods
to 32 to 64 µin (0.8 to 1.6 µm) with 0.001 to 0.003 in. (0.025
E691 Practice for Conducting an Interlaboratory Study to
to 0.075 mm) diametrical clearance between the pin and collar
Determine the Precision of a Test Method
(see Fig. 1). The pin and collar, by agreement, may be made of
any material (see Appendix X1), but the most common
This test method is under the jurisdiction of ASTM Committee D14 on
material is steel, as specified in Specification A108.
Adhesives and is the direct responsibility of Subcommittee D14.60 on Adhesive
7.1.2 Degrease all pins and collars (refer to Guide D2651),
Material Classification System.
store in an atmosphere of low humidity (20 % relative
Current edition approved June 1, 2019. Published June 2019. Originally
humidity), and keep them clean. Use degreased specimens
approved in 1986. Last previous edition approved in 2013 as D4562 – 01 (2013).
DOI: 10.1520/D4562-01R19.
within four days or discard. (Oxidation affects the test results
For referenced ASTM standards, visit the ASTM website, www.astm.org, or
after this time. Prior to vapor degreasing, it is permissible to
contact ASTM Customer Service at service@astm.org. For Annual Book of ASTM
soak or wash hard-greased or waxed parts in solvent.) Do not
Standards volume information, refer to the standard’s Document Summary page on
the ASTM website. prime or activate unless specified for the material to be tested.
Copyright © ASTM International, 100 Barr Harbor Drive, PO Box C700, West Conshohocken, PA 19428-2959. United States
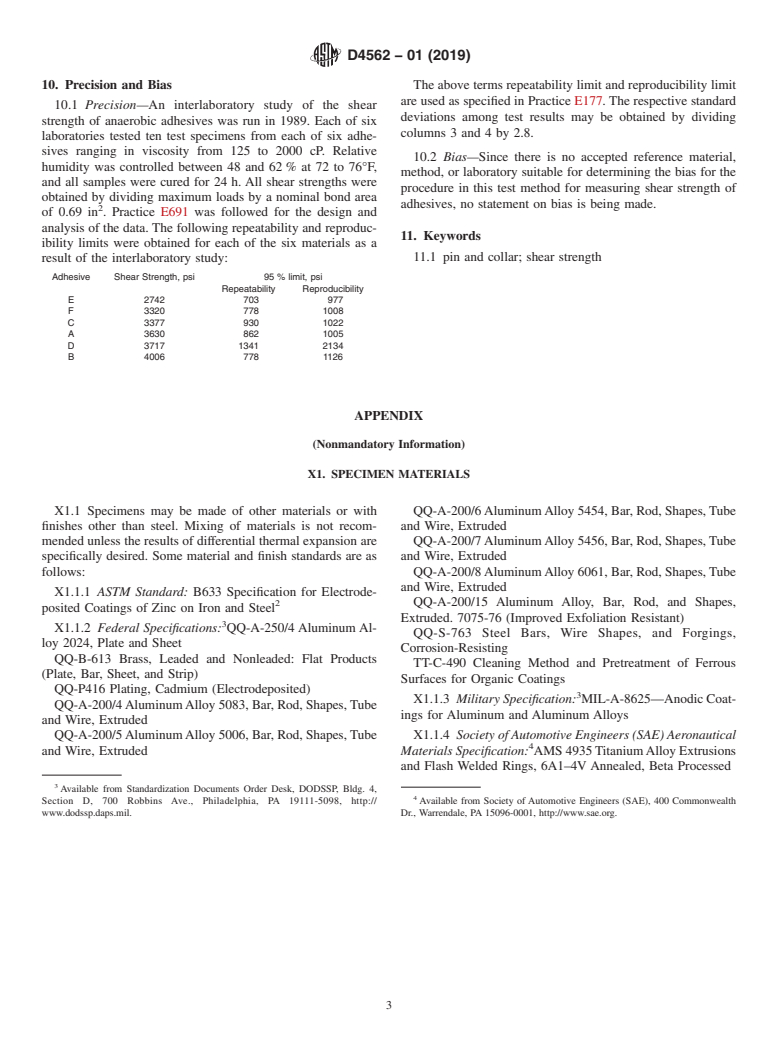
D4562 − 01 (2019)
FIG. 3 Test Device
FIG. 1 Pin-and-Collar Assembly
7.1.5 Cure the specimens in accordance with the manufac-
turer’s instructions.
7.1.5.1 For primed or activated surfaces, when specified or
recommended, use the manufacturer’s primer. Apply the
primer and adhesive according to the manufacturer’s instruc-
tions. Assemble and cure the specimens for a time and
temperature in accordance with the manufacturer’s recommen-
dation.
8. Procedure
8.1 After allowing for cure and any planned environmental
conditioning, determine the static shear strength as follows:
8.1.1 Place the pin and collar assembly on the universal test
machine as shown in Fig. 3. Load the specimen smoothly at
about 500 lb/s (2200 N/s) using a free crosshead speed of 0.05
in./min (1.3 mm/min). Record the maximum load in pounds
(Newtons). Calculate the static shear strength by dividing the
FIG. 2 Specimen Rack
breakaway load by the bond area as follows:
Shear Strength 5 Maximum Load/Diameter 33.14 3Width
7.1.3 To apply the adhesive, assemble the parts to be sure
9. Report
that there are no nicks that will cause them to stick or drag.
Disassemble the parts.Apply sufficient adhesive to the c
...


Questions, Comments and Discussion
Ask us and Technical Secretary will try to provide an answer. You can facilitate discussion about the standard in here.