ASTM E1312-18
(Practice)Standard Practice for Electromagnetic (Eddy Current) Examination of Ferromagnetic Cylindrical Bar Product Above the Curie Temperature
Standard Practice for Electromagnetic (Eddy Current) Examination of Ferromagnetic Cylindrical Bar Product Above the Curie Temperature
SIGNIFICANCE AND USE
5.1 The purpose of this practice is to describe a procedure for in-line-eddy-current examination of hot cylindrical bars in the range of diameters listed in 1.2 for large and repetitive discontinuities that may form during processing.
5.2 The discontinuities in bar product capable of being detected by the electromagnetic method are listed in 1.3.1. The method is capable of detecting surface and some subsurface discontinuities that are typically in the order of 0.030 in. (0.75 mm) and deeper, but some shallower discontinuities might also be found.
5.3 Discontinuities that are narrow and deep, but short in length, are readily detectable by both probe and encircling coils because they cause abrupt flux changes. Surface and subsurface discontinuities (if the electromagnetic frequency provides sufficient effective depth of penetration) can be detected by this method.
5.3.1 Discontinuities such as scratches or seams that are continuous and uniform for the full length of cut length bars or extend for extensive linear distances in coiled product may not always be detected when encircling coils are used. These are more detectable with probe coils by intercepting the discontinuity in their rotation around the circumference.
5.3.2 The orientation and type of coil are important parameters in coil design because they influence the detectability of discontinuities.
5.4 The eddy current method is sensitive to metallurgical variations that occur as a result of processing, thus all received signals above the alarm level are not necessarily indicative of defective product.
SCOPE
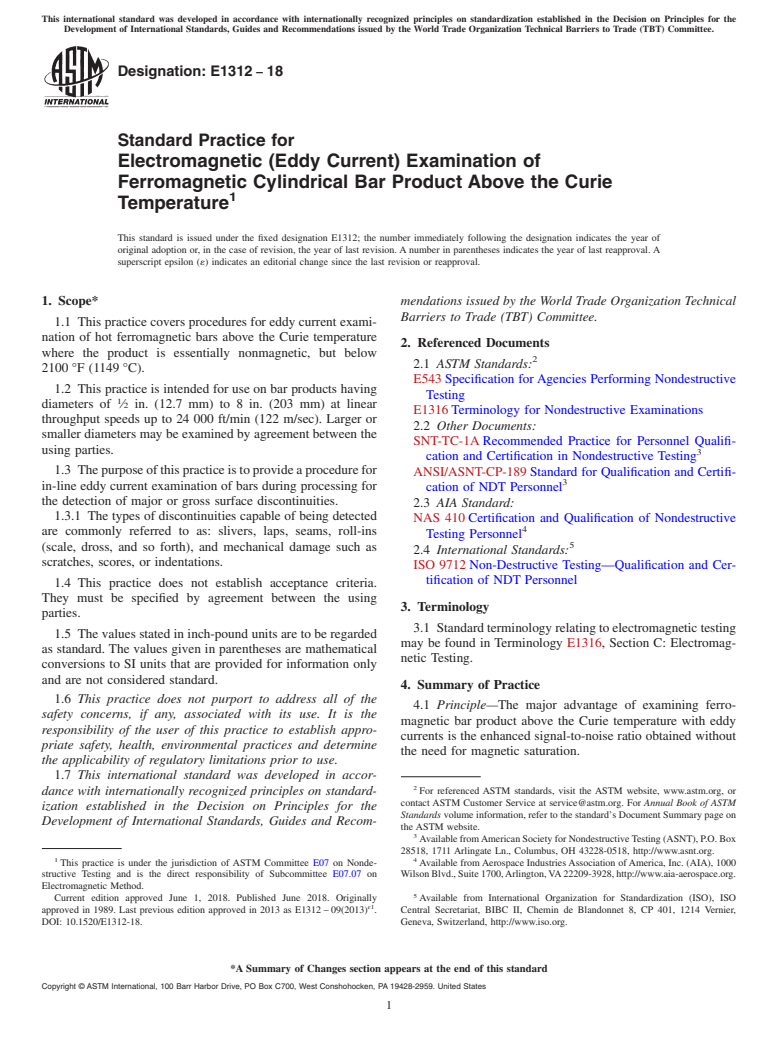
1.1 This practice covers procedures for eddy current examination of hot ferromagnetic bars above the Curie temperature where the product is essentially nonmagnetic, but below 2100 °F (1149 °C).
1.2 This practice is intended for use on bar products having diameters of 1/2 in. (12.7 mm) to 8 in. (203 mm) at linear throughput speeds up to 24 000 ft/min (122 m/sec). Larger or smaller diameters may be examined by agreement between the using parties.
1.3 The purpose of this practice is to provide a procedure for in-line eddy current examination of bars during processing for the detection of major or gross surface discontinuities.
1.3.1 The types of discontinuities capable of being detected are commonly referred to as: slivers, laps, seams, roll-ins (scale, dross, and so forth), and mechanical damage such as scratches, scores, or indentations.
1.4 This practice does not establish acceptance criteria. They must be specified by agreement between the using parties.
1.5 The values stated in inch-pound units are to be regarded as standard. The values given in parentheses are mathematical conversions to SI units that are provided for information only and are not considered standard.
1.6 This practice does not purport to address all of the safety concerns, if any, associated with its use. It is the responsibility of the user of this practice to establish appropriate safety, health, environmental practices and determine the applicability of regulatory limitations prior to use.
1.7 This international standard was developed in accordance with internationally recognized principles on standardization established in the Decision on Principles for the Development of International Standards, Guides and Recommendations issued by the World Trade Organization Technical Barriers to Trade (TBT) Committee.
General Information
Relations
Buy Standard
Standards Content (Sample)
This international standard was developed in accordance with internationally recognized principles on standardization established in the Decision on Principles for the
Development of International Standards, Guides and Recommendations issued by the World Trade Organization Technical Barriers to Trade (TBT) Committee.
Designation: E1312 − 18
Standard Practice for
Electromagnetic (Eddy Current) Examination of
Ferromagnetic Cylindrical Bar Product Above the Curie
1
Temperature
This standard is issued under the fixed designation E1312; the number immediately following the designation indicates the year of
original adoption or, in the case of revision, the year of last revision. A number in parentheses indicates the year of last reapproval. A
superscript epsilon (´) indicates an editorial change since the last revision or reapproval.
1. Scope* mendations issued by the World Trade Organization Technical
Barriers to Trade (TBT) Committee.
1.1 This practice covers procedures for eddy current exami-
nation of hot ferromagnetic bars above the Curie temperature
2. Referenced Documents
where the product is essentially nonmagnetic, but below
2
2.1 ASTM Standards:
2100 °F (1149 °C).
E543 Specification for Agencies Performing Nondestructive
1.2 This practice is intended for use on bar products having
Testing
1
diameters of ⁄2 in. (12.7 mm) to 8 in. (203 mm) at linear
E1316 Terminology for Nondestructive Examinations
throughput speeds up to 24 000 ft/min (122 m/sec). Larger or
2.2 Other Documents:
smaller diameters may be examined by agreement between the
SNT-TC-1A Recommended Practice for Personnel Qualifi-
using parties.
3
cation and Certification in Nondestructive Testing
1.3 Thepurposeofthispracticeistoprovideaprocedurefor
ANSI/ASNT-CP-189 Standard for Qualification and Certifi-
3
in-line eddy current examination of bars during processing for
cation of NDT Personnel
the detection of major or gross surface discontinuities.
2.3 AIA Standard:
1.3.1 The types of discontinuities capable of being detected
NAS 410 Certification and Qualification of Nondestructive
4
are commonly referred to as: slivers, laps, seams, roll-ins
Testing Personnel
5
(scale, dross, and so forth), and mechanical damage such as
2.4 International Standards:
scratches, scores, or indentations.
ISO 9712 Non-Destructive Testing—Qualification and Cer-
tification of NDT Personnel
1.4 This practice does not establish acceptance criteria.
They must be specified by agreement between the using
3. Terminology
parties.
3.1 Standardterminologyrelatingtoelectromagnetictesting
1.5 The values stated in inch-pound units are to be regarded
may be found in Terminology E1316, Section C: Electromag-
as standard. The values given in parentheses are mathematical
netic Testing.
conversions to SI units that are provided for information only
and are not considered standard.
4. Summary of Practice
1.6 This practice does not purport to address all of the
4.1 Principle—The major advantage of examining ferro-
safety concerns, if any, associated with its use. It is the
magnetic bar product above the Curie temperature with eddy
responsibility of the user of this practice to establish appro-
currents is the enhanced signal-to-noise ratio obtained without
priate safety, health, environmental practices and determine
the need for magnetic saturation.
the applicability of regulatory limitations prior to use.
1.7 This international standard was developed in accor-
2
For referenced ASTM standards, visit the ASTM website, www.astm.org, or
dance with internationally recognized principles on standard-
contact ASTM Customer Service at service@astm.org. For Annual Book of ASTM
ization established in the Decision on Principles for the
Standards volume information, refer to the standard’s Document Summary page on
Development of International Standards, Guides and Recom-
the ASTM website.
3
AvailablefromAmericanSocietyforNondestructiveTesting(ASNT),P.O.Box
28518, 1711 Arlingate Ln., Columbus, OH 43228-0518, http://www.asnt.org.
1 4
This practice is under the jurisdiction of ASTM Committee E07 on Nonde- Available fromAerospace IndustriesAssociation ofAmerica, Inc. (AIA), 1000
structive Testing and is the direct responsibility of Subcommittee E07.07 on WilsonBlvd.,Suite1700,Arlington,VA22209-3928,http://www.aia-aerospace.org.
Electromagnetic Method.
5
Current edition approved June 1, 2018. Published June 2018. Originally Available from International Organization for Standardization (ISO), ISO
ɛ1
approved in 1989. Last previous edition approved in 2013 as E1312 – 09(2013) . Central Secretariat, BIBC II, Chemin de Blandonnet 8, CP 401, 1214 Vernier,
DOI: 10.1520/E1312-18. Geneva, Switzerland, http://www.iso.org.
*A Summary of Changes section appears at the end of this standard
Copyright © ASTM International, 100 Barr Harbor Drive, PO Box C700, West Conshohocken, PA 19428-2959. United States
1
---------------------- Page: 1 ----------------------
E1312 − 18
4.2 Sensors—This examination may be performed with
...
This document is not an ASTM standard and is intended only to provide the user of an ASTM standard an indication of what changes have been made to the previous version. Because
it may not be technically possible to adequately depict all changes accurately, ASTM recommends that users consult prior editions as appropriate. In all cases only the current version
of the standard as published by ASTM is to be considered the official document.
´1
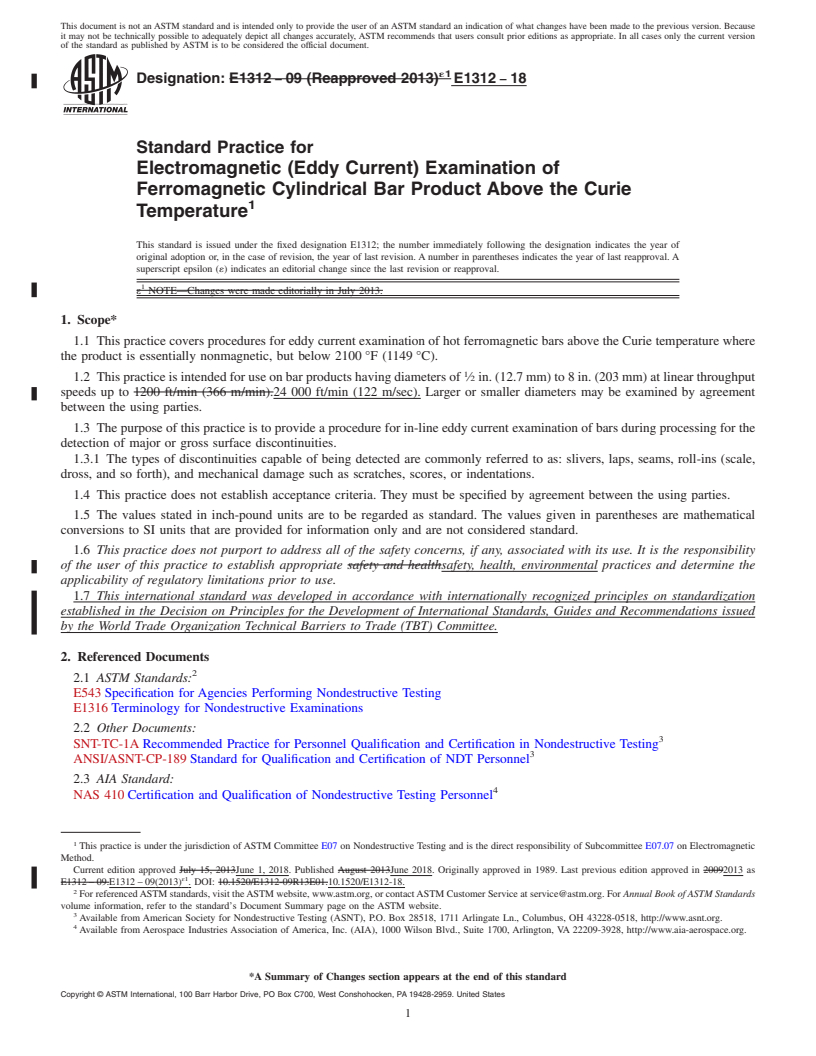
Designation: E1312 − 09 (Reapproved 2013) E1312 − 18
Standard Practice for
Electromagnetic (Eddy Current) Examination of
Ferromagnetic Cylindrical Bar Product Above the Curie
1
Temperature
This standard is issued under the fixed designation E1312; the number immediately following the designation indicates the year of
original adoption or, in the case of revision, the year of last revision. A number in parentheses indicates the year of last reapproval. A
superscript epsilon (´) indicates an editorial change since the last revision or reapproval.
1
ε NOTE—Changes were made editorially in July 2013.
1. Scope*
1.1 This practice covers procedures for eddy current examination of hot ferromagnetic bars above the Curie temperature where
the product is essentially nonmagnetic, but below 2100 °F (1149 °C).
1
1.2 This practice is intended for use on bar products having diameters of ⁄2 in. (12.7 mm) to 8 in. (203 mm) at linear throughput
speeds up to 1200 ft/min (366 m/min).24 000 ft/min (122 m/sec). Larger or smaller diameters may be examined by agreement
between the using parties.
1.3 The purpose of this practice is to provide a procedure for in-line eddy current examination of bars during processing for the
detection of major or gross surface discontinuities.
1.3.1 The types of discontinuities capable of being detected are commonly referred to as: slivers, laps, seams, roll-ins (scale,
dross, and so forth), and mechanical damage such as scratches, scores, or indentations.
1.4 This practice does not establish acceptance criteria. They must be specified by agreement between the using parties.
1.5 The values stated in inch-pound units are to be regarded as standard. The values given in parentheses are mathematical
conversions to SI units that are provided for information only and are not considered standard.
1.6 This practice does not purport to address all of the safety concerns, if any, associated with its use. It is the responsibility
of the user of this practice to establish appropriate safety and healthsafety, health, environmental practices and determine the
applicability of regulatory limitations prior to use.
1.7 This international standard was developed in accordance with internationally recognized principles on standardization
established in the Decision on Principles for the Development of International Standards, Guides and Recommendations issued
by the World Trade Organization Technical Barriers to Trade (TBT) Committee.
2. Referenced Documents
2
2.1 ASTM Standards:
E543 Specification for Agencies Performing Nondestructive Testing
E1316 Terminology for Nondestructive Examinations
2.2 Other Documents:
3
SNT-TC-1A Recommended Practice for Personnel Qualification and Certification in Nondestructive Testing
3
ANSI/ASNT-CP-189 Standard for Qualification and Certification of NDT Personnel
2.3 AIA Standard:
4
NAS 410 Certification and Qualification of Nondestructive Testing Personnel
1
This practice is under the jurisdiction of ASTM Committee E07 on Nondestructive Testing and is the direct responsibility of Subcommittee E07.07 on Electromagnetic
Method.
Current edition approved July 15, 2013June 1, 2018. Published August 2013June 2018. Originally approved in 1989. Last previous edition approved in 20092013 as
ɛ1
E1312 – 09.E1312 – 09(2013) . DOI: 10.1520/E1312-09R13E01.10.1520/E1312-18.
2
For referenced ASTM standards, visit the ASTM website, www.astm.org, or contact ASTM Customer Service at service@astm.org. For Annual Book of ASTM Standards
volume information, refer to the standard’s Document Summary page on the ASTM website.
3
Available from American Society for Nondestructive Testing (ASNT), P.O. Box 28518, 1711 Arlingate Ln., Columbus, OH 43228-0518, http://www.asnt.org.
4
Available from Aerospace Industries Association of America, Inc. (AIA), 1000 Wilson Blvd., Suite 1700, Arlington, VA 22209-3928, http://www.aia-aerospace.org.
*A Summary of Changes section appears at the end of this standard
Copyright © ASTM International, 100 Barr Harbor Drive, PO Box C700, West Conshohocken, PA 19428-2959. United States
1
---------------------- Page: 1 ----------------------
E1312 − 18
5
2.4 International Standards:
ISO 9712 Non-Destructive Testing—Qualification and Certification of NDT Personnel
3. Terminology
3.1 Standard terminology relating to electromagnetic testing may be found in Terminology E1316, Section C: Electromagnetic
Testing.
4. Summary of Practice
4.1 Principle—The major advantage of examining ferromagnetic bar product above the Curie temperature with eddy currents
is the enh
...


Questions, Comments and Discussion
Ask us and Technical Secretary will try to provide an answer. You can facilitate discussion about the standard in here.