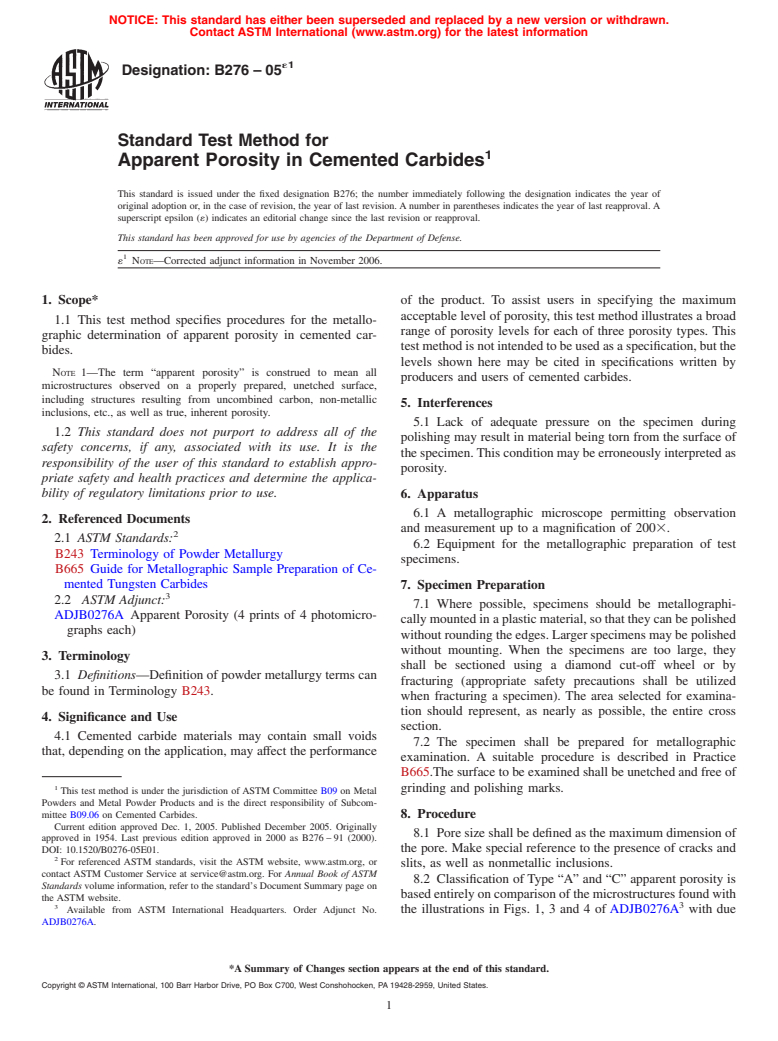
ASTM B276-05e1
(Test Method)Standard Test Method for Apparent Porosity in Cemented Carbides
Standard Test Method for Apparent Porosity in Cemented Carbides
SIGNIFICANCE AND USE
Cemented carbide materials may contain small voids that, depending on the application, may affect the performance of the product. To assist users in specifying the maximum acceptable level of porosity, this test method illustrates a broad range of porosity levels for each of three porosity types. This test method is not intended to be used as a specification, but the levels shown here may be cited in specifications written by producers and users of cemented carbides.
SCOPE
1.1 This test method specifies procedures for the metallographic determination of apparent porosity in cemented carbides. Note 1The term "apparent porosity" is construed to mean all microstructures observed on a properly prepared, unetched surface, including structures resulting from uncombined carbon, non-metallic inclusions, etc., as well as true, inherent porosity.
This standard does not purport to address all of the safety concerns, if any, associated with its use. It is the responsibility of the user of this standard to establish appropriate safety and health practices and determine the applicability of regulatory limitations prior to use.
General Information
Relations
Standards Content (Sample)
NOTICE: This standard has either been superseded and replaced by a new version or withdrawn.
Contact ASTM International (www.astm.org) for the latest information
´1
Designation:B276–05
Standard Test Method for
1
Apparent Porosity in Cemented Carbides
This standard is issued under the fixed designation B276; the number immediately following the designation indicates the year of
original adoption or, in the case of revision, the year of last revision. A number in parentheses indicates the year of last reapproval. A
superscript epsilon (´) indicates an editorial change since the last revision or reapproval.
This standard has been approved for use by agencies of the Department of Defense.
1
´ NOTE—Corrected adjunct information in November 2006.
1. Scope* of the product. To assist users in specifying the maximum
acceptable level of porosity, this test method illustrates a broad
1.1 This test method specifies procedures for the metallo-
range of porosity levels for each of three porosity types. This
graphic determination of apparent porosity in cemented car-
testmethodisnotintendedtobeusedasaspecification,butthe
bides.
levels shown here may be cited in specifications written by
NOTE 1—The term “apparent porosity” is construed to mean all
producers and users of cemented carbides.
microstructures observed on a properly prepared, unetched surface,
including structures resulting from uncombined carbon, non-metallic
5. Interferences
inclusions, etc., as well as true, inherent porosity.
5.1 Lack of adequate pressure on the specimen during
1.2 This standard does not purport to address all of the
polishing may result in material being torn from the surface of
safety concerns, if any, associated with its use. It is the
thespecimen.Thisconditionmaybeerroneouslyinterpretedas
responsibility of the user of this standard to establish appro-
porosity.
priate safety and health practices and determine the applica-
bility of regulatory limitations prior to use. 6. Apparatus
6.1 A metallographic microscope permitting observation
2. Referenced Documents
and measurement up to a magnification of 2003.
2
2.1 ASTM Standards:
6.2 Equipment for the metallographic preparation of test
B243 Terminology of Powder Metallurgy
specimens.
B665 Guide for Metallographic Sample Preparation of Ce-
mented Tungsten Carbides
7. Specimen Preparation
3
2.2 ASTM Adjunct:
7.1 Where possible, specimens should be metallographi-
ADJB0276A Apparent Porosity (4 prints of 4 photomicro-
callymountedinaplasticmaterial,sothattheycanbepolished
graphs each)
without rounding the edges. Larger specimens may be polished
without mounting. When the specimens are too large, they
3. Terminology
shall be sectioned using a diamond cut-off wheel or by
3.1 Definitions—Definition of powder metallurgy terms can
fracturing (appropriate safety precautions shall be utilized
be found in Terminology B243.
when fracturing a specimen). The area selected for examina-
tion should represent, as nearly as possible, the entire cross
4. Significance and Use
section.
4.1 Cemented carbide materials may contain small voids
7.2 The specimen shall be prepared for metallographic
that, depending on the application, may affect the performance
examination. A suitable procedure is described in Practice
B665.The surface to be examined shall be unetched and free of
1
grinding and polishing marks.
This test method is under the jurisdiction of ASTM Committee B09 on Metal
Powders and Metal Powder Products and is the direct responsibility of Subcom-
mittee B09.06 on Cemented Carbides. 8. Procedure
Current edition approved Dec. 1, 2005. Published December 2005. Originally
8.1 Pore size shall be defined as the maximum dimension of
approved in 1954. Last previous edition approved in 2000 as B276 – 91 (2000).
the pore. Make special reference to the presence of cracks and
DOI: 10.1520/B0276-05E01.
2
For referenced ASTM standards, visit the ASTM website, www.astm.org, or
slits, as well as nonmetallic inclusions.
contact ASTM Customer Service at service@astm.org. For Annual Book of ASTM
8.2 Classification of Type “A” and “C” apparent porosity is
Standards volume information, refer to the standard’s Document Summary page on
basedentirelyoncomparisonofthemicrostructuresfoundwith
the ASTM website.
3
3
Available from ASTM International Headquarters. Order Adjunct No. the illustrations in Figs. 1, 3 and 4 of ADJB0276A with due
ADJB0276A.
*A Summary of Changes section appears at the end of this standard.
Copyright © ASTM International, 100 Barr Harbor Drive, PO Box C700, West Conshohocken, PA 19428-2959, United States.
1
---------------------- Page: 1 ----------------------
´1
B276–05
consideration to the difference in field of view of the micro- 8.2.2.2 Ifthenumberof“B”poresappearstobegreaterthan
scope compared to the area of the illustrations. This can be that represented by B02, with consideration to the relationship
accomplished by scanning the specimen surface under the of area between the illustrations in Fig. 2 ofADJB027
...


Questions, Comments and Discussion
Ask us and Technical Secretary will try to provide an answer. You can facilitate discussion about the standard in here.