ASTM F1165-10
(Test Method)Standard Test Method for Measuring Angular Displacement of Multiple Images in Transparent Parts
Standard Test Method for Measuring Angular Displacement of Multiple Images in Transparent Parts
SIGNIFICANCE AND USE
With the advent of thick, highly angled aircraft transparencies, multiple imaging has been more frequently cited as an optical problem by pilots. Secondary images (of outside lights), often varying in intensity and displacement across the windscreen, can give the pilot deceptive optical cues of his altitude, velocity, and approach angle, increasing his visual workload. Current specifications for multiple imaging in transparencies are vague and not quantitative. Typical specifications state “multiple imaging shall not be objectionable.”
The angular separation of the secondary and primary images has been shown to relate to the pilot's acceptability of the windscreen. This procedure provides a way to quantify angular separation so a more objective evaluation of the transparency can be made. It may be used for research of multiple imaging, quantifying aircrew complaints, or as the basis for windscreen specifications.
It should be noted that the basic multiple imaging characteristics of a windscreen are determined early in the design phase and are virtually impossible to change after the windscreen has been manufactured. In fact, a perfectly manufactured windscreen has some multiple imaging. For a particular windscreen, caution should be taken in the selection of specification criteria for multiple imaging, as the inherent multiple imaging characteristics may vary significantly depending upon windscreen thickness, material, or installation angle. Any tolerances that might be established should allow for inherent multiple imaging characteristics.
SCOPE
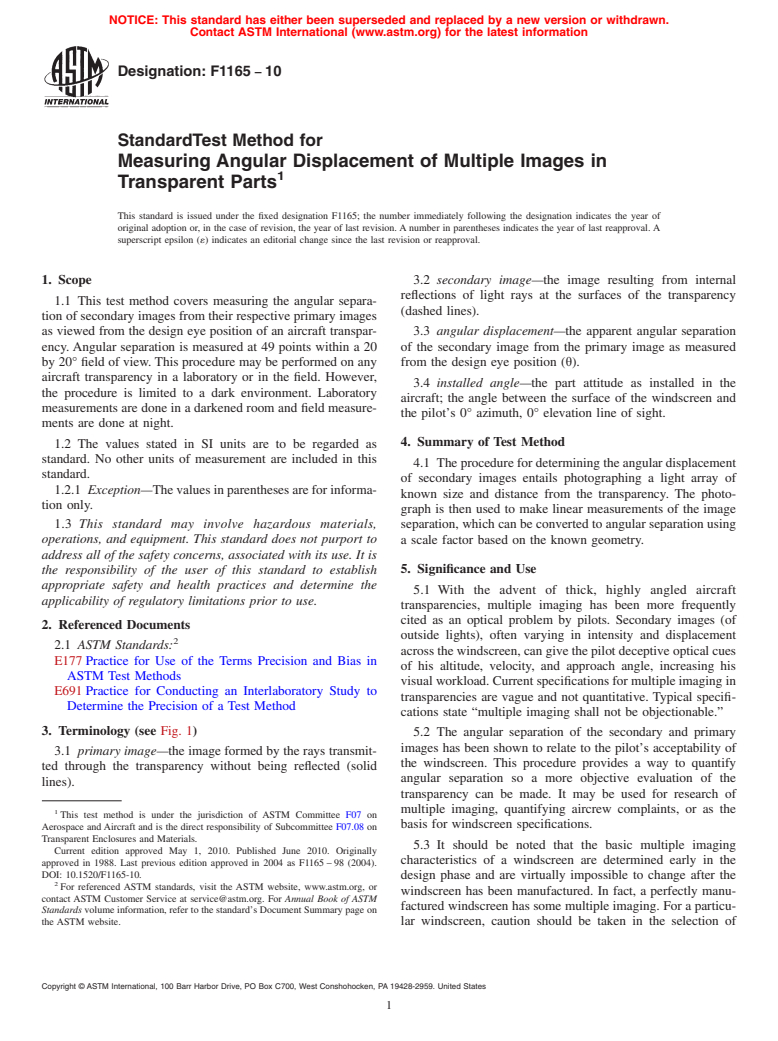
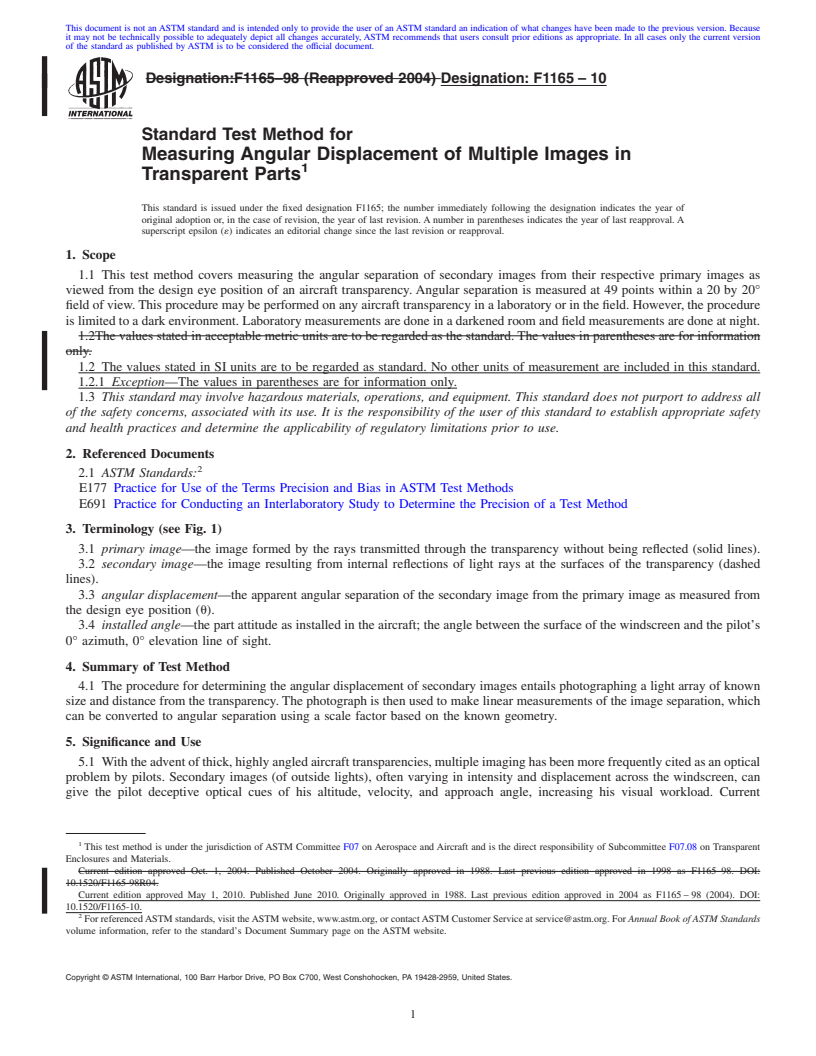
1.1 This test method covers measuring the angular separation of secondary images from their respective primary images as viewed from the design eye position of an aircraft transparency. Angular separation is measured at 49 points within a 20 by 20° field of view. This procedure may be performed on any aircraft transparency in a laboratory or in the field. However, the procedure is limited to a dark environment. Laboratory measurements are done in a darkened room and field measurements are done at night.
1.2 The values stated in SI units are to be regarded as standard. No other units of measurement are included in this standard.
1.2.1 Exception—The values in parentheses are for information only.
1.3 This standard may involve hazardous materials, operations, and equipment. This standard does not purport to address all of the safety concerns, associated with its use. It is the responsibility of the user of this standard to establish appropriate safety and health practices and determine the applicability of regulatory limitations prior to use.
General Information
Relations
Buy Standard
Standards Content (Sample)
NOTICE: This standard has either been superseded and replaced by a new version or withdrawn.
Contact ASTM International (www.astm.org) for the latest information
Designation: F1165 − 10
StandardTest Method for
Measuring Angular Displacement of Multiple Images in
1
Transparent Parts
This standard is issued under the fixed designation F1165; the number immediately following the designation indicates the year of
original adoption or, in the case of revision, the year of last revision. A number in parentheses indicates the year of last reapproval. A
superscript epsilon (´) indicates an editorial change since the last revision or reapproval.
1. Scope 3.2 secondary image—the image resulting from internal
reflections of light rays at the surfaces of the transparency
1.1 This test method covers measuring the angular separa-
(dashed lines).
tion of secondary images from their respective primary images
as viewed from the design eye position of an aircraft transpar- 3.3 angular displacement—the apparent angular separation
ency. Angular separation is measured at 49 points within a 20 of the secondary image from the primary image as measured
by 20° field of view. This procedure may be performed on any from the design eye position (θ).
aircraft transparency in a laboratory or in the field. However,
3.4 installed angle—the part attitude as installed in the
the procedure is limited to a dark environment. Laboratory
aircraft; the angle between the surface of the windscreen and
measurements are done in a darkened room and field measure-
the pilot’s 0° azimuth, 0° elevation line of sight.
ments are done at night.
4. Summary of Test Method
1.2 The values stated in SI units are to be regarded as
standard. No other units of measurement are included in this
4.1 The procedure for determining the angular displacement
standard.
of secondary images entails photographing a light array of
1.2.1 Exception—Thevaluesinparenthesesareforinforma-
known size and distance from the transparency. The photo-
tion only.
graph is then used to make linear measurements of the image
1.3 This standard may involve hazardous materials, separation, which can be converted to angular separation using
operations, and equipment. This standard does not purport to a scale factor based on the known geometry.
address all of the safety concerns, associated with its use. It is
5. Significance and Use
the responsibility of the user of this standard to establish
appropriate safety and health practices and determine the
5.1 With the advent of thick, highly angled aircraft
applicability of regulatory limitations prior to use.
transparencies, multiple imaging has been more frequently
cited as an optical problem by pilots. Secondary images (of
2. Referenced Documents
outside lights), often varying in intensity and displacement
2
2.1 ASTM Standards:
across the windscreen, can give the pilot deceptive optical cues
E177 Practice for Use of the Terms Precision and Bias in
of his altitude, velocity, and approach angle, increasing his
ASTM Test Methods
visual workload. Current specifications for multiple imaging in
E691 Practice for Conducting an Interlaboratory Study to
transparencies are vague and not quantitative. Typical specifi-
Determine the Precision of a Test Method
cations state “multiple imaging shall not be objectionable.”
3. Terminology (see Fig. 1)
5.2 The angular separation of the secondary and primary
images has been shown to relate to the pilot’s acceptability of
3.1 primary image—the image formed by the rays transmit-
the windscreen. This procedure provides a way to quantify
ted through the transparency without being reflected (solid
angular separation so a more objective evaluation of the
lines).
transparency can be made. It may be used for research of
multiple imaging, quantifying aircrew complaints, or as the
1
This test method is under the jurisdiction of ASTM Committee F07 on
basis for windscreen specifications.
Aerospace and Aircraft and is the direct responsibility of Subcommittee F07.08 on
Transparent Enclosures and Materials.
5.3 It should be noted that the basic multiple imaging
Current edition approved May 1, 2010. Published June 2010. Originally
characteristics of a windscreen are determined early in the
approved in 1988. Last previous edition approved in 2004 as F1165 – 98 (2004).
DOI: 10.1520/F1165-10.
design phase and are virtually impossible to change after the
2
For referenced ASTM standards, visit the ASTM website, www.astm.org, or
windscreen has been manufactured. In fact, a perfectly manu-
contact ASTM Customer Service at service@astm.org. For Annual Book of ASTM
factured windscreen has some multiple imaging. For a particu-
Standards volume information, refer to the standard’s Document Summary page on
the ASTM website. lar windscreen, caution should be taken in the selection of
Copyright © ASTM International, 100 Barr Harbor Drive, PO Box C700, West Conshohocken, PA 19428-2959. United States
1
---------------------- Page: 1 ----------------------
...
This document is not anASTM standard and is intended only to provide the user of anASTM standard an indication of what changes have been made to the previous version. Because
it may not be technically possible to adequately depict all changes accurately, ASTM recommends that users consult prior editions as appropriate. In all cases only the current version
of the standard as published by ASTM is to be considered the official document.
Designation:F1165–98 (Reapproved 2004) Designation:F1165–10
Standard Test Method for
Measuring Angular Displacement of Multiple Images in
1
Transparent Parts
This standard is issued under the fixed designation F1165; the number immediately following the designation indicates the year of
original adoption or, in the case of revision, the year of last revision. A number in parentheses indicates the year of last reapproval. A
superscript epsilon (´) indicates an editorial change since the last revision or reapproval.
1. Scope
1.1 This test method covers measuring the angular separation of secondary images from their respective primary images as
viewed from the design eye position of an aircraft transparency. Angular separation is measured at 49 points within a 20 by 20°
field of view.This procedure may be performed on any aircraft transparency in a laboratory or in the field. However, the procedure
is limited to a dark environment. Laboratory measurements are done in a darkened room and field measurements are done at night.
1.2The values stated in acceptable metric units are to be regarded as the standard. The values in parentheses are for information
only.
1.2 The values stated in SI units are to be regarded as standard. No other units of measurement are included in this standard.
1.2.1 Exception—The values in parentheses are for information only.
1.3 This standard may involve hazardous materials, operations, and equipment. This standard does not purport to address all
of the safety concerns, associated with its use. It is the responsibility of the user of this standard to establish appropriate safety
and health practices and determine the applicability of regulatory limitations prior to use.
2. Referenced Documents
2
2.1 ASTM Standards:
E177 Practice for Use of the Terms Precision and Bias in ASTM Test Methods
E691 Practice for Conducting an Interlaboratory Study to Determine the Precision of a Test Method
3. Terminology (see Fig. 1)
3.1 primary image—the image formed by the rays transmitted through the transparency without being reflected (solid lines).
3.2 secondary image—the image resulting from internal reflections of light rays at the surfaces of the transparency (dashed
lines).
3.3 angular displacement—the apparent angular separation of the secondary image from the primary image as measured from
the design eye position (u).
3.4 installed angle—the part attitude as installed in the aircraft; the angle between the surface of the windscreen and the pilot’s
0° azimuth, 0° elevation line of sight.
4. Summary of Test Method
4.1 The procedure for determining the angular displacement of secondary images entails photographing a light array of known
size and distance from the transparency. The photograph is then used to make linear measurements of the image separation, which
can be converted to angular separation using a scale factor based on the known geometry.
5. Significance and Use
5.1 Withtheadventofthick,highlyangledaircrafttransparencies,multipleimaginghasbeenmorefrequentlycitedasanoptical
problem by pilots. Secondary images (of outside lights), often varying in intensity and displacement across the windscreen, can
give the pilot deceptive optical cues of his altitude, velocity, and approach angle, increasing his visual workload. Current
1
This test method is under the jurisdiction of ASTM Committee F07 on Aerospace and Aircraft and is the direct responsibility of Subcommittee F07.08 on Transparent
Enclosures and Materials.
Current edition approved Oct. 1, 2004. Published October 2004. Originally approved in 1988. Last previous edition approved in 1998 as F1165–98. DOI:
10.1520/F1165-98R04.
Current edition approved May 1, 2010. Published June 2010. Originally approved in 1988. Last previous edition approved in 2004 as F1165 – 98 (2004). DOI:
10.1520/F1165-10.
2
For referencedASTM standards, visit theASTM website, www.astm.org, or contactASTM Customer Service at service@astm.org. For Annual Book of ASTM Standards
volume information, refer to the standard’s Document Summary page on the ASTM website.
Copyright © ASTM International, 100 Barr Harbor Drive, PO Box C700, West Conshohocken, PA 19428-2959, United States.
1
---------------------- Page: 1 ----------------------
F1165–10
FIG. 1 Drawing of Light Ray Paths that Cause an Apparent
Angular Separation (u) Between the Primary Image and the
Secondary Image
specifications for multiple imaging in transparencies are vague and not quantitative. Typical specifications state “multiple imaging
shall not be objectionable.”
5.2 The angular
...


Questions, Comments and Discussion
Ask us and Technical Secretary will try to provide an answer. You can facilitate discussion about the standard in here.