ASTM E177-06a
(Practice)Standard Practice for Use of the Terms Precision and Bias in ASTM Test Methods
Standard Practice for Use of the Terms Precision and Bias in ASTM Test Methods
SCOPE
1.1 The purpose of this practice is to present concepts necessary to the understanding of the terms "precision" and "bias" as used in quantitative test methods. This practice also describes methods of expressing precision and bias and, in a final section, gives examples of how statements on precision and bias may be written for ASTM test methods.
This standard does not purport to address all of the safety concerns, if any, associated with its use. It is the responsibility of the user of this standard to establish appropriate safety and health practices and determine the applicability of regulatory requirements prior to use.
General Information
Relations
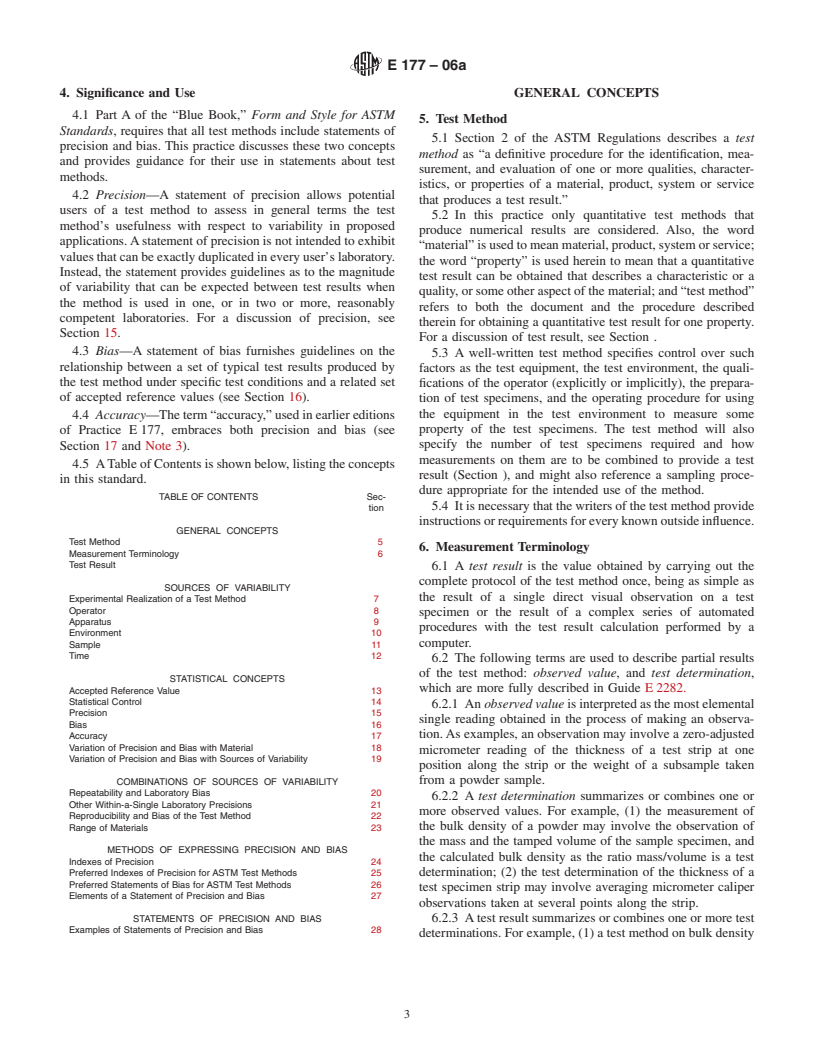
Standards Content (Sample)
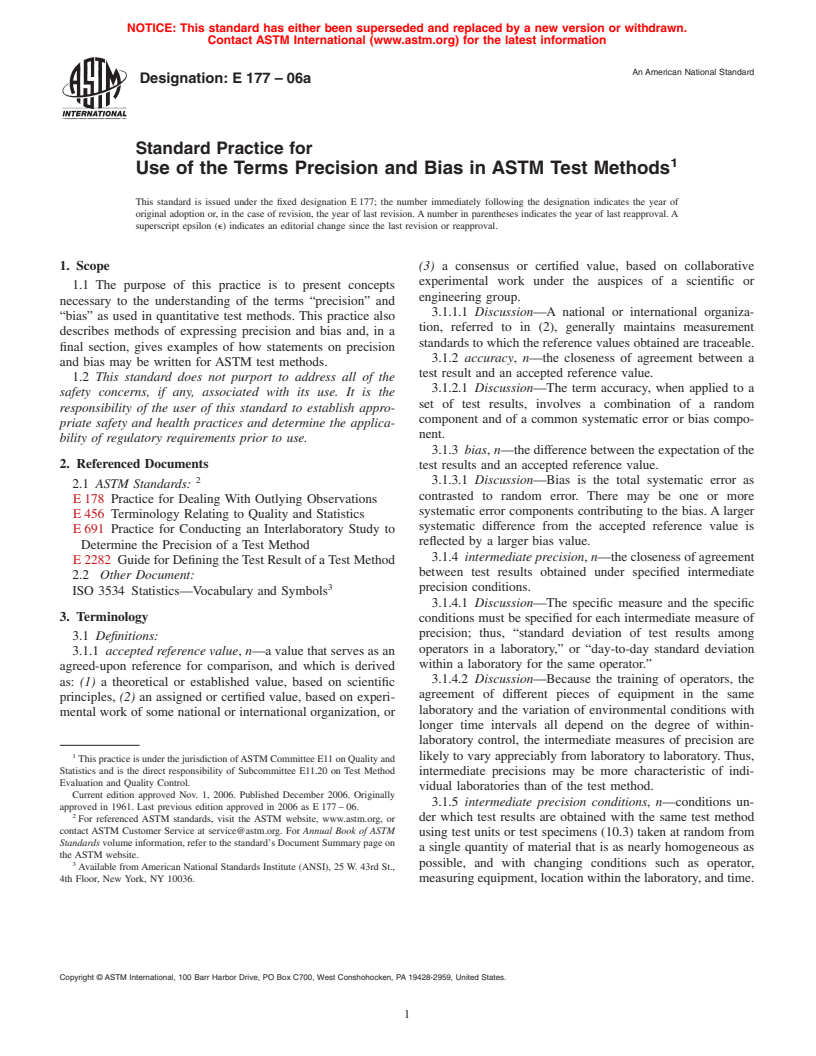
NOTICE: This standard has either been superseded and replaced by a new version or withdrawn.
Contact ASTM International (www.astm.org) for the latest information
An American National Standard
Designation:E177–06a
Standard Practice for
1
Use of the Terms Precision and Bias in ASTM Test Methods
This standard is issued under the fixed designation E 177; the number immediately following the designation indicates the year of
original adoption or, in the case of revision, the year of last revision. A number in parentheses indicates the year of last reapproval. A
superscript epsilon (e) indicates an editorial change since the last revision or reapproval.
1. Scope (3) a consensus or certified value, based on collaborative
experimental work under the auspices of a scientific or
1.1 The purpose of this practice is to present concepts
engineering group.
necessary to the understanding of the terms “precision” and
3.1.1.1 Discussion—A national or international organiza-
“bias” as used in quantitative test methods. This practice also
tion, referred to in (2), generally maintains measurement
describes methods of expressing precision and bias and, in a
standards to which the reference values obtained are traceable.
final section, gives examples of how statements on precision
3.1.2 accuracy, n—the closeness of agreement between a
and bias may be written for ASTM test methods.
test result and an accepted reference value.
1.2 This standard does not purport to address all of the
3.1.2.1 Discussion—The term accuracy, when applied to a
safety concerns, if any, associated with its use. It is the
set of test results, involves a combination of a random
responsibility of the user of this standard to establish appro-
component and of a common systematic error or bias compo-
priate safety and health practices and determine the applica-
nent.
bility of regulatory requirements prior to use.
3.1.3 bias, n—the difference between the expectation of the
2. Referenced Documents test results and an accepted reference value.
2
3.1.3.1 Discussion—Bias is the total systematic error as
2.1 ASTM Standards:
contrasted to random error. There may be one or more
E 178 Practice for Dealing With Outlying Observations
systematic error components contributing to the bias. A larger
E 456 Terminology Relating to Quality and Statistics
systematic difference from the accepted reference value is
E 691 Practice for Conducting an Interlaboratory Study to
reflected by a larger bias value.
Determine the Precision of a Test Method
3.1.4 intermediate precision, n—the closeness of agreement
E 2282 Guide for Defining theTest Result of aTest Method
between test results obtained under specified intermediate
2.2 Other Document:
3
precision conditions.
ISO 3534 Statistics—Vocabulary and Symbols
3.1.4.1 Discussion—The specific measure and the specific
3. Terminology
conditions must be specified for each intermediate measure of
precision; thus, “standard deviation of test results among
3.1 Definitions:
operators in a laboratory,” or “day-to-day standard deviation
3.1.1 accepted reference value, n—a value that serves as an
within a laboratory for the same operator.”
agreed-upon reference for comparison, and which is derived
3.1.4.2 Discussion—Because the training of operators, the
as: (1) a theoretical or established value, based on scientific
agreement of different pieces of equipment in the same
principles, (2) an assigned or certified value, based on experi-
laboratory and the variation of environmental conditions with
mental work of some national or international organization, or
longer time intervals all depend on the degree of within-
laboratory control, the intermediate measures of precision are
1
likely to vary appreciably from laboratory to laboratory. Thus,
This practice is under the jurisdiction ofASTM Committee E11 on Quality and
Statistics and is the direct responsibility of Subcommittee E11.20 on Test Method
intermediate precisions may be more characteristic of indi-
Evaluation and Quality Control.
vidual laboratories than of the test method.
Current edition approved Nov. 1, 2006. Published December 2006. Originally
3.1.5 intermediate precision conditions, n—conditions un-
approved in 1961. Last previous edition approved in 2006 as E 177 – 06.
2
der which test results are obtained with the same test method
For referenced ASTM standards, visit the ASTM website, www.astm.org, or
contact ASTM Customer Service at service@astm.org. For Annual Book of ASTM
using test units or test specimens (10.3) taken at random from
Standards volume information, refer to the standard’s Document Summary page on
a single quantity of material that is as nearly homogeneous as
the ASTM website.
3
possible, and with changing conditions such as operator,
Available fromAmerican National Standards Institute (ANSI), 25 W. 43rd St.,
4th Floor, New York, NY 10036. measuring equipment, location within the laboratory, and time.
Copyright © ASTM International, 100 Barr Harbor Drive, PO Box C700, West Conshoh
...


Questions, Comments and Discussion
Ask us and Technical Secretary will try to provide an answer. You can facilitate discussion about the standard in here.