ASTM C1279-00
(Test Method)Standard Test Method for Non-Destructive Photoelastic Measurement of Edge and Surface Stresses in Annealed, Heat-Strengthened, and Fully Tempered Flat Glass
Standard Test Method for Non-Destructive Photoelastic Measurement of Edge and Surface Stresses in Annealed, Heat-Strengthened, and Fully Tempered Flat Glass
SCOPE
1.1 This test method covers the determination of edge stresses and surface stresses in annealed, heat-strengthened, and fully tempered flat glass products.
1.2 This test method is non-destructive.
1.3 This test method uses transmitted light and is, therefore, applicable to light-transmitting glasses.
1.4 The test method is not applicable to chemically-tempered glass.
1.5 Using the procedure described, surface stresses can be measured only on the "tin" side of float glass.
1.6 Surface-stress measuring instruments are designed for a specific range of surface index of refraction.
1.7 This standard does not purport to address all of the safety concerns, if any, associated with its use. It is the responsibility of the user of this standard to establish appropriate safety and health practices and determine the applicability of regulatory limitations prior to use.
General Information
Relations
Standards Content (Sample)
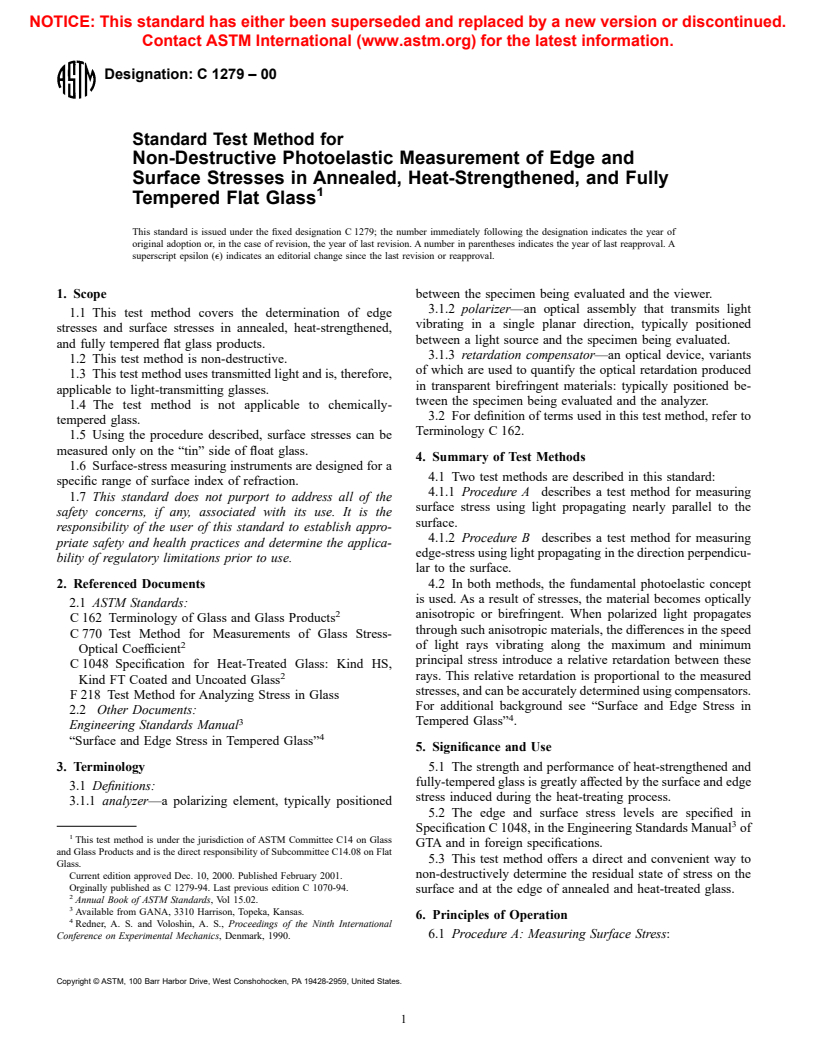
NOTICE: This standard has either been superseded and replaced by a new version or discontinued.
Contact ASTM International (www.astm.org) for the latest information.
Designation: C 1279 – 00
Standard Test Method for
Non-Destructive Photoelastic Measurement of Edge and
Surface Stresses in Annealed, Heat-Strengthened, and Fully
1
Tempered Flat Glass
This standard is issued under the fixed designation C 1279; the number immediately following the designation indicates the year of
original adoption or, in the case of revision, the year of last revision. A number in parentheses indicates the year of last reapproval. A
superscript epsilon (e) indicates an editorial change since the last revision or reapproval.
1. Scope between the specimen being evaluated and the viewer.
3.1.2 polarizer—an optical assembly that transmits light
1.1 This test method covers the determination of edge
vibrating in a single planar direction, typically positioned
stresses and surface stresses in annealed, heat-strengthened,
between a light source and the specimen being evaluated.
and fully tempered flat glass products.
3.1.3 retardation compensator—an optical device, variants
1.2 This test method is non-destructive.
of which are used to quantify the optical retardation produced
1.3 This test method uses transmitted light and is, therefore,
in transparent birefringent materials: typically positioned be-
applicable to light-transmitting glasses.
tween the specimen being evaluated and the analyzer.
1.4 The test method is not applicable to chemically-
3.2 For definition of terms used in this test method, refer to
tempered glass.
Terminology C 162.
1.5 Using the procedure described, surface stresses can be
measured only on the “tin” side of float glass.
4. Summary of Test Methods
1.6 Surface-stress measuring instruments are designed for a
4.1 Two test methods are described in this standard:
specific range of surface index of refraction.
4.1.1 Procedure A describes a test method for measuring
1.7 This standard does not purport to address all of the
surface stress using light propagating nearly parallel to the
safety concerns, if any, associated with its use. It is the
surface.
responsibility of the user of this standard to establish appro-
4.1.2 Procedure B describes a test method for measuring
priate safety and health practices and determine the applica-
edge-stress using light propagating in the direction perpendicu-
bility of regulatory limitations prior to use.
lar to the surface.
2. Referenced Documents 4.2 In both methods, the fundamental photoelastic concept
is used. As a result of stresses, the material becomes optically
2.1 ASTM Standards:
2 anisotropic or birefringent. When polarized light propagates
C 162 Terminology of Glass and Glass Products
through such anisotropic materials, the differences in the speed
C 770 Test Method for Measurements of Glass Stress-
2 of light rays vibrating along the maximum and minimum
Optical Coefficient
principal stress introduce a relative retardation between these
C 1048 Specification for Heat-Treated Glass: Kind HS,
2
rays. This relative retardation is proportional to the measured
Kind FT Coated and Uncoated Glass
stresses, and can be accurately determined using compensators.
F 218 Test Method for Analyzing Stress in Glass
For additional background see “Surface and Edge Stress in
2.2 Other Documents:
4
3
Tempered Glass” .
Engineering Standards Manual
4
“Surface and Edge Stress in Tempered Glass”
5. Significance and Use
3. Terminology 5.1 The strength and performance of heat-strengthened and
fully-tempered glass is greatly affected by the surface and edge
3.1 Definitions:
stress induced during the heat-treating process.
3.1.1 analyzer—a polarizing element, typically positioned
5.2 The edge and surface stress levels are specified in
3
Specification C 1048, in the Engineering Standards Manual of
1
This test method is under the jurisdiction of ASTM Committee C14 on Glass
GTA and in foreign specifications.
and Glass Products and is the direct responsibility of Subcommittee C14.08 on Flat
5.3 This test method offers a direct and convenient way to
Glass.
non-destructively determine the residual state of stress on the
Current edition approved Dec. 10, 2000. Published February 2001.
Orginally published as C 1279-94. Last previous edition C 1070-94.
surface and at the edge of annealed and heat-treated glass.
2
Annual Book of ASTM Standards, Vol 15.02.
3
Available from GANA, 3310 Harrison, Topeka, Kansas.
6. Principles of Operation
4
Redner, A. S. and Voloshin, A. S., Proceedings of the Ninth International
6.1 Procedure A: Measuring Surface Stress:
Conference on Experimental Mechanics, Denmark, 1990.
Copyright © ASTM, 100 Barr Harbor Drive, West Conshohocken, PA 19428-2959, United States.
1
---------------------- Page: 1 ----------------------
C 1279
6.1.1 Measurement of surface stresses requires an optical
apparatus that permits the injection of polarized light rays
propagating in a thin layer adjacent to the surfa
...


Questions, Comments and Discussion
Ask us and Technical Secretary will try to provide an answer. You can facilitate discussion about the standard in here.