ASTM E215-11
(Practice)Standard Practice for Standardizing Equipment for Electromagnetic Testing of Seamless Aluminum-Alloy Tube
Standard Practice for Standardizing Equipment for Electromagnetic Testing of Seamless Aluminum-Alloy Tube
SIGNIFICANCE AND USE
The examination is performed by passing the tube lengthwise through or near an eddy current sensor energized with alternating current of one or more frequencies. The electrical impedance of the eddy current sensor is modified by the proximity of the tube. The extent of this modification is determined by the distance between the eddy current sensor and the tube, the dimensions, and electrical conductivity of the tube. The presence of metallurgical or mechanical discontinuities in the tube will alter the apparent impedance of the eddy current sensor. During passage of the tube, the changes in eddy current sensor characteristics caused by localized differences in the tube produce electrical signals which are amplified and modified to actuate either an audio or visual signaling device or a mechanical marker to indicate the position of discontinuities in the tube length. Signals can be produced by discontinuities located either on the external or internal surface of the tube or by discontinuities totally contained within the tube wall.
The depth of penetration of eddy currents in the tube wall is influenced by the conductivity (alloy) of the material being examined and the excitation frequency employed. As defined by the standard depth of penetration equation, the eddy-current penetration depth is inversely related to conductivity and excitation frequency (Note 2). Beyond one standard depth of penetration (SDP), the capacity to detect discontinuities by eddy currents is reduced. Electromagnetic examination of seamless aluminum alloy tube is most effective when the wall thickness does not exceed the SDP or in heavier tube walls when discontinuities of interest are within one SDP. The limit for detecting metallurgical or mechanical discontinuities by way of conventional eddy current sensors is generally accepted to be approximately three times the SDP point and is referred to as the effective depth of penetration (EDP).
SCOPE
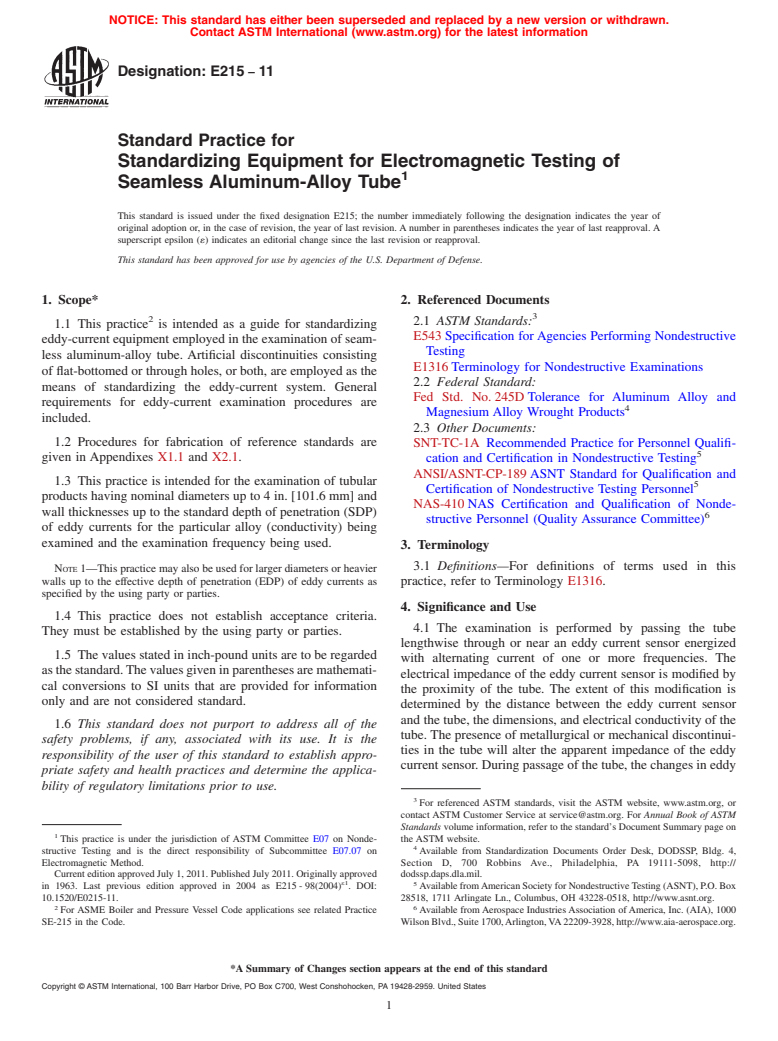
1.1 This practice is intended as a guide for standardizing eddy-current equipment employed in the examination of seamless aluminum-alloy tube. Artificial discontinuities consisting of flat-bottomed or through holes, or both, are employed as the means of standardizing the eddy-current system. General requirements for eddy-current examination procedures are included.
1.2 Procedures for fabrication of reference standards are given in Appendixes X1.1 and X2.1.
1.3 This practice is intended for the examination of tubular products having nominal diameters up to 4 in. [101.6 mm] and wall thicknesses up to the standard depth of penetration (SDP) of eddy currents for the particular alloy (conductivity) being examined and the examination frequency being used.
Note 1—This practice may also be used for larger diameters or heavier walls up to the effective depth of penetration (EDP) of eddy currents as specified by the using party or parties.
1.4 This practice does not establish acceptance criteria. They must be established by the using party or parties.
1.5 The values stated in inch-pound units are to be regarded as the standard. The values given in parentheses are mathematical conversions to SI units that are provided for information only and are not considered standard.
1.6 This standard does not purport to address all of the safety problems, if any, associated with its use. It is the responsibility of the user of this standard to establish appropriate safety and health practices and determine the applicability of regulatory limitations prior to use.
General Information
Relations
Buy Standard
Standards Content (Sample)
NOTICE: This standard has either been superseded and replaced by a new version or withdrawn.
Contact ASTM International (www.astm.org) for the latest information
Designation: E215 − 11
Standard Practice for
Standardizing Equipment for Electromagnetic Testing of
1
Seamless Aluminum-Alloy Tube
This standard is issued under the fixed designation E215; the number immediately following the designation indicates the year of
original adoption or, in the case of revision, the year of last revision.Anumber in parentheses indicates the year of last reapproval.A
superscript epsilon (´) indicates an editorial change since the last revision or reapproval.
This standard has been approved for use by agencies of the U.S. Department of Defense.
1. Scope* 2. Referenced Documents
3
2
2.1 ASTM Standards:
1.1 This practice is intended as a guide for standardizing
E543Specification forAgencies Performing Nondestructive
eddy-currentequipmentemployedintheexaminationofseam-
Testing
less aluminum-alloy tube. Artificial discontinuities consisting
E1316Terminology for Nondestructive Examinations
offlat-bottomedorthroughholes,orboth,areemployedasthe
2.2 Federal Standard:
means of standardizing the eddy-current system. General
Fed Std. No.245DTolerance for Aluminum Alloy and
requirements for eddy-current examination procedures are
4
Magnesium Alloy Wrought Products
included.
2.3 Other Documents:
1.2 Procedures for fabrication of reference standards are
SNT-TC-1A Recommended Practice for Personnel Qualifi-
5
given in Appendixes X1.1 and X2.1.
cation and Certification in Nondestructive Testing
ANSI/ASNT-CP-189ASNT Standard for Qualification and
1.3 This practice is intended for the examination of tubular
5
Certification of Nondestructive Testing Personnel
products having nominal diameters up to 4 in. [101.6 mm] and
NAS-410NAS Certification and Qualification of Nonde-
wall thicknesses up to the standard depth of penetration (SDP)
6
structive Personnel (Quality Assurance Committee)
of eddy currents for the particular alloy (conductivity) being
examined and the examination frequency being used.
3. Terminology
3.1 Definitions—For definitions of terms used in this
NOTE1—Thispracticemayalsobeusedforlargerdiametersorheavier
walls up to the effective depth of penetration (EDP) of eddy currents as
practice, refer to Terminology E1316.
specified by the using party or parties.
4. Significance and Use
1.4 This practice does not establish acceptance criteria.
4.1 The examination is performed by passing the tube
They must be established by the using party or parties.
lengthwise through or near an eddy current sensor energized
1.5 The values stated in inch-pound units are to be regarded
with alternating current of one or more frequencies. The
asthestandard.Thevaluesgiveninparenthesesaremathemati-
electrical impedance of the eddy current sensor is modified by
cal conversions to SI units that are provided for information
the proximity of the tube. The extent of this modification is
only and are not considered standard.
determined by the distance between the eddy current sensor
and the tube, the dimensions, and electrical conductivity of the
1.6 This standard does not purport to address all of the
tube.The presence of metallurgical or mechanical discontinui-
safety problems, if any, associated with its use. It is the
ties in the tube will alter the apparent impedance of the eddy
responsibility of the user of this standard to establish appro-
currentsensor.Duringpassageofthetube,thechangesineddy
priate safety and health practices and determine the applica-
bility of regulatory limitations prior to use.
3
For referenced ASTM standards, visit the ASTM website, www.astm.org, or
contact ASTM Customer Service at service@astm.org. For Annual Book of ASTM
Standards volume information, refer to the standard’s Document Summary page on
1
This practice is under the jurisdiction of ASTM Committee E07 on Nonde- the ASTM website.
4
structive Testing and is the direct responsibility of Subcommittee E07.07 on Available from Standardization Documents Order Desk, DODSSP, Bldg. 4,
Electromagnetic Method. Section D, 700 Robbins Ave., Philadelphia, PA 19111-5098, http://
CurrenteditionapprovedJuly1,2011.PublishedJuly2011.Originallyapproved dodssp.daps.dla.mil.
ε1
5
in 1963. Last previous edition approved in 2004 as E215-98(2004) . DOI: AvailablefromAmericanSocietyforNondestructiveTesting(ASNT),P.O.Box
10.1520/E0215-11. 28518, 1711 Arlingate Ln., Columbus, OH 43228-0518, http://www.asnt.org.
2 6
For ASME Boiler and Pressure Vessel Code applications see related Practice Available fromAerospace IndustriesAssociation ofAmerica, Inc. (AIA), 1000
SE-215 in the Code. WilsonBlvd.,Suite1700,Arlington,VA22209-3928,http://www.aia-aerospace.org.
*A Summary of Changes section appears at the end of this standard
Copyright © ASTM International, 100 Barr Harbor Drive, PO Box C700, West Conshohocken, PA 19428-2959. United States
1
---------------------- Page: 1 ----------------------
E215 − 11
currentsens
...
This document is not anASTM standard and is intended only to provide the user of anASTM standard an indication of what changes have been made to the previous version. Because
it may not be technically possible to adequately depict all changes accurately, ASTM recommends that users consult prior editions as appropriate. In all cases only the current version
of the standard as published by ASTM is to be considered the official document.
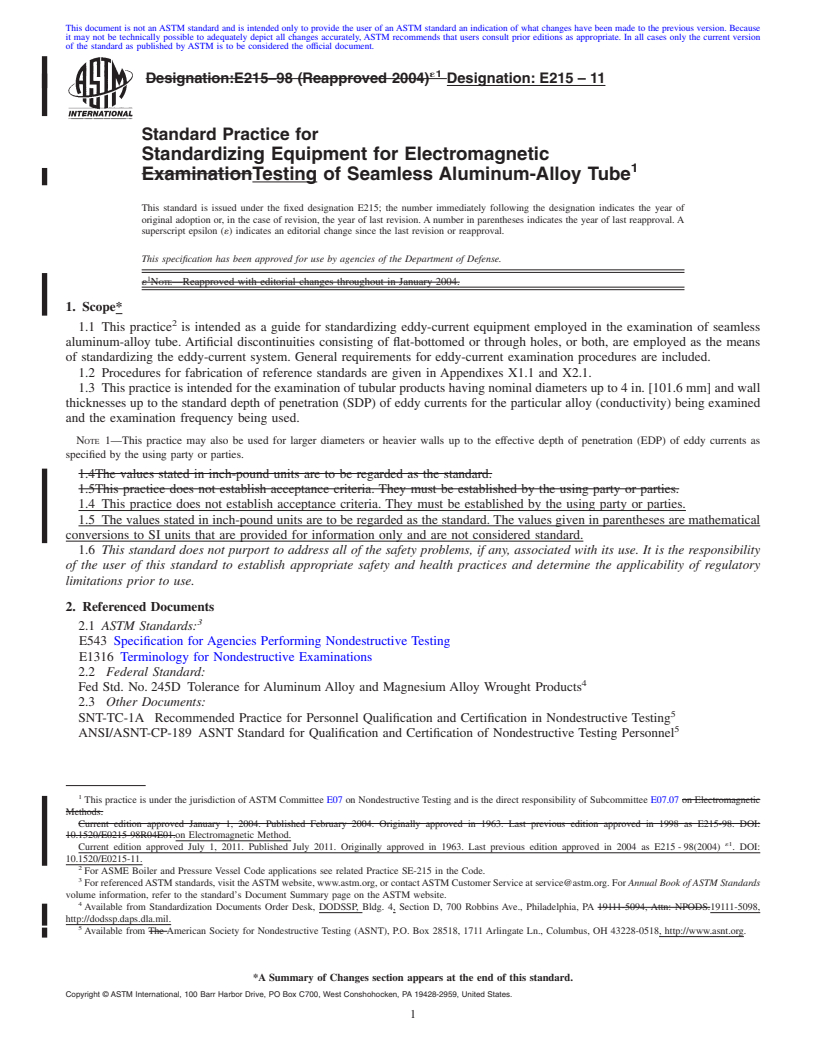
´1
Designation:E215–98 (Reapproved 2004) Designation:E215–11
Standard Practice for
Standardizing Equipment for Electromagnetic
1
ExaminationTesting of Seamless Aluminum-Alloy Tube
This standard is issued under the fixed designation E215; the number immediately following the designation indicates the year of
original adoption or, in the case of revision, the year of last revision. A number in parentheses indicates the year of last reapproval. A
superscript epsilon (´) indicates an editorial change since the last revision or reapproval.
This specification has been approved for use by agencies of the Department of Defense.
1
´ NOTE—Reapproved with editorial changes throughout in January 2004.
1. Scope*
2
1.1 This practice is intended as a guide for standardizing eddy-current equipment employed in the examination of seamless
aluminum-alloy tube. Artificial discontinuities consisting of flat-bottomed or through holes, or both, are employed as the means
of standardizing the eddy-current system. General requirements for eddy-current examination procedures are included.
1.2 Procedures for fabrication of reference standards are given in Appendixes X1.1 and X2.1.
1.3 This practice is intended for the examination of tubular products having nominal diameters up to 4 in. [101.6 mm] and wall
thicknesses up to the standard depth of penetration (SDP) of eddy currents for the particular alloy (conductivity) being examined
and the examination frequency being used.
NOTE 1—This practice may also be used for larger diameters or heavier walls up to the effective depth of penetration (EDP) of eddy currents as
specified by the using party or parties.
1.4The values stated in inch-pound units are to be regarded as the standard.
1.5This practice does not establish acceptance criteria. They must be established by the using party or parties.
1.4 This practice does not establish acceptance criteria. They must be established by the using party or parties.
1.5 The values stated in inch-pound units are to be regarded as the standard. The values given in parentheses are mathematical
conversions to SI units that are provided for information only and are not considered standard.
1.6 This standard does not purport to address all of the safety problems, if any, associated with its use. It is the responsibility
of the user of this standard to establish appropriate safety and health practices and determine the applicability of regulatory
limitations prior to use.
2. Referenced Documents
3
2.1 ASTM Standards:
E543 Specification for Agencies Performing Nondestructive Testing
E1316 Terminology for Nondestructive Examinations
2.2 Federal Standard:
4
Fed Std. No. 245D Tolerance for Aluminum Alloy and Magnesium Alloy Wrought Products
2.3 Other Documents:
5
SNT-TC-1A Recommended Practice for Personnel Qualification and Certification in Nondestructive Testing
5
ANSI/ASNT-CP-189 ASNT Standard for Qualification and Certification of Nondestructive Testing Personnel
1
This practice is under the jurisdiction ofASTM Committee E07 on Nondestructive Testing and is the direct responsibility of Subcommittee E07.07 on Electromagnetic
Methods.
Current edition approved January 1, 2004. Published February 2004. Originally approved in 1963. Last previous edition approved in 1998 as E215-98. DOI:
10.1520/E0215-98R04E01.on Electromagnetic Method.
´1
Current edition approved July 1, 2011. Published July 2011. Originally approved in 1963. Last previous edition approved in 2004 as E215 - 98(2004) . DOI:
10.1520/E0215-11.
2
For ASME Boiler and Pressure Vessel Code applications see related Practice SE-215 in the Code.
3
For referencedASTM standards, visit theASTM website, www.astm.org, or contactASTM Customer Service at service@astm.org. For Annual Book of ASTM Standards
volume information, refer to the standard’s Document Summary page on the ASTM website.
4
Available from Standardization Documents Order Desk, DODSSP, Bldg. 4, Section D, 700 Robbins Ave., Philadelphia, PA 19111-5094, Attn: NPODS.19111-5098,
http://dodssp.daps.dla.mil.
5
Available from The American Society for Nondestructive Testing (ASNT), P.O. Box 28518, 1711 Arlingate Ln., Columbus, OH 43228-0518, http://www.asnt.org.
*A Summary of Changes section appears at the end of this standard.
Copyright © ASTM International, 100 Barr Harbor Drive, PO Box C700, West Conshohocken, PA 19428-2959, United States.
1
---------------------- Page: 1 ----------------------
E215–11
6
NAS-410 NAS Certification and Qualification of Nondestructive Personnel (Quality Assurance Committee)
3. Terminology
3.1St
...


Questions, Comments and Discussion
Ask us and Technical Secretary will try to provide an answer. You can facilitate discussion about the standard in here.