ASTM E82-09
(Test Method)Standard Test Method for Determining the Orientation of a Metal Crystal
Standard Test Method for Determining the Orientation of a Metal Crystal
SIGNIFICANCE AND USE
Metals and other materials are not always isotropic in their physical properties. For example, Young's modulus will vary in different crystallographic directions. Therefore, it is desirable or necessary to determine the orientation of a single crystal undergoing tests in order to ascertain the relation of any property to different directions in the material.
This test method can be used commercially as a quality control test in production situations where a desired orientation, within prescribed limits, is required.
With the use of an adjustable fixed holder that can later be mounted on a saw, lathe, or other machine, a single crystal material can be moved to a preferred orientation, and subsequently sectioned, ground, or processed otherwise.
If grains of a polycrystalline material are large enough, this test method can be used to determine their orientations and differences in orientation.
SCOPE
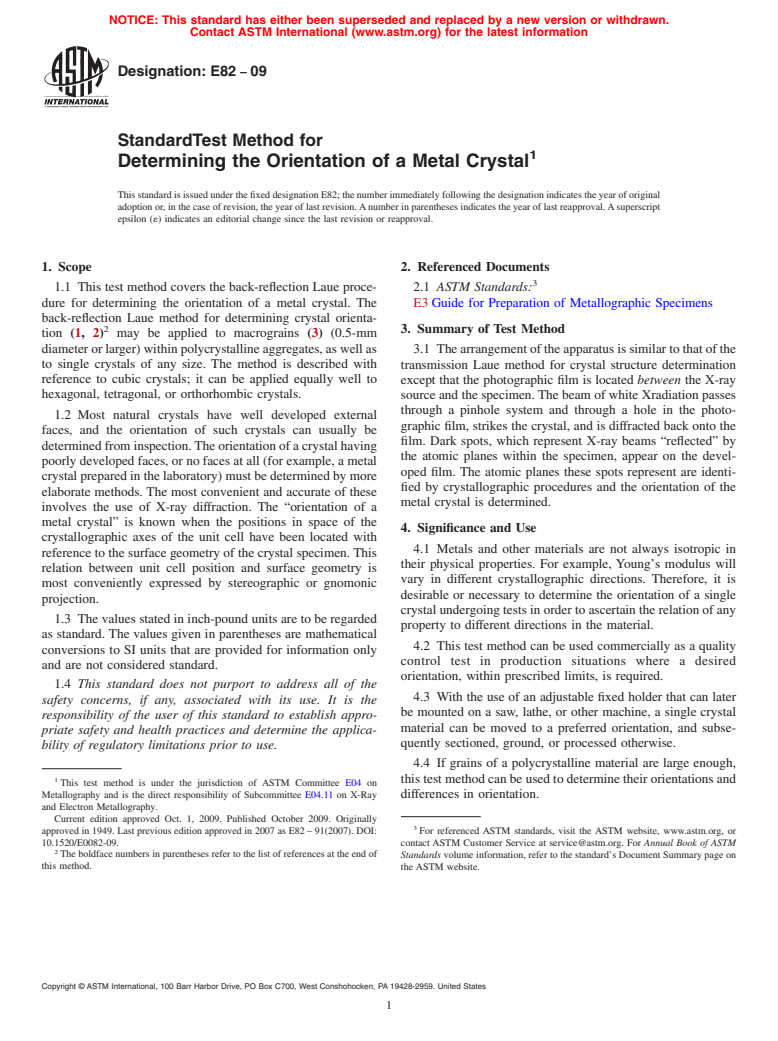
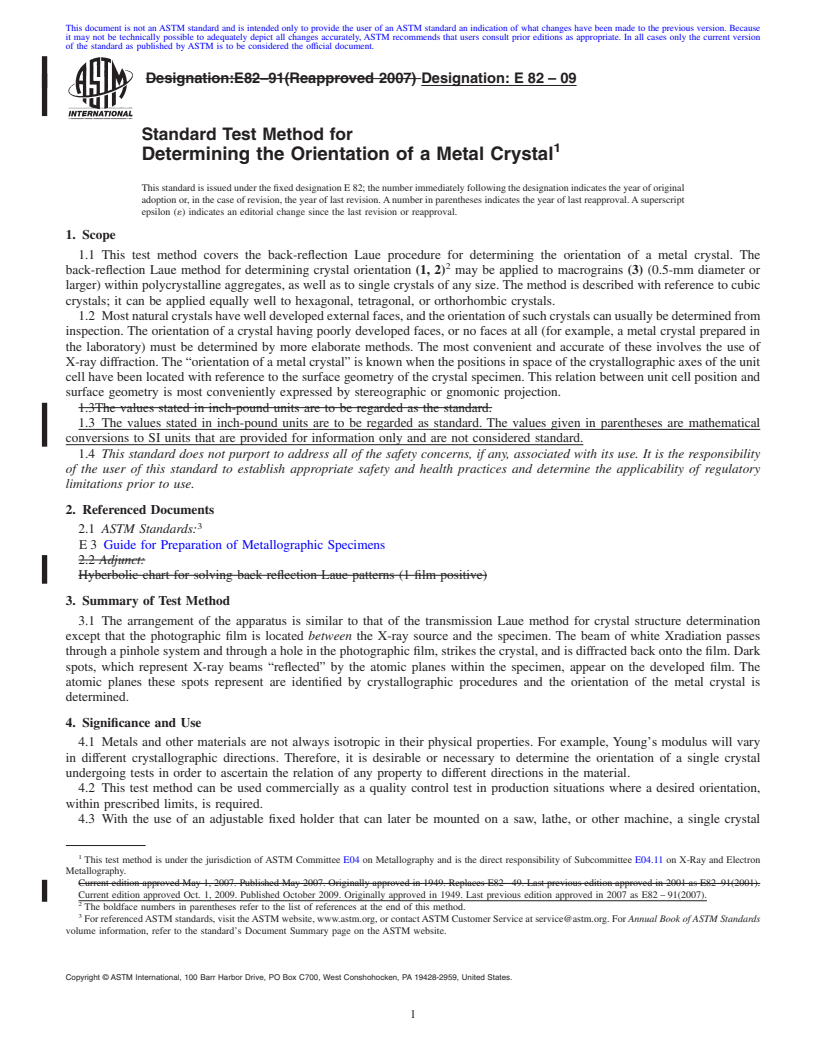
1.1 This test method covers the back-reflection Laue procedure for determining the orientation of a metal crystal. The back-reflection Laue method for determining crystal orientation (1, 2) may be applied to macrograins (3) (0.5-mm diameter or larger) within polycrystalline aggregates, as well as to single crystals of any size. The method is described with reference to cubic crystals; it can be applied equally well to hexagonal, tetragonal, or orthorhombic crystals.
1.2 Most natural crystals have well developed external faces, and the orientation of such crystals can usually be determined from inspection. The orientation of a crystal having poorly developed faces, or no faces at all (for example, a metal crystal prepared in the laboratory) must be determined by more elaborate methods. The most convenient and accurate of these involves the use of X-ray diffraction. The “orientation of a metal crystal” is known when the positions in space of the crystallographic axes of the unit cell have been located with reference to the surface geometry of the crystal specimen. This relation between unit cell position and surface geometry is most conveniently expressed by stereographic or gnomonic projection.
1.3 The values stated in inch-pound units are to be regarded as standard. The values given in parentheses are mathematical conversions to SI units that are provided for information only and are not considered standard.
1.4 This standard does not purport to address all of the safety concerns, if any, associated with its use. It is the responsibility of the user of this standard to establish appropriate safety and health practices and determine the applicability of regulatory limitations prior to use.
General Information
Relations
Buy Standard
Standards Content (Sample)
NOTICE: This standard has either been superseded and replaced by a new version or withdrawn.
Contact ASTM International (www.astm.org) for the latest information
Designation:E82 −09
StandardTest Method for
1
Determining the Orientation of a Metal Crystal
ThisstandardisissuedunderthefixeddesignationE82;thenumberimmediatelyfollowingthedesignationindicatestheyearoforiginal
adoptionor,inthecaseofrevision,theyearoflastrevision.Anumberinparenthesesindicatestheyearoflastreapproval.Asuperscript
epsilon (´) indicates an editorial change since the last revision or reapproval.
1. Scope 2. Referenced Documents
3
1.1 This test method covers the back-reflection Laue proce- 2.1 ASTM Standards:
dure for determining the orientation of a metal crystal. The E3Guide for Preparation of Metallographic Specimens
back-reflection Laue method for determining crystal orienta-
2 3. Summary of Test Method
tion (1, 2) may be applied to macrograins (3) (0.5-mm
diameterorlarger)withinpolycrystallineaggregates,aswellas
3.1 Thearrangementoftheapparatusissimilartothatofthe
to single crystals of any size. The method is described with transmission Laue method for crystal structure determination
reference to cubic crystals; it can be applied equally well to
except that the photographic film is located between the X-ray
hexagonal, tetragonal, or orthorhombic crystals. sourceandthespecimen.ThebeamofwhiteXradiationpasses
through a pinhole system and through a hole in the photo-
1.2 Most natural crystals have well developed external
graphic film, strikes the crystal, and is diffracted back onto the
faces, and the orientation of such crystals can usually be
film. Dark spots, which represent X-ray beams “reflected” by
determinedfrominspection.Theorientationofacrystalhaving
the atomic planes within the specimen, appear on the devel-
poorlydevelopedfaces,ornofacesatall(forexample,ametal
oped film. The atomic planes these spots represent are identi-
crystalpreparedinthelaboratory)mustbedeterminedbymore
fied by crystallographic procedures and the orientation of the
elaborate methods. The most convenient and accurate of these
metal crystal is determined.
involves the use of X-ray diffraction. The “orientation of a
metal crystal” is known when the positions in space of the
4. Significance and Use
crystallographic axes of the unit cell have been located with
4.1 Metals and other materials are not always isotropic in
referencetothesurfacegeometryofthecrystalspecimen.This
their physical properties. For example, Young’s modulus will
relation between unit cell position and surface geometry is
vary in different crystallographic directions. Therefore, it is
most conveniently expressed by stereographic or gnomonic
desirable or necessary to determine the orientation of a single
projection.
crystalundergoingtestsinordertoascertaintherelationofany
1.3 The values stated in inch-pound units are to be regarded
property to different directions in the material.
as standard. The values given in parentheses are mathematical
4.2 This test method can be used commercially as a quality
conversions to SI units that are provided for information only
control test in production situations where a desired
and are not considered standard.
orientation, within prescribed limits, is required.
1.4 This standard does not purport to address all of the
4.3 With the use of an adjustable fixed holder that can later
safety concerns, if any, associated with its use. It is the
be mounted on a saw, lathe, or other machine, a single crystal
responsibility of the user of this standard to establish appro-
material can be moved to a preferred orientation, and subse-
priate safety and health practices and determine the applica-
quently sectioned, ground, or processed otherwise.
bility of regulatory limitations prior to use.
4.4 If grains of a polycrystalline material are large enough,
1 thistestmethodcanbeusedtodeterminetheirorientationsand
This test method is under the jurisdiction of ASTM Committee E04 on
Metallography and is the direct responsibility of Subcommittee E04.11 on X-Ray
differences in orientation.
and Electron Metallography.
Current edition approved Oct. 1, 2009. Published October 2009. Originally
3
approved in 1949. Last previous edition approved in 2007 as E82–91(2007). DOI: For referenced ASTM standards, visit the ASTM website, www.astm.org, or
10.1520/E0082-09. contact ASTM Customer Service at service@astm.org. For Annual Book of ASTM
2
Theboldfacenumbersinparenthesesrefertothelistofreferencesattheendof Standards volume information, refer to the standard’s Document Summary page on
this method. the ASTM website.
Copyright © ASTM International, 100 Barr Harbor Drive, PO Box C700, West Conshohocken, PA 19428-2959. United States
1
---------------------- Page: 1 ----------------------
E82−09
5. Apparatus
5.1 X-Ray Tube—In order that exposure times be reduced to
aminimum,theX-raytubeshallhaveatargetthatgivesahigh
yield of white X-radiation. The tube voltage shall be near 50
kVp.
5.2 Back-Reflect
...
This document is not anASTM standard and is intended only to provide the user of anASTM standard an indication of what changes have been made to the previous version. Because
it may not be technically possible to adequately depict all changes accurately, ASTM recommends that users consult prior editions as appropriate. In all cases only the current version
of the standard as published by ASTM is to be considered the official document.
Designation:E82–91(Reapproved 2007) Designation: E 82 – 09
Standard Test Method for
1
Determining the Orientation of a Metal Crystal
ThisstandardisissuedunderthefixeddesignationE82;thenumberimmediatelyfollowingthedesignationindicatestheyearoforiginal
adoptionor,inthecaseofrevision,theyearoflastrevision.Anumberinparenthesesindicatestheyearoflastreapproval.Asuperscript
epsilon (´) indicates an editorial change since the last revision or reapproval.
1. Scope
1.1 This test method covers the back-reflection Laue procedure for determining the orientation of a metal crystal. The
2
back-reflection Laue method for determining crystal orientation (1, 2) may be applied to macrograins (3) (0.5-mm diameter or
larger) within polycrystalline aggregates, as well as to single crystals of any size.The method is described with reference to cubic
crystals; it can be applied equally well to hexagonal, tetragonal, or orthorhombic crystals.
1.2 Mostnaturalcrystalshavewelldevelopedexternalfaces,andtheorientationofsuchcrystalscanusuallybedeterminedfrom
inspection. The orientation of a crystal having poorly developed faces, or no faces at all (for example, a metal crystal prepared in
the laboratory) must be determined by more elaborate methods. The most convenient and accurate of these involves the use of
X-raydiffraction.The“orientationofametalcrystal”isknownwhenthepositionsinspaceofthecrystallographicaxesoftheunit
cell have been located with reference to the surface geometry of the crystal specimen.This relation between unit cell position and
surface geometry is most conveniently expressed by stereographic or gnomonic projection.
1.3The values stated in inch-pound units are to be regarded as the standard.
1.3 The values stated in inch-pound units are to be regarded as standard. The values given in parentheses are mathematical
conversions to SI units that are provided for information only and are not considered standard.
1.4 This standard does not purport to address all of the safety concerns, if any, associated with its use. It is the responsibility
of the user of this standard to establish appropriate safety and health practices and determine the applicability of regulatory
limitations prior to use.
2. Referenced Documents
3
2.1 ASTM Standards:
E3 Guide for Preparation of Metallographic Specimens
2.2 Adjunct:
Hyberbolic chart for solving back reflection Laue patterns (1 film positive)
3. Summary of Test Method
3.1 The arrangement of the apparatus is similar to that of the transmission Laue method for crystal structure determination
except that the photographic film is located between the X-ray source and the specimen. The beam of white Xradiation passes
throughapinholesystemandthroughaholeinthephotographicfilm,strikesthecrystal,andisdiffractedbackontothefilm.Dark
spots, which represent X-ray beams “reflected” by the atomic planes within the specimen, appear on the developed film. The
atomic planes these spots represent are identified by crystallographic procedures and the orientation of the metal crystal is
determined.
4. Significance and Use
4.1 Metals and other materials are not always isotropic in their physical properties. For example, Young’s modulus will vary
in different crystallographic directions. Therefore, it is desirable or necessary to determine the orientation of a single crystal
undergoing tests in order to ascertain the relation of any property to different directions in the material.
4.2 This test method can be used commercially as a quality control test in production situations where a desired orientation,
within prescribed limits, is required.
4.3 With the use of an adjustable fixed holder that can later be mounted on a saw, lathe, or other machine, a single crystal
1
This test method is under the jurisdiction ofASTM Committee E04 on Metallography and is the direct responsibility of Subcommittee E04.11 on X-Ray and Electron
Metallography.
Current edition approved May 1, 2007. Published May 2007. Originally approved in 1949. Replaces E82– 49. Last previous edition approved in 2001 as E82–91(2001).
Current edition approved Oct. 1, 2009. Published October 2009. Originally approved in 1949. Last previous edition approved in 2007 as E82–91(2007).
2
The boldface numbers in parentheses refer to the list of references at the end of this method.
3
ForreferencedASTMstandards,visittheASTMwebsite,www.astm.org,orcontactASTMCustomerServiceatservice@astm.org.For Annual Book of ASTM Standards
volume information, refer to the standard’s Document Summary page on the ASTM website.
Copyright © ASTM International
...


Questions, Comments and Discussion
Ask us and Technical Secretary will try to provide an answer. You can facilitate discussion about the standard in here.