ASTM F1087-02(2009)
(Test Method)Standard Test Method for Linear Dimensional Stability of a Gasket Material to Moisture
Standard Test Method for Linear Dimensional Stability of a Gasket Material to Moisture
SIGNIFICANCE AND USE
Gasket materials undergo several processing steps from point of manufacture to installation in a flange. Many applications require close control of dimensional change. An accurate test method for determining the relative stability of various materials is needed for design and quality assurance purposes. This test method is useful towards that end. It simulates the extreme storage conditions that a material may undergo prior to installation. Samples are allowed unrestricted expansion or contraction, and so this test method should not be used to predict behavior clamped in a flange or other applications, or during specific processing steps.
This test method measures linear change, and may need to be modified if the test specimen is not flat, homogeneous, or free of voids.
SCOPE
1.1 This test method covers a procedure to determine the stability of a gasket material to linear dimensional change due to hygroscopic expansion and contraction. It subjects a sample to extremes, that is, oven drying and complete immersion in water, that have shown good correlation to low and high relative humidities.
1.2 The values stated in SI units are to be regarded as the standard. The values given in parentheses are for information only.
1.3 This standard does not purport to address all of the safety concerns, if any, associated with its use. It is the responsibility of the user of this standard to establish appropriate safety and health practices and determine the applicability of regulatory limitations prior to use.
General Information
Relations
Buy Standard
Standards Content (Sample)
NOTICE: This standard has either been superseded and replaced by a new version or withdrawn.
Contact ASTM International (www.astm.org) for the latest information
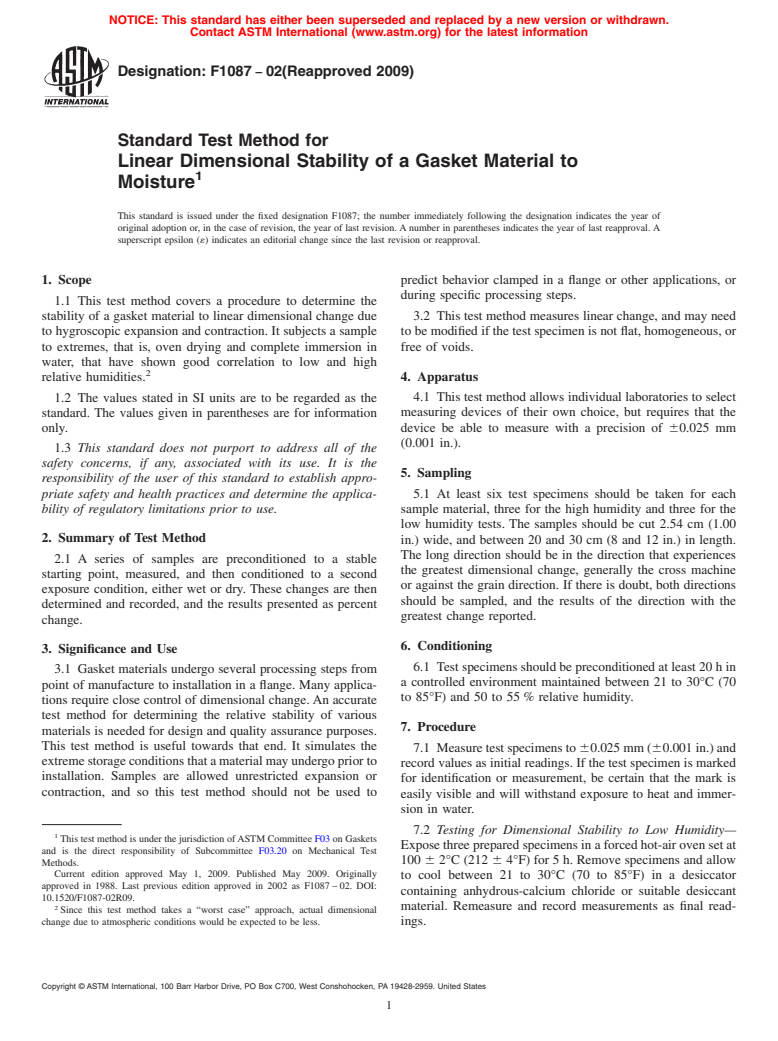
Designation: F1087 − 02(Reapproved 2009)
Standard Test Method for
Linear Dimensional Stability of a Gasket Material to
Moisture
This standard is issued under the fixed designation F1087; the number immediately following the designation indicates the year of
original adoption or, in the case of revision, the year of last revision. A number in parentheses indicates the year of last reapproval. A
superscript epsilon (´) indicates an editorial change since the last revision or reapproval.
1. Scope predict behavior clamped in a flange or other applications, or
during specific processing steps.
1.1 This test method covers a procedure to determine the
stability of a gasket material to linear dimensional change due 3.2 This test method measures linear change, and may need
to hygroscopic expansion and contraction. It subjects a sample to be modified if the test specimen is not flat, homogeneous, or
to extremes, that is, oven drying and complete immersion in free of voids.
water, that have shown good correlation to low and high
4. Apparatus
relative humidities.
1.2 The values stated in SI units are to be regarded as the 4.1 This test method allows individual laboratories to select
measuring devices of their own choice, but requires that the
standard. The values given in parentheses are for information
only. device be able to measure with a precision of 60.025 mm
(0.001 in.).
1.3 This standard does not purport to address all of the
safety concerns, if any, associated with its use. It is the
5. Sampling
responsibility of the user of this standard to establish appro-
priate safety and health practices and determine the applica- 5.1 At least six test specimens should be taken for each
bility of regulatory limitations prior to use. sample material, three for the high humidity and three for the
low humidity tests. The samples should be cut 2.54 cm (1.00
2. Summary of Test Method
in.) wide, and between 20 and 30 cm (8 and 12 in.) in length.
The long direction should be in the direction that experiences
2.1 A series of samples are preconditioned to a stable
the greatest dimensional change, generally the cross machine
starting point, measured, and then conditioned to a second
or against the grain direction. If there is doubt, both directions
exposure condition, either wet or dry. These changes are then
should be sampled, and the results of the direction with the
determined and recorded, and the results presented as percent
greatest change reported.
change.
6. Conditioning
3. Significance and Use
6.1 Test specimens should be preconditioned at least 20 h in
3.1 Gasket materials undergo several processing steps from
a controlled environment maintained between 21 to 30°C (70
point of manufacture to installation in a flange. Many applica-
to 85°F) and 50 to 55 % relative humidity.
tions require close control of dimensional change.An accurate
test method for determining the relative stability of various
7. Procedure
materials is needed for design and quality assurance purposes.
This test method is useful towards that end. It simulates the
7.1 Measure test specimens to 60.025 mm (60.001 in.) and
extremestorageconditionsthatamaterialmayundergopriorto
record values as initial readings. If the test specimen is marked
installation. Samples are allowed unrestricted expansion or
for identification or measurement, be certain that the mark is
contraction, and so this test method should not be used to
easily visible and will withstand exposure to heat and immer-
sion in water.
7.2 Testing for Dimensional Stability to Low Humidity—
This test method is under the jurisdiction ofASTM Committee F03 on Gaskets
Expose three prepared specimens in a forced hot-air oven set at
and is the direct responsibility of Subcommittee F03.20 on Mechanical Test
100 6 2°C (212 6 4°F) for 5 h. Remove specimens and allow
Methods.
Current edition approved May 1, 2009. Published May 2009. Originally
to cool between 21 to 30°C (70 to 85°F) in a desiccator
approved in 1988. Last previous edition approved in 2002 as F1087 – 02. DOI:
containing anhydrous-calcium chloride or suitable desiccant
10.1520/F1087-02R09.
material. Remeasure and record measurements as final read-
Since this test method takes a “worst case” approach, actual dimensional
change due to atmospheric conditions w
...
This document is not an ASTM standard and is intended only to provide the user of an ASTM standard an indication of what changes have been made to the previous version. Because
it may not be technically possible to adequately depict all changes accurately, ASTM recommends that users consult prior editions as appropriate. In all cases only the current version
of the standard as published by ASTM is to be considered the official document.
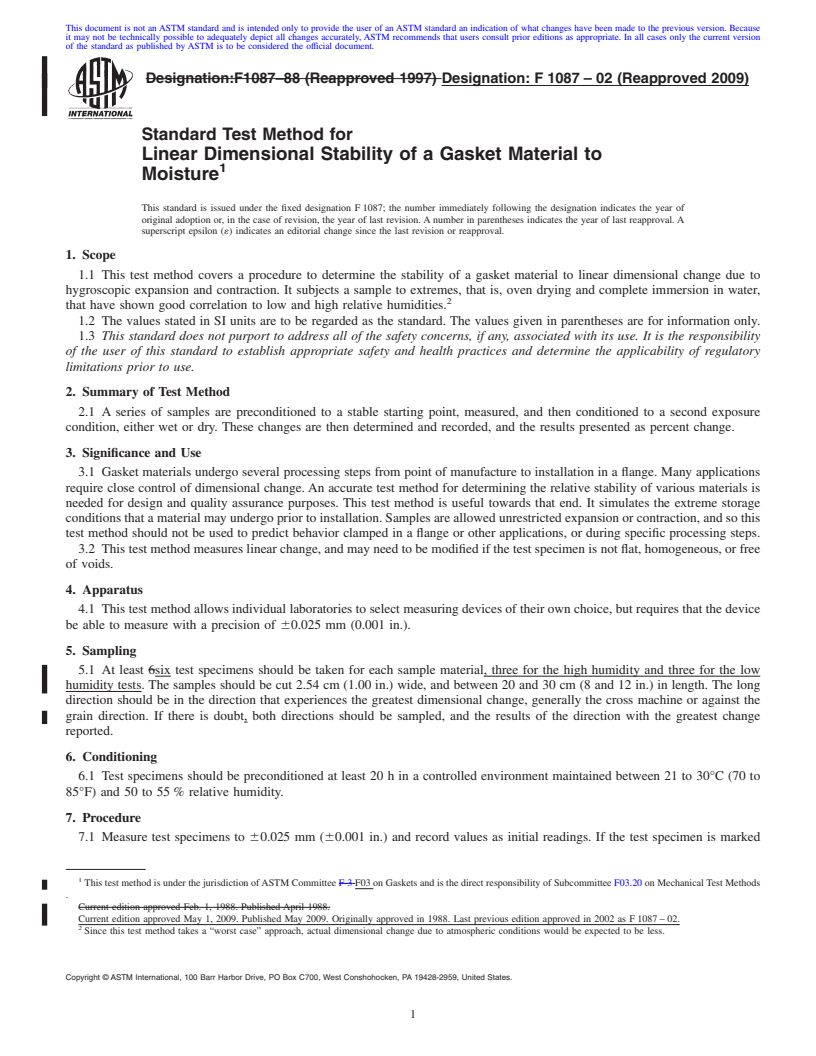
Designation:F1087–88 (Reapproved 1997) Designation:F1087–02 (Reapproved 2009)
Standard Test Method for
Linear Dimensional Stability of a Gasket Material to
Moisture
This standard is issued under the fixed designation F 1087; the number immediately following the designation indicates the year of
original adoption or, in the case of revision, the year of last revision. A number in parentheses indicates the year of last reapproval. A
superscript epsilon (´) indicates an editorial change since the last revision or reapproval.
1. Scope
1.1 This test method covers a procedure to determine the stability of a gasket material to linear dimensional change due to
hygroscopic expansion and contraction. It subjects a sample to extremes, that is, oven drying and complete immersion in water,
that have shown good correlation to low and high relative humidities.
1.2 The values stated in SI units are to be regarded as the standard. The values given in parentheses are for information only.
1.3 This standard does not purport to address all of the safety concerns, if any, associated with its use. It is the responsibility
of the user of this standard to establish appropriate safety and health practices and determine the applicability of regulatory
limitations prior to use.
2. Summary of Test Method
2.1 A series of samples are preconditioned to a stable starting point, measured, and then conditioned to a second exposure
condition, either wet or dry. These changes are then determined and recorded, and the results presented as percent change.
3. Significance and Use
3.1 Gasket materials undergo several processing steps from point of manufacture to installation in a flange. Many applications
require close control of dimensional change. An accurate test method for determining the relative stability of various materials is
needed for design and quality assurance purposes. This test method is useful towards that end. It simulates the extreme storage
conditions that a material may undergo prior to installation. Samples are allowed unrestricted expansion or contraction, and so this
test method should not be used to predict behavior clamped in a flange or other applications, or during specific processing steps.
3.2 This test method measures linear change, and may need to be modified if the test specimen is not flat, homogeneous, or free
of voids.
4. Apparatus
4.1 This test method allows individual laboratories to select measuring devices of their own choice, but requires that the device
be able to measure with a precision of 60.025 mm (0.001 in.).
5. Sampling
5.1 At least 6six test specimens should be taken for each sample material, three for the high humidity and three for the low
humidity tests. The samples should be cut 2.54 cm (1.00 in.) wide, and between 20 and 30 cm (8 and 12 in.) in length. The long
direction should be in the direction that experiences the greatest dimensional change, generally the cross machine or against the
grain direction. If there is doubt, both directions should be sampled, and the results of the direction with the greatest change
reported.
6. Conditioning
6.1 Test specimens should be preconditioned at least 20 h in a controlled environment maintained between 21 to 30°C (70 to
85°F) and 50 to 55 % relative humidity.
7. Procedure
7.1 Measure test specimens to 60.025 mm (60.001 in.) and record values as initial readings. If the test specimen is marked
This test method is under the jurisdiction ofASTM Committee F-3 F03 on Gaskets and is the direct responsibility of Subcommittee F03.20 on Mechanical Test Methods
.
Current edition approved Feb. 1, 1988. Published April 1988.
Current edition approved May 1, 2009. Published May 2009. Originally approved in 1988. Last previous edition approved in 2002 as F 1087 – 02.
Since this test method takes a “worst case” approach, actual dimensional change due to atmospheric conditions would be expected to be less.
Copyright © ASTM International, 100 Barr Harbor Drive, PO Box C700, West Conshohocken, PA 19428-2959, United States.
F1087–02 (2009)
for identification or measurement, be certain that the mark is easily visible and will withstand exposure to heat and immersi
...
This document is not an ASTM standard and is intended only to provide the user of an ASTM standard an indication of what changes have been made to the previous version. Because
it may not be technically possible to adequately depict all changes accurately, ASTM recommends that users consult prior editions as appropriate. In all cases only the current version
of the standard as published by ASTM is to be considered the official document.
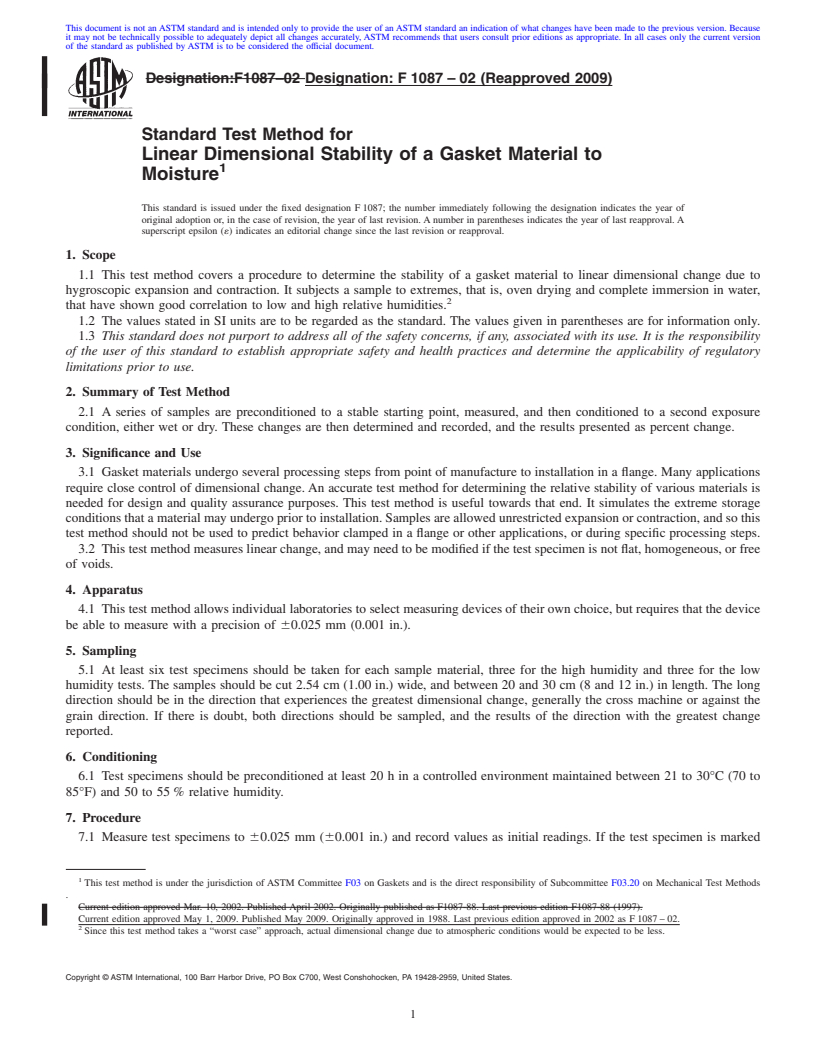
Designation:F1087–02 Designation:F1087–02 (Reapproved 2009)
Standard Test Method for
Linear Dimensional Stability of a Gasket Material to
Moisture
This standard is issued under the fixed designation F 1087; the number immediately following the designation indicates the year of
original adoption or, in the case of revision, the year of last revision. A number in parentheses indicates the year of last reapproval. A
superscript epsilon (´) indicates an editorial change since the last revision or reapproval.
1. Scope
1.1 This test method covers a procedure to determine the stability of a gasket material to linear dimensional change due to
hygroscopic expansion and contraction. It subjects a sample to extremes, that is, oven drying and complete immersion in water,
that have shown good correlation to low and high relative humidities.
1.2 The values stated in SI units are to be regarded as the standard. The values given in parentheses are for information only.
1.3 This standard does not purport to address all of the safety concerns, if any, associated with its use. It is the responsibility
of the user of this standard to establish appropriate safety and health practices and determine the applicability of regulatory
limitations prior to use.
2. Summary of Test Method
2.1 A series of samples are preconditioned to a stable starting point, measured, and then conditioned to a second exposure
condition, either wet or dry. These changes are then determined and recorded, and the results presented as percent change.
3. Significance and Use
3.1 Gasket materials undergo several processing steps from point of manufacture to installation in a flange. Many applications
require close control of dimensional change. An accurate test method for determining the relative stability of various materials is
needed for design and quality assurance purposes. This test method is useful towards that end. It simulates the extreme storage
conditions that a material may undergo prior to installation. Samples are allowed unrestricted expansion or contraction, and so this
test method should not be used to predict behavior clamped in a flange or other applications, or during specific processing steps.
3.2 This test method measures linear change, and may need to be modified if the test specimen is not flat, homogeneous, or free
of voids.
4. Apparatus
4.1 This test method allows individual laboratories to select measuring devices of their own choice, but requires that the device
be able to measure with a precision of 60.025 mm (0.001 in.).
5. Sampling
5.1 At least six test specimens should be taken for each sample material, three for the high humidity and three for the low
humidity tests. The samples should be cut 2.54 cm (1.00 in.) wide, and between 20 and 30 cm (8 and 12 in.) in length. The long
direction should be in the direction that experiences the greatest dimensional change, generally the cross machine or against the
grain direction. If there is doubt, both directions should be sampled, and the results of the direction with the greatest change
reported.
6. Conditioning
6.1 Test specimens should be preconditioned at least 20 h in a controlled environment maintained between 21 to 30°C (70 to
85°F) and 50 to 55 % relative humidity.
7. Procedure
7.1 Measure test specimens to 60.025 mm (60.001 in.) and record values as initial readings. If the test specimen is marked
This test method is under the jurisdiction of ASTM Committee F03 on Gaskets and is the direct responsibility of Subcommittee F03.20 on Mechanical Test Methods
.
Current edition approved Mar. 10, 2002. Published April 2002. Originally published as F1087-88. Last previous edition F1087-88 (1997).
Current edition approved May 1, 2009. Published May 2009. Originally approved in 1988. Last previous edition approved in 2002 as F 1087 – 02.
Since this test method takes a “worst case” approach, actual dimensional change due to atmospheric conditions would be expected to be less.
Copyright © ASTM International, 100 Barr Harbor Drive, PO Box C700, West Conshohocken, PA 19428-2959, United States.
F1087–02 (2009)
for identification or measurement, be cert
...


Questions, Comments and Discussion
Ask us and Technical Secretary will try to provide an answer. You can facilitate discussion about the standard in here.