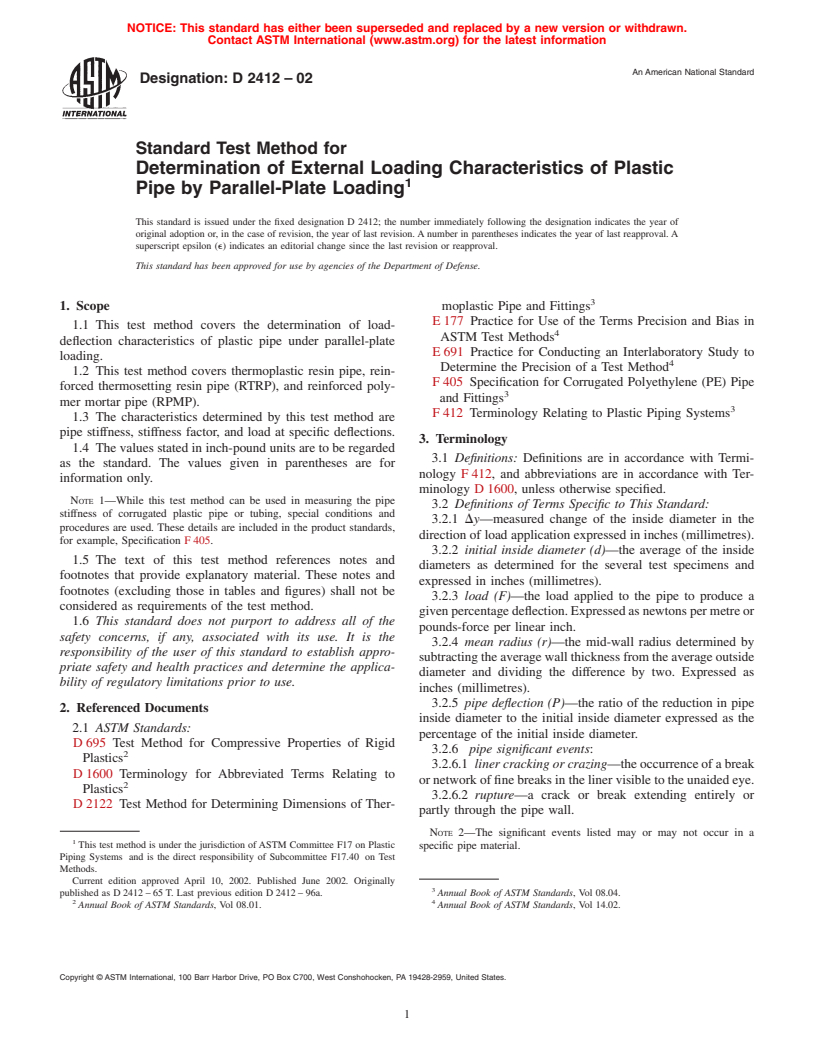
ASTM D2412-02
(Test Method)Standard Test Method for Determination of External Loading Characteristics of Plastic Pipe by Parallel-Plate Loading
Standard Test Method for Determination of External Loading Characteristics of Plastic Pipe by Parallel-Plate Loading
SIGNIFICANCE AND USE
The external loading properties of plastic pipe obtained by this test method are used for the following:
5.1.1 To determine the stiffness of the pipe. This is a function of the pipe dimensions and the physical properties of the material of which the pipe is made.
5.1.2 To determine the load-deflection characteristics and pipe stiffness which are used for engineering design (see Appendix X1).
5.1.3 To compare the characteristics of various plastics in pipe form.
5.1.4 To study the interrelations of dimensions and deflection properties of plastic pipe and conduit.
5.1.5 To measure the deflection and load-resistance at any of several significant events if they occur during the test.
SCOPE
1.1 This test method covers the determination of load-deflection characteristics of plastic pipe under parallel-plate loading.
1.2 This test method covers thermoplastic resin pipe, reinforced thermosetting resin pipe (RTRP), and reinforced polymer mortar pipe (RPMP).
1.3 The characteristics determined by this test method are pipe stiffness, stiffness factor, and load at specific deflections.
1.4 The values stated in inch-pound units are to be regarded as the standard. The values given in parentheses are for information only.
Note 1—While this test method can be used in measuring the pipe stiffness of corrugated plastic pipe or tubing, special conditions and procedures are used. These details are included in the product standards, for example, Specification F 405.
1.5 The text of this test method references notes and footnotes that provide explanatory material. These notes and footnotes (excluding those in tables and figures) shall not be considered as requirements of the test method.
1.6 This standard does not purport to address all of the safety concerns, if any, associated with its use. It is the responsibility of the user of this standard to establish appropriate safety and health practices and determine the applicability of regulatory limitations prior to use.
General Information
Relations
Standards Content (Sample)
NOTICE: This standard has either been superseded and replaced by a new version or withdrawn.
Contact ASTM International (www.astm.org) for the latest information
An American National Standard
Designation:D 2412–02
Standard Test Method for
Determination of External Loading Characteristics of Plastic
1
Pipe by Parallel-Plate Loading
This standard is issued under the fixed designation D 2412; the number immediately following the designation indicates the year of
original adoption or, in the case of revision, the year of last revision. A number in parentheses indicates the year of last reapproval. A
superscript epsilon (e) indicates an editorial change since the last revision or reapproval.
This standard has been approved for use by agencies of the Department of Defense.
3
1. Scope moplastic Pipe and Fittings
E 177 Practice for Use of the Terms Precision and Bias in
1.1 This test method covers the determination of load-
4
ASTM Test Methods
deflection characteristics of plastic pipe under parallel-plate
E 691 Practice for Conducting an Interlaboratory Study to
loading.
4
Determine the Precision of a Test Method
1.2 This test method covers thermoplastic resin pipe, rein-
F 405 Specification for Corrugated Polyethylene (PE) Pipe
forced thermosetting resin pipe (RTRP), and reinforced poly-
3
and Fittings
mer mortar pipe (RPMP).
3
F 412 Terminology Relating to Plastic Piping Systems
1.3 The characteristics determined by this test method are
pipe stiffness, stiffness factor, and load at specific deflections.
3. Terminology
1.4 The values stated in inch-pound units are to be regarded
3.1 Definitions: Definitions are in accordance with Termi-
as the standard. The values given in parentheses are for
nology F 412, and abbreviations are in accordance with Ter-
information only.
minology D 1600, unless otherwise specified.
NOTE 1—While this test method can be used in measuring the pipe
3.2 Definitions of Terms Specific to This Standard:
stiffness of corrugated plastic pipe or tubing, special conditions and
3.2.1 Dy—measured change of the inside diameter in the
procedures are used. These details are included in the product standards,
direction of load application expressed in inches (millimetres).
for example, Specification F 405.
3.2.2 initial inside diameter (d)—the average of the inside
1.5 The text of this test method references notes and
diameters as determined for the several test specimens and
footnotes that provide explanatory material. These notes and
expressed in inches (millimetres).
footnotes (excluding those in tables and figures) shall not be
3.2.3 load (F)—the load applied to the pipe to produce a
considered as requirements of the test method.
givenpercentagedeflection.Expressedasnewtonspermetreor
1.6 This standard does not purport to address all of the
pounds-force per linear inch.
safety concerns, if any, associated with its use. It is the
3.2.4 mean radius (r)—the mid-wall radius determined by
responsibility of the user of this standard to establish appro-
subtractingtheaveragewallthicknessfromtheaverageoutside
priate safety and health practices and determine the applica-
diameter and dividing the difference by two. Expressed as
bility of regulatory limitations prior to use.
inches (millimetres).
3.2.5 pipe deflection (P)—the ratio of the reduction in pipe
2. Referenced Documents
inside diameter to the initial inside diameter expressed as the
2.1 ASTM Standards:
percentage of the initial inside diameter.
D 695 Test Method for Compressive Properties of Rigid
3.2.6 pipe significant events:
2
Plastics
3.2.6.1 liner cracking or crazing—the occurrence of a break
D 1600 Terminology for Abbreviated Terms Relating to
or network of fine breaks in the liner visible to the unaided eye.
2
Plastics
3.2.6.2 rupture—a crack or break extending entirely or
D 2122 Test Method for Determining Dimensions of Ther-
partly through the pipe wall.
NOTE 2—The significant events listed may or may not occur in a
1
This test method is under the jurisdiction of ASTM Committee F17 on Plastic
specific pipe material.
Piping Systems and is the direct responsibility of Subcommittee F17.40 on Test
Methods.
Current edition approved April 10, 2002. Published June 2002. Originally
3
published as D 2412 – 65 T. Last previous edition D 2412 – 96a. Annual Book of ASTM Standards, Vol 08.04.
2 4
Annual Book of ASTM Standards, Vol 08.01. Annual Book of ASTM Standards, Vol 14.02.
Copyright © ASTM International, 100 Barr Harbor Drive, PO Box C700, West Conshohocken, PA 19428-2959, United States.
1
---------------------- Page: 1 ----------------------
D 2412–02
may be required to limit plate bending.
3.2.6.3 wall cracking—the occurence of a break in the pipe
wall visible to the unaided eye.
6.3 Deformation (Deflection) Indicator— The change in
3.2.6.4 wall delamination—the occurrence of any separa-
inside diameter, or deformation parallel to the direction of
tion in the components of the pipe wall visible to the unaided
loading, shall be measured with a suitable inst
...


Questions, Comments and Discussion
Ask us and Technical Secretary will try to provide an answer. You can facilitate discussion about the standard in here.