ASTM F459-84(1995)e1
(Test Method)Standard Test Methods for Measuring Pull Strength of Microelectronic Wire Bonds
Standard Test Methods for Measuring Pull Strength of Microelectronic Wire Bonds
SCOPE
1.1 These test methods cover tests to determine the pull strength of a series of wire bonds. Instructions are provided to modify the methods for use as a referee method. The methods can be used for wire bonds made with wire having a diameter of from 0.0007 to 0.003 in. (18 to 76 m).
Note 1--Common usage at the present time considers the term "wire bond" to include the entire interconnection: both welds and the intervening wire span.
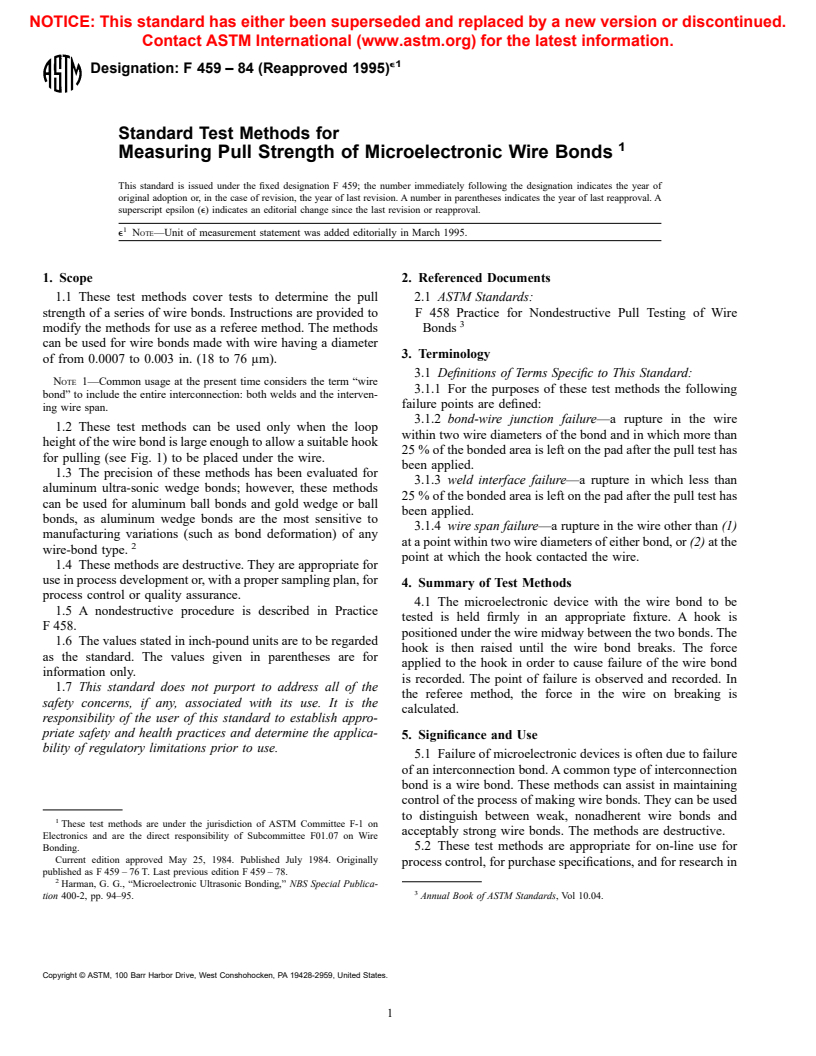
1.2 These test methods can be used only when the loop height of the wire bond is large enough to allow a suitable hook for pulling (see Fig. 1 ) to be placed under the wire.
1.3 The precision of these methods has been evaluated for aluminum ultra-sonic wedge bonds; however, these methods can be used for aluminum ball bonds and gold wedge or ball bonds, as aluminum wedge bonds are the most sensitive to manufacturing variations (such as bond deformation) of any wire-bond type.
1.4 These methods are destructive. They are appropriate for use in process development or, with a proper sampling plan, for process control or quality assurance.
1.5 A nondestructive procedure is described in Practice F458.
1.6 The values stated in inch-pound units are to be regarded as the standard. The values given in parentheses are for information only.
1.7 This standard does not purport to address all of the safety concerns, if any, associated with its use. It is the responsibility of the user of this standard to establish appropriate safety and health practices and determine the applicability of regulatory limitations prior to use.
General Information
Relations
Standards Content (Sample)
NOTICE: This standard has either been superseded and replaced by a new version or discontinued.
Contact ASTM International (www.astm.org) for the latest information.
e1
Designation: F 459 – 84 (Reapproved 1995)
Standard Test Methods for
Measuring Pull Strength of Microelectronic Wire Bonds
This standard is issued under the fixed designation F 459; the number immediately following the designation indicates the year of
original adoption or, in the case of revision, the year of last revision. A number in parentheses indicates the year of last reapproval. A
superscript epsilon (e) indicates an editorial change since the last revision or reapproval.
e NOTE—Unit of measurement statement was added editorially in March 1995.
1. Scope 2. Referenced Documents
1.1 These test methods cover tests to determine the pull 2.1 ASTM Standards:
strength of a series of wire bonds. Instructions are provided to F 458 Practice for Nondestructive Pull Testing of Wire
modify the methods for use as a referee method. The methods Bonds
can be used for wire bonds made with wire having a diameter
3. Terminology
of from 0.0007 to 0.003 in. (18 to 76 μm).
3.1 Definitions of Terms Specific to This Standard:
NOTE 1—Common usage at the present time considers the term “wire
3.1.1 For the purposes of these test methods the following
bond” to include the entire interconnection: both welds and the interven-
failure points are defined:
ing wire span.
3.1.2 bond-wire junction failure—a rupture in the wire
1.2 These test methods can be used only when the loop
within two wire diameters of the bond and in which more than
height of the wire bond is large enough to allow a suitable hook
25 % of the bonded area is left on the pad after the pull test has
for pulling (see Fig. 1) to be placed under the wire.
been applied.
1.3 The precision of these methods has been evaluated for
3.1.3 weld interface failure—a rupture in which less than
aluminum ultra-sonic wedge bonds; however, these methods
25 % of the bonded area is left on the pad after the pull test has
can be used for aluminum ball bonds and gold wedge or ball
been applied.
bonds, as aluminum wedge bonds are the most sensitive to
3.1.4 wire span failure—a rupture in the wire other than (1)
manufacturing variations (such as bond deformation) of any
at a point within two wire diameters of either bond, or (2) at the
wire-bond type.
point at which the hook contacted the wire.
1.4 These methods are destructive. They are appropriate for
use in process development or, with a proper sampling plan, for
4. Summary of Test Methods
process control or quality assurance.
4.1 The microelectronic device with the wire bond to be
1.5 A nondestructive procedure is described in Practice
tested is held firmly in an appropriate fixture. A hook is
F 458.
positioned under the wire midway between the two bonds. The
1.6 The values stated in inch-pound units are to be regarded
hook is then raised until the wire bond breaks. The force
as the standard. The values given in parentheses are for
applied to the hook in order to cause failure of the wire bond
information only.
is recorded. The point of failure is observed and recorded. In
1.7 This standard does not purport to address all of the
the referee method, the force in the wire on breaking is
safety concerns, if any, associated with its use. It is the
calculated.
responsibility of the user of this standard to establish appro-
priate safety and health practices and determine the applica-
5. Significance and Use
bility of regulatory limitations prior to use.
5.1 Failure of microelectronic devices is often due to failure
of an interconnection bond. A common type of interconnection
bond is a wire bond. These methods can assist in maintaining
control of the process of making wire bonds. They can be used
to distinguish between weak, nonadherent wire bonds and
These test methods are under the jurisdiction of ASTM Committee F-1 on
acceptably strong wire bonds. The methods are destructive.
Electronics and are the direct responsibility of Subcommittee F01.07 on Wire
5.2 These test methods are appropriate for on-line use for
Bonding.
Current edition approved May 25, 1984. Published July 1984. Originally
process control, for purchase specifications, and for research in
published as F 459 – 76 T. Last previous edition F 459 – 78.
Harman, G. G., “Microelectronic Ultrasonic Bonding,” NBS Special Publica-
tion 400-2, pp. 94–95. Annual Book of ASTM Standards, Vol 10.04.
Copyright © ASTM, 100 Barr Harbor Drive, West Conshohocken, PA 19428-2959, United States.
F 459
FIG. 1 Suggested Configuration for a Pulling Hook
support of improved yield or reliability. The referee method 143 to 603 with the eyepiece not to exceed 103, for viewing
should be used for quantitative comparison of pull strengths of the device under test.
wire bonds. 7.1.4 Device Holder—Mechanism for holding the device
under test (1) in a horizontal position, for Method A, or (2) in
6. Interferences
either a horizontal or a tipped position so that both bonds are
6.1 Failure to center the hook along the loop between the in the same horizontal plane, for Method B. For the referee
two bonds or pulling in a direction not lying in the plane
Method C, the device holder should provide a measurement, to
containing the undisturbed loop may invalidate the test since an within 2°, of the angle from the horizontal (which may be zero)
unbalanced distribution of forces between the two bonds may
through which the device has been tipped.
result. 7.1.5 Calibration Masses—At least five masses (weights)
6.2 Slippage of the hook along the wire span during pulling
with mass values known to within 0.5 % sized to cover the
may invalidate the test because an unbalanced distribution of
lifting-and-gaging mechanism range of force measurement,
forces between the two bonds may result.
and suitably configured so that they may be supported by the
6.3 Careless insertion of the hook may damage either bond
pulling mechanism for calibration.
or wire and thus invalidate the test.
8. Sampling
6.4 The presence of vibration or mechanical shock may
8.1 Since the pull-test method is destructive, it shall be
cause the application of an extraneous force and thus invalidate
performed on a sampling basis. The sample selected should be
the test.
representative of the wire bonds of interest. The size of the
6.5 Measured bond-pull force is strongly dependent on the
sample and the method of selection shall be agreed upon by the
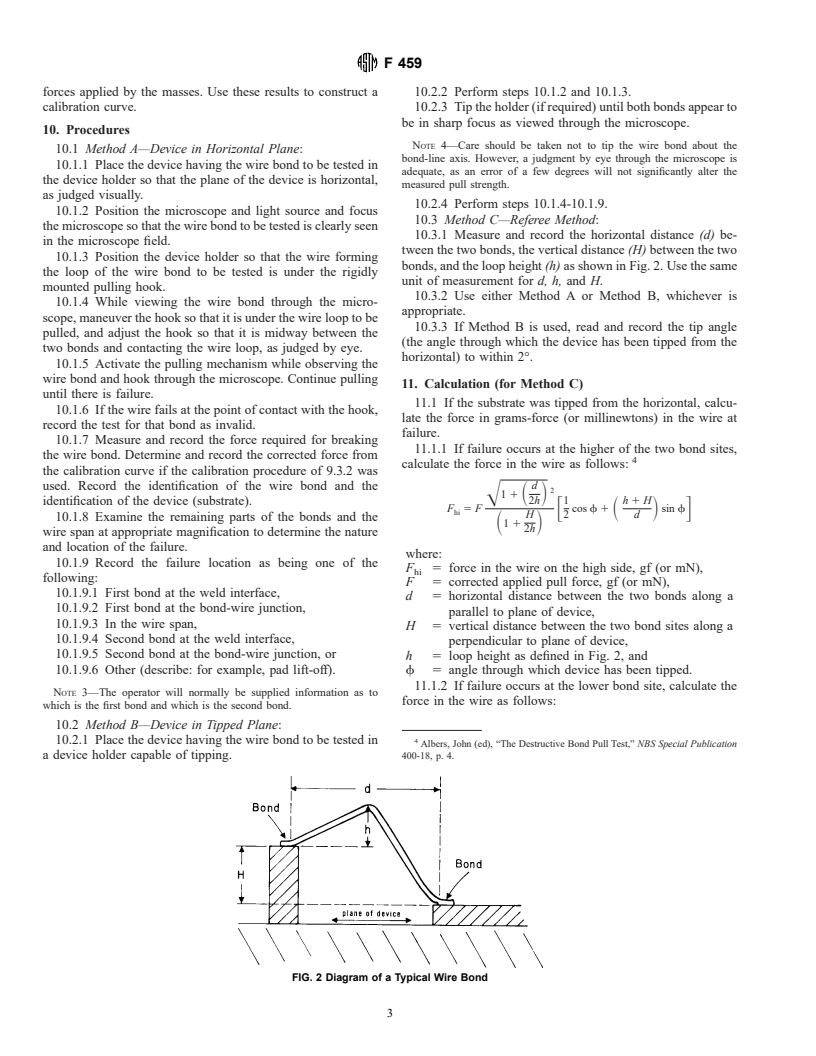
height of the loop (H+h, as defined in 11.1.1) and the
parties to the test.
bond-to-bond spacing (d, as defined in 11.1.1).
9. Calibration
7. Apparatus
9.1 Calibrate the bond-pulling machine at the beginning of
7.1 Bond-Pulling Machine—Apparatus for measuring wire-
each series of tests, or daily if a series spans more than one day.
bond pull strength with the following components:
9.2 Assemble the bond-pulling machine in the same con-
7.1.1 Hook—Pulling hook made from rigid wire such as
figuration to be used to perform the wire-bond pull test.
tungsten. The diameter of that part of the hook that contacts the
9.3 Calibrate the lifting-and-gaging mechanism.
wire loop should be approximately 2.5 times the diameter of
9.3.1 For mechanisms incorporating a calibration adjust-
the wire used to make the wire bond. A suggested hook
ment, either calibrate the mechanism in accordance with the
configuration is shown in Fig. 1. The hook should appear under
manufacturer’s instructions or in accordance with the proce-
visual inspection to have a smooth polished surface with no
dure of 9.3.2.
sharp edges in any part of the hook that contacts the wire loop.
9.3.2 For mechanisms without a calibration adjustment, use
The hook should be rigidly mounted in the pulling apparatus.
the following procedure:
7.1.2 Lifting-and-Gaging Mechanism—Mechanism for ap-
9.3.2.1 Select masses that will provide at least five calibra-
plying a measured vertical force to the hook. The mechanism
tion points over the mechanism range.
shall incorporate a means for recording the maximum force
9.3.2.2 Attach a selected calibration mass to the lifting-and-
applied and shall be capable of applying force at a rate constant
gaging mechanism. If a lever-arm mechanism (dynamometer
to within 2 gf/s (20 mN/s) in the range from 1 to 30 gf/s (10 to
or gram gage) is used, rotate the body of the gage in a manner
290 mN/s) inclusive. A mechanism with a single fixed scale
that maintains the arm (carrying the hook) in a horizontal
shall have a maximum
...


Questions, Comments and Discussion
Ask us and Technical Secretary will try to provide an answer. You can facilitate discussion about the standard in here.