ASTM D790-07e1
(Test Method)Standard Test Methods for Flexural Properties of Unreinforced and Reinforced Plastics and Electrical Insulating Materials
Standard Test Methods for Flexural Properties of Unreinforced and Reinforced Plastics and Electrical Insulating Materials
SIGNIFICANCE AND USE
Flexural properties as determined by these test methods are especially useful for quality control and specification purposes.
Materials that do not fail by the maximum strain allowed under these test methods (3-point bend) may be more suited to a 4-point bend test. The basic difference between the two test methods is in the location of the maximum bending moment and maximum axial fiber stresses. The maximum axial fiber stresses occur on a line under the loading nose in 3-point bending and over the area between the loading noses in 4-point bending.
Flexural properties may vary with specimen depth, temperature, atmospheric conditions, and the difference in rate of straining as specified in Procedures A and B (see also Note 7).
Before proceeding with these test methods, reference should be made to the ASTM specification of the material being tested. Any test specimen preparation, conditioning, dimensions, or testing parameters, or combination thereof, covered in the ASTM material specification shall take precedence over those mentioned in these test methods. Table 1 in Classification System D 4000 lists the ASTM material specifications that currently exist for plastics.
SCOPE
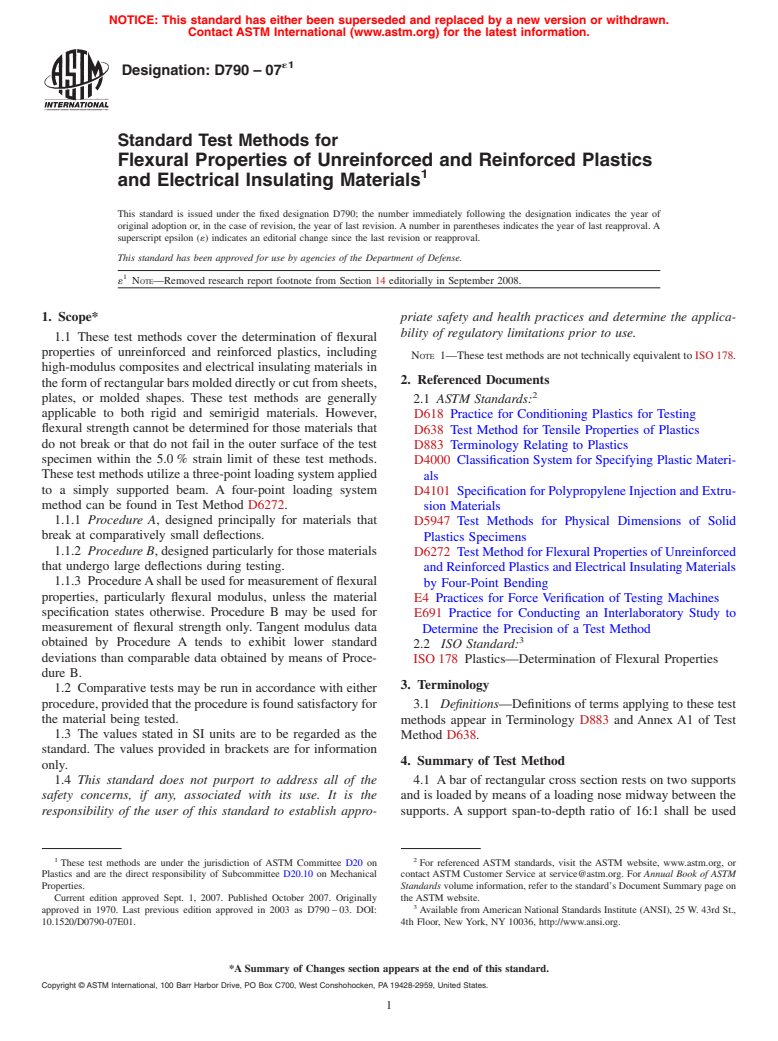
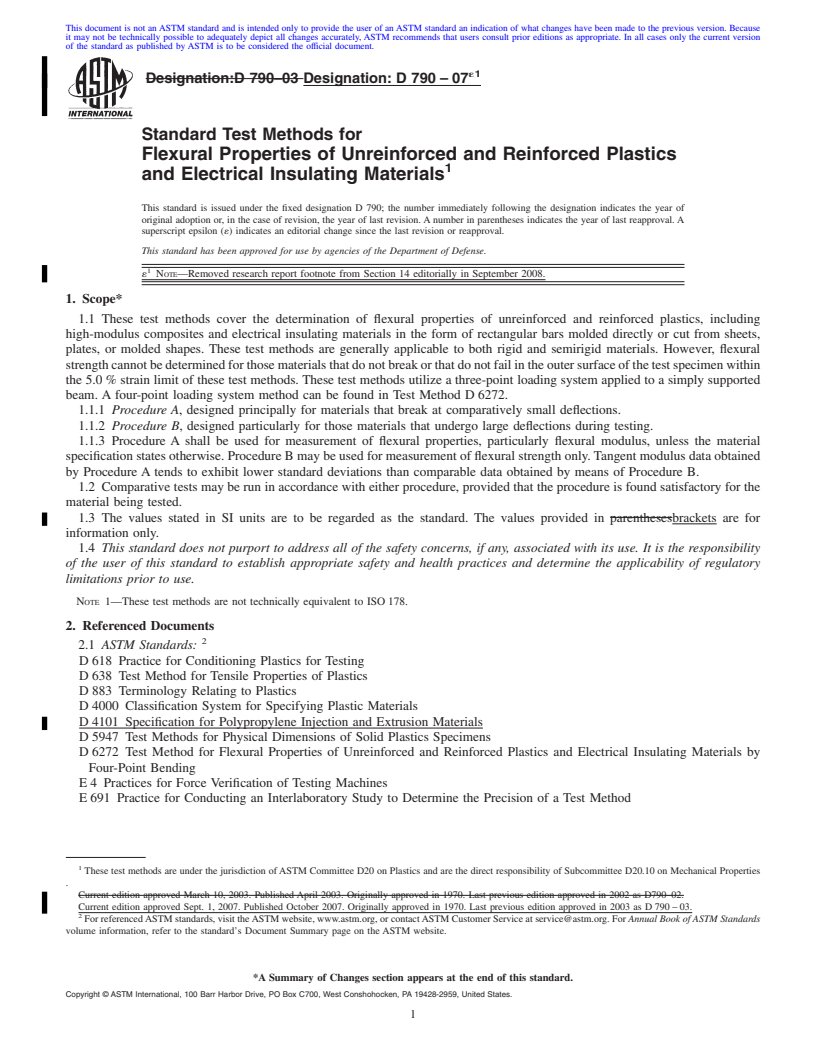
1.1 These test methods cover the determination of flexural properties of unreinforced and reinforced plastics, including high-modulus composites and electrical insulating materials in the form of rectangular bars molded directly or cut from sheets, plates, or molded shapes. These test methods are generally applicable to both rigid and semirigid materials. However, flexural strength cannot be determined for those materials that do not break or that do not fail in the outer surface of the test specimen within the 5.0 % strain limit of these test methods. These test methods utilize a three-point loading system applied to a simply supported beam. A four-point loading system method can be found in Test Method D 6272.
1.1.1 Procedure A, designed principally for materials that break at comparatively small deflections.
1.1.2 Procedure B, designed particularly for those materials that undergo large deflections during testing.
1.1.3 Procedure A shall be used for measurement of flexural properties, particularly flexural modulus, unless the material specification states otherwise. Procedure B may be used for measurement of flexural strength only. Tangent modulus data obtained by Procedure A tends to exhibit lower standard deviations than comparable data obtained by means of Procedure B.
1.2 Comparative tests may be run in accordance with either procedure, provided that the procedure is found satisfactory for the material being tested.
1.3 The values stated in SI units are to be regarded as the standard. The values provided in brackets are for information only.
1.4 This standard does not purport to address all of the safety concerns, if any, associated with its use. It is the responsibility of the user of this standard to establish appropriate safety and health practices and determine the applicability of regulatory limitations prior to use.
Note 1—These test methods are not technically equivalent to ISO 178.
General Information
Relations
Buy Standard
Standards Content (Sample)
NOTICE: This standard has either been superseded and replaced by a new version or withdrawn.
Contact ASTM International (www.astm.org) for the latest information.
´1
Designation:D790–07
Standard Test Methods for
Flexural Properties of Unreinforced and Reinforced Plastics
1
and Electrical Insulating Materials
This standard is issued under the fixed designation D790; the number immediately following the designation indicates the year of
original adoption or, in the case of revision, the year of last revision. A number in parentheses indicates the year of last reapproval. A
superscript epsilon (´) indicates an editorial change since the last revision or reapproval.
This standard has been approved for use by agencies of the Department of Defense.
1
´ NOTE—Removed research report footnote from Section 14 editorially in September 2008.
1. Scope* priate safety and health practices and determine the applica-
bility of regulatory limitations prior to use.
1.1 These test methods cover the determination of flexural
properties of unreinforced and reinforced plastics, including
NOTE 1—These test methods are not technically equivalent to ISO 178.
high-modulus composites and electrical insulating materials in
2. Referenced Documents
theformofrectangularbarsmoldeddirectlyorcutfromsheets,
2
plates, or molded shapes. These test methods are generally
2.1 ASTM Standards:
applicable to both rigid and semirigid materials. However,
D618 Practice for Conditioning Plastics for Testing
flexural strength cannot be determined for those materials that
D638 Test Method for Tensile Properties of Plastics
do not break or that do not fail in the outer surface of the test
D883 Terminology Relating to Plastics
specimen within the 5.0 % strain limit of these test methods.
D4000 Classification System for Specifying Plastic Materi-
These test methods utilize a three-point loading system applied
als
to a simply supported beam. A four-point loading system
D4101 Specification for Polypropylene Injection and Extru-
method can be found in Test Method D6272.
sion Materials
1.1.1 Procedure A, designed principally for materials that
D5947 Test Methods for Physical Dimensions of Solid
break at comparatively small deflections.
Plastics Specimens
1.1.2 Procedure B, designed particularly for those materials
D6272 Test Method for Flexural Properties of Unreinforced
that undergo large deflections during testing.
and Reinforced Plastics and Electrical Insulating Materials
1.1.3 ProcedureAshall be used for measurement of flexural
by Four-Point Bending
properties, particularly flexural modulus, unless the material
E4 Practices for Force Verification of Testing Machines
specification states otherwise. Procedure B may be used for
E691 Practice for Conducting an Interlaboratory Study to
measurement of flexural strength only. Tangent modulus data
Determine the Precision of a Test Method
3
obtained by Procedure A tends to exhibit lower standard
2.2 ISO Standard:
deviations than comparable data obtained by means of Proce-
ISO 178 Plastics—Determination of Flexural Properties
dure B.
3. Terminology
1.2 Comparative tests may be run in accordance with either
procedure, provided that the procedure is found satisfactory for 3.1 Definitions—Definitions of terms applying to these test
the material being tested.
methods appear in Terminology D883 and Annex A1 of Test
1.3 The values stated in SI units are to be regarded as the Method D638.
standard. The values provided in brackets are for information
4. Summary of Test Method
only.
1.4 This standard does not purport to address all of the 4.1 Abar of rectangular cross section rests on two supports
safety concerns, if any, associated with its use. It is the and is loaded by means of a loading nose midway between the
responsibility of the user of this standard to establish appro- supports. A support span-to-depth ratio of 16:1 shall be used
1 2
These test methods are under the jurisdiction of ASTM Committee D20 on For referenced ASTM standards, visit the ASTM website, www.astm.org, or
Plastics and are the direct responsibility of Subcommittee D20.10 on Mechanical contact ASTM Customer Service at service@astm.org. For Annual Book of ASTM
Properties. Standards volume information, refer to the standard’s Document Summary page on
Current edition approved Sept. 1, 2007. Published October 2007. Originally the ASTM website.
3
approved in 1970. Last previous edition approved in 2003 as D790 – 03. DOI: Available fromAmerican National Standards Institute (ANSI), 25 W. 43rd St.,
10.1520/D0790-07E01. 4th Floor, New York, NY 10036, http://www.ansi.org.
*A Summary of Changes section appears at the end of this standard.
Copyright © ASTM International, 100 Barr Harbor Drive, PO Box C700, West Conshohocken, PA 19428-2959, United States.
1
---------------------- Page: 1 ----------------------
´1
D790–07
unless there is reason to suspect that a larger span-to-depth measuring device. The stiffness of the testing machine shall be
ratio may be required, as ma
...
This document is not an ASTM standard and is intended only to provide the user of an ASTM standard an indication of what changes have been made to the previous version. Because
it may not be technically possible to adequately depict all changes accurately, ASTM recommends that users consult prior editions as appropriate. In all cases only the current version
of the standard as published by ASTM is to be considered the official document.
´1
Designation:D 790–03 Designation:D 790–07
Standard Test Methods for
Flexural Properties of Unreinforced and Reinforced Plastics
1
and Electrical Insulating Materials
This standard is issued under the fixed designation D 790; the number immediately following the designation indicates the year of
original adoption or, in the case of revision, the year of last revision. A number in parentheses indicates the year of last reapproval. A
superscript epsilon (´) indicates an editorial change since the last revision or reapproval.
This standard has been approved for use by agencies of the Department of Defense.
1
´ NOTE—Removed research report footnote from Section 14 editorially in September 2008.
1. Scope*
1.1 These test methods cover the determination of flexural properties of unreinforced and reinforced plastics, including
high-modulus composites and electrical insulating materials in the form of rectangular bars molded directly or cut from sheets,
plates, or molded shapes. These test methods are generally applicable to both rigid and semirigid materials. However, flexural
strengthcannotbedeterminedforthosematerialsthatdonotbreakorthatdonotfailintheoutersurfaceofthetestspecimenwithin
the 5.0 % strain limit of these test methods. These test methods utilize a three-point loading system applied to a simply supported
beam. A four-point loading system method can be found in Test Method D 6272.
1.1.1 Procedure A, designed principally for materials that break at comparatively small deflections.
1.1.2 Procedure B, designed particularly for those materials that undergo large deflections during testing.
1.1.3 Procedure A shall be used for measurement of flexural properties, particularly flexural modulus, unless the material
specification states otherwise. Procedure B may be used for measurement of flexural strength only.Tangent modulus data obtained
by Procedure A tends to exhibit lower standard deviations than comparable data obtained by means of Procedure B.
1.2 Comparative tests may be run in accordance with either procedure, provided that the procedure is found satisfactory for the
material being tested.
1.3 The values stated in SI units are to be regarded as the standard. The values provided in parenthesesbrackets are for
information only.
1.4 This standard does not purport to address all of the safety concerns, if any, associated with its use. It is the responsibility
of the user of this standard to establish appropriate safety and health practices and determine the applicability of regulatory
limitations prior to use.
NOTE 1—These test methods are not technically equivalent to ISO 178.
2. Referenced Documents
2
2.1 ASTM Standards:
D 618 Practice for Conditioning Plastics for Testing
D 638 Test Method for Tensile Properties of Plastics
D 883 Terminology Relating to Plastics
D 4000 Classification System for Specifying Plastic Materials
D 4101 Specification for Polypropylene Injection and Extrusion Materials
D 5947 Test Methods for Physical Dimensions of Solid Plastics Specimens
D 6272 Test Method for Flexural Properties of Unreinforced and Reinforced Plastics and Electrical Insulating Materials by
Four-Point Bending
E 4 Practices for Force Verification of Testing Machines
E 691 Practice for Conducting an Interlaboratory Study to Determine the Precision of a Test Method
1
These test methods are under the jurisdiction ofASTM Committee D20 on Plastics and are the direct responsibility of Subcommittee D20.10 on Mechanical Properties
.
Current edition approved March 10, 2003. Published April 2003. Originally approved in 1970. Last previous edition approved in 2002 as D790–02.
Current edition approved Sept. 1, 2007. Published October 2007. Originally approved in 1970. Last previous edition approved in 2003 as D 790 – 03.
2
For referencedASTM standards, visit theASTM website, www.astm.org, or contactASTM Customer Service at service@astm.org. For Annual Book of ASTM Standards
volume information, refer to the standard’s Document Summary page on the ASTM website.
*A Summary of Changes section appears at the end of this standard.
Copyright © ASTM International, 100 Barr Harbor Drive, PO Box C700, West Conshohocken, PA 19428-2959, United States.
1
---------------------- Page: 1 ----------------------
´1
D790–07
3
2.2 ISO Standard:
ISO 178 Plastics—Determination of Flexural Properties
3. Terminology
3.1 Definitions—Definitions of terms applying to these test methods appear in Terminology D 883 and Annex A1 of Test
Method D 638.
4. Summary of Test Method
4.1 A bar of rectangular cross section rests on tw
...


Questions, Comments and Discussion
Ask us and Technical Secretary will try to provide an answer. You can facilitate discussion about the standard in here.