ASTM D696-08
(Test Method)Standard Test Method for Coefficient of Linear Thermal Expansion of Plastics Between -30°C and 30°C With a Vitreous Silica Dilatometer
Standard Test Method for Coefficient of Linear Thermal Expansion of Plastics Between -30°C and 30°C With a Vitreous Silica Dilatometer
SIGNIFICANCE AND USE
The coefficient of linear thermal expansion, α, between temperatures T1 and T2 for a specimen whose length is L 0 at the reference temperature, is given by the following equation:
where L1 and L2 are the specimen lengths at temperatures T1 and T2, respectively. α is, therefore, obtained by dividing the linear expansion per unit length by the change in temperature.
The nature of most plastics and the construction of the dilatometer make −30 to +30°C (−22°F to +54°F) a convenient temperature range for linear thermal expansion measurements of plastics. This range covers the temperatures in which plastics are most commonly used. Where testing outside of this temperature range or when linear thermal expansion characteristics of a particular plastic are not known through this temperature range, particular attention shall be paid to the factors mentioned in 1.2 and special preliminary investigations by thermo-mechanical analysis, such as that prescribed in Practice D 4065 for the location of transition temperatures, may be required to avoid excessive error. Other ways of locating phase changes or transition temperatures using the dilatometer itself may be employed to cover the range of temperatures in question by using smaller steps than 30°C (54°F) or by observing the rate of expansion during a steady rise in temperature of the specimen. Once such a transition point has been located, a separate coefficient of expansion for a temperature range below and above the transition point shall be determined. For specification and comparison purposes, the range from −30°C to +30°C (−22°F to +86°F) (provided it is known that no transition exists in this range) shall be used.
SCOPE
1.1 This test method covers determination of the coefficient of linear thermal expansion for plastic materials having coefficients of expansion greater than 1 × 10⁻⁶/°C by use of a vitreous silica dilatometer. At the test temperatures and under the stresses imposed, the plastic materials shall have a negligible creep or elastic strain rate or both, insofar as these properties would significantly affect the accuracy of the measurements.
Note 1—There is no similar or equivalent ISO standard.
1.1.1 Test Method E 228 shall be used for temperatures other than −30°C to 30°C.
1.1.2 This test method shall not be used for measurements on materials having a very low coefficient of expansion (less than 1 × 10⁻⁶/°C). For materials having very low coefficient of expansion, interferometer or capacitance techniques are recommended.
1.2 The thermal expansion of a plastic is composed of a reversible component on which are superimposed changes in length due to changes in moisture content, curing, loss of plasticizer or solvents, release of stresses, phase changes and other factors. This test method is intended for determining the coefficient of linear thermal expansion under the exclusion of these factors as far as possible. In general, it will not be possible to exclude the effect of these factors completely. For this reason, the test method can be expected to give only an approximation to the true thermal expansion.
1.3 The values stated in SI units are to be regarded as standard. The values in parentheses are for information only.
1.4 This standard does not purport to address all of the safety concerns, if any, associated with its use. It is the responsibility of the user of this standard to establish appropriate safety and health practices and determine the applicability of regulatory limitations prior to use.
General Information
Relations
Buy Standard
Standards Content (Sample)
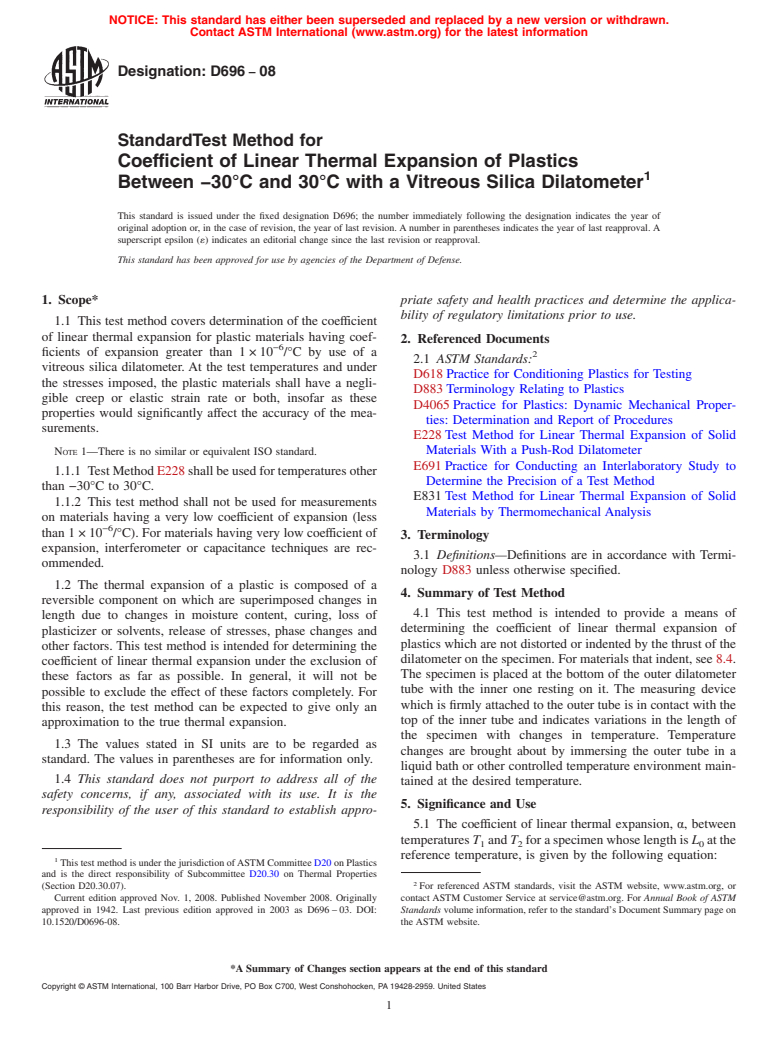
NOTICE: This standard has either been superseded and replaced by a new version or withdrawn.
Contact ASTM International (www.astm.org) for the latest information
Designation: D696 − 08
StandardTest Method for
Coefficient of Linear Thermal Expansion of Plastics
1
Between −30°C and 30°C with a Vitreous Silica Dilatometer
This standard is issued under the fixed designation D696; the number immediately following the designation indicates the year of
original adoption or, in the case of revision, the year of last revision.Anumber in parentheses indicates the year of last reapproval.A
superscript epsilon (´) indicates an editorial change since the last revision or reapproval.
This standard has been approved for use by agencies of the Department of Defense.
1. Scope* priate safety and health practices and determine the applica-
bility of regulatory limitations prior to use.
1.1 This test method covers determination of the coefficient
of linear thermal expansion for plastic materials having coef-
2. Referenced Documents
−6
ficients of expansion greater than 1×10 /°C by use of a
2
2.1 ASTM Standards:
vitreous silica dilatometer. At the test temperatures and under
D618Practice for Conditioning Plastics for Testing
the stresses imposed, the plastic materials shall have a negli-
D883Terminology Relating to Plastics
gible creep or elastic strain rate or both, insofar as these
D4065Practice for Plastics: Dynamic Mechanical Proper-
properties would significantly affect the accuracy of the mea-
ties: Determination and Report of Procedures
surements.
E228Test Method for Linear Thermal Expansion of Solid
NOTE 1—There is no similar or equivalent ISO standard. Materials With a Push-Rod Dilatometer
E691Practice for Conducting an Interlaboratory Study to
1.1.1 TestMethodE228shallbeusedfortemperaturesother
Determine the Precision of a Test Method
than −30°C to 30°C.
E831Test Method for Linear Thermal Expansion of Solid
1.1.2 This test method shall not be used for measurements
Materials by Thermomechanical Analysis
on materials having a very low coefficient of expansion (less
−6
than 1×10 /°C). For materials having very low coefficient of
3. Terminology
expansion, interferometer or capacitance techniques are rec-
3.1 Definitions—Definitions are in accordance with Termi-
ommended.
nology D883 unless otherwise specified.
1.2 The thermal expansion of a plastic is composed of a
4. Summary of Test Method
reversible component on which are superimposed changes in
4.1 This test method is intended to provide a means of
length due to changes in moisture content, curing, loss of
determining the coefficient of linear thermal expansion of
plasticizer or solvents, release of stresses, phase changes and
plastics which are not distorted or indented by the thrust of the
other factors. This test method is intended for determining the
dilatometer on the specimen. For materials that indent, see 8.4.
coefficient of linear thermal expansion under the exclusion of
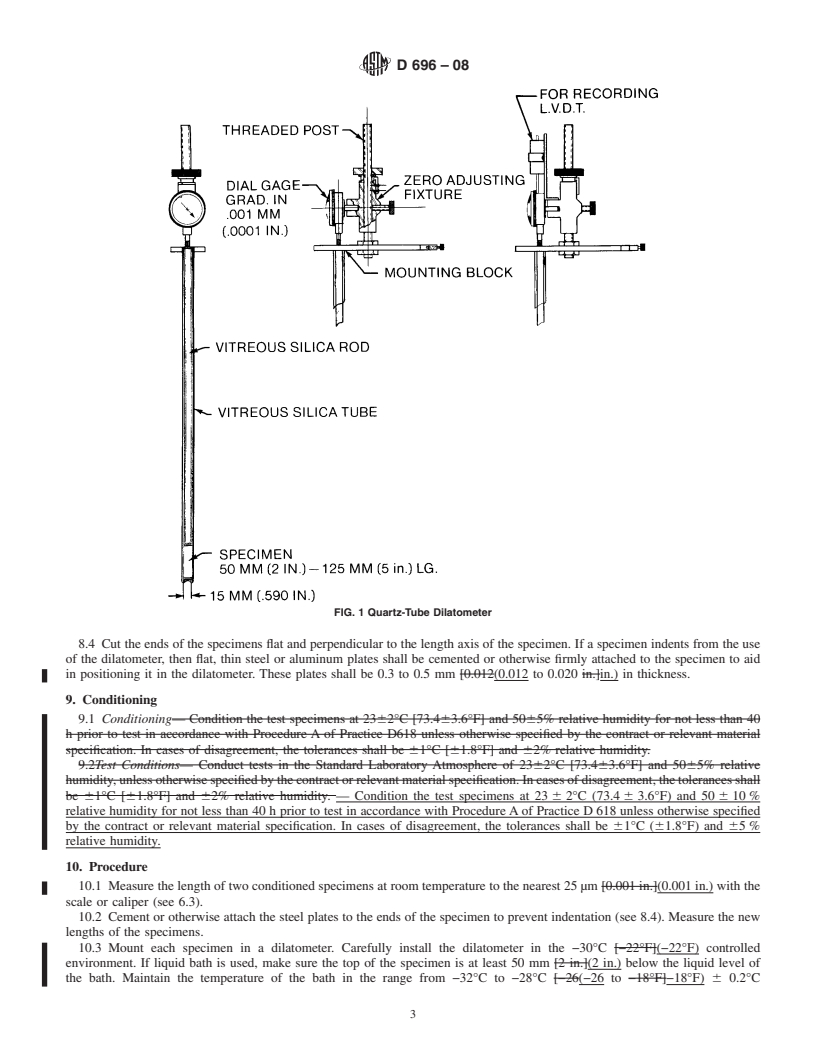
The specimen is placed at the bottom of the outer dilatometer
these factors as far as possible. In general, it will not be
tube with the inner one resting on it. The measuring device
possible to exclude the effect of these factors completely. For
which is firmly attached to the outer tube is in contact with the
this reason, the test method can be expected to give only an
top of the inner tube and indicates variations in the length of
approximation to the true thermal expansion.
the specimen with changes in temperature. Temperature
1.3 The values stated in SI units are to be regarded as
changes are brought about by immersing the outer tube in a
standard. The values in parentheses are for information only.
liquid bath or other controlled temperature environment main-
1.4 This standard does not purport to address all of the
tained at the desired temperature.
safety concerns, if any, associated with its use. It is the
5. Significance and Use
responsibility of the user of this standard to establish appro-
5.1 The coefficient of linear thermal expansion, α, between
temperatures T and T foraspecimenwhoselengthis L atthe
1 2 0
reference temperature, is given by the following equation:
1
ThistestmethodisunderthejurisdictionofASTMCommitteeD20onPlastics
and is the direct responsibility of Subcommittee D20.30 on Thermal Properties
2
(Section D20.30.07). For referenced ASTM standards, visit the ASTM website, www.astm.org, or
Current edition approved Nov. 1, 2008. Published November 2008. Originally contact ASTM Customer Service at service@astm.org. For Annual Book of ASTM
approved in 1942. Last previous edition approved in 2003 as D696–03. DOI: Standards volume information, refer to the standard’s Document Summary page on
10.1520/D0696-08. the ASTM website.
*A Summary of Changes section appears at the end of this standard
Copyright © ASTM International, 100 Barr Harbor Drive, PO Box C700, West Conshohocken, PA 19428-2959. United States
1
---------------------- Page: 1 ----------------------
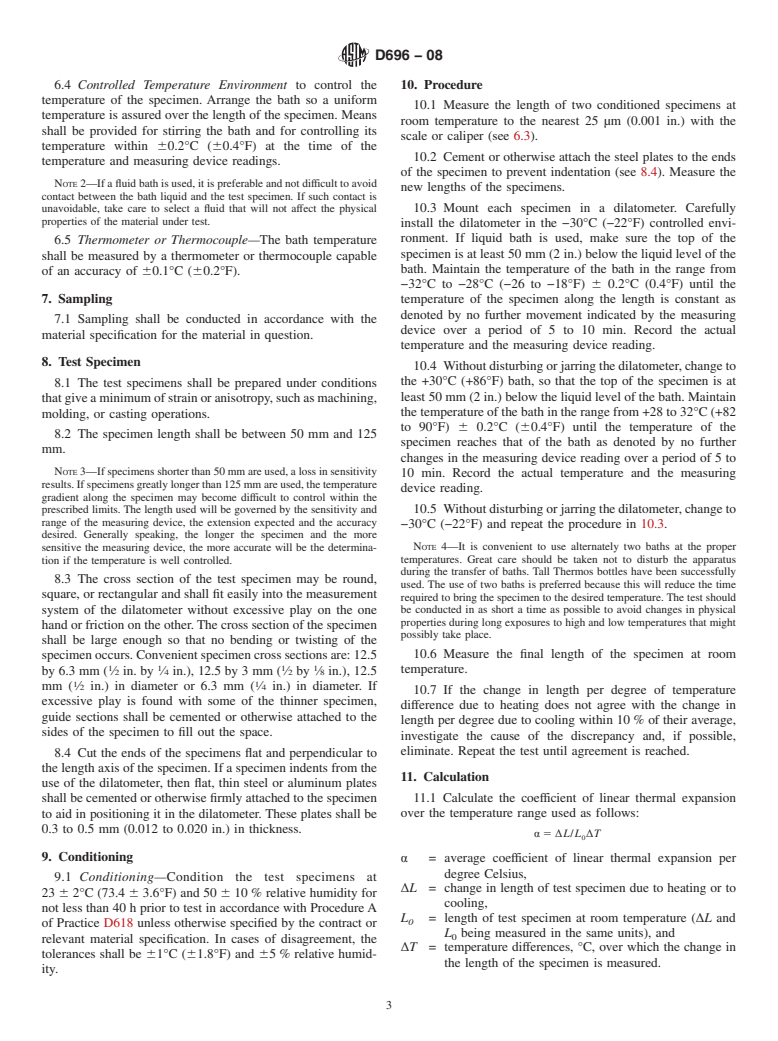
D696 − 08
α 5 L 2
...
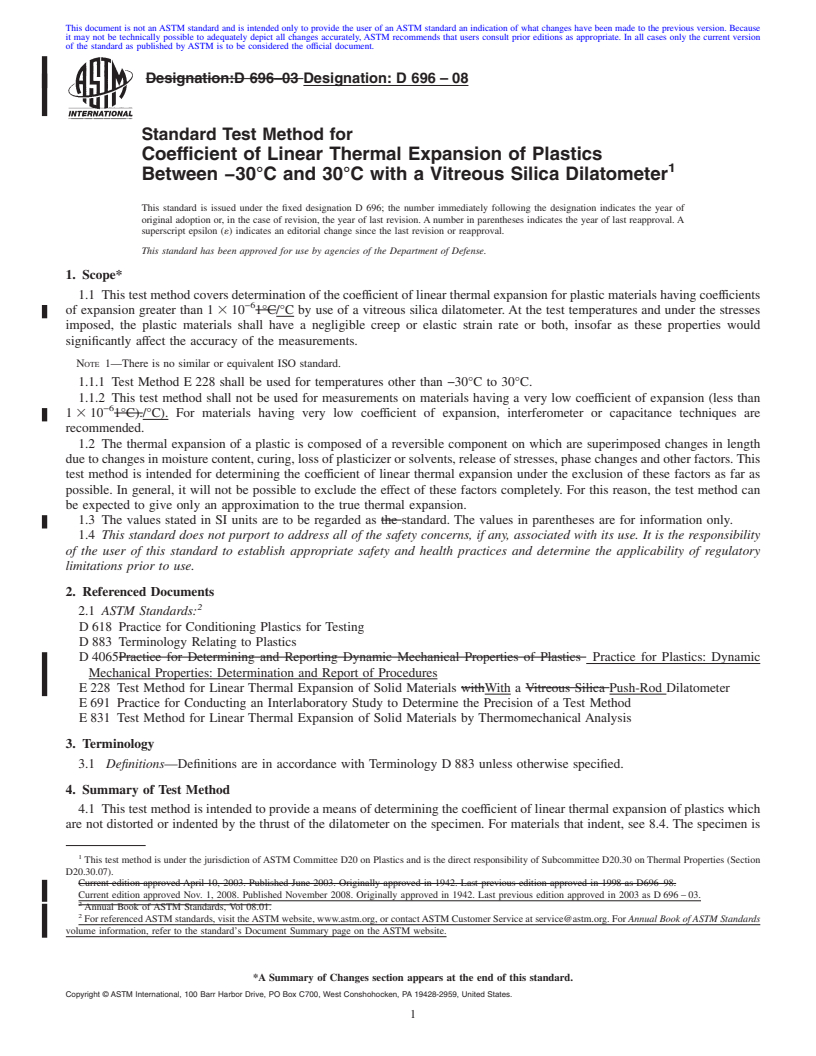
This document is not anASTM standard and is intended only to provide the user of anASTM standard an indication of what changes have been made to the previous version. Because
it may not be technically possible to adequately depict all changes accurately, ASTM recommends that users consult prior editions as appropriate. In all cases only the current version
of the standard as published by ASTM is to be considered the official document.
Designation:D 696–03 Designation: D 696 – 08
Standard Test Method for
Coefficient of Linear Thermal Expansion of Plastics
1
Between −30°C and 30°C with a Vitreous Silica Dilatometer
This standard is issued under the fixed designation D 696; the number immediately following the designation indicates the year of
original adoption or, in the case of revision, the year of last revision.Anumber in parentheses indicates the year of last reapproval.A
superscript epsilon (´) indicates an editorial change since the last revision or reapproval.
This standard has been approved for use by agencies of the Department of Defense.
1. Scope*
1.1 Thistestmethodcoversdeterminationofthecoefficientoflinearthermalexpansionforplasticmaterialshavingcoefficients
−6
of expansion greater than 1 310 1°C/°C by use of a vitreous silica dilatometer. At the test temperatures and under the stresses
imposed, the plastic materials shall have a negligible creep or elastic strain rate or both, insofar as these properties would
significantly affect the accuracy of the measurements.
NOTE 1—There is no similar or equivalent ISO standard.
1.1.1 Test Method E228 shall be used for temperatures other than −30°C to 30°C.
1.1.2 This test method shall not be used for measurements on materials having a very low coefficient of expansion (less than
−6
1 310 1°C)./°C). For materials having very low coefficient of expansion, interferometer or capacitance techniques are
recommended.
1.2 The thermal expansion of a plastic is composed of a reversible component on which are superimposed changes in length
duetochangesinmoisturecontent,curing,lossofplasticizerorsolvents,releaseofstresses,phasechangesandotherfactors.This
test method is intended for determining the coefficient of linear thermal expansion under the exclusion of these factors as far as
possible. In general, it will not be possible to exclude the effect of these factors completely. For this reason, the test method can
be expected to give only an approximation to the true thermal expansion.
1.3 The values stated in SI units are to be regarded as the standard. The values in parentheses are for information only.
1.4 This standard does not purport to address all of the safety concerns, if any, associated with its use. It is the responsibility
of the user of this standard to establish appropriate safety and health practices and determine the applicability of regulatory
limitations prior to use.
2. Referenced Documents
2
2.1 ASTM Standards:
D618 Practice for Conditioning Plastics for Testing
D883 Terminology Relating to Plastics
D4065Practice for Determining and Reporting Dynamic Mechanical Properties of Plastics Practice for Plastics: Dynamic
Mechanical Properties: Determination and Report of Procedures
E228 Test Method for Linear Thermal Expansion of Solid Materials withWith a Vitreous Silica Push-Rod Dilatometer
E691 Practice for Conducting an Interlaboratory Study to Determine the Precision of a Test Method
E831 Test Method for Linear Thermal Expansion of Solid Materials by Thermomechanical Analysis
3. Terminology
3.1 Definitions—Definitions are in accordance with Terminology D883 unless otherwise specified.
4. Summary of Test Method
4.1 This test method is intended to provide a means of determining the coefficient of linear thermal expansion of plastics which
are not distorted or indented by the thrust of the dilatometer on the specimen. For materials that indent, see 8.4. The specimen is
1
This test method is under the jurisdiction ofASTM Committee D20 on Plastics and is the direct responsibility of Subcommittee D20.30 on Thermal Properties (Section
D20.30.07).
Current edition approved April 10, 2003. Published June 2003. Originally approved in 1942. Last previous edition approved in 1998 as D696–98.
Current edition approved Nov. 1, 2008. Published November 2008. Originally approved in 1942. Last previous edition approved in 2003 as D696–03.
2
Annual Book of ASTM Standards, Vol 08.01.
2
ForreferencedASTMstandards,visittheASTMwebsite,www.astm.org,orcontactASTMCustomerServiceatservice@astm.org.For Annual Book of ASTM Standards
volume information, refer to the standard’s Document Summary page on the ASTM website.
*A Summary of Changes section appears at the end of this standard.
Copyright © ASTM International, 100 Barr Harbor Drive, PO Box C700, West Conshohocken, PA 19428-2959, United States.
1
---------------------- Page: 1 ----------------------
D 696–08
placed at the bottom of the outer dilatometer tube with the inner one resting on it. The measuring device which is firml
...


Questions, Comments and Discussion
Ask us and Technical Secretary will try to provide an answer. You can facilitate discussion about the standard in here.