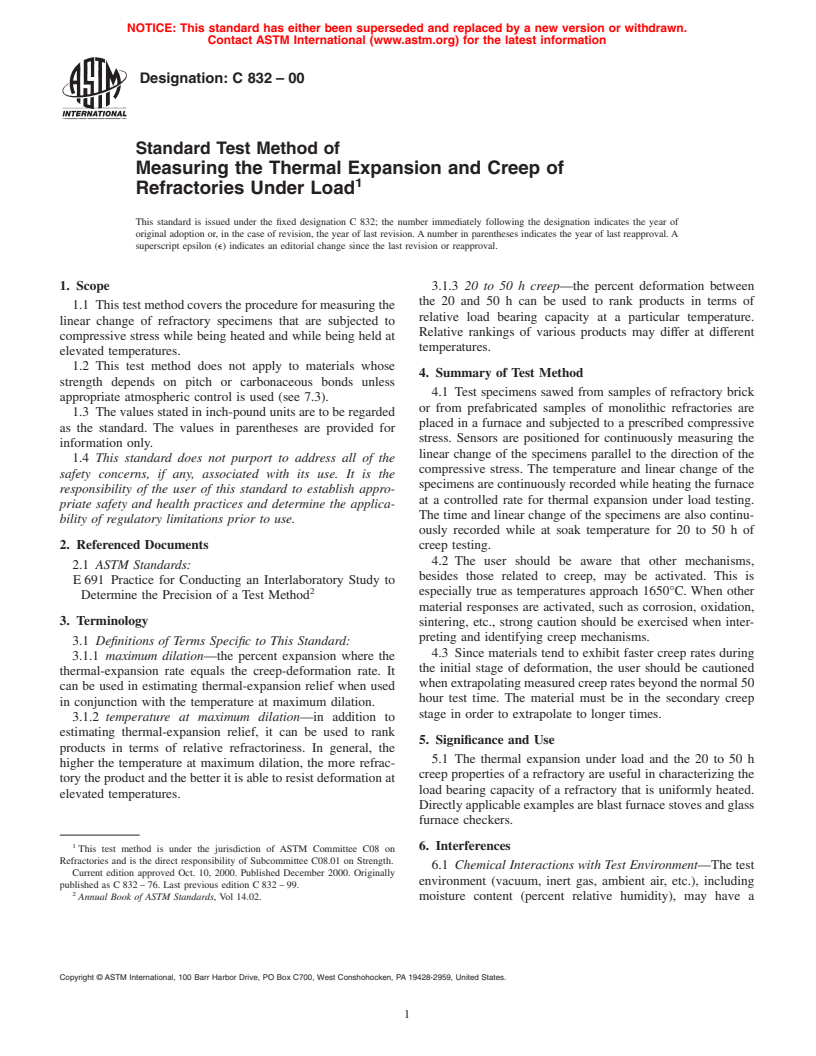
ASTM C832-00
(Test Method)Standard Test Method of Measuring the Thermal Expansion and Creep of Refractories Under Load
Standard Test Method of Measuring the Thermal Expansion and Creep of Refractories Under Load
SCOPE
1.1 This test method covers the procedure for measuring the linear change of refractory specimens that are subjected to compressive stress while being heated and while being held at elevated temperatures.
1.2 This test method does not apply to materials whose strength depends on pitch or carbonaceous bonds unless appropriate atmospheric control is used (see 7.3).
1.3 The values stated in inch-pound units are to be regarded as the standard. The values in parentheses are provided for information only.
1.4 This standard does not purport to address all of the safety problems associated with its use. It is the responsibility of the user of this standard to establish appropriate safety and health practices and determine the applicability of regulatory limitations prior to use.
General Information
Relations
Standards Content (Sample)
NOTICE: This standard has either been superseded and replaced by a new version or withdrawn.
Contact ASTM International (www.astm.org) for the latest information
Designation:C 832–00
Standard Test Method of
Measuring the Thermal Expansion and Creep of
Refractories Under Load
This standard is issued under the fixed designation C 832; the number immediately following the designation indicates the year of
original adoption or, in the case of revision, the year of last revision. A number in parentheses indicates the year of last reapproval. A
superscript epsilon (e) indicates an editorial change since the last revision or reapproval.
1. Scope 3.1.3 20 to 50 h creep—the percent deformation between
the 20 and 50 h can be used to rank products in terms of
1.1 This test method covers the procedure for measuring the
relative load bearing capacity at a particular temperature.
linear change of refractory specimens that are subjected to
Relative rankings of various products may differ at different
compressive stress while being heated and while being held at
temperatures.
elevated temperatures.
1.2 This test method does not apply to materials whose
4. Summary of Test Method
strength depends on pitch or carbonaceous bonds unless
4.1 Test specimens sawed from samples of refractory brick
appropriate atmospheric control is used (see 7.3).
or from prefabricated samples of monolithic refractories are
1.3 The values stated in inch-pound units are to be regarded
placed in a furnace and subjected to a prescribed compressive
as the standard. The values in parentheses are provided for
stress. Sensors are positioned for continuously measuring the
information only.
linear change of the specimens parallel to the direction of the
1.4 This standard does not purport to address all of the
compressive stress. The temperature and linear change of the
safety concerns, if any, associated with its use. It is the
specimens are continuously recorded while heating the furnace
responsibility of the user of this standard to establish appro-
at a controlled rate for thermal expansion under load testing.
priate safety and health practices and determine the applica-
The time and linear change of the specimens are also continu-
bility of regulatory limitations prior to use.
ously recorded while at soak temperature for 20 to 50 h of
2. Referenced Documents creep testing.
4.2 The user should be aware that other mechanisms,
2.1 ASTM Standards:
besides those related to creep, may be activated. This is
E 691 Practice for Conducting an Interlaboratory Study to
especially true as temperatures approach 1650°C. When other
Determine the Precision of a Test Method
material responses are activated, such as corrosion, oxidation,
3. Terminology
sintering, etc., strong caution should be exercised when inter-
preting and identifying creep mechanisms.
3.1 Definitions of Terms Specific to This Standard:
4.3 Since materials tend to exhibit faster creep rates during
3.1.1 maximum dilation—the percent expansion where the
the initial stage of deformation, the user should be cautioned
thermal-expansion rate equals the creep-deformation rate. It
whenextrapolatingmeasuredcreepratesbeyondthenormal50
can be used in estimating thermal-expansion relief when used
hour test time. The material must be in the secondary creep
in conjunction with the temperature at maximum dilation.
stage in order to extrapolate to longer times.
3.1.2 temperature at maximum dilation—in addition to
estimating thermal-expansion relief, it can be used to rank
5. Significance and Use
products in terms of relative refractoriness. In general, the
5.1 The thermal expansion under load and the 20 to 50 h
higher the temperature at maximum dilation, the more refrac-
creep properties of a refractory are useful in characterizing the
tory the product and the better it is able to resist deformation at
load bearing capacity of a refractory that is uniformly heated.
elevated temperatures.
Directly applicable examples are blast furnace stoves and glass
furnace checkers.
6. Interferences
This test method is under the jurisdiction of ASTM Committee C08 on
Refractories and is the direct responsibility of Subcommittee C08.01 on Strength.
6.1 Chemical Interactions with Test Environment—The test
Current edition approved Oct. 10, 2000. Published December 2000. Originally
environment (vacuum, inert gas, ambient air, etc.), including
published as C 832 – 76. Last previous edition C 832 – 99.
Annual Book of ASTM Standards, Vol 14.02. moisture content (percent relative humidity), may have a
Copyright © ASTM International, 100 Barr Harbor Drive, PO Box C700, West Conshohocken, PA 19428-2959, United States.
C832–00
stronginfluenceonbothcreepstrainrateandcreeprupturelife. Section 8. The specimens should be equally heated on at least
In particular, refractories susceptible to slow crack growth or two opposite sides, and the temperature difference between
oxidation will be strongly influenced by the test environment. specimens in a multiple-position furnace and between the top
Testing should be conducted in environments that are either and bottom ends of single specimens should be no more than
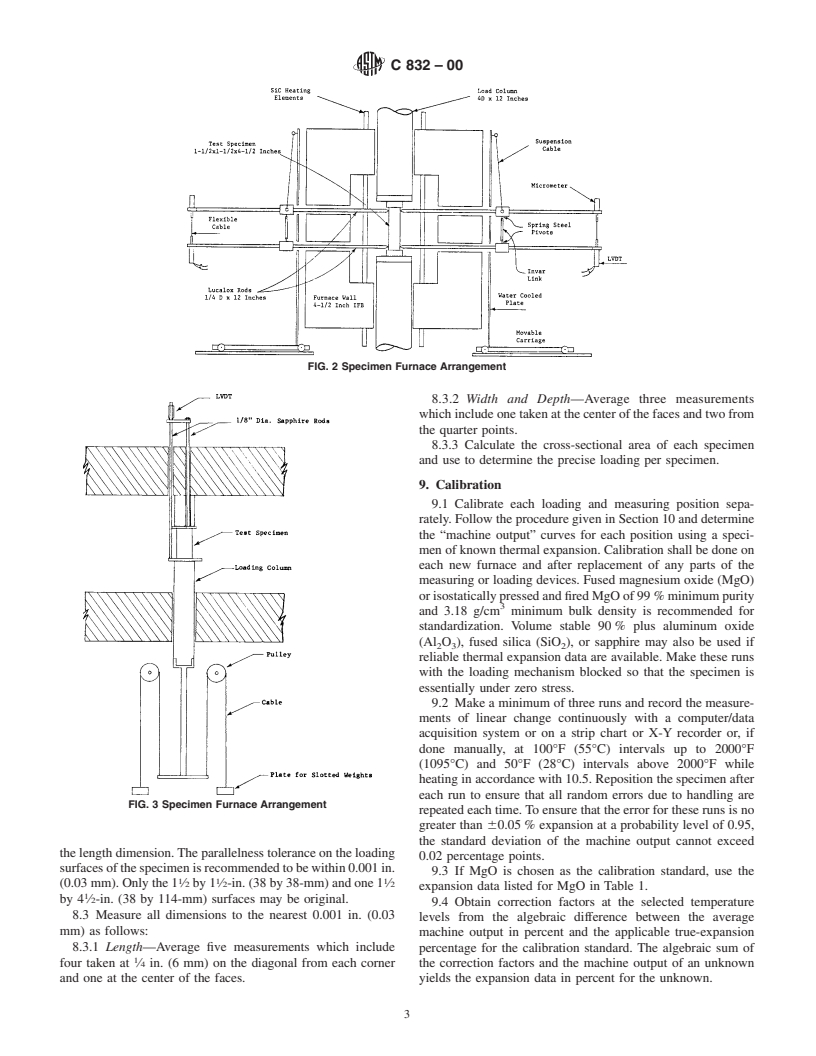
representative of service conditions or inert to the refractories 18°F (10°C). See Figs. 1-5 for sketches of five typical furnace
being tested depending on the performance being evaluated. arrangements.
6.2 Specimen Surface Preparation—Surface preparation of 7.2 Temperature Controllers,thatcontrolheatingatarateof
specimens can introduce machining flaws that may affect the 100 6 9°F/h (55 6 5°C/h) over the temperature range from
creep strain rate and creep rupture life. Machining damage 500 to 3000°F (260 to 1650°C) and can control soak tempera-
imposed during specimen preparation will most likely result in tures within 69°F (65°C).
premature failure of the specimen, but may also introduce 7.3 Air Atmosphere, unless otherwise specified. If pitch or
flaws that can grow by slow crack growth. Surface preparation carbonaceous-bonded materials are tested, specify the atmo-
can also lead to residual stresses, which can be released during sphere used when reporting results.
the test. 7.4 Linear Measuring Device, that records the difference in
6.3 Specimen/Extensometer Chemical Interactions—If the length dimension of each specimen parallel to the direction of
strain measurement technique relies on physical contact be- stress and yields the desired precision and reproducibility.
tween the extensometer components (contacting probes or 7.5 Recorders, that display linear change readings to
optical method flags) and the specimen, then the flag attach- 60.0005 in. (0.013 mm).
ment methods and extensometer contact materials must be 7.6 Loading Devices, that apply at least 100 psi (689 kPa)
1 1
chosen with care to ensure that no adverse chemical reactions compressive stress within 61%, on a 1 ⁄2 by 1 ⁄2-in. (38 by
occur during testing. This should not be a problem if the probe 38-mm) cross section.
or specimen materials are mutually chemically inert. The user
should also be aware that impurities or second phases in the 8. Specimen Preparation
probes and flags or specimens may be mutually chemically
1 1 1
8.1 Cut or form specimens nominally 1 ⁄2 by 1 ⁄2 by 4 ⁄2 in.
reactive and could influence the results.
(38 by 38 by 114 mm) (Note 1) with the 4 ⁄2-in. dimension
6.4 Temperature Variations—Creep strain is related to tem-
perpendicular to the pressing direction of a brick, the ramming
perature through an exponential function. Thus, fluctuations in
direction of a plastic, or the position of the vibrator used in
test temperature or changes in temperature profile along the
forming a castable. The 4 ⁄2-in. dimension may be parallel to
length of the specimen can cause fluctuations in strain mea-
the length or width of the original shape.
surements or changes in creep rate (see 7.1 and 7.2).
NOTE 1—Specimens of different geometry (for example, cylindrical)
may be used upon agreement between the parties concerned.
7. Apparatus
1 1
7.1 Electrically Heated Furnace, with a setting space suffi- 8.2 Grind or sand both 1 ⁄2 by 1 ⁄2-in. (38 by 38-mm)
cient to contain one or more specimens of the size specified in surfaces so that they are nominally plane and perpendicular to
FIG. 1 Specimen Furnace Arrangement
C832–00
FIG. 2 Specimen Furnace Arrangement
8.3.2 Width and Depth—Average three measurements
whichincludeonetakenatthecenterofthefacesandtwofrom
the quarter points.
8.3.3 Calculate the cross-sectional area of each specimen
and use to determine the precise loading per specimen.
9. Calibration
9.1 Calibrate each loading and measuring position sepa-
rately. Follow the procedure given in Section 10 and determine
the “machine output” curves for each position using a speci-
men of known thermal expansion. Calibration shall be done on
each new furnace and after replacement of any parts of the
measuring or loading devices. Fused magnesium oxide (MgO)
orisostaticallypressedandfiredMgOof99 %minimumpurity
and 3.18 g/cm minimum bulk density is recommended for
standardization. Volume stable 90 % plus aluminum oxide
(Al O ), fused silica (SiO ), or sapphire may also be used if
2 3 2
reliable thermal expansion data are available. Make these runs
with the loading mechanism blocked so that the specimen is
essentially under zero stress.
9.2 Make a minimum of three runs and record the measure-
ments of linear change continuously with a computer/data
acquisition system or on a strip chart or X-Y recorder or, if
done manually, at 100°F (55°C) intervals up to 2000°F
(1095°C) and 50°F (28°C) intervals above 2000°F while
heating in accordance with 10.5. Reposition the specimen after
each run to ensure that all random errors due to handling are
FIG. 3 Specimen Furnace Arrangement
repeated each time.To ensure that the error for these runs is no
greater than 60.05 % expansion at a probability level of 0.95,
the standard dev
...


Questions, Comments and Discussion
Ask us and Technical Secretary will try to provide an answer. You can facilitate discussion about the standard in here.