ASTM F205-94(2020)
(Test Method)Standard Test Method for Measuring Diameter of Fine Wire by Weighing (Withdrawn 2023)
Standard Test Method for Measuring Diameter of Fine Wire by Weighing (Withdrawn 2023)
ABSTRACT
This test method establishes the apparatuses required, specimen preparation steps, and standard procedures and calculations involved in the measurement of the average diameter of fine wires by means of weighing a known length. This applies particularly to wires of specified sizes used in electron devices and lamps.
SCOPE
1.1 This test method covers the measurement of the average diameter of fine wire by weighing a known length; it applies particularly to sizes up to 0.13 mm used in electron devices and lamps.
1.2 The values stated in SI units are to be regarded as standard. No other units of measurement are included in this standard.
1.3 This standard does not purport to address all of the safety concerns, if any, associated with its use. It is the responsibility of the user of this standard to establish appropriate safety, health, and environmental practices and determine the applicability of regulatory limitations prior to use.
1.4 This international standard was developed in accordance with internationally recognized principles on standardization established in the Decision on Principles for the Development of International Standards, Guides and Recommendations issued by the World Trade Organization Technical Barriers to Trade (TBT) Committee.
WITHDRAWN RATIONALE
This test method covered the measurement of the average diameter of fine wire by weighing a known length; it applied particularly to sizes up to 0.13 mm used in electron devices and lamps.
Formerly under the jurisdiction of Committee F01 on Electronics, this test method was withdrawn in November 2023. This standard is being withdrawn without replacement because Committee F01 was disbanded.
General Information
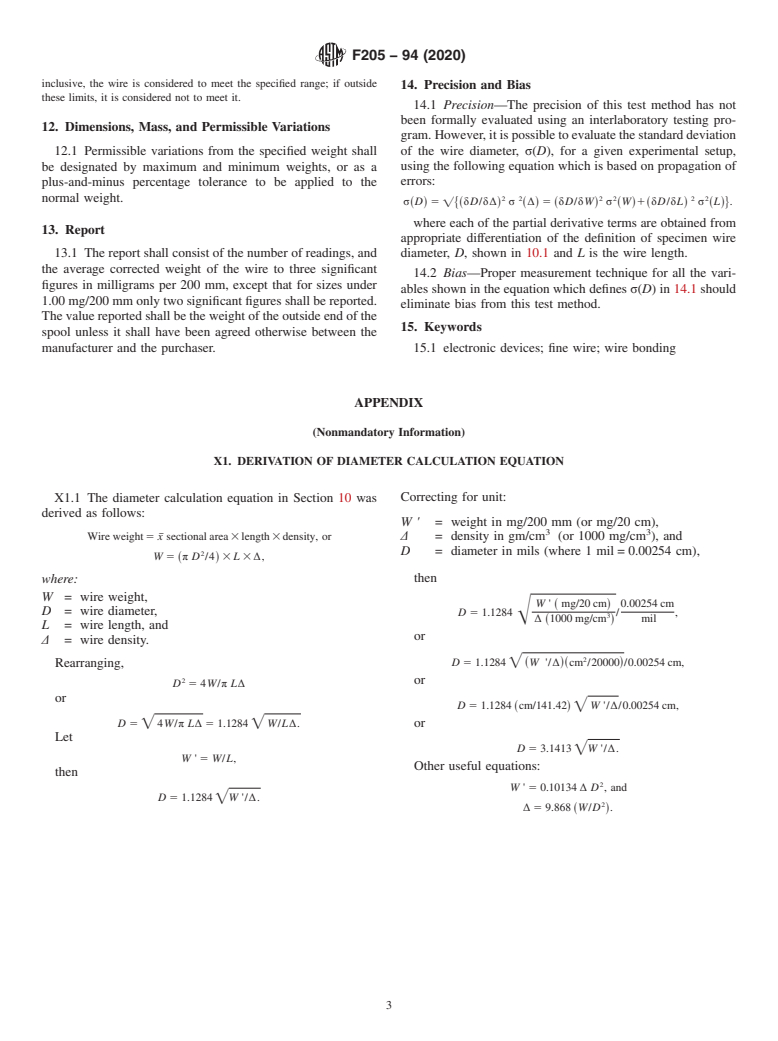
Relations
Buy Standard
Standards Content (Sample)
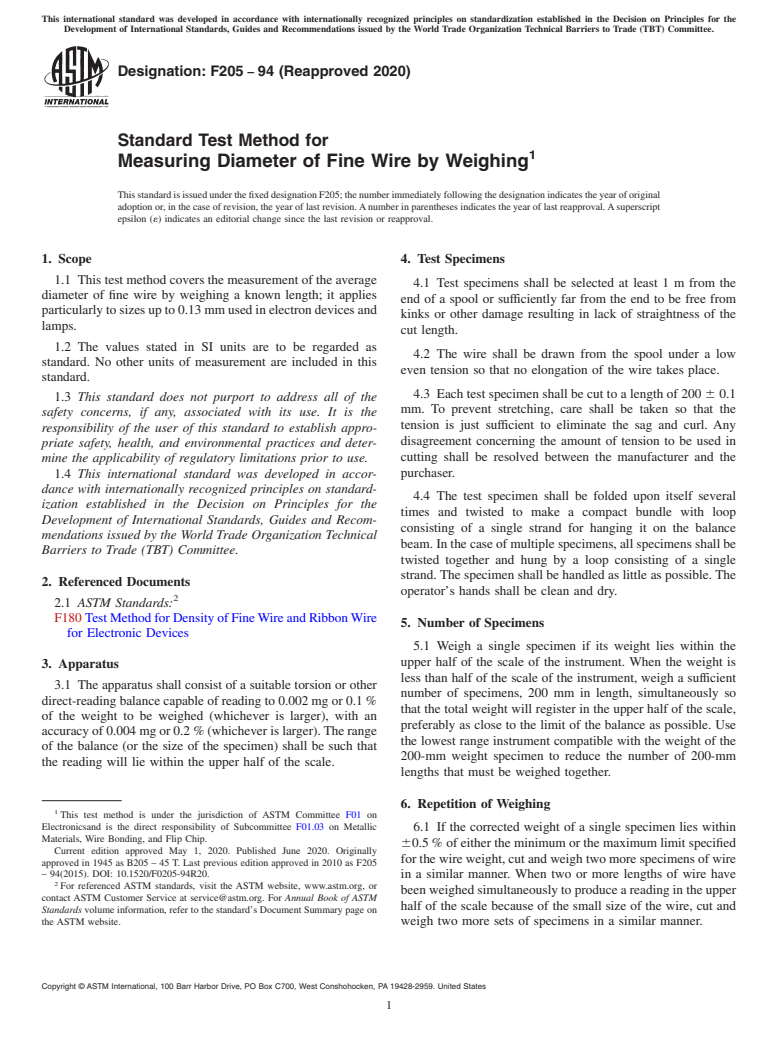
This international standard was developed in accordance with internationally recognized principles on standardization established in the Decision on Principles for the
Development of International Standards, Guides and Recommendations issued by the World Trade Organization Technical Barriers to Trade (TBT) Committee.
Designation: F205 − 94 (Reapproved 2020)
Standard Test Method for
Measuring Diameter of Fine Wire by Weighing
ThisstandardisissuedunderthefixeddesignationF205;thenumberimmediatelyfollowingthedesignationindicatestheyearoforiginal
adoptionor,inthecaseofrevision,theyearoflastrevision.Anumberinparenthesesindicatestheyearoflastreapproval.Asuperscript
epsilon (´) indicates an editorial change since the last revision or reapproval.
1. Scope 4. Test Specimens
1.1 Thistestmethodcoversthemeasurementoftheaverage
4.1 Test specimens shall be selected at least 1 m from the
diameter of fine wire by weighing a known length; it applies
end of a spool or sufficiently far from the end to be free from
particularlytosizesupto0.13mmusedinelectrondevicesand
kinks or other damage resulting in lack of straightness of the
lamps.
cut length.
1.2 The values stated in SI units are to be regarded as
4.2 The wire shall be drawn from the spool under a low
standard. No other units of measurement are included in this
even tension so that no elongation of the wire takes place.
standard.
4.3 Each test specimen shall be cut to a length of 200 6 0.1
1.3 This standard does not purport to address all of the
mm. To prevent stretching, care shall be taken so that the
safety concerns, if any, associated with its use. It is the
tension is just sufficient to eliminate the sag and curl. Any
responsibility of the user of this standard to establish appro-
disagreement concerning the amount of tension to be used in
priate safety, health, and environmental practices and deter-
cutting shall be resolved between the manufacturer and the
mine the applicability of regulatory limitations prior to use.
purchaser.
1.4 This international standard was developed in accor-
dance with internationally recognized principles on standard-
4.4 The test specimen shall be folded upon itself several
ization established in the Decision on Principles for the
times and twisted to make a compact bundle with loop
Development of International Standards, Guides and Recom-
consisting of a single strand for hanging it on the balance
mendations issued by the World Trade Organization Technical
beam.Inthecaseofmultiplespecimens,allspecimensshallbe
Barriers to Trade (TBT) Committee.
twisted together and hung by a loop consisting of a single
strand.The specimen shall be handled as little as possible.The
2. Referenced Documents
operator’s hands shall be clean and dry.
2.1 ASTM Standards:
F180TestMethodforDensityofFineWireandRibbonWire
5. Number of Specimens
for Electronic Devices
5.1 Weigh a single specimen if its weight lies within the
upper half of the scale of the instrument. When the weight is
3. Apparatus
less than half of the scale of the instrument, weigh a sufficient
3.1 The apparatus shall consist of a suitable torsion or other
number of specimens, 200 mm in length, simultaneously so
direct-readingbalancecapableofreadingto0.002mgor0.1%
that the total weight will register in the upper half of the scale,
of the weight to be weighed (whichever is larger), with an
preferably as close to the limit of the balance as possible. Use
accuracyof0.004mgor0.2%(whicheverislarger).Therange
the lowest range instrument compatible with the weight of the
of the balance (or the size of the specimen) shall be such that
200-mm weight specimen to reduce the number of 200-mm
the reading will lie within the upper half of the scale.
lengths that must be weighed together.
6. Repetition of Weighing
This test method is under the jurisdiction of ASTM Committee F01 on
Electronicsand is the direct responsibility of Subcommittee F01.03 on Metallic
6.1 If the corrected weight of a single specimen lies within
Materials, Wire Bonding, and Flip Chip.
60.5%ofeithertheminimumorthemaximumlimitspecified
Current edition approved May 1, 2020. Published June 2020. Originally
forthewireweight,cutandweightwomorespecimensofwire
approved in 1945 as B205 – 45 T. Last previous edition approved in 2010 as F205
– 94(2015). DOI: 10.1520/F0205-94R20.
in a similar manner. When two or more lengths of wire have
For referenced ASTM standards, visit the ASTM website, www.astm.org, or
beenweighedsimultaneouslytoproduceareadingintheupper
contact ASTM Customer Service at service@astm.org. For Annual Book of ASTM
half of the scale because of the small size of the wire, cut and
Standards volume information, refer to the standard’s Document Summary page on
the ASTM website. weigh two more sets of specimens in a similar manner.
Copyright © ASTM International, 100 Barr Harbor Drive, PO Box C700, West Conshohocken, PA 19428-2959. United States
F205 − 94 (2020)
7. Calibration and Checking of the Balance
D 5 K =W ~seeNote2!.
NOTE 1—The density of wire for alloys not found in Table 1 may be
7.1 Check the balance regularly in accordance with the
determined at or near the finished size and the finished condition in
recommendations of the manufacturer.
accordance with Test Method F180.
NOTE 2—Values for density and the constant K for several alloys are
7.2 Ifavarietyofweightsaretobedetermined,calibratethe
given in Table 1.
balance at five major points on the scale and at zero by
determining the weights of calibrated check weights. If any
11. Interpretation of Results
point is in error by more than 1 %, remove the balance from
11.1 If a single specimen or a single set of specimens is
serviceandrepairit.Applycorrectionsdeterminedbychecking
weighed, and its corrected weight, or average weight when
to the apparent readings to obtain corrected weights. Obtain
multiple specimens are used, is found to lie between the point
corrections applied to apparent weights by interpolation be-
0.5%abovetheminimumlimitand0.5%belowthemaximum
tween the closest calibrated points, one above and one below
limit, the wire shall be considered to meet the specified limits.
the reading.
11.2 If the corrected wire weight is under 0.5% below the
7.3 If the amount of work to be weighed at one point on the
minimum limit or over 0.5% above the maximum limit, the
scale justifies it, the balance may be calibrated with a standard
wire is considered not to meet the specified limits.
weight(orcombinationofweights)deviatingbynotmorethan
10% from that of the weight to be determined. In this case,
11.3 If the corrected weight of a single specimen, or the
adjust the balance so that the balance reads the known weight
average weight when multiple specimens are used, lies within
of the check weight correctly when it is in balance, thereby
the range of 6 0.5% of the maximum or 60.5% of the
reducing the correction to zero.
minimum limit, exactly three specimens or three sets of
specimens shall be weighed, and the average corrected value
7.4 Calibrate the balance, at zero under no load, or
...
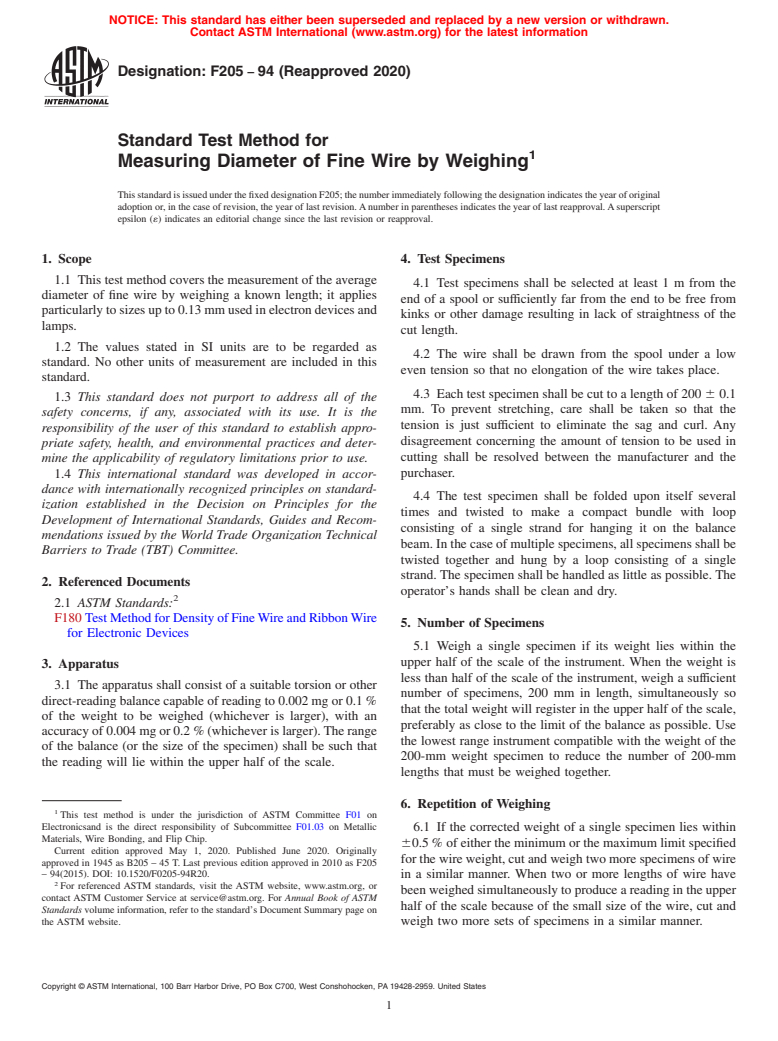
NOTICE: This standard has either been superseded and replaced by a new version or withdrawn.
Contact ASTM International (www.astm.org) for the latest information
Designation: F205 − 94 (Reapproved 2020)
Standard Test Method for
Measuring Diameter of Fine Wire by Weighing
This standard is issued under the fixed designation F205; the number immediately following the designation indicates the year of original
adoption or, in the case of revision, the year of last revision. A number in parentheses indicates the year of last reapproval. A superscript
epsilon (´) indicates an editorial change since the last revision or reapproval.
1. Scope 4. Test Specimens
1.1 This test method covers the measurement of the average
4.1 Test specimens shall be selected at least 1 m from the
diameter of fine wire by weighing a known length; it applies
end of a spool or sufficiently far from the end to be free from
particularly to sizes up to 0.13 mm used in electron devices and
kinks or other damage resulting in lack of straightness of the
lamps.
cut length.
1.2 The values stated in SI units are to be regarded as
4.2 The wire shall be drawn from the spool under a low
standard. No other units of measurement are included in this
even tension so that no elongation of the wire takes place.
standard.
4.3 Each test specimen shall be cut to a length of 200 6 0.1
1.3 This standard does not purport to address all of the
mm. To prevent stretching, care shall be taken so that the
safety concerns, if any, associated with its use. It is the
tension is just sufficient to eliminate the sag and curl. Any
responsibility of the user of this standard to establish appro-
disagreement concerning the amount of tension to be used in
priate safety, health, and environmental practices and deter-
cutting shall be resolved between the manufacturer and the
mine the applicability of regulatory limitations prior to use.
purchaser.
1.4 This international standard was developed in accor-
dance with internationally recognized principles on standard-
4.4 The test specimen shall be folded upon itself several
ization established in the Decision on Principles for the
times and twisted to make a compact bundle with loop
Development of International Standards, Guides and Recom-
consisting of a single strand for hanging it on the balance
mendations issued by the World Trade Organization Technical
beam. In the case of multiple specimens, all specimens shall be
Barriers to Trade (TBT) Committee.
twisted together and hung by a loop consisting of a single
strand. The specimen shall be handled as little as possible. The
2. Referenced Documents
operator’s hands shall be clean and dry.
2.1 ASTM Standards:
F180 Test Method for Density of Fine Wire and Ribbon Wire
5. Number of Specimens
for Electronic Devices
5.1 Weigh a single specimen if its weight lies within the
upper half of the scale of the instrument. When the weight is
3. Apparatus
less than half of the scale of the instrument, weigh a sufficient
3.1 The apparatus shall consist of a suitable torsion or other
number of specimens, 200 mm in length, simultaneously so
direct-reading balance capable of reading to 0.002 mg or 0.1 %
that the total weight will register in the upper half of the scale,
of the weight to be weighed (whichever is larger), with an
preferably as close to the limit of the balance as possible. Use
accuracy of 0.004 mg or 0.2 % (whichever is larger). The range
the lowest range instrument compatible with the weight of the
of the balance (or the size of the specimen) shall be such that
200-mm weight specimen to reduce the number of 200-mm
the reading will lie within the upper half of the scale.
lengths that must be weighed together.
6. Repetition of Weighing
This test method is under the jurisdiction of ASTM Committee F01 on
Electronicsand is the direct responsibility of Subcommittee F01.03 on Metallic
6.1 If the corrected weight of a single specimen lies within
Materials, Wire Bonding, and Flip Chip.
60.5 % of either the minimum or the maximum limit specified
Current edition approved May 1, 2020. Published June 2020. Originally
for the wire weight, cut and weigh two more specimens of wire
approved in 1945 as B205 – 45 T. Last previous edition approved in 2010 as F205
– 94(2015). DOI: 10.1520/F0205-94R20. in a similar manner. When two or more lengths of wire have
For referenced ASTM standards, visit the ASTM website, www.astm.org, or
been weighed simultaneously to produce a reading in the upper
contact ASTM Customer Service at service@astm.org. For Annual Book of ASTM
half of the scale because of the small size of the wire, cut and
Standards volume information, refer to the standard’s Document Summary page on
the ASTM website. weigh two more sets of specimens in a similar manner.
Copyright © ASTM International, 100 Barr Harbor Drive, PO Box C700, West Conshohocken, PA 19428-2959. United States
F205 − 94 (2020)
7. Calibration and Checking of the Balance
D 5 K =W ~see Note 2!.
NOTE 1—The density of wire for alloys not found in Table 1 may be
7.1 Check the balance regularly in accordance with the
determined at or near the finished size and the finished condition in
recommendations of the manufacturer.
accordance with Test Method F180.
NOTE 2—Values for density and the constant K for several alloys are
7.2 If a variety of weights are to be determined, calibrate the
given in Table 1.
balance at five major points on the scale and at zero by
determining the weights of calibrated check weights. If any
11. Interpretation of Results
point is in error by more than 1 %, remove the balance from
11.1 If a single specimen or a single set of specimens is
service and repair it. Apply corrections determined by checking
weighed, and its corrected weight, or average weight when
to the apparent readings to obtain corrected weights. Obtain
multiple specimens are used, is found to lie between the point
corrections applied to apparent weights by interpolation be-
0.5 % above the minimum limit and 0.5 % below the maximum
tween the closest calibrated points, one above and one below
limit, the wire shall be considered to meet the specified limits.
the reading.
11.2 If the corrected wire weight is under 0.5 % below the
7.3 If the amount of work to be weighed at one point on the
minimum limit or over 0.5 % above the maximum limit, the
scale justifies it, the balance may be calibrated with a standard
wire is considered not to meet the specified limits.
weight (or combination of weights) deviating by not more than
10 % from that of the weight to be determined. In this case,
11.3 If the corrected weight of a single specimen, or the
adjust the balance so that the balance reads the known weight
average weight when multiple specimens are used, lies within
of the check weight correctly when it is in balance, thereby
the range of 6 0.5 % of the maximum or 60.5 % of the
reducing the correction to zero.
minimum limit, exactly three specimens or three sets of
specimens shall be weighed, and the average corrected value
7.4 Calibrate the balance, at zero under no load, or at
compared with the maximum and minimum limits. If the
positive val
...


Questions, Comments and Discussion
Ask us and Technical Secretary will try to provide an answer. You can facilitate discussion about the standard in here.