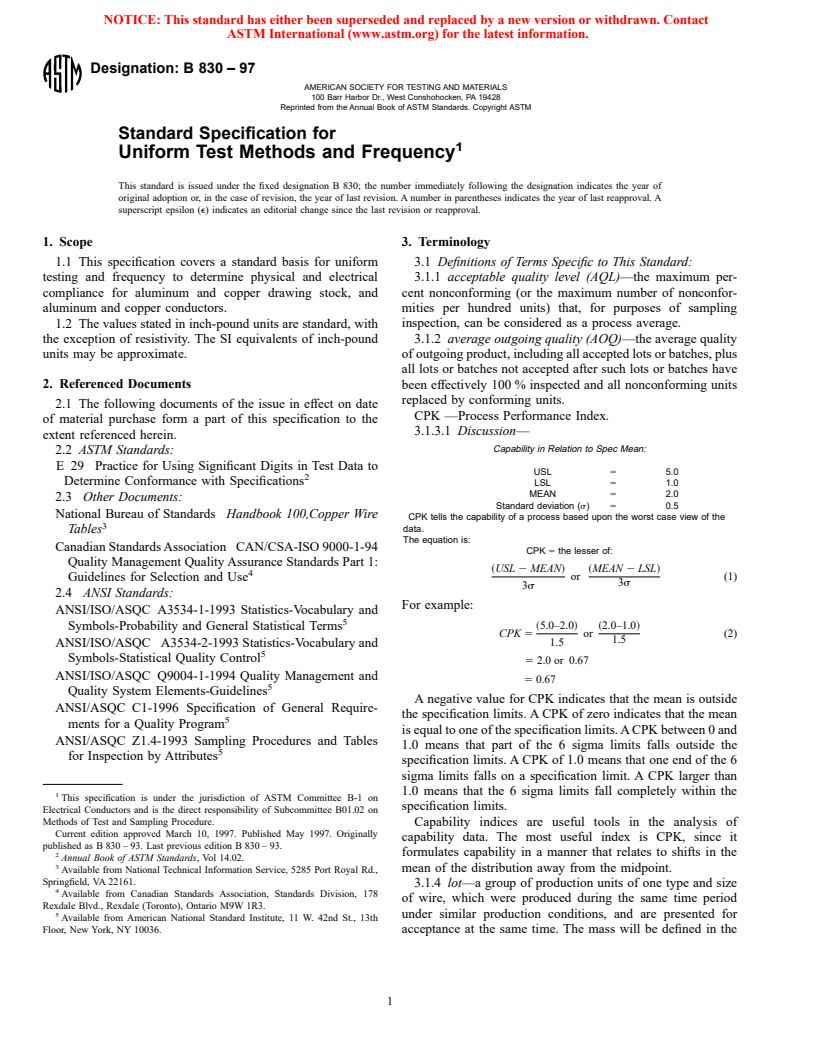
ASTM B830-97
(Specification)Standard Specification for Uniform Test Methods and Frequency
Standard Specification for Uniform Test Methods and Frequency
SCOPE
1.1 This specification covers a standard basis for uniform testing and frequency to determine physical and electrical compliance for aluminum and copper drawingstock, and aluminum and copper conductors.
1.2 The values stated in inch-pound units are standard, with the exception of resistivity. The SI equivalents of inch-pound units may be approximate.
General Information
Relations
Standards Content (Sample)
NOTICE: This standard has either been superseded and replaced by a new version or withdrawn. Contact
ASTM International (www.astm.org) for the latest information.
Designation: B 830 – 97
AMERICAN SOCIETY FOR TESTING AND MATERIALS
100 Barr Harbor Dr., West Conshohocken, PA 19428
Reprinted from the Annual Book of ASTM Standards. Copyright ASTM
Standard Specification for
1
Uniform Test Methods and Frequency
This standard is issued under the fixed designation B 830; the number immediately following the designation indicates the year of
original adoption or, in the case of revision, the year of last revision. A number in parentheses indicates the year of last reapproval. A
superscript epsilon (e) indicates an editorial change since the last revision or reapproval.
1. Scope 3. Terminology
1.1 This specification covers a standard basis for uniform 3.1 Definitions of Terms Specific to This Standard:
testing and frequency to determine physical and electrical 3.1.1 acceptable quality level (AQL)—the maximum per-
compliance for aluminum and copper drawing stock, and cent nonconforming (or the maximum number of nonconfor-
aluminum and copper conductors. mities per hundred units) that, for purposes of sampling
1.2 The values stated in inch-pound units are standard, with inspection, can be considered as a process average.
the exception of resistivity. The SI equivalents of inch-pound 3.1.2 average outgoing quality (AOQ)—the average quality
units may be approximate. of outgoing product, including all accepted lots or batches, plus
all lots or batches not accepted after such lots or batches have
2. Referenced Documents been effectively 100 % inspected and all nonconforming units
replaced by conforming units.
2.1 The following documents of the issue in effect on date
CPK —Process Performance Index.
of material purchase form a part of this specification to the
3.1.3.1 Discussion—
extent referenced herein.
Capability in Relation to Spec Mean:
2.2 ASTM Standards:
E 29 Practice for Using Significant Digits in Test Data to
USL 5 5.0
2
Determine Conformance with Specifications
LSL 5 1.0
MEAN 5 2.0
2.3 Other Documents:
Standard deviation (s) 5 0.5
National Bureau of Standards Handbook 100,Copper Wire
CPK tells the capability of a process based upon the worst case view of the
3
data.
Tables
The equation is:
Canadian Standards Association CAN/CSA-ISO 9000-1-94
CPK 5 the lesser of:
Quality Management Quality Assurance Standards Part 1:
~USL 2 MEAN! ~MEAN 2 LSL!
4
or (1)
Guidelines for Selection and Use
3s
3s
2.4 ANSI Standards:
For example:
ANSI/ISO/ASQC A3534-1-1993 Statistics-Vocabulary and
5
~5.0–2.0! ~2.0–1.0!
Symbols-Probability and General Statistical Terms
CPK 5 or (2)
1.5
1.5
ANSI/ISO/ASQC A3534-2-1993 Statistics-Vocabulary and
5
Symbols-Statistical Quality Control
5 2.0 or 0.67
ANSI/ISO/ASQC Q9004-1-1994 Quality Management and
5 0.67
5
Quality System Elements-Guidelines
A negative value for CPK indicates that the mean is outside
ANSI/ASQC C1-1996 Specification of General Require-
the specification limits. A CPK of zero indicates that the mean
5
ments for a Quality Program
is equal to one of the specification limits. A CPK between 0 and
ANSI/ASQC Z1.4-1993 Sampling Procedures and Tables
1.0 means that part of the 6 sigma limits falls outside the
5
for Inspection by Attributes
specification limits. A CPK of 1.0 means that one end of the 6
sigma limits falls on a specification limit. A CPK larger than
1.0 means that the 6 sigma limits fall completely within the
1
This specification is under the jurisdiction of ASTM Committee B-1 on
specification limits.
Electrical Conductors and is the direct responsibility of Subcommittee B01.02 on
Methods of Test and Sampling Procedure.
Capability indices are useful tools in the analysis of
Current edition approved March 10, 1997. Published May 1997. Originally
capability data. The most useful index is CPK, since it
published as B 830 – 93. Last previous edition B 830 – 93.
2 formulates capability in a manner that relates to shifts in the
Annual Book of ASTM Standards, Vol 14.02.
3
mean of the distribution away from the midpoint.
Available from National Technical Information Service, 5285 Port Royal Rd.,
Springfield, VA 22161.
3.1.4 lot—a group of production units of one type and size
4
Available from Canadian Standards Association, Standards Division, 178
of wire, which were produced during the same time period
Rexdale Blvd., Rexdale (Toronto), Ontario M9W 1R3.
5
under similar production conditions, and are presented for
Available from American National Standard Institute, 11 W. 42nd St., 13th
Floor, New York, NY 10036. acceptance at the same time. The mass will be defined in the
1
---------------------- Page: 1 ----------------------
NOTICE:¬This¬standard¬has¬either¬been¬superceded¬and¬replaced¬by¬a¬new¬version¬or¬discontinued.¬
Contact¬ASTM¬International¬(www.astm.org)¬for¬the¬latest¬information.¬
B 830
ASTM document for the specific product to be tested. sampling Table 1 used, shall be considered as
...


Questions, Comments and Discussion
Ask us and Technical Secretary will try to provide an answer. You can facilitate discussion about the standard in here.