ASTM E384-08
(Test Method)Standard Test Method for Microindentation Hardness of Materials
Standard Test Method for Microindentation Hardness of Materials
SIGNIFICANCE AND USE
Hardness tests have been found to be very useful for materials evaluation, quality control of manufacturing processes and research and development efforts. Hardness, although empirical in nature, can be correlated to tensile strength for many metals, and is an indicator of wear resistance and ductility.
Microindentation tests extend hardness testing to materials too thin or too small for macroindentation tests. Microindentation tests allow specific phases or constituents and regions or gradients too small for macroindentation testing to be evaluated.
Because the microindentation hardness will reveal hardness variations that may exist within a material, a single test value may not be representative of the bulk hardness.
SCOPE
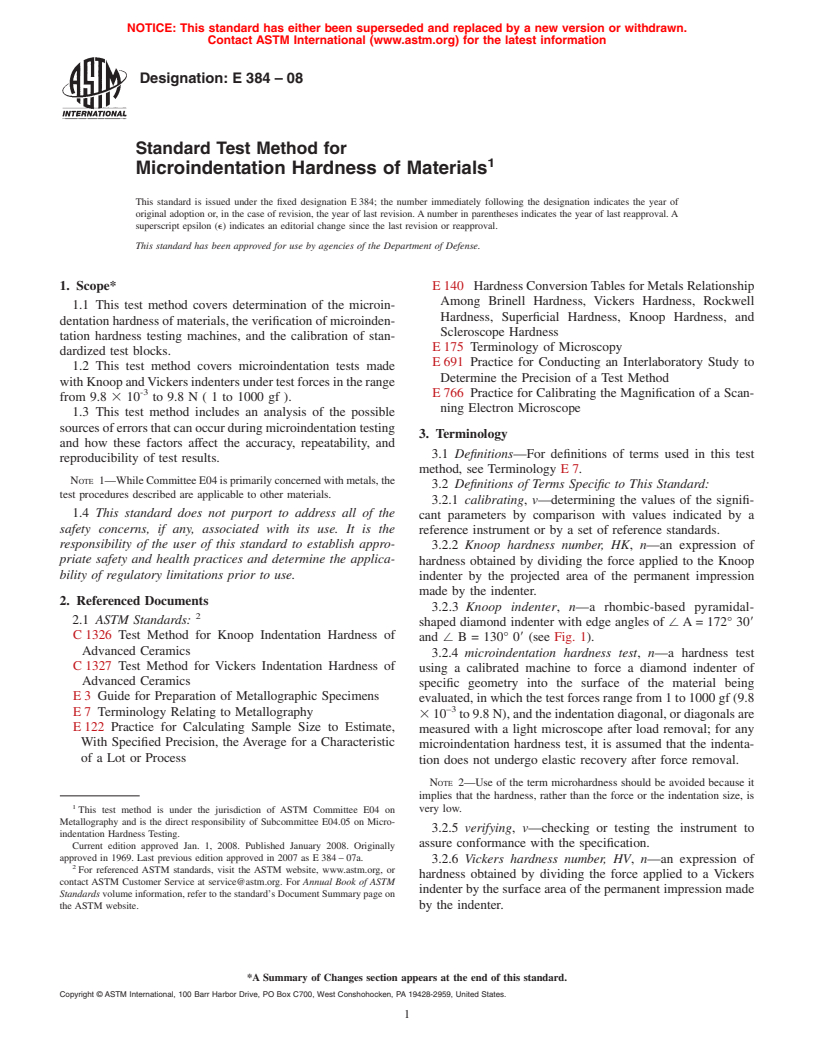
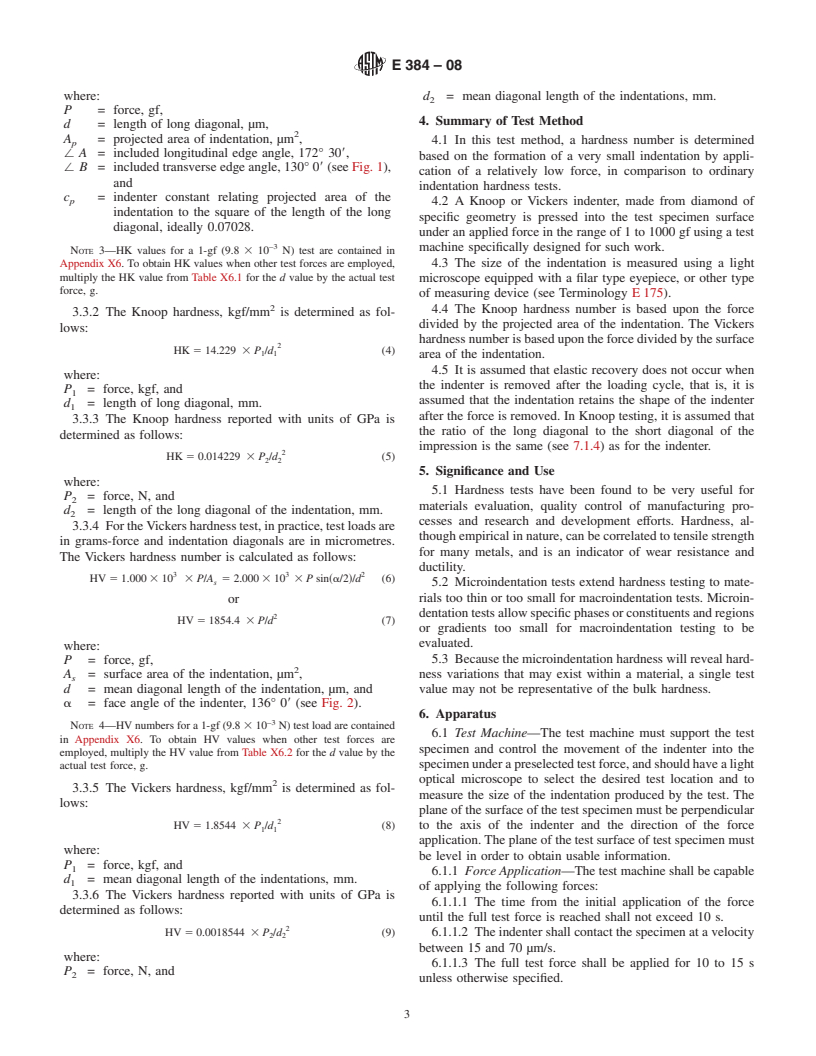
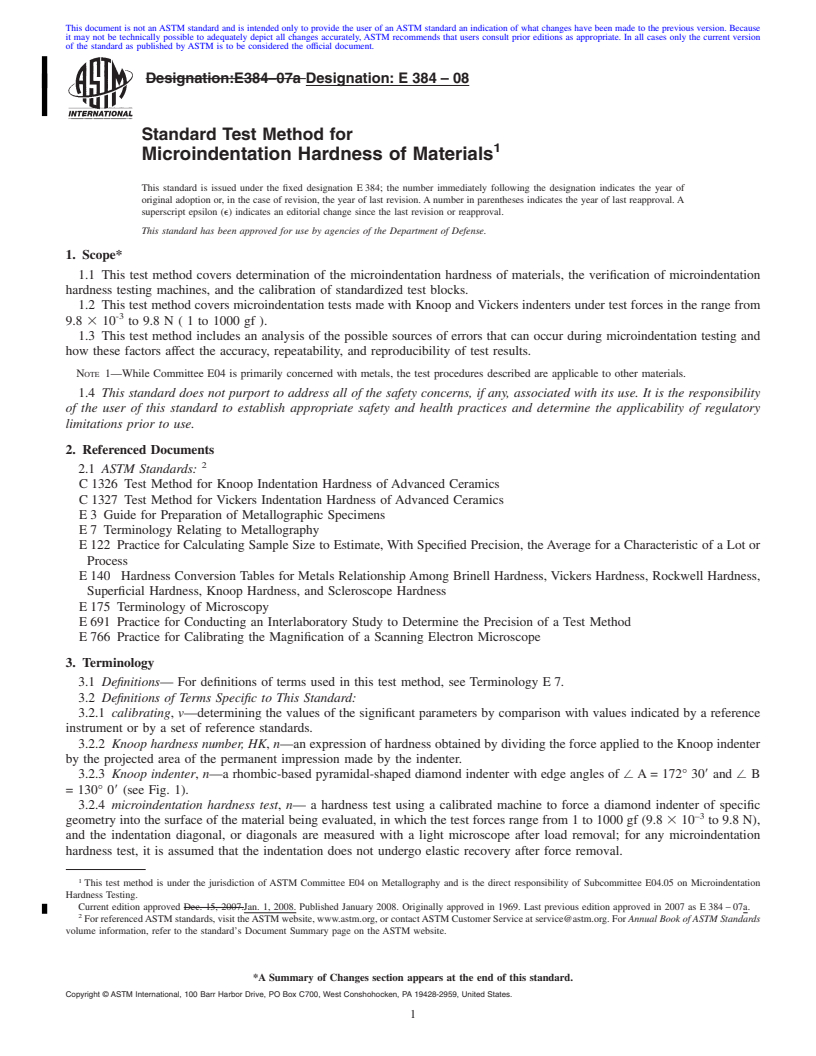
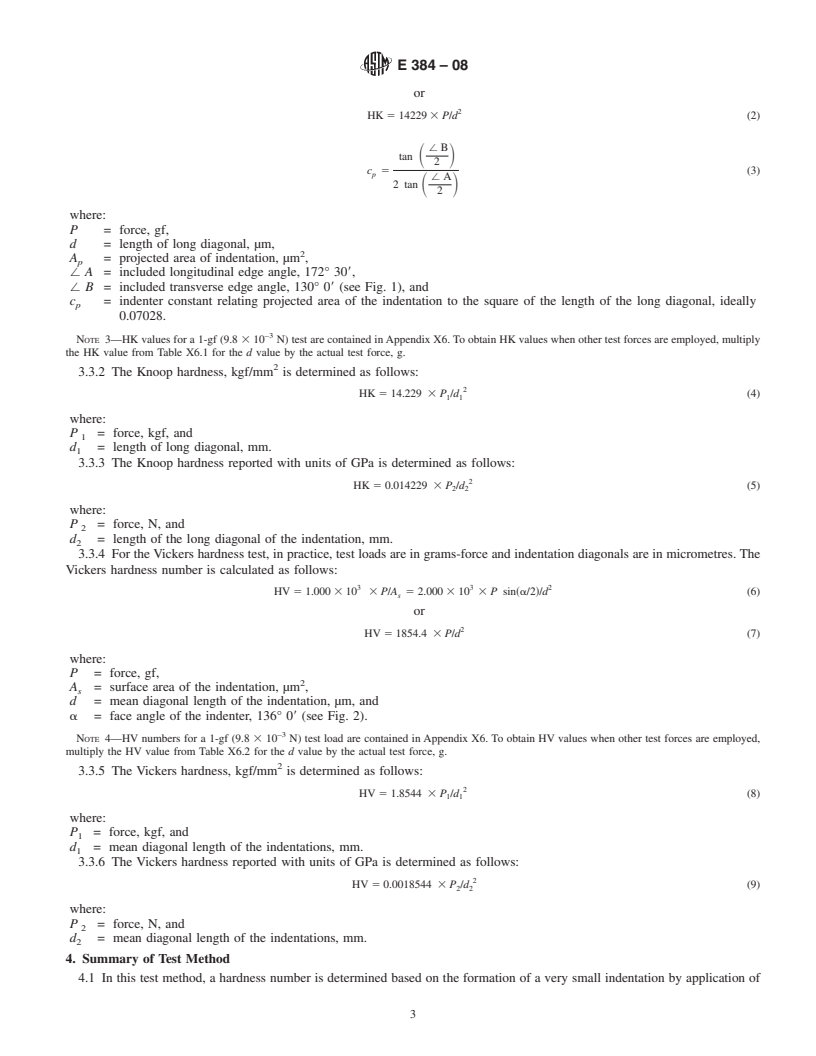
1.1 This test method covers determination of the microindentation hardness of materials, the verification of microindentation hardness testing machines, and the calibration of standardized test blocks.
1.2 This test method covers microindentation tests made with Knoop and Vickers indenters under test forces in the range from 9.8 × 10⁻³ to 9.8 N ( 1 to 1000 gf ).
1.3 This test method includes an analysis of the possible sources of errors that can occur during microindentation testing and how these factors affect the accuracy, repeatability, and reproducibility of test results.
Note 1—While Committee E04 is primarily concerned with metals, the test procedures described are applicable to other materials.
1.4 This standard does not purport to address all of the safety concerns, if any, associated with its use. It is the responsibility of the user of this standard to establish appropriate safety and health practices and determine the applicability of regulatory limitations prior to use.
General Information
Relations
Buy Standard
Standards Content (Sample)
NOTICE: This standard has either been superseded and replaced by a new version or withdrawn.
Contact ASTM International (www.astm.org) for the latest information
Designation: E 384 – 08
Standard Test Method for
1
Microindentation Hardness of Materials
This standard is issued under the fixed designation E 384; the number immediately following the designation indicates the year of
original adoption or, in the case of revision, the year of last revision. A number in parentheses indicates the year of last reapproval. A
superscript epsilon (e) indicates an editorial change since the last revision or reapproval.
This standard has been approved for use by agencies of the Department of Defense.
1. Scope* E 140 Hardness ConversionTables for Metals Relationship
Among Brinell Hardness, Vickers Hardness, Rockwell
1.1 This test method covers determination of the microin-
Hardness, Superficial Hardness, Knoop Hardness, and
dentation hardness of materials, the verification of microinden-
Scleroscope Hardness
tation hardness testing machines, and the calibration of stan-
E 175 Terminology of Microscopy
dardized test blocks.
E 691 Practice for Conducting an Interlaboratory Study to
1.2 This test method covers microindentation tests made
Determine the Precision of a Test Method
withKnoopandVickersindentersundertestforcesintherange
-3
E 766 Practice for Calibrating the Magnification of a Scan-
from 9.8 3 10 to9.8N(1to 1000 gf ).
ning Electron Microscope
1.3 This test method includes an analysis of the possible
sourcesoferrorsthatcanoccurduringmicroindentationtesting
3. Terminology
and how these factors affect the accuracy, repeatability, and
3.1 Definitions—For definitions of terms used in this test
reproducibility of test results.
method, see TerminologyE7.
NOTE 1—WhileCommitteeE04isprimarilyconcernedwithmetals,the
3.2 Definitions of Terms Specific to This Standard:
test procedures described are applicable to other materials.
3.2.1 calibrating, v—determining the values of the signifi-
1.4 This standard does not purport to address all of the
cant parameters by comparison with values indicated by a
safety concerns, if any, associated with its use. It is the
reference instrument or by a set of reference standards.
responsibility of the user of this standard to establish appro-
3.2.2 Knoop hardness number, HK, n—an expression of
priate safety and health practices and determine the applica-
hardness obtained by dividing the force applied to the Knoop
bility of regulatory limitations prior to use.
indenter by the projected area of the permanent impression
made by the indenter.
2. Referenced Documents
3.2.3 Knoop indenter, n—a rhombic-based pyramidal-
2
2.1 ASTM Standards:
shaped diamond indenter with edge angles of/ A = 172° 308
C 1326 Test Method for Knoop Indentation Hardness of
and/ B = 130° 08 (see Fig. 1).
Advanced Ceramics
3.2.4 microindentation hardness test, n—a hardness test
C 1327 Test Method for Vickers Indentation Hardness of
using a calibrated machine to force a diamond indenter of
Advanced Ceramics
specific geometry into the surface of the material being
E3 Guide for Preparation of Metallographic Specimens
evaluated, in which the test forces range from 1 to 1000 gf (9.8
–3
E7 Terminology Relating to Metallography
310 to9.8N),andtheindentationdiagonal,ordiagonalsare
E 122 Practice for Calculating Sample Size to Estimate,
measured with a light microscope after load removal; for any
With Specified Precision, the Average for a Characteristic
microindentation hardness test, it is assumed that the indenta-
of a Lot or Process
tion does not undergo elastic recovery after force removal.
NOTE 2—Use of the term microhardness should be avoided because it
implies that the hardness, rather than the force or the indentation size, is
1
This test method is under the jurisdiction of ASTM Committee E04 on very low.
Metallography and is the direct responsibility of Subcommittee E04.05 on Micro-
3.2.5 verifying, v—checking or testing the instrument to
indentation Hardness Testing.
assure conformance with the specification.
Current edition approved Jan. 1, 2008. Published January 2008. Originally
approved in 1969. Last previous edition approved in 2007 as E 384 – 07a.
3.2.6 Vickers hardness number, HV, n—an expression of
2
For referenced ASTM standards, visit the ASTM website, www.astm.org, or
hardness obtained by dividing the force applied to a Vickers
contact ASTM Customer Service at service@astm.org. For Annual Book of ASTM
indenter by the surface area of the permanent impression made
Standards volume information, refer to the standard’s Document Summary page on
the ASTM website. by the indenter.
*A Summary of Changes section appears at the end of this standard.
Copyright © ASTM International, 100 Barr Harbor Drive, PO Box C700, West Conshohocken, PA 19428-2959, United States.
1
---------------------- Page: 1 ----------------------
E384–08
FIG. 1 Knoop Indenter
3.2.7 Vickersindenter,n—asquare-basedpyramidal-shaped 3.3.1 For Knoop hardness te
...
This document is not anASTM standard and is intended only to provide the user of anASTM standard an indication of what changes have been made to the previous version. Because
it may not be technically possible to adequately depict all changes accurately, ASTM recommends that users consult prior editions as appropriate. In all cases only the current version
of the standard as published by ASTM is to be considered the official document.
Designation:E384–07a Designation: E 384 – 08
Standard Test Method for
1
Microindentation Hardness of Materials
This standard is issued under the fixed designation E 384; the number immediately following the designation indicates the year of
original adoption or, in the case of revision, the year of last revision. A number in parentheses indicates the year of last reapproval. A
superscript epsilon (e) indicates an editorial change since the last revision or reapproval.
This standard has been approved for use by agencies of the Department of Defense.
1. Scope*
1.1 This test method covers determination of the microindentation hardness of materials, the verification of microindentation
hardness testing machines, and the calibration of standardized test blocks.
1.2 This test method covers microindentation tests made with Knoop and Vickers indenters under test forces in the range from
-3
9.8 3 10 to9.8N(1to 1000 gf ).
1.3 This test method includes an analysis of the possible sources of errors that can occur during microindentation testing and
how these factors affect the accuracy, repeatability, and reproducibility of test results.
NOTE 1—While Committee E04 is primarily concerned with metals, the test procedures described are applicable to other materials.
1.4 This standard does not purport to address all of the safety concerns, if any, associated with its use. It is the responsibility
of the user of this standard to establish appropriate safety and health practices and determine the applicability of regulatory
limitations prior to use.
2. Referenced Documents
2
2.1 ASTM Standards:
C 1326 Test Method for Knoop Indentation Hardness of Advanced Ceramics
C 1327 Test Method for Vickers Indentation Hardness of Advanced Ceramics
E 3 Guide for Preparation of Metallographic Specimens
E 7 Terminology Relating to Metallography
E 122 Practice for Calculating Sample Size to Estimate, With Specified Precision, the Average for a Characteristic of a Lot or
Process
E 140 Hardness Conversion Tables for Metals Relationship Among Brinell Hardness, Vickers Hardness, Rockwell Hardness,
Superficial Hardness, Knoop Hardness, and Scleroscope Hardness
E 175 Terminology of Microscopy
E 691 Practice for Conducting an Interlaboratory Study to Determine the Precision of a Test Method
E 766 Practice for Calibrating the Magnification of a Scanning Electron Microscope
3. Terminology
3.1 Definitions— For definitions of terms used in this test method, see Terminology E 7.
3.2 Definitions of Terms Specific to This Standard:
3.2.1 calibrating, v—determining the values of the significant parameters by comparison with values indicated by a reference
instrument or by a set of reference standards.
3.2.2 Knoop hardness number, HK, n—an expression of hardness obtained by dividing the force applied to the Knoop indenter
by the projected area of the permanent impression made by the indenter.
3.2.3 Knoop indenter, n—a rhombic-based pyramidal-shaped diamond indenter with edge angles of/ A = 172° 308 and/ B
= 130° 08 (see Fig. 1).
3.2.4 microindentation hardness test, n— a hardness test using a calibrated machine to force a diamond indenter of specific
–3
geometry into the surface of the material being evaluated, in which the test forces range from 1 to 1000 gf (9.8 3 10 to 9.8 N),
and the indentation diagonal, or diagonals are measured with a light microscope after load removal; for any microindentation
hardness test, it is assumed that the indentation does not undergo elastic recovery after force removal.
1
This test method is under the jurisdiction of ASTM Committee E04 on Metallography and is the direct responsibility of Subcommittee E04.05 on Microindentation
Hardness Testing.
Current edition approved Dec. 15, 2007.Jan. 1, 2008. Published January 2008. Originally approved in 1969. Last previous edition approved in 2007 as E 384 – 07a.
2
For referencedASTM standards, visit theASTM website, www.astm.org, or contactASTM Customer Service at service@astm.org. For Annual Book of ASTM Standards
volume information, refer to the standard’s Document Summary page on the ASTM website.
*A Summary of Changes section appears at the end of this standard.
Copyright © ASTM International, 100 Barr Harbor Drive, PO Box C700, West Conshohocken, PA 19428-2959, United States.
1
---------------------- Page: 1 ----------------------
E384–08
FIG. 1 Knoop Indenter
NOTE 2—Use of the term microhardness should be avoided because it implies that the hardness, rather than the force or the indentation size, is very
low.
3.2.5 verifying, v—checking or testing th
...


Questions, Comments and Discussion
Ask us and Technical Secretary will try to provide an answer. You can facilitate discussion about the standard in here.