ASTM A892-09
(Guide)Standard Guide for Defining and Rating the Microstructure of High Carbon Bearing Steels
Standard Guide for Defining and Rating the Microstructure of High Carbon Bearing Steels
ABSTRACT
This guide covers the definition and rating of the microstructure of carbide structures in annealed high carbon bearing steels. Requirements for the optical metallograph apparatus and specimen preparation including polishing and etching are detailed. The description of the reference photomicrographs (graded illustrations of annealed carbides categorized by size, network, and lamellar content (shape)) that shall be used in the evaluation and the equation that shall define the rating are given.
SCOPE
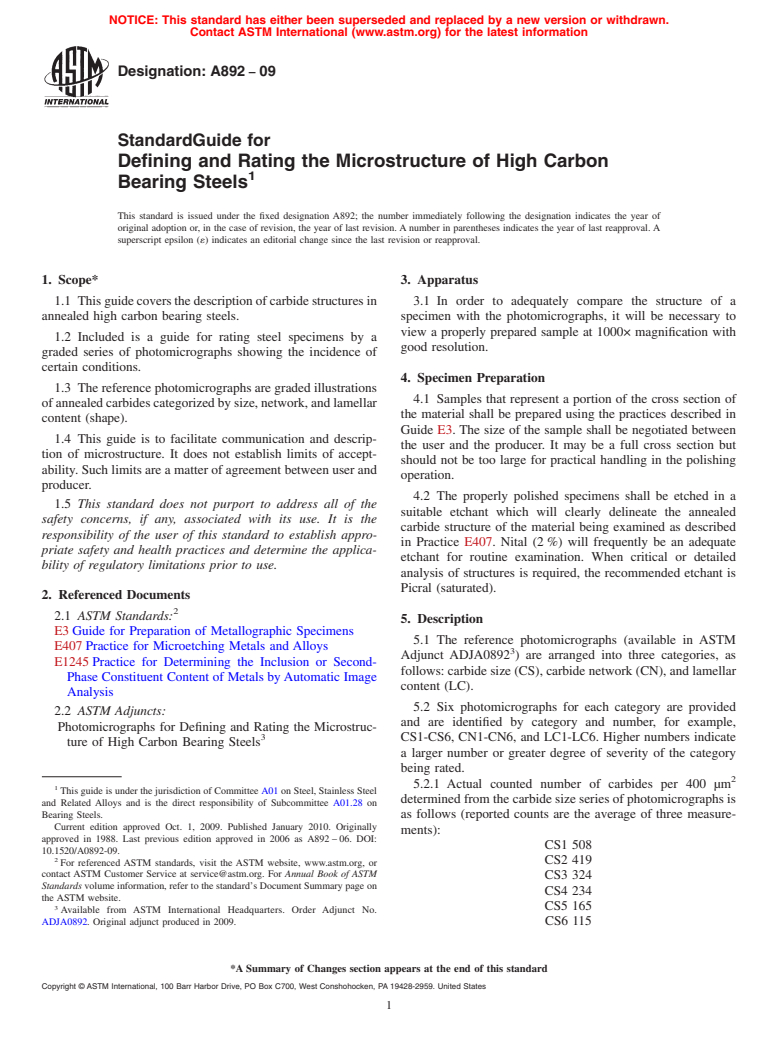
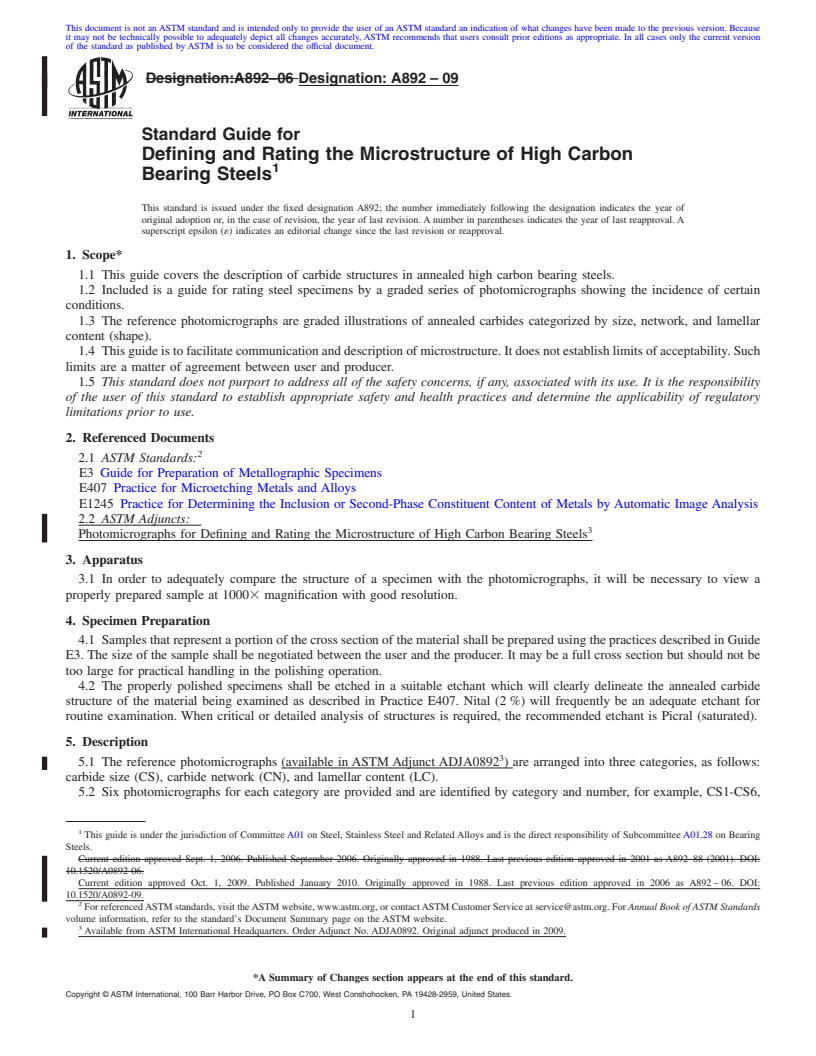
1.1 This guide covers the description of carbide structures in annealed high carbon bearing steels.
1.2 Included is a guide for rating steel specimens by a graded series of photomicrographs showing the incidence of certain conditions.
1.3 The reference photomicrographs are graded illustrations of annealed carbides categorized by size, network, and lamellar content (shape).
1.4 This guide is to facilitate communication and description of microstructure. It does not establish limits of acceptability. Such limits are a matter of agreement between user and producer.
1.5 This standard does not purport to address all of the safety concerns, if any, associated with its use. It is the responsibility of the user of this standard to establish appropriate safety and health practices and determine the applicability of regulatory limitations prior to use.
General Information
Relations
Buy Standard
Standards Content (Sample)
NOTICE: This standard has either been superseded and replaced by a new version or withdrawn.
Contact ASTM International (www.astm.org) for the latest information
Designation:A892 −09
StandardGuide for
Defining and Rating the Microstructure of High Carbon
1
Bearing Steels
This standard is issued under the fixed designation A892; the number immediately following the designation indicates the year of
original adoption or, in the case of revision, the year of last revision.Anumber in parentheses indicates the year of last reapproval.A
superscript epsilon (´) indicates an editorial change since the last revision or reapproval.
1. Scope* 3. Apparatus
1.1 Thisguidecoversthedescriptionofcarbidestructuresin
3.1 In order to adequately compare the structure of a
annealed high carbon bearing steels. specimen with the photomicrographs, it will be necessary to
view a properly prepared sample at 1000× magnification with
1.2 Included is a guide for rating steel specimens by a
good resolution.
graded series of photomicrographs showing the incidence of
certain conditions.
4. Specimen Preparation
1.3 The reference photomicrographs are graded illustrations
4.1 Samples that represent a portion of the cross section of
ofannealedcarbidescategorizedbysize,network,andlamellar
the material shall be prepared using the practices described in
content (shape).
Guide E3. The size of the sample shall be negotiated between
1.4 This guide is to facilitate communication and descrip-
the user and the producer. It may be a full cross section but
tion of microstructure. It does not establish limits of accept-
should not be too large for practical handling in the polishing
ability.Suchlimitsareamatterofagreementbetweenuserand
operation.
producer.
4.2 The properly polished specimens shall be etched in a
1.5 This standard does not purport to address all of the
suitable etchant which will clearly delineate the annealed
safety concerns, if any, associated with its use. It is the
carbide structure of the material being examined as described
responsibility of the user of this standard to establish appro-
in Practice E407. Nital (2%) will frequently be an adequate
priate safety and health practices and determine the applica-
etchant for routine examination. When critical or detailed
bility of regulatory limitations prior to use.
analysis of structures is required, the recommended etchant is
Picral (saturated).
2. Referenced Documents
2
2.1 ASTM Standards:
5. Description
E3Guide for Preparation of Metallographic Specimens
5.1 The reference photomicrographs (available in ASTM
E407Practice for Microetching Metals and Alloys
3
Adjunct ADJA0892 ) are arranged into three categories, as
E1245Practice for Determining the Inclusion or Second-
follows:carbidesize(CS),carbidenetwork(CN),andlamellar
Phase Constituent Content of Metals byAutomatic Image
content (LC).
Analysis
5.2 Six photomicrographs for each category are provided
2.2 ASTM Adjuncts:
and are identified by category and number, for example,
Photomicrographs for Defining and Rating the Microstruc-
3
CS1-CS6, CN1-CN6, and LC1-LC6. Higher numbers indicate
ture of High Carbon Bearing Steels
a larger number or greater degree of severity of the category
being rated.
2
5.2.1 Actual counted number of carbides per 400 µm
1
This guide is under the jurisdiction of Committee A01 on Steel, Stainless Steel
determinedfromthecarbidesizeseriesofphotomicrographsis
and Related Alloys and is the direct responsibility of Subcommittee A01.28 on
Bearing Steels.
as follows (reported counts are th
...
This document is not an ASTM standard and is intended only to provide the user of an ASTM standard an indication of what changes have been made to the previous version. Because
it may not be technically possible to adequately depict all changes accurately, ASTM recommends that users consult prior editions as appropriate. In all cases only the current version
of the standard as published by ASTM is to be considered the official document.
Designation:A892–06 Designation: A892 – 09
Standard Guide for
Defining and Rating the Microstructure of High Carbon
1
Bearing Steels
This standard is issued under the fixed designation A892; the number immediately following the designation indicates the year of
original adoption or, in the case of revision, the year of last revision. A number in parentheses indicates the year of last reapproval. A
superscript epsilon (´) indicates an editorial change since the last revision or reapproval.
1. Scope*
1.1 This guide covers the description of carbide structures in annealed high carbon bearing steels.
1.2 Included is a guide for rating steel specimens by a graded series of photomicrographs showing the incidence of certain
conditions.
1.3 The reference photomicrographs are graded illustrations of annealed carbides categorized by size, network, and lamellar
content (shape).
1.4 Thisguideistofacilitatecommunicationanddescriptionofmicrostructure.Itdoesnotestablishlimitsofacceptability.Such
limits are a matter of agreement between user and producer.
1.5 This standard does not purport to address all of the safety concerns, if any, associated with its use. It is the responsibility
of the user of this standard to establish appropriate safety and health practices and determine the applicability of regulatory
limitations prior to use.
2. Referenced Documents
2
2.1 ASTM Standards:
E3 Guide for Preparation of Metallographic Specimens
E407 Practice for Microetching Metals and Alloys
E1245 Practice for Determining the Inclusion or Second-Phase Constituent Content of Metals by Automatic Image Analysis
2.2 ASTM Adjuncts:
3
Photomicrographs for Defining and Rating the Microstructure of High Carbon Bearing Steels
3. Apparatus
3.1 In order to adequately compare the structure of a specimen with the photomicrographs, it will be necessary to view a
properly prepared sample at 10003 magnification with good resolution.
4. Specimen Preparation
4.1 Samples that represent a portion of the cross section of the material shall be prepared using the practices described in Guide
E3. The size of the sample shall be negotiated between the user and the producer. It may be a full cross section but should not be
too large for practical handling in the polishing operation.
4.2 The properly polished specimens shall be etched in a suitable etchant which will clearly delineate the annealed carbide
structure of the material being examined as described in Practice E407. Nital (2 %) will frequently be an adequate etchant for
routine examination. When critical or detailed analysis of structures is required, the recommended etchant is Picral (saturated).
5. Description
3
5.1 The reference photomicrographs (available in ASTM Adjunct ADJA0892 ) are arranged into three categories, as follows:
carbide size (CS), carbide network (CN), and lamellar content (LC).
5.2 Six photomicrographs for each category are provided and are identified by category and number, for example, CS1-CS6,
1
This guide is under the jurisdiction of Committee A01 on Steel, Stainless Steel and Related Alloys and is the direct responsibility of Subcommittee A01.28 on Bearing
Steels.
Current edition approved Sept. 1, 2006. Published September 2006. Originally approved in 1988. Last previous edition approved in 2001 as A892–88 (2001). DOI:
10.1520/A0892-06.
Current edition approved Oct. 1, 2009. Published January 2010. Originally approved in 1988. Last previous edition approved in 2006 as A892 – 06. DOI:
10.1520/A0892-09.
2
For referencedASTM standards, visit theASTM website, www.astm.org, or contactASTM Customer Service at service@astm.org. For Annual Book of ASTM Standards
volume information, refer to the standard’s Document Summary page on the ASTM website.
3
Available from ASTM International Headquarters. Order Adjunct No. ADJA0892. Original adjunct produced in 2009.
*ASummary of Changes section appears at the end of this standard.
Copyright © ASTM International, 100 Barr Harbor Drive, PO Box C700, West Conshohocken, PA 19428-2959, United States.
1
---------------------- Page: 1 ----------------------
A892 – 09
CN1-CN6, and LC1-LC6 as shown in Figs. 1-3.LC1-LC6. Higher numbers indicate a larger number or greater degree of severity
of the category being rated.
2
5.2.1 Actual counted number of carbides per 400 µm determined from the carbide size series of photomicrographs is as follows
(reported counts are the average of three measurements):
CS1 508
CS2 419
CS3 324
CS4 234
CS5 165
CS6 115
6. Procedure for Evaluation
6.1 Using an optical metallograph and a magn
...


Questions, Comments and Discussion
Ask us and Technical Secretary will try to provide an answer. You can facilitate discussion about the standard in here.