ASTM E399-06e1
(Test Method)Standard Test Method for Linear-Elastic Plane-Strain Fracture Toughness KIc of Metallic Materials
Standard Test Method for Linear-Elastic Plane-Strain Fracture Toughness K<sub>Ic</sub> of Metallic Materials
SCOPE
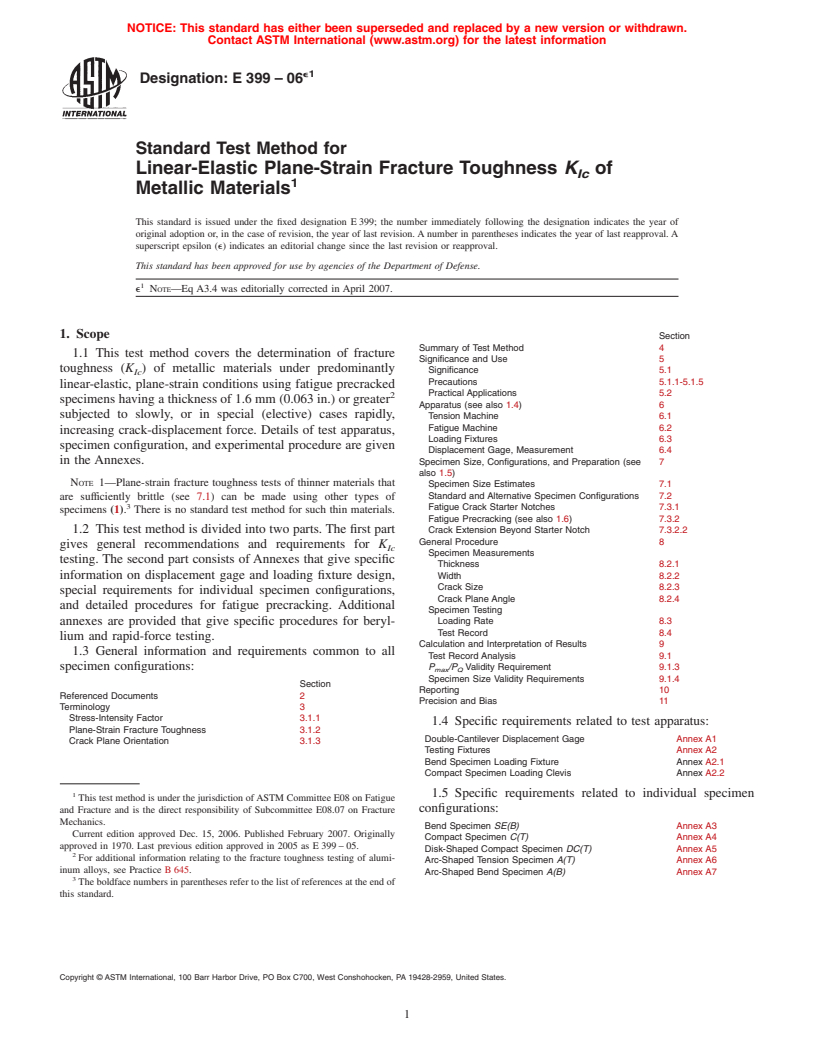
1.1 This test method covers the determination of fracture toughness (KIc) of metallic materials under predominantly linear-elastic, plane-strain conditions using fatigue precracked specimens having a thickness of 1.6 mm (0.063 in.) or greater subjected to slowly, or in special (elective) cases rapidly, increasing crack-displacement force. Details of test apparatus, specimen configuration, and experimental procedure are given in the Annexes.
Note 1—Plane-strain fracture toughness tests of thinner materials that are sufficiently brittle (see 7.1) can be made using other types of specimens (1). There is no standard test method for such thin materials.
1.2 This test method is divided into two parts. The first part gives general recommendations and requirements for KIc testing. The second part consists of Annexes that give specific information on displacement gage and loading fixture design, special requirements for individual specimen configurations, and detailed procedures for fatigue precracking. Additional annexes are provided that give specific procedures for beryllium and rapid-force testing.
1.3 General information and requirements common to all specimen configurations:SectionReferenced Documents2Terminology3Stress-Intensity Factor3.1.1Plane-Strain Fracture Toughness3.1.2Crack Plane Orientation3.1.3Summary of Test Method4Significance and Use5Significance5.1Precautions5.1.1-5.1.5Practical Applications5.2Apparatus (see also 1.4)6Tension Machine6.1Fatigue Machine6.2Loading Fixtures6.3Displacement Gage, Measurement6.4Specimen Size, Configurations, and Preparation (see also 1.5)7Specimen Size Estimates7.1Standard and Alternative Specimen Configurations7.2Fatigue Crack Starter Notches7.3.1Fatigue Precracking (see also 1.6)7.3.2Crack Extension Beyond Starter Notch7.3.2.2General Procedure8Specimen MeasurementsThickness8.2.1Width8.2.2Crack Size8.2.3Crack Plane Angle8.2.4Specimen TestingLoading Rate8.3Test Record8.4Calculation and Interpretation of Results9Test Record Analysis9.1Pmax/PQ Validity Requirement9.1.3Specimen Size Validity Requirements9.1.4Reporting10Precision and Bias11
1.4 Specific requirements related to test apparatus:Double-Cantilever Displacement GageAnnex A1Testing FixturesAnnex A2Bend Specimen Loading FixtureAnnex A2.1Compact Specimen Loading ClevisAnnex A2.2
1.5 Specific requirements related to individual specimen configurations:Bend Specimen SE(B)Annex A3Compact Specimen C(T)Annex A4Disk-Shaped Compact Specimen DC(T)Annex A5Arc-Shaped Tension Specimen A(T)Annex A6Arc-Shaped Bend Specimen A(B)Annex A7
1.6 Specific requirements related to special test procedures:Fatigue Precracking KIc SpecimensAnnex A8Hot-Pressed Beryllium TestingAnnex A9Rapid-Force TestingAnnex A10
1.7 The values stated in SI units are to be regarded as the standard. The values given in parentheses are for information only.
1.8 This standard does not purport to address all of the safety concerns, if any, associated with its use. It is the responsibility of the user of this standard to establish appropriate safety and health practices and determine the applicability of regulatory limitations prior to use.
General Information
Relations
Standards Content (Sample)
NOTICE: This standard has either been superseded and replaced by a new version or withdrawn.
Contact ASTM International (www.astm.org) for the latest information
e1
Designation: E 399 – 06
Standard Test Method for
Linear-Elastic Plane-Strain Fracture Toughness K of
Ic
1
Metallic Materials
This standard is issued under the fixed designation E399; the number immediately following the designation indicates the year of
original adoption or, in the case of revision, the year of last revision.Anumber in parentheses indicates the year of last reapproval.A
superscript epsilon (e) indicates an editorial change since the last revision or reapproval.
This standard has been approved for use by agencies of the Department of Defense.
1
e NOTE—Eq A3.4 was editorially corrected in April 2007.
1. Scope
Section
Summary of Test Method 4
1.1 This test method covers the determination of fracture
Significance and Use 5
toughness (K ) of metallic materials under predominantly
Significance 5.1
Ic
Precautions 5.1.1-5.1.5
linear-elastic, plane-strain conditions using fatigue precracked
Practical Applications 5.2
2
specimenshavingathicknessof1.6mm(0.063in.)orgreater
Apparatus (see also 1.4) 6
subjected to slowly, or in special (elective) cases rapidly,
Tension Machine 6.1
Fatigue Machine 6.2
increasing crack-displacement force. Details of test apparatus,
Loading Fixtures 6.3
specimen configuration, and experimental procedure are given
Displacement Gage, Measurement 6.4
in the Annexes. Specimen Size, Configurations, and Preparation (see 7
also 1.5)
NOTE 1—Plane-strain fracture toughness tests of thinner materials that
Specimen Size Estimates 7.1
are sufficiently brittle (see 7.1) can be made using other types of Standard and Alternative Specimen Configurations 7.2
3
Fatigue Crack Starter Notches 7.3.1
specimens (1). There is no standard test method for such thin materials.
Fatigue Precracking (see also 1.6) 7.3.2
1.2 This test method is divided into two parts.The first part Crack Extension Beyond Starter Notch 7.3.2.2
General Procedure 8
gives general recommendations and requirements for K
Ic
Specimen Measurements
testing. The second part consists ofAnnexes that give specific
Thickness 8.2.1
information on displacement gage and loading fixture design, Width 8.2.2
Crack Size 8.2.3
special requirements for individual specimen configurations,
Crack Plane Angle 8.2.4
and detailed procedures for fatigue precracking. Additional
Specimen Testing
annexes are provided that give specific procedures for beryl- Loading Rate 8.3
Test Record 8.4
lium and rapid-force testing.
Calculation and Interpretation of Results 9
1.3 General information and requirements common to all
Test Record Analysis 9.1
specimen configurations: P /P Validity Requirement 9.1.3
max Q
Specimen Size Validity Requirements 9.1.4
Section
Reporting 10
Referenced Documents 2
Precision and Bias 11
Terminology 3
Stress-Intensity Factor 3.1.1
1.4 Specific requirements related to test apparatus:
Plane-Strain Fracture Toughness 3.1.2
Double-Cantilever Displacement Gage Annex A1
Crack Plane Orientation 3.1.3
Testing Fixtures Annex A2
Bend Specimen Loading Fixture Annex A2.1
Compact Specimen Loading Clevis Annex A2.2
1 1.5 Specific requirements related to individual specimen
This test method is under the jurisdiction ofASTM Committee E08 on Fatigue
and Fracture and is the direct responsibility of Subcommittee E08.07 on Fracture configurations:
Mechanics.
Bend Specimen SE(B) Annex A3
Current edition approved Dec. 15, 2006. Published February 2007. Originally
Compact Specimen C(T) Annex A4
approved in 1970. Last previous edition approved in 2005 as E399–05.
Disk-Shaped Compact Specimen DC(T) Annex A5
2
For additional information relating to the fracture toughness testing of alumi-
Arc-Shaped Tension Specimen A(T) Annex A6
inum alloys, see Practice B645.
Arc-Shaped Bend Specimen A(B) Annex A7
3
Theboldfacenumbersinparenthesesrefertothelistofreferencesattheendof
this standard.
Copyright © ASTM International, 100 Barr Harbor Drive, PO Box C700, West Conshohocken, PA 19428-2959, United States.
1
---------------------- Page: 1 ----------------------
e1
E399–06
-3/2
1.6 Specific requirements related to special test procedures: 3.1.2 plane-strain fracture toughness, K [FL ] —the
Ic
crack-extension resistance under conditions of crack-tip plane
Fatigue Precracking KIc Specimens Annex A8
Hot-Pressed Beryllium Testing Annex A9
strain in Mode I for slow rates of loading under predominantly
Rapid-Force Testing Annex A10
linear-elastic conditions and negligible plastic-zone adjust-
1.7 The values stated in SI units are to be regarded as the ment. The stress intensity factor, K , is measured using the
Ic
standard. The values given in parentheses are for information
operationalprocedure(andsatisfyingallofthevalidityrequire-
only. ments) specified in Test Method E399, that provides for the
1.8 This standard does not purport to address all of the
measurement of crack-extension resistance at the onset (2% or
safety con
...


Questions, Comments and Discussion
Ask us and Technical Secretary will try to provide an answer. You can facilitate discussion about the standard in here.