ASTM E190-21
(Test Method)Standard Test Method for Guided Bend Test for Ductility of Welds
Standard Test Method for Guided Bend Test for Ductility of Welds
SIGNIFICANCE AND USE
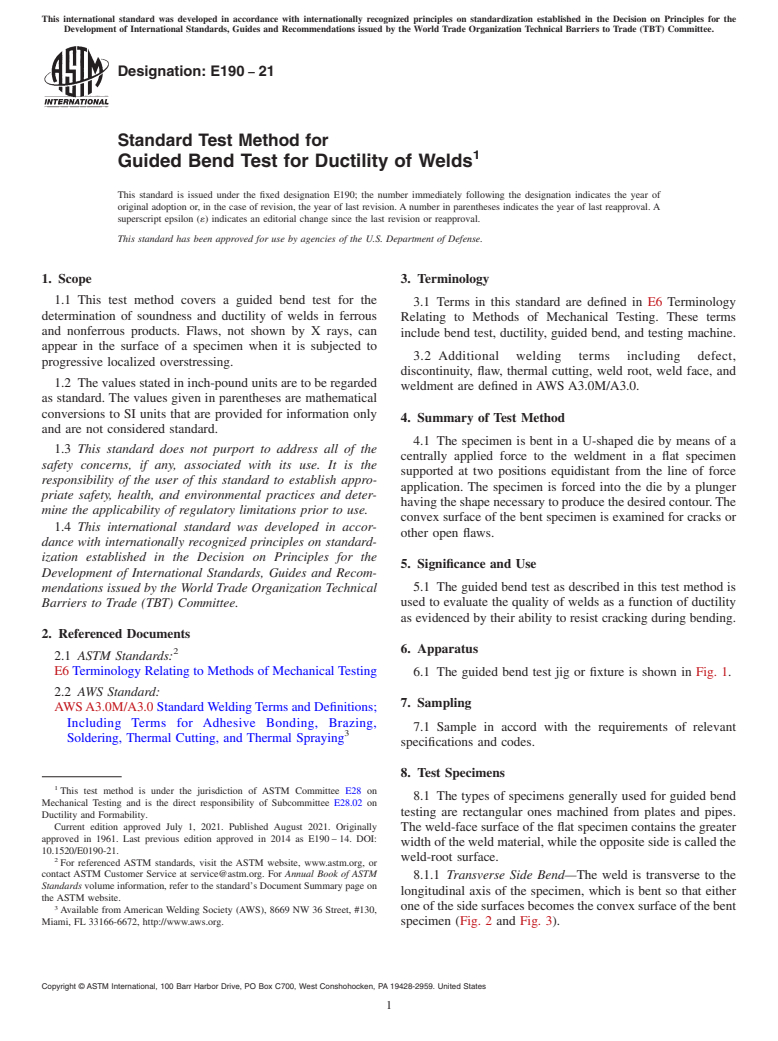
5.1 The guided bend test as described in this test method is used to evaluate the quality of welds as a function of ductility as evidenced by their ability to resist cracking during bending.
SCOPE
1.1 This test method covers a guided bend test for the determination of soundness and ductility of welds in ferrous and nonferrous products. Flaws, not shown by X rays, can appear in the surface of a specimen when it is subjected to progressive localized overstressing.
1.2 The values stated in inch-pound units are to be regarded as standard. The values given in parentheses are mathematical conversions to SI units that are provided for information only and are not considered standard.
1.3 This standard does not purport to address all of the safety concerns, if any, associated with its use. It is the responsibility of the user of this standard to establish appropriate safety, health, and environmental practices and determine the applicability of regulatory limitations prior to use.
1.4 This international standard was developed in accordance with internationally recognized principles on standardization established in the Decision on Principles for the Development of International Standards, Guides and Recommendations issued by the World Trade Organization Technical Barriers to Trade (TBT) Committee.
General Information
Buy Standard
Standards Content (Sample)
This international standard was developed in accordance with internationally recognized principles on standardization established in the Decision on Principles for the
Development of International Standards, Guides and Recommendations issued by the World Trade Organization Technical Barriers to Trade (TBT) Committee.
Designation: E190 − 21
Standard Test Method for
1
Guided Bend Test for Ductility of Welds
This standard is issued under the fixed designation E190; the number immediately following the designation indicates the year of
original adoption or, in the case of revision, the year of last revision. A number in parentheses indicates the year of last reapproval. A
superscript epsilon (´) indicates an editorial change since the last revision or reapproval.
This standard has been approved for use by agencies of the U.S. Department of Defense.
1. Scope 3. Terminology
1.1 This test method covers a guided bend test for the
3.1 Terms in this standard are defined in E6 Terminology
determination of soundness and ductility of welds in ferrous
Relating to Methods of Mechanical Testing. These terms
and nonferrous products. Flaws, not shown by X rays, can
include bend test, ductility, guided bend, and testing machine.
appear in the surface of a specimen when it is subjected to
3.2 Additional welding terms including defect,
progressive localized overstressing.
discontinuity, flaw, thermal cutting, weld root, weld face, and
1.2 The values stated in inch-pound units are to be regarded
weldment are defined in AWS A3.0M/A3.0.
as standard. The values given in parentheses are mathematical
conversions to SI units that are provided for information only
4. Summary of Test Method
and are not considered standard.
4.1 The specimen is bent in a U-shaped die by means of a
1.3 This standard does not purport to address all of the
centrally applied force to the weldment in a flat specimen
safety concerns, if any, associated with its use. It is the
supported at two positions equidistant from the line of force
responsibility of the user of this standard to establish appro-
application. The specimen is forced into the die by a plunger
priate safety, health, and environmental practices and deter-
having the shape necessary to produce the desired contour.The
mine the applicability of regulatory limitations prior to use.
convex surface of the bent specimen is examined for cracks or
1.4 This international standard was developed in accor-
other open flaws.
dance with internationally recognized principles on standard-
ization established in the Decision on Principles for the
5. Significance and Use
Development of International Standards, Guides and Recom-
5.1 The guided bend test as described in this test method is
mendations issued by the World Trade Organization Technical
Barriers to Trade (TBT) Committee. used to evaluate the quality of welds as a function of ductility
as evidenced by their ability to resist cracking during bending.
2. Referenced Documents
6. Apparatus
2
2.1 ASTM Standards:
E6 Terminology Relating to Methods of Mechanical Testing 6.1 The guided bend test jig or fixture is shown in Fig. 1.
2.2 AWS Standard:
7. Sampling
AWSA3.0M/A3.0 Standard Welding Terms and Definitions;
Including Terms for Adhesive Bonding, Brazing,
7.1 Sample in accord with the requirements of relevant
3
Soldering, Thermal Cutting, and Thermal Spraying
specifications and codes.
8. Test Specimens
1
This test method is under the jurisdiction of ASTM Committee E28 on
8.1 The types of specimens generally used for guided bend
Mechanical Testing and is the direct responsibility of Subcommittee E28.02 on
testing are rectangular ones machined from plates and pipes.
Ductility and Formability.
Current edition approved July 1, 2021. Published August 2021. Originally
The weld-face surface of the flat specimen contains the greater
approved in 1961. Last previous edition approved in 2014 as E190 – 14. DOI:
width of the weld material, while the opposite side is called the
10.1520/E0190-21.
weld-root surface.
2
For referenced ASTM standards, visit the ASTM website, www.astm.org, or
contact ASTM Customer Service at service@astm.org. For Annual Book of ASTM
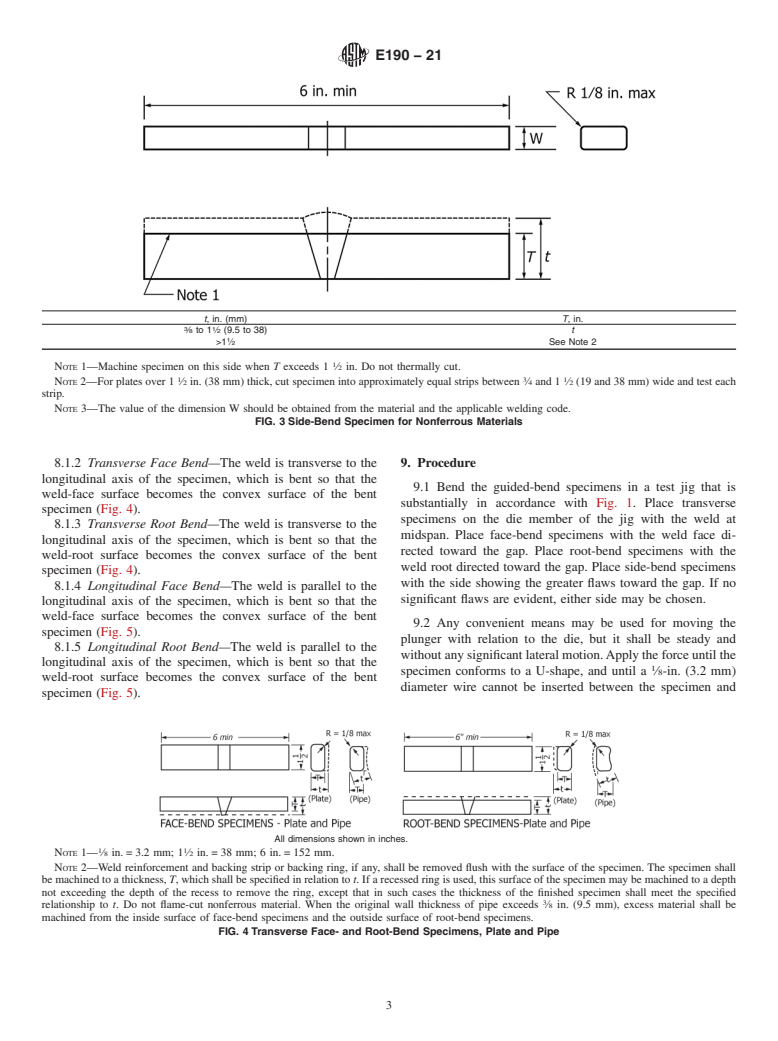
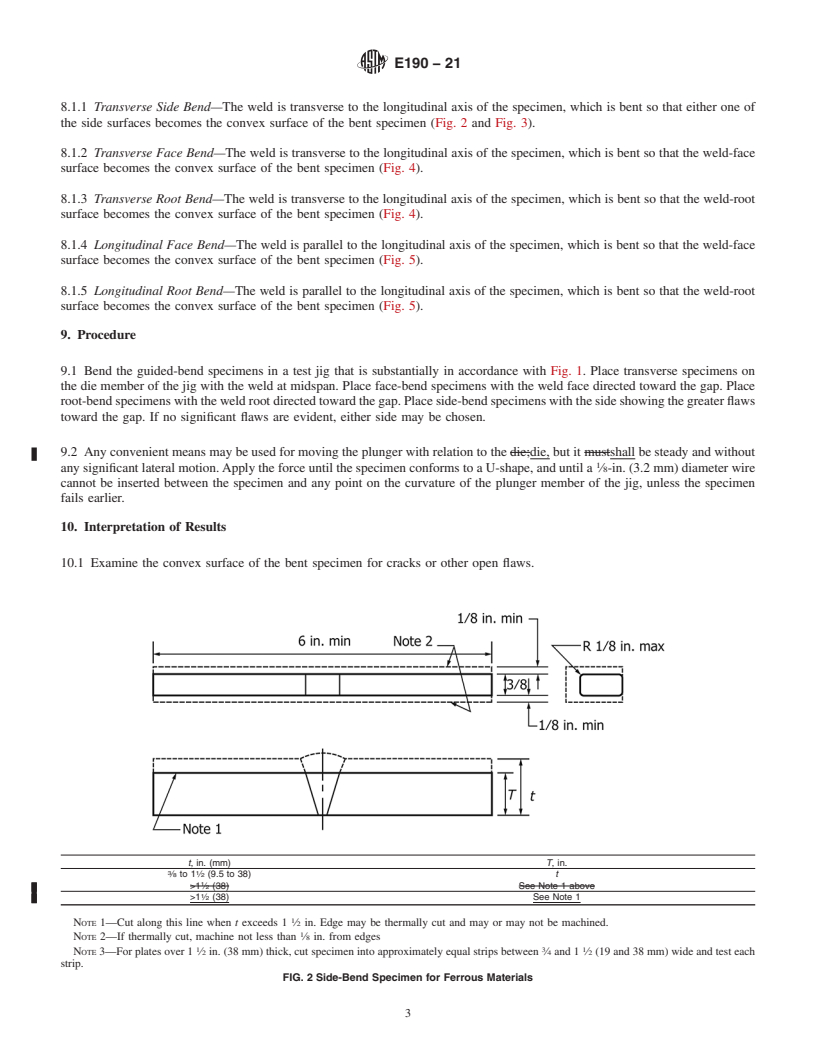
8.1.1 Transverse Side Bend—The weld is transverse to the
Standards volume information, refer to the standard’s Document Summary page on
longitudinal axis of the specimen, which is bent so that either
the ASTM website.
3
oneofthesidesurfacesbecomestheconvexsurfaceofthebent
Available from American Welding Society (AWS), 8669 NW 36 Street, #130,
Miami, FL 33166-6672, http://www.aws.org. specimen (Fig. 2 and Fig. 3).
Copyright © ASTM International, 100 Barr Harbor Drive, PO Box C700, West Conshohocken, PA 19428-2959. United States
1
---------------------- Page: 1 ----------------------
E190 − 21
All dimensions shown in inches.
Thickness of Specimen
A, in. (mm) B, in. (mm) C, in. (mm) D, in. (mm)
in. (mm)
3 1 3 3 3
⁄8 (9.5) 1 ⁄2 (38) ⁄4 (19) 2 ⁄8 (60) 1 ⁄16 (30)
1 1 1 3 3
⁄8 (3.2) 2 ⁄8 (54) 1 ⁄16 (27) 2 ⁄8 (60) 1 ⁄16 (30)
1 1
t
...
This document is not an ASTM standard and is intended only to provide the user of an ASTM standard an indication of what changes have been made to the previous version. Because
it may not be technically possible to adequately depict all changes accurately, ASTM recommends that users consult prior editions as appropriate. In all cases only the current version
of the standard as published by ASTM is to be considered the official document.
Designation: E190 − 14 E190 − 21
Standard Test Method for
1
Guided Bend Test for Ductility of Welds
This standard is issued under the fixed designation E190; the number immediately following the designation indicates the year of
original adoption or, in the case of revision, the year of last revision. A number in parentheses indicates the year of last reapproval. A
superscript epsilon (´) indicates an editorial change since the last revision or reapproval.
This standard has been approved for use by agencies of the U.S. Department of Defense.
1. Scope
1.1 This test method covers a guided bend test for the determination of soundness and ductility of welds in ferrous and nonferrous
products. Flaws, not shown by X rays, maycan appear in the surface of a specimen when it is subjected to progressive localized
overstressing. This guided bend test has been developed primarily for plates and is not intended to be substituted for other methods
of bend testing.
1.2 The values stated in inch-pound units are to be regarded as standard. The values given in parentheses are mathematical
conversions to SI units that are provided for information only and are not considered standard.
1.3 This standard does not purport to address all of the safety concerns, if any, associated with its use. It is the responsibility
of the user of this standard to establish appropriate safety safety, health, and healthenvironmental practices and determine the
applicability of regulatory limitations prior to use.
1.4 This international standard was developed in accordance with internationally recognized principles on standardization
established in the Decision on Principles for the Development of International Standards, Guides and Recommendations issued
by the World Trade Organization Technical Barriers to Trade (TBT) Committee.
2. Referenced Documents
2
2.1 ASTM Standards:
E6 Terminology Relating to Methods of Mechanical Testing
2.2 AWS Standard:
AWS A3.0M/A3.0 Standard Welding Terms and Definitions; Including Terms for Adhesive Bonding, Brazing, Soldering,
3
Thermal Cutting, and Thermal Spraying
3. Terminology
3.1 Terms in this standard are defined in E6 Terminology Relating to Methods of Mechanical Testing. These terms include bend
test, ductility, guided bend, and testing machine.
3.2 Additional welding terms including defect, discontinuity, flaw, thermal cutting, weld root, weld face, and weldment are defined
in AWS A3.0M/A3.0:2010.A3.0M/A3.0.
1
This test method is under the jurisdiction of ASTM Committee E28 on Mechanical Testing and is the direct responsibility of Subcommittee E28.02 on Ductility and
Formability.
Current edition approved May 1, 2014July 1, 2021. Published September 2014August 2021. Originally approved in 1961. Last previous edition approved in 20082014
as E190 – 92 (2008).E190 – 14. DOI: 10.1520/E0190-14.10.1520/E0190-21.
2
For referenced ASTM standards, visit the ASTM website, www.astm.org, or contact ASTM Customer Service at service@astm.org. For Annual Book of ASTM Standards
volume information, refer to the standard’s Document Summary page on the ASTM website.
3
Available from American Welding Society (AWS), 8669 NW 36 Street, #130, Miami, FL 33166-6672, http://www.aws.org.
Copyright © ASTM International, 100 Barr Harbor Drive, PO Box C700, West Conshohocken, PA 19428-2959. United States
1
---------------------- Page: 1 ----------------------
E190 − 21
4. Summary of Test Method
4.1 The specimen is bent in a U-shaped die by means of a centrally applied force to the weldment in a flat specimen supported
at two positions equidistant from the line of force application. The specimen is forced into the die by a plunger having the shape
necessary to produce the desired contour. The convex surface of the bent specimen is examined for cracks or other open flaws.
5. Significance and Use
5.1 The guided bend test as described in this test method is used to evaluate the quality of welds as a function of ductility as
evidenced by their ability to resist cracking during bending.
6. Apparatus
6.1 The guided bend test jig or fixture is shown in Fig. 1.
7. Sampling
7.1 Sample in accord with the requirements of relevant specifications and codes.
8. Test Specimens
8.1 The types of specimens generally used for guided bend testing are rectangular ones machined from plates and pipes. The
weld-face surface of the flat specimen contains the greater width of the weld material, while the opposite side is called the
weld-root surface.
All dimensions shown in inches.
Thickness of Specimen
A, in. (mm) B, in. (mm) C, in. (
...


Questions, Comments and Discussion
Ask us and Technical Secretary will try to provide an answer. You can facilitate discussion about the standard in here.