ASTM G117-02(2007)
(Guide)Standard Guide for Calculating and Reporting Measures of Precision Using Data from Interlaboratory Wear or Erosion Tests
Standard Guide for Calculating and Reporting Measures of Precision Using Data from Interlaboratory Wear or Erosion Tests
SIGNIFICANCE AND USE
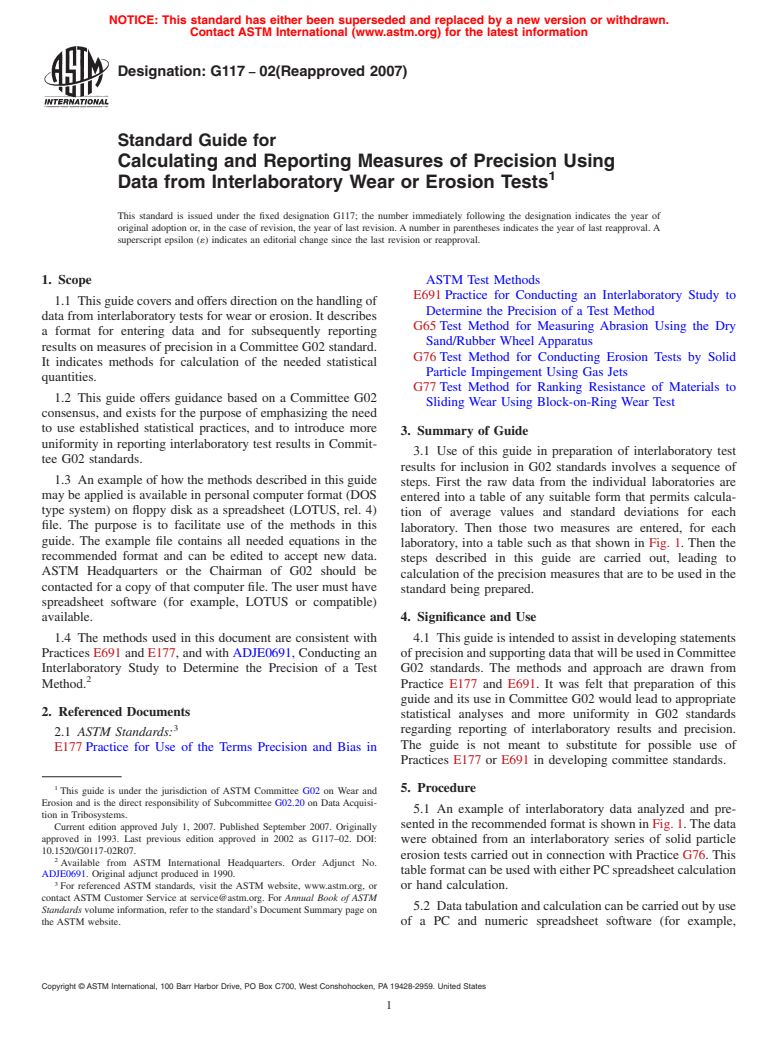
This guide is intended to assist in developing statements of precision and supporting data that will be used in Committee G02 standards. The methods and approach are drawn from Practice E 177 and E 691. It was felt that preparation of this guide and its use in Committee G02 would lead to appropriate statistical analyses and more uniformity in G02 standards regarding reporting of interlaboratory results and precision. The guide is not meant to substitute for possible use of Practices E 177 or E 691 in developing committee standards.
SCOPE
1.1 This guide covers and offers direction on the handling of data from interlaboratory tests for wear or erosion. It describes a format for entering data and for subsequently reporting results on measures of precision in a Committee G02 standard. It indicates methods for calculation of the needed statistical quantities.
1.2 This guide offers guidance based on a Committee G02 consensus, and exists for the purpose of emphasizing the need to use established statistical practices, and to introduce more uniformity in reporting interlaboratory test results in Committee G02 standards.
1.3 An example of how the methods described in this guide may be applied is available in personal computer format (DOS type system) on floppy disk as a spreadsheet (LOTUS, rel. 4) file. The purpose is to facilitate use of the methods in this guide. The example file contains all needed equations in the recommended format and can be edited to accept new data. ASTM Headquarters or the Chairman of G02 should be contacted for a copy of that computer file. The user must have spreadsheet software (for example, LOTUS or compatible) available.
1.4 The methods used in this document are consistent with Practices E 691 and E 177, and with ADJE0691, Conducting an Interlaboratory Study to Determine the Precision of a Test Method.
General Information
Relations
Standards Content (Sample)
NOTICE: This standard has either been superseded and replaced by a new version or withdrawn.
Contact ASTM International (www.astm.org) for the latest information
Designation: G117 − 02(Reapproved 2007)
Standard Guide for
Calculating and Reporting Measures of Precision Using
Data from Interlaboratory Wear or Erosion Tests
This standard is issued under the fixed designation G117; the number immediately following the designation indicates the year of
original adoption or, in the case of revision, the year of last revision.Anumber in parentheses indicates the year of last reapproval.A
superscript epsilon (´) indicates an editorial change since the last revision or reapproval.
1. Scope ASTM Test Methods
E691Practice for Conducting an Interlaboratory Study to
1.1 Thisguidecoversandoffersdirectiononthehandlingof
Determine the Precision of a Test Method
data from interlaboratory tests for wear or erosion. It describes
G65Test Method for Measuring Abrasion Using the Dry
a format for entering data and for subsequently reporting
Sand/Rubber Wheel Apparatus
results on measures of precision in a Committee G02 standard.
G76Test Method for Conducting Erosion Tests by Solid
It indicates methods for calculation of the needed statistical
Particle Impingement Using Gas Jets
quantities.
G77Test Method for Ranking Resistance of Materials to
1.2 This guide offers guidance based on a Committee G02
Sliding Wear Using Block-on-Ring Wear Test
consensus, and exists for the purpose of emphasizing the need
to use established statistical practices, and to introduce more
3. Summary of Guide
uniformity in reporting interlaboratory test results in Commit-
3.1 Use of this guide in preparation of interlaboratory test
tee G02 standards.
results for inclusion in G02 standards involves a sequence of
1.3 An example of how the methods described in this guide
steps. First the raw data from the individual laboratories are
may be applied is available in personal computer format (DOS
entered into a table of any suitable form that permits calcula-
type system) on floppy disk as a spreadsheet (LOTUS, rel. 4)
tion of average values and standard deviations for each
file. The purpose is to facilitate use of the methods in this
laboratory. Then those two measures are entered, for each
guide. The example file contains all needed equations in the
laboratory, into a table such as that shown in Fig. 1. Then the
recommended format and can be edited to accept new data.
steps described in this guide are carried out, leading to
ASTM Headquarters or the Chairman of G02 should be
calculation of the precision measures that are to be used in the
contacted for a copy of that computer file. The user must have
standard being prepared.
spreadsheet software (for example, LOTUS or compatible)
available. 4. Significance and Use
1.4 The methods used in this document are consistent with 4.1 Thisguideisintendedtoassistindevelopingstatements
Practices E691 and E177, and with ADJE0691, Conducting an ofprecisionandsupportingdatathatwillbeusedinCommittee
Interlaboratory Study to Determine the Precision of a Test G02 standards. The methods and approach are drawn from
Method. Practice E177 and E691. It was felt that preparation of this
guide and its use in Committee G02 would lead to appropriate
2. Referenced Documents
statistical analyses and more uniformity in G02 standards
regarding reporting of interlaboratory results and precision.
2.1 ASTM Standards:
The guide is not meant to substitute for possible use of
E177Practice for Use of the Terms Precision and Bias in
Practices E177 or E691 in developing committee standards.
5. Procedure
This guide is under the jurisdiction of ASTM Committee G02 on Wear and
Erosion and is the direct responsibility of Subcommittee G02.20 on Data Acquisi-
5.1 An example of interlaboratory data analyzed and pre-
tion in Tribosystems.
sentedintherecommendedformatisshowninFig.1.Thedata
Current edition approved July 1, 2007. Published September 2007. Originally
approved in 1993. Last previous edition approved in 2002 as G117–02. DOI:
were obtained from an interlaboratory series of solid particle
10.1520/G0117-02R07.
erosion tests carried out in connection with Practice G76. This
Available from ASTM International Headquarters. Order Adjunct No.
tableformatcanbeusedwitheitherPCspreadsheetcalculation
ADJE0691. Original adjunct produced in 1990.
For referenced ASTM standards, visit the ASTM website, www.astm.org, or or hand calculation.
contact ASTM Customer Service at service@astm.org. For Annual Book of ASTM
5.2 Datatabulationandcalculationcanbecarriedoutbyuse
Standards volume information, refer to the standard’s Document Summary page on
the ASTM website. of a PC and numeric spreadsheet software (for example,
Copyright © ASTM International, 100 Barr Harbor Drive, PO Box C700, West Conshohocken, PA 19428-2959. United States
G117 − 02 (2007)
NOTE 1—Column and row labels A, B,.and1,2,.arenot required.
FIG. 1 Example of Recommended Format for Data Analysis
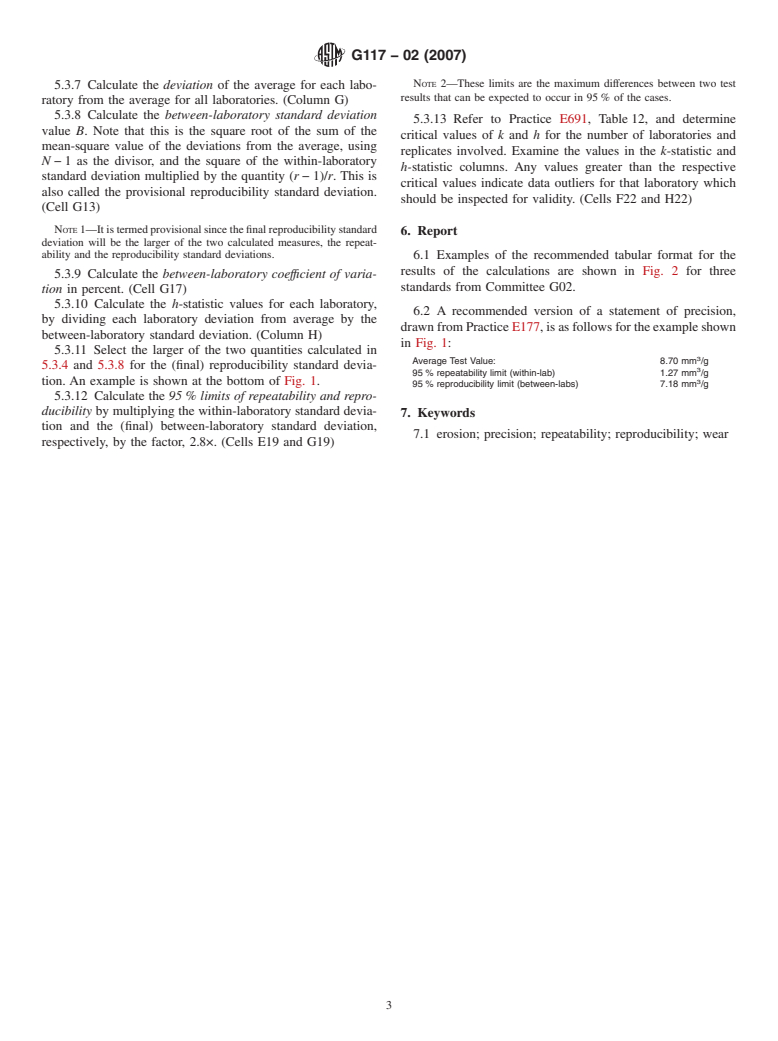
TABLE 2 Formulae Used in Calculating Quantities for Fig. 1,
LOTUS), as described in Table 1, or by any other appropriate Given in Usual Mathematical Notation
means such as hand calculation (Table 2). The formulae were
B13: N =^n Number of laboratories
C13: R = (1/N)·^r Average number of replicates
obtained from Practices E177 or E691 or from statistical
D13: Q = (1/N)·^q Average of the quantity measured
analysis texts. Formulae that are used for calculation are given
2 0.5
E13: W = [(1/N)·^s ] Within-laboratory standard deviation
2 2 0.5
in Table 1 for spreadsheet calculation (for example, LOTUS)
G13: B = [(1/(N − 1))·^(q−Q) + (1/N)·^s ·(R − 1)/R]
F8: s/W h-statistic
and in Table 2 for hand calculation.
H8: d/s k-statistic
x
5.3 The sequence of steps in assembling and handling the K8: s cell standard deviation
L8: d cell deviation squared
data is as follows (refer to the designated columns in Fig. 1):
2 0.5
L13: [(1/(N-1)·^(q-Q) ] standard deviation of cell averages
5.3.1 Calculate the average value of the data for each of N
Provisional between-laboratory standard
laboratories. (Column D) deviation
E17: 100·W/Q Percent coefficient of variation, within-
5.3.2 Calculate the average value Q of all the laboratory
laboratory
averages. (Cell D13)
G17: 100·B/Q Percent coefficient of variation, between-
laboratory
E19: 2.8·W 95 % confidence limits, within-laboratory
G19: 2.8·B 95 % confidence limits, between-
TABLE 1 Formulae Used in PC Spreadsheet Shown in Fig. 1,
laboratory
in Notation Appropriate to Spreadsheet Software
A
(for example, LOTUS)
B13: @COUNT(B8.B11)
C13: @AVG(C8.C11)
D13: @AVG(D8.D11) 5.3.3 Calculate the standard deviation values for each
E13: @SQRT((@SUM(K8 . . K11))/B13)
laboratory. Note that the quantity (r−1) is used as the divisor
G13: @SQRT((@SUM(L8.L11))/(B13-1) + E13*E13*(C13-1)/C13)
where r is the number of replicate results for each laboratory.
where: (Column E)
F8: +E8/ E13 H8: @ABS(+G8/ L13)
5.3.4 Calculate the within-laboratory standard deviation
K8: +E8*E8 L8: +G8*G8
value W. Note that this is the root-mean-square value of the
and so forth and so forth
L13: @SQRT((@SUM(L8.L11))/(B13-1)
laboratory standard deviations, using N as the divisor. This
E17: 100*E13/D13
quantity is also called the repeatability standard deviation.
G17: 100*G13/ D13
(Cell E13)
E19: 2.8*E13
G19: 2.8*G13
5.3.5 Calculatethe within-laboratory coeffıcient of variation
A
N is used as the divisor in (E12) to obtain the mean value of the variance, while in percent. (Cell E17)
N-1 is used as the divisor in calculating individual standard deviations (E7.E9)
5.3.6 Calculate the k-statistic values for each laboratory, by
since they are estimates of population values. Practice E691 should be consulted
dividing each laboratory standard deviation by the within-
for further explanation.
laboratory standard deviation. (Column F)
G117 − 02 (2007)
NOTE 2—These limits are the maximum differences between two test
5.3.7 Calculate the deviation of the average for each labo-
results that can be expected to occur in 95% of the cases.
ratory from the average for all laboratories. (Column G)
5.3.8 Calculate the between-laboratory standard deviation
5.3.13 Refer to Practice E691, Table12, and determine
value B. Note that this is the square root of the sum of the
critical values of k and h for the number of laboratories and
mean-square value of the deviations from the average, using
replicates involved. Examine the values in the k-statistic and
N−1 as the divisor, and the square of the within-laboratory
h-statistic columns. Any values greater than the respective
standard deviation multiplied by the quantity (r−1)/r. This is
critical values indicate data outliers for that laboratory which
also called the provisional reproducibility standard deviation.
should be inspected for validity. (Cells F22 and H22)
(Cell G13)
NOTE1—Itistermedprovisionalsincethefinalreproducibilitystandard
6. Report
deviation will be the larger of the two calculated measures, the repeat-
ability and the reproducibility standard deviations. 6.1 Ex
...


Questions, Comments and Discussion
Ask us and Technical Secretary will try to provide an answer. You can facilitate discussion about the standard in here.