ASTM E1928-13
(Practice)Standard Practice for Estimating the Approximate Residual Circumferential Stress in Straight Thin-walled Tubing
Standard Practice for Estimating the Approximate Residual Circumferential Stress in Straight Thin-walled Tubing
SIGNIFICANCE AND USE
4.1 Residual stresses in tubing may be detrimental to the future performance of the tubing. Such stresses may, for example, influence the susceptibility of a tube to stress corrosion cracking when the tube is exposed to certain environments.
4.2 Residual stresses in new thin-walled tubing are very sensitive to the parameters of the fabrication process, and small variations in these parameters can produce significant changes in the residual stresses. See, for example, Table 1, which shows the residual stresses measured by this practice in samples from successive heats of a ferritic Cr-Mo-Ni stainless steel tube and a titanium condenser tube. This practice provides a means for estimating the residual stresses in samples from each and every heat.
4.2.1 This practice may also be used to estimate the residual stresses that remain in tubes after removal from service in different environments and operating conditions.
4.3 This practice assumes a linear stress distribution through the wall thickness. This assumption is usually reasonable for thin-walled tubes, that is, for tubes in which the wall thickness does not exceed one tenth of the outside diameter. Even in cases where the assumption is not strictly justified, experience has shown that the approximate stresses estimated by this practice frequently serve as useful indicators of the susceptibility to stress corrosion cracking of the tubing of certain metal alloys when exposed to specific environments.
4.3.1 Because of this questionable assumption regarding the stress distribution in the tubing, the user is cautioned against using the results of this practice for design, manufacturing control, localized surface residual stress evaluation, or other purposes without supplementary information that supports the application.
4.4 This practice has primarily been used to estimate residual fabrication stresses in new thin-walled tubing between 19-mm (0.75-in.) and 25-mm (1-in.) outside diameter and 1.3-mm (0.05-in...
SCOPE
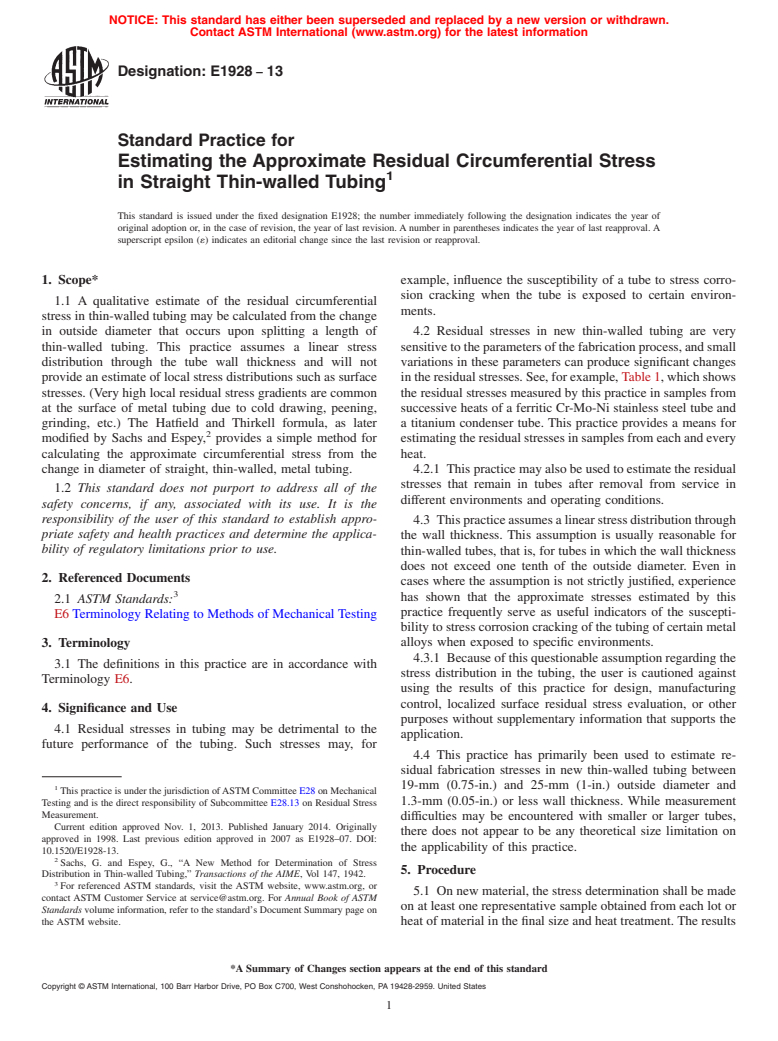
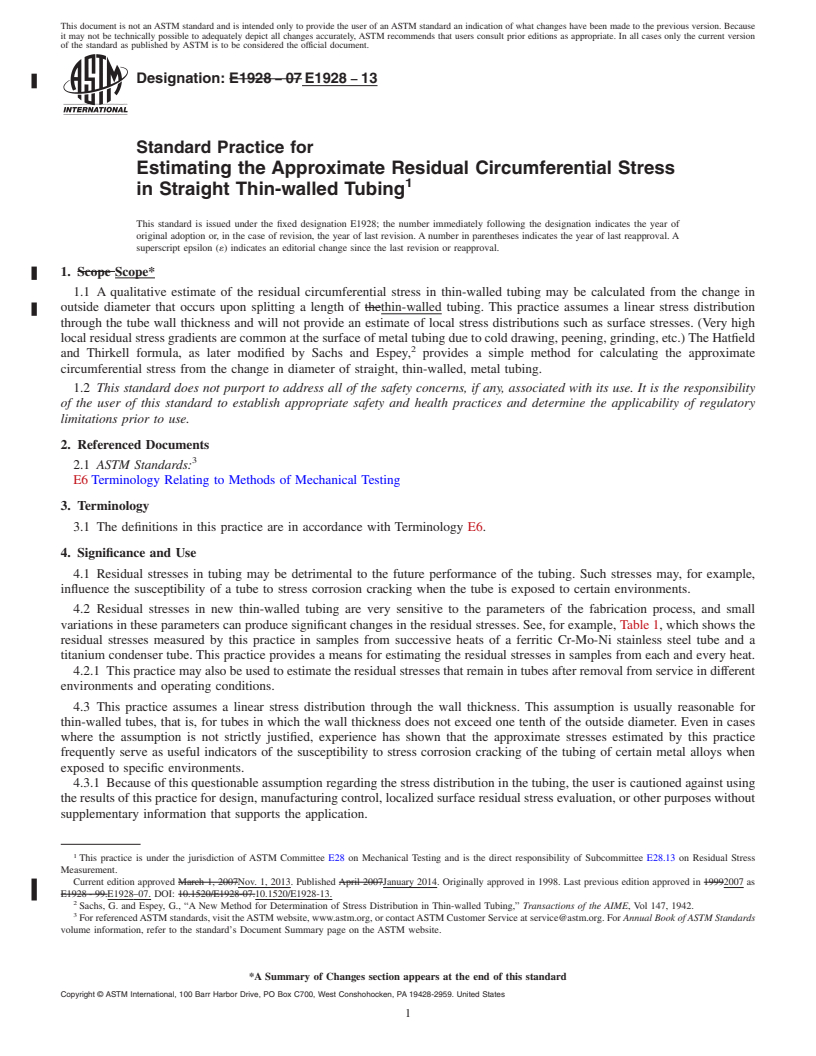
1.1 A qualitative estimate of the residual circumferential stress in thin-walled tubing may be calculated from the change in outside diameter that occurs upon splitting a length of thin-walled tubing. This practice assumes a linear stress distribution through the tube wall thickness and will not provide an estimate of local stress distributions such as surface stresses. (Very high local residual stress gradients are common at the surface of metal tubing due to cold drawing, peening, grinding, etc.) The Hatfield and Thirkell formula, as later modified by Sachs and Espey,2 provides a simple method for calculating the approximate circumferential stress from the change in diameter of straight, thin-walled, metal tubing.
1.2 This standard does not purport to address all of the safety concerns, if any, associated with its use. It is the responsibility of the user of this standard to establish appropriate safety and health practices and determine the applicability of regulatory limitations prior to use.
General Information
Relations
Buy Standard
Standards Content (Sample)
NOTICE: This standard has either been superseded and replaced by a new version or withdrawn.
Contact ASTM International (www.astm.org) for the latest information
Designation: E1928 − 13
Standard Practice for
Estimating the Approximate Residual Circumferential Stress
1
in Straight Thin-walled Tubing
This standard is issued under the fixed designation E1928; the number immediately following the designation indicates the year of
original adoption or, in the case of revision, the year of last revision. A number in parentheses indicates the year of last reapproval. A
superscript epsilon (´) indicates an editorial change since the last revision or reapproval.
1. Scope* example, influence the susceptibility of a tube to stress corro-
sion cracking when the tube is exposed to certain environ-
1.1 A qualitative estimate of the residual circumferential
ments.
stress in thin-walled tubing may be calculated from the change
in outside diameter that occurs upon splitting a length of 4.2 Residual stresses in new thin-walled tubing are very
thin-walled tubing. This practice assumes a linear stress sensitivetotheparametersofthefabricationprocess,andsmall
distribution through the tube wall thickness and will not variations in these parameters can produce significant changes
provide an estimate of local stress distributions such as surface intheresidualstresses.See,forexample,Table1,whichshows
stresses. (Very high local residual stress gradients are common the residual stresses measured by this practice in samples from
at the surface of metal tubing due to cold drawing, peening, successive heats of a ferritic Cr-Mo-Ni stainless steel tube and
grinding, etc.) The Hatfield and Thirkell formula, as later a titanium condenser tube. This practice provides a means for
2
modified by Sachs and Espey, provides a simple method for estimating the residual stresses in samples from each and every
calculating the approximate circumferential stress from the heat.
change in diameter of straight, thin-walled, metal tubing. 4.2.1 This practice may also be used to estimate the residual
stresses that remain in tubes after removal from service in
1.2 This standard does not purport to address all of the
different environments and operating conditions.
safety concerns, if any, associated with its use. It is the
responsibility of the user of this standard to establish appro-
4.3 Thispracticeassumesalinearstressdistributionthrough
priate safety and health practices and determine the applica-
the wall thickness. This assumption is usually reasonable for
bility of regulatory limitations prior to use.
thin-walled tubes, that is, for tubes in which the wall thickness
does not exceed one tenth of the outside diameter. Even in
2. Referenced Documents
cases where the assumption is not strictly justified, experience
3
has shown that the approximate stresses estimated by this
2.1 ASTM Standards:
practice frequently serve as useful indicators of the suscepti-
E6 Terminology Relating to Methods of Mechanical Testing
bility to stress corrosion cracking of the tubing of certain metal
alloys when exposed to specific environments.
3. Terminology
4.3.1 Because of this questionable assumption regarding the
3.1 The definitions in this practice are in accordance with
stress distribution in the tubing, the user is cautioned against
Terminology E6.
using the results of this practice for design, manufacturing
control, localized surface residual stress evaluation, or other
4. Significance and Use
purposes without supplementary information that supports the
4.1 Residual stresses in tubing may be detrimental to the
application.
future performance of the tubing. Such stresses may, for
4.4 This practice has primarily been used to estimate re-
sidual fabrication stresses in new thin-walled tubing between
19-mm (0.75-in.) and 25-mm (1-in.) outside diameter and
1
This practice is under the jurisdiction ofASTM Committee E28 on Mechanical
Testing and is the direct responsibility of Subcommittee E28.13 on Residual Stress 1.3-mm (0.05-in.) or less wall thickness. While measurement
Measurement.
difficulties may be encountered with smaller or larger tubes,
Current edition approved Nov. 1, 2013. Published January 2014. Originally
there does not appear to be any theoretical size limitation on
approved in 1998. Last previous edition approved in 2007 as E1928–07. DOI:
the applicability of this practice.
10.1520/E1928-13.
2
Sachs, G. and Espey, G., “A New Method for Determination of Stress
5. Procedure
Distribution in Thin-walled Tubing,” Transactions of the AIME, Vol 147, 1942.
3
For referenced ASTM standards, visit the ASTM website, www.astm.org, or
5.1 On new material, the stress determination shall be made
contact ASTM Customer Service at service@astm.org. For Annual Book of ASTM
on at least one representative sample obtained from each lot or
Standards volume information, refer to the standard’s Document Summary page on
the ASTM website. heat of material in the final size and heat treatment.The
...
This document is not an ASTM standard and is intended only to provide the user of an ASTM standard an indication of what changes have been made to the previous version. Because
it may not be technically possible to adequately depict all changes accurately, ASTM recommends that users consult prior editions as appropriate. In all cases only the current version
of the standard as published by ASTM is to be considered the official document.
Designation: E1928 − 07 E1928 − 13
Standard Practice for
Estimating the Approximate Residual Circumferential Stress
1
in Straight Thin-walled Tubing
This standard is issued under the fixed designation E1928; the number immediately following the designation indicates the year of
original adoption or, in the case of revision, the year of last revision. A number in parentheses indicates the year of last reapproval. A
superscript epsilon (´) indicates an editorial change since the last revision or reapproval.
1. Scope Scope*
1.1 A qualitative estimate of the residual circumferential stress in thin-walled tubing may be calculated from the change in
outside diameter that occurs upon splitting a length of thethin-walled tubing. This practice assumes a linear stress distribution
through the tube wall thickness and will not provide an estimate of local stress distributions such as surface stresses. (Very high
local residual stress gradients are common at the surface of metal tubing due to cold drawing, peening, grinding, etc.) The Hatfield
2
and Thirkell formula, as later modified by Sachs and Espey, provides a simple method for calculating the approximate
circumferential stress from the change in diameter of straight, thin-walled, metal tubing.
1.2 This standard does not purport to address all of the safety concerns, if any, associated with its use. It is the responsibility
of the user of this standard to establish appropriate safety and health practices and determine the applicability of regulatory
limitations prior to use.
2. Referenced Documents
3
2.1 ASTM Standards:
E6 Terminology Relating to Methods of Mechanical Testing
3. Terminology
3.1 The definitions in this practice are in accordance with Terminology E6.
4. Significance and Use
4.1 Residual stresses in tubing may be detrimental to the future performance of the tubing. Such stresses may, for example,
influence the susceptibility of a tube to stress corrosion cracking when the tube is exposed to certain environments.
4.2 Residual stresses in new thin-walled tubing are very sensitive to the parameters of the fabrication process, and small
variations in these parameters can produce significant changes in the residual stresses. See, for example, Table 1, which shows the
residual stresses measured by this practice in samples from successive heats of a ferritic Cr-Mo-Ni stainless steel tube and a
titanium condenser tube. This practice provides a means for estimating the residual stresses in samples from each and every heat.
4.2.1 This practice may also be used to estimate the residual stresses that remain in tubes after removal from service in different
environments and operating conditions.
4.3 This practice assumes a linear stress distribution through the wall thickness. This assumption is usually reasonable for
thin-walled tubes, that is, for tubes in which the wall thickness does not exceed one tenth of the outside diameter. Even in cases
where the assumption is not strictly justified, experience has shown that the approximate stresses estimated by this practice
frequently serve as useful indicators of the susceptibility to stress corrosion cracking of the tubing of certain metal alloys when
exposed to specific environments.
4.3.1 Because of this questionable assumption regarding the stress distribution in the tubing, the user is cautioned against using
the results of this practice for design, manufacturing control, localized surface residual stress evaluation, or other purposes without
supplementary information that supports the application.
1
This practice is under the jurisdiction of ASTM Committee E28 on Mechanical Testing and is the direct responsibility of Subcommittee E28.13 on Residual Stress
Measurement.
Current edition approved March 1, 2007Nov. 1, 2013. Published April 2007January 2014. Originally approved in 1998. Last previous edition approved in 19992007 as
E1928 - 99.E1928–07. DOI: 10.1520/E1928-07.10.1520/E1928-13.
2
Sachs, G. and Espey, G., “A New Method for Determination of Stress Distribution in Thin-walled Tubing,” Transactions of the AIME, Vol 147, 1942.
3
For referenced ASTM standards, visit the ASTM website, www.astm.org, or contact ASTM Customer Service at service@astm.org. For Annual Book of ASTM Standards
volume information, refer to the standard’s Document Summary page on the ASTM website.
*A Summary of Changes section appears at the end of this standard
Copyright © ASTM International, 100 Barr Harbor Drive, PO Box C700, West Conshohocken, PA 19428-2959. United States
1
---------------------- Page: 1 --
...


Questions, Comments and Discussion
Ask us and Technical Secretary will try to provide an answer. You can facilitate discussion about the standard in here.