ASTM E837-01
(Test Method)Standard Test Method for Determining Residual Stresses by the Hole-Drilling Strain-Gage Method
Standard Test Method for Determining Residual Stresses by the Hole-Drilling Strain-Gage Method
SCOPE
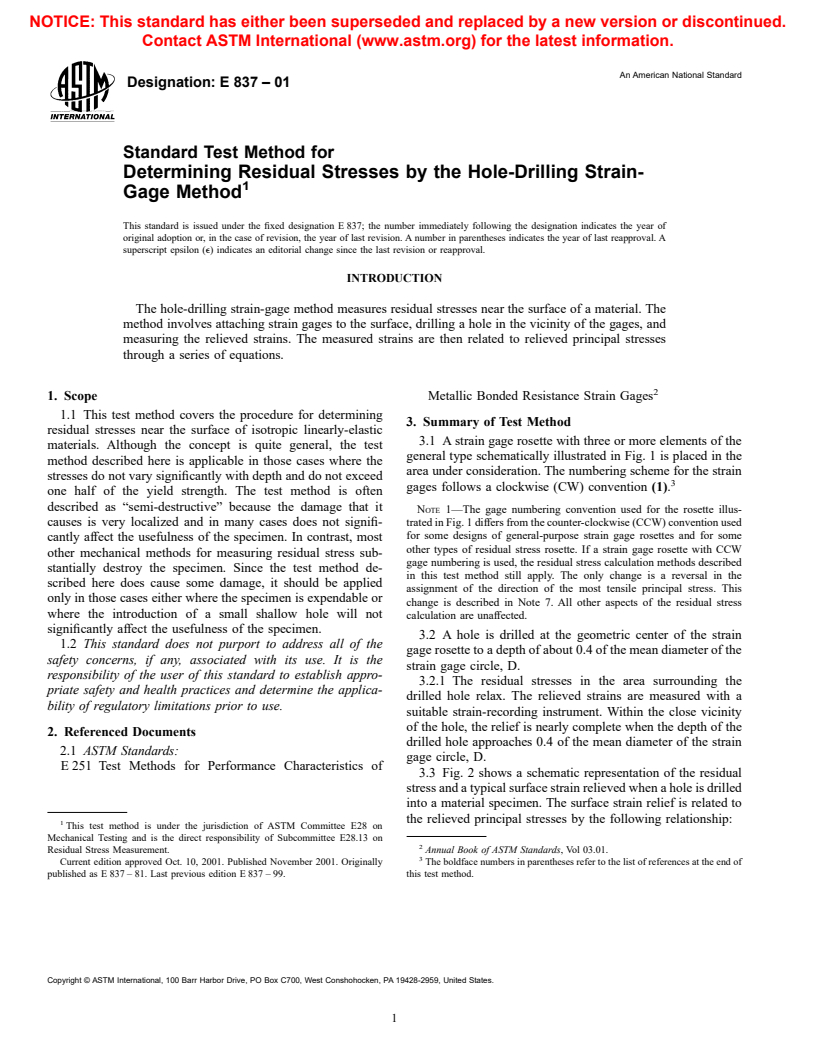
1.1 This test method covers the procedure for determining residual stresses near the surface of isotropic linearly-elastic materials. Although the concept is quite general, the test method described here is applicable in those cases where the stresses do not vary significantly with depth and do not exceed one half of the yield strength. The test method is often described as "semi-destructive" because the damage that it causes is very localized and in many cases does not significantly affect the usefulness of the specimen. In contrast, most other mechanical methods for measuring residual stress substantially destroy the specimen. Since the test method described here does cause some damage, it should be applied only in those cases either where the specimen is expendable or where the introduction of a small shallow hole will not significantly affect the usefulness of the specimen.
1.2 This standard does not purport to address all of the safety concerns, if any, associated with its use. It is the responsibility of the user of this standard to establish appropriate safety and health practices and determine the applicability of regulatory limitations prior to use.
General Information
Relations
Standards Content (Sample)
NOTICE: This standard has either been superseded and replaced by a new version or discontinued.
Contact ASTM International (www.astm.org) for the latest information.
An American National Standard
Designation: E 837 – 01
Standard Test Method for
Determining Residual Stresses by the Hole-Drilling Strain-
1
Gage Method
This standard is issued under the fixed designation E 837; the number immediately following the designation indicates the year of
original adoption or, in the case of revision, the year of last revision. A number in parentheses indicates the year of last reapproval. A
superscript epsilon (e) indicates an editorial change since the last revision or reapproval.
INTRODUCTION
The hole-drilling strain-gage method measures residual stresses near the surface of a material. The
method involves attaching strain gages to the surface, drilling a hole in the vicinity of the gages, and
measuring the relieved strains. The measured strains are then related to relieved principal stresses
through a series of equations.
2
1. Scope Metallic Bonded Resistance Strain Gages
1.1 This test method covers the procedure for determining
3. Summary of Test Method
residual stresses near the surface of isotropic linearly-elastic
3.1 A strain gage rosette with three or more elements of the
materials. Although the concept is quite general, the test
general type schematically illustrated in Fig. 1 is placed in the
method described here is applicable in those cases where the
area under consideration. The numbering scheme for the strain
stresses do not vary significantly with depth and do not exceed
3
gages follows a clockwise (CW) convention (1).
one half of the yield strength. The test method is often
described as “semi-destructive” because the damage that it
NOTE 1—The gage numbering convention used for the rosette illus-
causes is very localized and in many cases does not signifi- trated in Fig. 1 differs from the counter-clockwise (CCW) convention used
for some designs of general-purpose strain gage rosettes and for some
cantly affect the usefulness of the specimen. In contrast, most
other types of residual stress rosette. If a strain gage rosette with CCW
other mechanical methods for measuring residual stress sub-
gage numbering is used, the residual stress calculation methods described
stantially destroy the specimen. Since the test method de-
in this test method still apply. The only change is a reversal in the
scribed here does cause some damage, it should be applied
assignment of the direction of the most tensile principal stress. This
only in those cases either where the specimen is expendable or
change is described in Note 7. All other aspects of the residual stress
where the introduction of a small shallow hole will not
calculation are unaffected.
significantly affect the usefulness of the specimen.
3.2 A hole is drilled at the geometric center of the strain
1.2 This standard does not purport to address all of the
gage rosette to a depth of about 0.4 of the mean diameter of the
safety concerns, if any, associated with its use. It is the
strain gage circle, D.
responsibility of the user of this standard to establish appro-
3.2.1 The residual stresses in the area surrounding the
priate safety and health practices and determine the applica-
drilled hole relax. The relieved strains are measured with a
bility of regulatory limitations prior to use.
suitable strain-recording instrument. Within the close vicinity
of the hole, the relief is nearly complete when the depth of the
2. Referenced Documents
drilled hole approaches 0.4 of the mean diameter of the strain
2.1 ASTM Standards:
gage circle, D.
E 251 Test Methods for Performance Characteristics of
3.3 Fig. 2 shows a schematic representation of the residual
stress and a typical surface strain relieved when a hole is drilled
into a material specimen. The surface strain relief is related to
the relieved principal stresses by the following relationship:
1
This test method is under the jurisdiction of ASTM Committee E28 on
Mechanical Testing and is the direct responsibility of Subcommittee E28.13 on
2
Residual Stress Measurement. Annual Book of ASTM Standards, Vol 03.01.
3
Current edition approved Oct. 10, 2001. Published November 2001. Originally
The boldface numbers in parentheses refer to the list of references at the end of
published as E 837 – 81. Last previous edition E 837 – 99.
this test method.
Copyright © ASTM International, 100 Barr Harbor Drive, PO Box C700, West Conshohocken, PA 19428-2959, United States.
1
---------------------- Page: 1 ----------------------
E 837
FIG. 1 Schematic Diagram Showing the Geometry of a Typical Three-Element Clockwise (CW) Strain Gage Rosette for the Hole-Drilling
Method
¯ ¯
A,B = calibration constants,
s = maximum (most tensile) and
max
s = minimum (most compressive) principal stresses
min
present at the hole location before drilling,
b = angle measured clockwise from the direction of
gage 1 to the direction of s ,
max
D = diameter
...


Questions, Comments and Discussion
Ask us and Technical Secretary will try to provide an answer. You can facilitate discussion about the standard in here.