ASTM E243-09
(Practice)Standard Practice for Electromagnetic (Eddy-Current) Examination of Copper and Copper-Alloy Tubes
Standard Practice for Electromagnetic (Eddy-Current) Examination of Copper and Copper-Alloy Tubes
SIGNIFICANCE AND USE
Eddy-current examination is a nondestructive method of locating discontinuities in a product. Signals can be produced by discontinuities located either on the external or internal surface of the tube or by discontinuities totally contained within the walls. Since the density of eddy currents decreases nearly exponentially as the distance from the external surface increases, the response to deep-seated defects decreases.
Some indications obtained by this method may not be relevant to product quality; for example, a reject signal may be caused by minute dents or tool chatter marks that are not detrimental to the end use of the product. Irrelevant indications can mask unacceptable discontinuities. Relevant indications are those which result from nonacceptable discontinuities. Any indication above the reject level that is believed to be irrelevant shall be regarded as unacceptable until it is demonstrated by re-examination or other means to be irrelevant (see 10.3.2).
Eddy-current examination systems are generally not sensitive to discontinuities adjacent to the ends of the tube (end effect). On-line eddy-current examining would not be subject to end effect.
Discontinuities such as scratches or seams that are continuous and uniform for the full length of the tube may not always be detected.
SCOPE
1.1 This practice covers the procedures that shall be followed in eddy-current examination of copper and copper-alloy tubes for detecting discontinuities of a severity likely to cause failure of the tube. These procedures are applicable for tubes with outside diameters to 31/8 in. (79.4 mm), inclusive, and wall thicknesses from 0.017 in. (0.432 mm) to 0.120 in. (3.04 mm), inclusive, or as otherwise stated in ASTM product specifications; or by other users of this practice. These procedures may be used for tubes beyond the size range recommended, upon contractual agreement between the purchaser and the manufacturer.
1.2 The procedures described in this practice are based on methods making use of encircling annular examination coil systems.
1.3 The values stated in inch-pound units are to be regarded as the standard. The values given in parentheses are mathematical conversions to SI units that are provided for information only and are not considered standard.
Note 1—This practice may be used as a guideline for the examination, by means of internal probe examination coil systems, of installations using tubular products where the outer surface of the tube is not accessible. For such applications, the technical differences associated with the use of internal probe coils should be recognized and accommodated. The effect of foreign materials on the tube surface and signals due to tube supports are typical of the factors that must be considered.
1.4 This standard does not purport to address all of the safety concerns, if any, associated with its use. It is the responsibility of the user of this standard to establish appropriate safety and health practices and determine the applicability of regulatory limitations prior to use.
General Information
Relations
Buy Standard
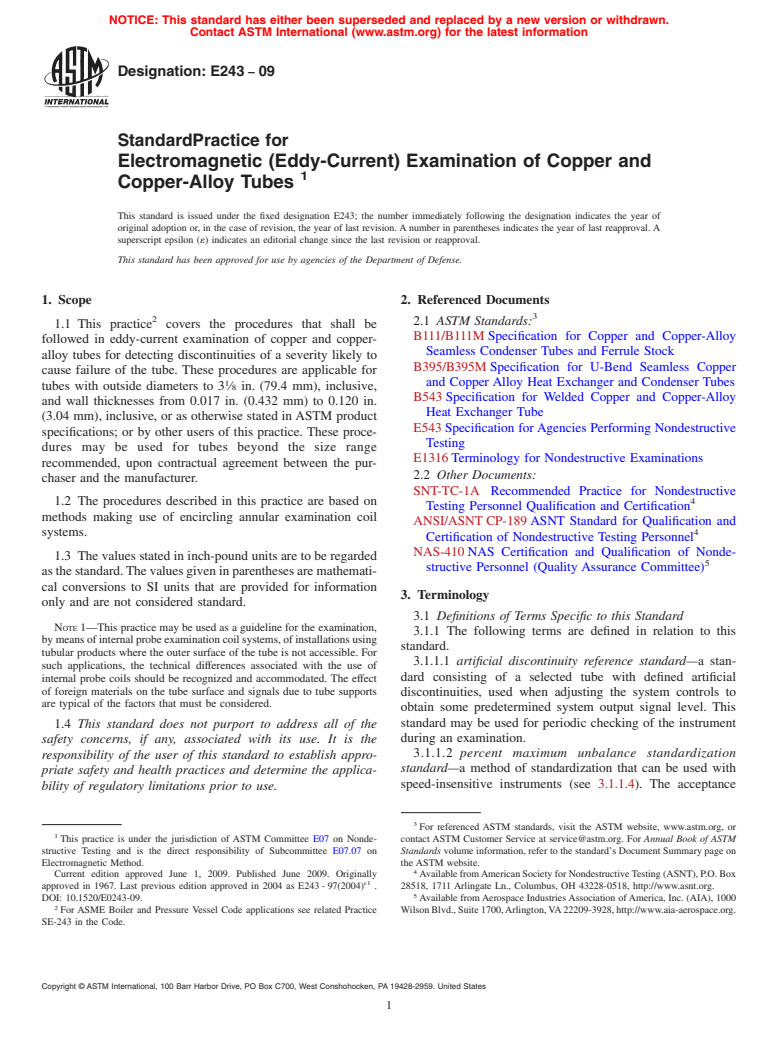
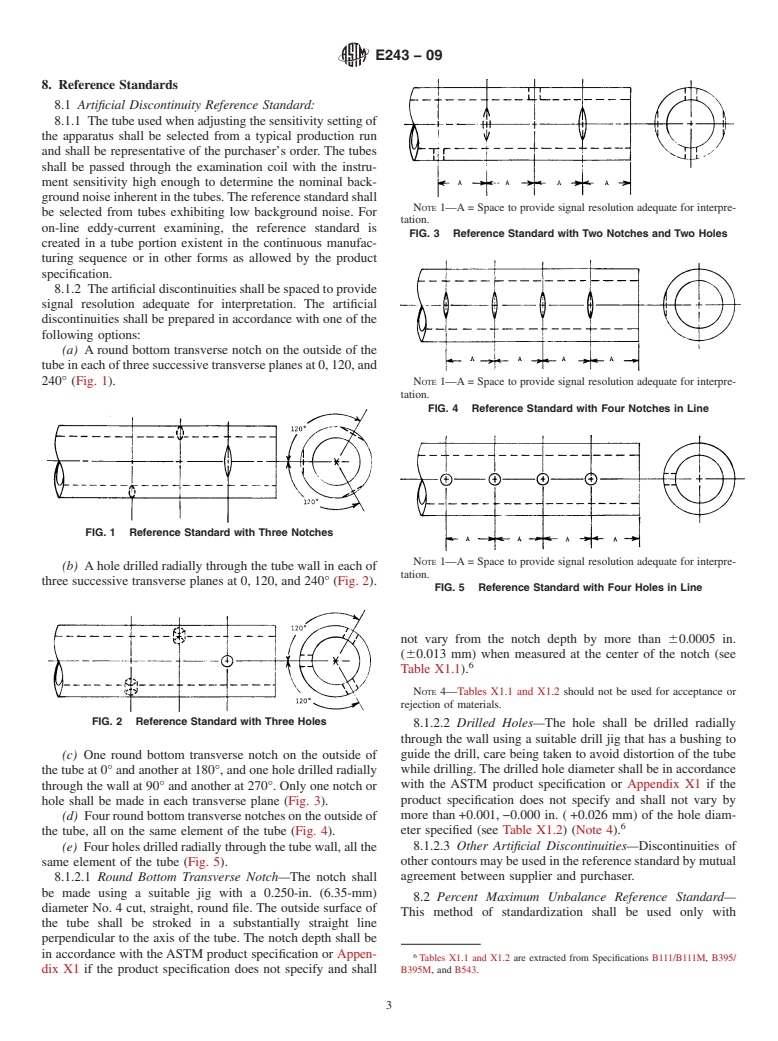
Standards Content (Sample)
NOTICE: This standard has either been superseded and replaced by a new version or withdrawn.
Contact ASTM International (www.astm.org) for the latest information
Designation: E243 − 09
StandardPractice for
Electromagnetic (Eddy-Current) Examination of Copper and
1
Copper-Alloy Tubes
This standard is issued under the fixed designation E243; the number immediately following the designation indicates the year of
original adoption or, in the case of revision, the year of last revision.Anumber in parentheses indicates the year of last reapproval.A
superscript epsilon (´) indicates an editorial change since the last revision or reapproval.
This standard has been approved for use by agencies of the Department of Defense.
1. Scope 2. Referenced Documents
3
2
2.1 ASTM Standards:
1.1 This practice covers the procedures that shall be
B111/B111MSpecification for Copper and Copper-Alloy
followed in eddy-current examination of copper and copper-
Seamless Condenser Tubes and Ferrule Stock
alloy tubes for detecting discontinuities of a severity likely to
B395/B395MSpecification for U-Bend Seamless Copper
cause failure of the tube. These procedures are applicable for
1 and Copper Alloy Heat Exchanger and Condenser Tubes
tubes with outside diameters to 3 ⁄8 in. (79.4 mm), inclusive,
B543Specification for Welded Copper and Copper-Alloy
and wall thicknesses from 0.017 in. (0.432 mm) to 0.120 in.
Heat Exchanger Tube
(3.04 mm), inclusive, or as otherwise stated inASTM product
E543Specification forAgencies Performing Nondestructive
specifications; or by other users of this practice. These proce-
Testing
dures may be used for tubes beyond the size range
E1316Terminology for Nondestructive Examinations
recommended, upon contractual agreement between the pur-
2.2 Other Documents:
chaser and the manufacturer.
SNT-TC-1A Recommended Practice for Nondestructive
4
1.2 The procedures described in this practice are based on
Testing Personnel Qualification and Certification
methods making use of encircling annular examination coil
ANSI/ASNTCP-189ASNT Standard for Qualification and
4
systems.
Certification of Nondestructive Testing Personnel
NAS-410NAS Certification and Qualification of Nonde-
1.3 The values stated in inch-pound units are to be regarded
5
structive Personnel (Quality Assurance Committee)
asthestandard.Thevaluesgiveninparenthesesaremathemati-
cal conversions to SI units that are provided for information
3. Terminology
only and are not considered standard.
3.1 Definitions of Terms Specific to this Standard
NOTE 1—This practice may be used as a guideline for the examination,
3.1.1 The following terms are defined in relation to this
bymeansofinternalprobeexaminationcoilsystems,ofinstallationsusing
standard.
tubular products where the outer surface of the tube is not accessible. For
3.1.1.1 artificial discontinuity reference standard—a stan-
such applications, the technical differences associated with the use of
internal probe coils should be recognized and accommodated. The effect dard consisting of a selected tube with defined artificial
of foreign materials on the tube surface and signals due to tube supports
discontinuities, used when adjusting the system controls to
are typical of the factors that must be considered.
obtain some predetermined system output signal level. This
standard may be used for periodic checking of the instrument
1.4 This standard does not purport to address all of the
during an examination.
safety concerns, if any, associated with its use. It is the
3.1.1.2 percent maximum unbalance standardization
responsibility of the user of this standard to establish appro-
standard—a method of standardization that can be used with
priate safety and health practices and determine the applica-
speed-insensitive instruments (see 3.1.1.4). The acceptance
bility of regulatory limitations prior to use.
3
For referenced ASTM standards, visit the ASTM website, www.astm.org, or
1
This practice is under the jurisdiction of ASTM Committee E07 on Nonde- contact ASTM Customer Service at service@astm.org. For Annual Book of ASTM
structive Testing and is the direct responsibility of Subcommittee E07.07 on Standards volume information, refer to the standard’s Document Summary page on
Electromagnetic Method. the ASTM website.
4
Current edition approved June 1, 2009. Published June 2009. Originally AvailablefromAmericanSocietyforNondestructiveTesting(ASNT),P.O.Box
ϵ1
approved in 1967. Last previous edition approved in 2004 as E243-97(2004) . 28518, 1711 Arlingate Ln., Columbus, OH 43228-0518, http://www.asnt.org.
5
DOI: 10.1520/E0243-09. Available fromAerospace IndustriesAssociation ofAmerica, Inc. (AIA), 1000
2
For ASME Boiler and Pressure Vessel Code applications see related Practice WilsonBlvd.,Suite1700,Arlington,VA22209-3928,http://www.aia-aerospace.org.
SE-243 in the Code.
Copyright © ASTM International, 100 Barr Harbor Drive, PO Box C700, West Conshohocken, PA 19428-2959. United States
1
---------------------- Page: 1 --------------------
...
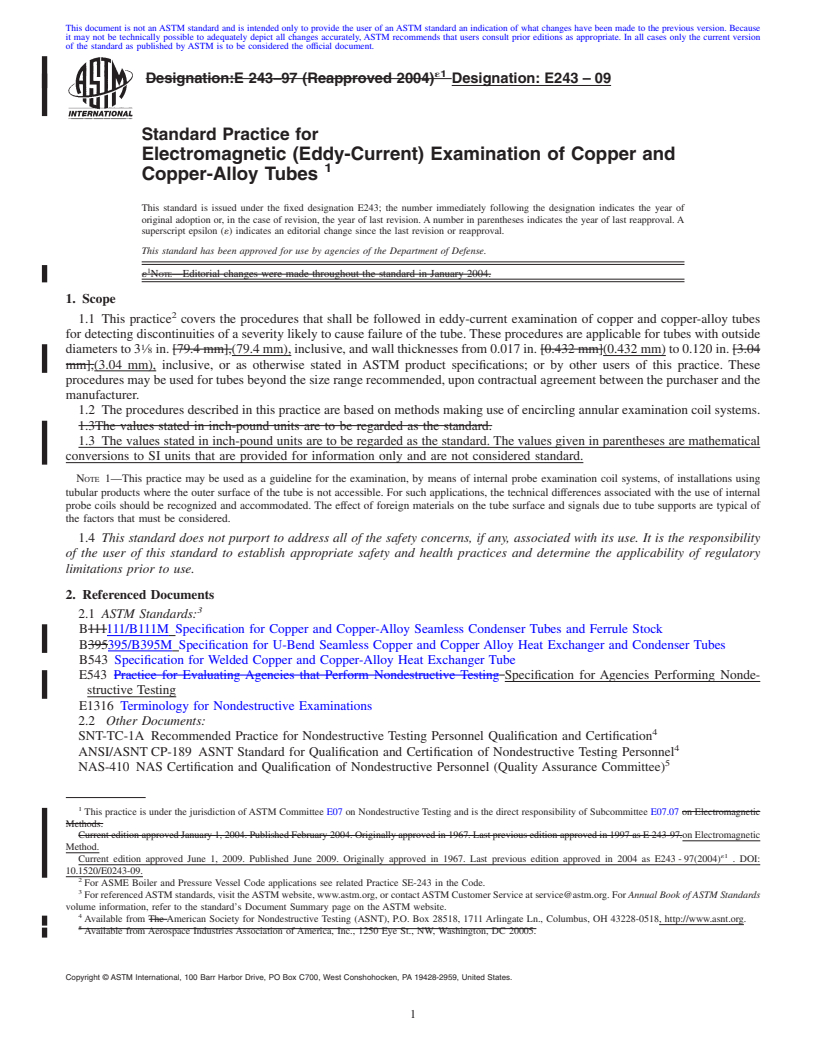
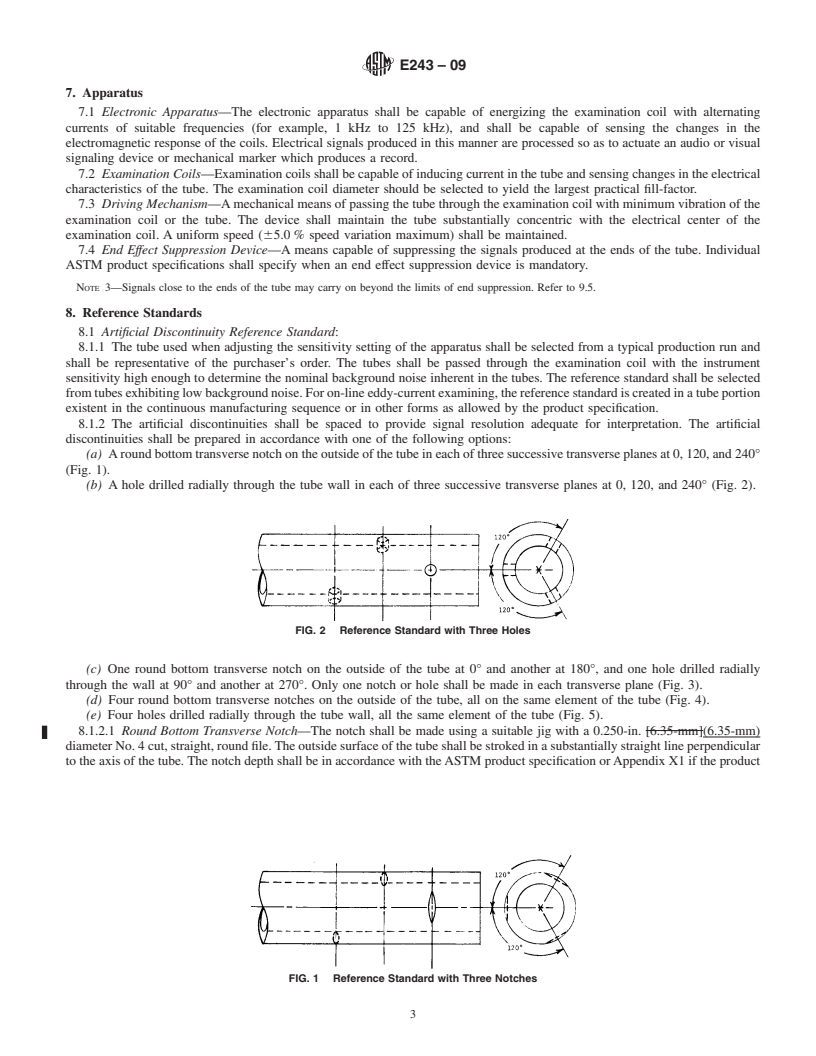
This document is not anASTM standard and is intended only to provide the user of anASTM standard an indication of what changes have been made to the previous version. Because
it may not be technically possible to adequately depict all changes accurately, ASTM recommends that users consult prior editions as appropriate. In all cases only the current version
of the standard as published by ASTM is to be considered the official document.
´1
Designation:E 243–97 (Reapproved 2004) Designation:E243–09
Standard Practice for
Electromagnetic (Eddy-Current) Examination of Copper and
1
Copper-Alloy Tubes
This standard is issued under the fixed designation E243; the number immediately following the designation indicates the year of
original adoption or, in the case of revision, the year of last revision.Anumber in parentheses indicates the year of last reapproval.A
superscript epsilon (´) indicates an editorial change since the last revision or reapproval.
This standard has been approved for use by agencies of the Department of Defense.
1
´ NOTE—Editorial changes were made throughout the standard in January 2004.
1. Scope
2
1.1 This practice covers the procedures that shall be followed in eddy-current examination of copper and copper-alloy tubes
for detecting discontinuities of a severity likely to cause failure of the tube.These procedures are applicable for tubes with outside
1
diametersto3 ⁄8in.[79.4mm],(79.4mm),inclusive,andwallthicknessesfrom0.017in.[0.432mm](0.432mm)to0.120in.[3.04
mm],(3.04 mm), inclusive, or as otherwise stated in ASTM product specifications; or by other users of this practice. These
proceduresmaybeusedfortubesbeyondthesizerangerecommended,uponcontractualagreementbetweenthepurchaserandthe
manufacturer.
1.2 The procedures described in this practice are based on methods making use of encircling annular examination coil systems.
1.3The values stated in inch-pound units are to be regarded as the standard.
1.3 The values stated in inch-pound units are to be regarded as the standard. The values given in parentheses are mathematical
conversions to SI units that are provided for information only and are not considered standard.
NOTE 1—This practice may be used as a guideline for the examination, by means of internal probe examination coil systems, of installations using
tubular products where the outer surface of the tube is not accessible. For such applications, the technical differences associated with the use of internal
probe coils should be recognized and accommodated. The effect of foreign materials on the tube surface and signals due to tube supports are typical of
the factors that must be considered.
1.4 This standard does not purport to address all of the safety concerns, if any, associated with its use. It is the responsibility
of the user of this standard to establish appropriate safety and health practices and determine the applicability of regulatory
limitations prior to use.
2. Referenced Documents
3
2.1 ASTM Standards:
B111111/B111M Specification for Copper and Copper-Alloy Seamless Condenser Tubes and Ferrule Stock
B395395/B395M Specification for U-Bend Seamless Copper and Copper Alloy Heat Exchanger and Condenser Tubes
B543 Specification for Welded Copper and Copper-Alloy Heat Exchanger Tube
E543 Practice for Evaluating Agencies that Perform Nondestructive Testing Specification for Agencies Performing Nonde-
structive Testing
E1316 Terminology for Nondestructive Examinations
2.2 Other Documents:
4
SNT-TC-1A Recommended Practice for Nondestructive Testing Personnel Qualification and Certification
4
ANSI/ASNTCP-189 ASNT Standard for Qualification and Certification of Nondestructive Testing Personnel
5
NAS-410 NAS Certification and Qualification of Nondestructive Personnel (Quality Assurance Committee)
1
This practice is under the jurisdiction ofASTM Committee E07 on Nondestructive Testing and is the direct responsibility of Subcommittee E07.07 on Electromagnetic
Methods.
CurrenteditionapprovedJanuary1,2004.PublishedFebruary2004.Originallyapprovedin1967.Lastpreviouseditionapprovedin1997asE243-97.onElectromagnetic
Method.
´1
Current edition approved June 1, 2009. Published June 2009. Originally approved in 1967. Last previous edition approved in 2004 as E243-97(2004) . DOI:
10.1520/E0243-09.
2
For ASME Boiler and Pressure Vessel Code applications see related Practice SE-243 in the Code.
3
ForreferencedASTMstandards,visittheASTMwebsite,www.astm.org,orcontactASTMCustomerServiceatservice@astm.org.For Annual Book of ASTM Standards
volume information, refer to the standard’s Document Summary page on the ASTM website.
4
Available from The American Society for Nondestructive Testing (ASNT), P.O. Box 28518, 1711 Arlingate Ln., Columbus, OH 43228-0518, http://www.asnt.org.
5
Available from Aerospace Industries Association of America, Inc., 1250 Eye St., NW, Washington, DC 20005.
Copyright © ASTM International, 100 Barr Harbor Drive, PO Box C700, West Conshohocken, PA 19428-2959, United States.
1
----------
...


Questions, Comments and Discussion
Ask us and Technical Secretary will try to provide an answer. You can facilitate discussion about the standard in here.