ASTM E2491-13
(Guide)Standard Guide for Evaluating Performance Characteristics of Phased-Array Ultrasonic Testing Instruments and Systems
Standard Guide for Evaluating Performance Characteristics of Phased-Array Ultrasonic Testing Instruments and Systems
SIGNIFICANCE AND USE
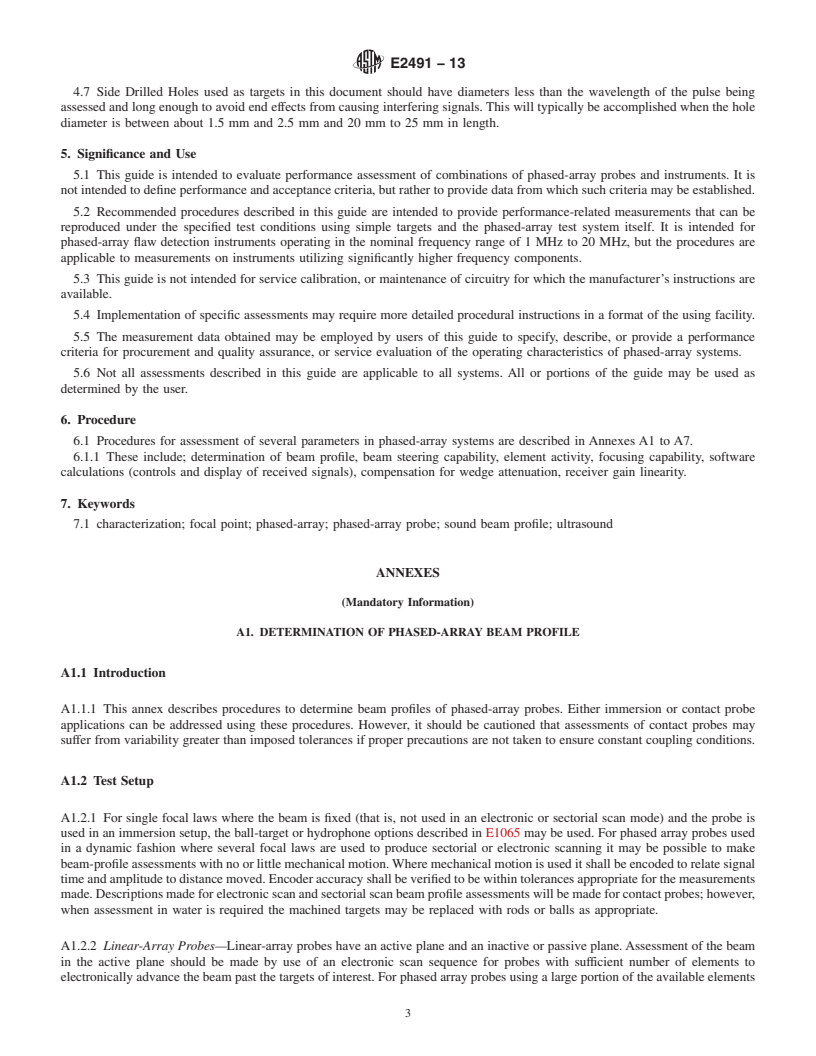
5.1 This guide is intended to evaluate performance assessment of combinations of phased-array probes and instruments. It is not intended to define performance and acceptance criteria, but rather to provide data from which such criteria may be established.
5.2 Recommended procedures described in this guide are intended to provide performance-related measurements that can be reproduced under the specified test conditions using simple targets and the phased-array test system itself. It is intended for phased-array flaw detection instruments operating in the nominal frequency range of 1 MHz to 20 MHz, but the procedures are applicable to measurements on instruments utilizing significantly higher frequency components.
5.3 This guide is not intended for service calibration, or maintenance of circuitry for which the manufacturer’s instructions are available.
5.4 Implementation of specific assessments may require more detailed procedural instructions in a format of the using facility.
5.5 The measurement data obtained may be employed by users of this guide to specify, describe, or provide a performance criteria for procurement and quality assurance, or service evaluation of the operating characteristics of phased-array systems.
5.6 Not all assessments described in this guide are applicable to all systems. All or portions of the guide may be used as determined by the user.
SCOPE
1.1 This guide describes procedures for evaluating some performance characteristics of phased-array ultrasonic examination instruments and systems.
1.2 Evaluation of these characteristics is intended to be used for comparing instruments and systems or, by periodic repetition, for detecting long-term changes in the characteristics of a given instrument or system that may be indicative of impending failure, and which, if beyond certain limits, will require corrective maintenance. Instrument characteristics measured in accordance with this guide are expressed in terms that relate to their potential usefulness for ultrasonic examinations. Other electronic instrument characteristics in phased-array units are similar to non-phased-array units and may be measured as described in Guide E1065 or E1324.
1.3 Ultrasonic examination systems using pulsed-wave trains and A-scan presentation (rf or video) may be evaluated.
1.4 This guide establishes no performance limits for examination systems; if such acceptance criteria are required, these must be specified by the using parties. Where acceptance criteria are implied herein they are for example only and are subject to more or less restrictive limits imposed by customer’s and end user’s controlling documents.
1.5 The specific parameters to be evaluated, conditions and frequency of test, and report data required, must also be determined by the user.
1.6 This guide may be used for the evaluation of a complete examination system, including search unit, instrument, interconnections, scanner fixtures and connected alarm and auxiliary devices, primarily in cases where such a system is used repetitively without change or substitution. This guide is not intended to be used as a substitute for calibration or standardization of an instrument or system to inspect any given material.
1.7 Required test apparatus includes selected test blocks and position encoders in addition to the instrument or system to be evaluated.
1.8 Precautions relating to the applicability of the procedures and interpretation of the results are included.
1.9 Alternate procedures, such as examples described in this document, or others, may only be used with customer approval.
1.10 The values stated in SI units are to be regarded as standard. No other units of measurement are included in this standard.
1.11 This standard does not purport to address all of the safety concerns, if any, associated with its use. It is the responsibility of the user of this standard to establish appropriate ...
General Information
Relations
Buy Standard
Standards Content (Sample)
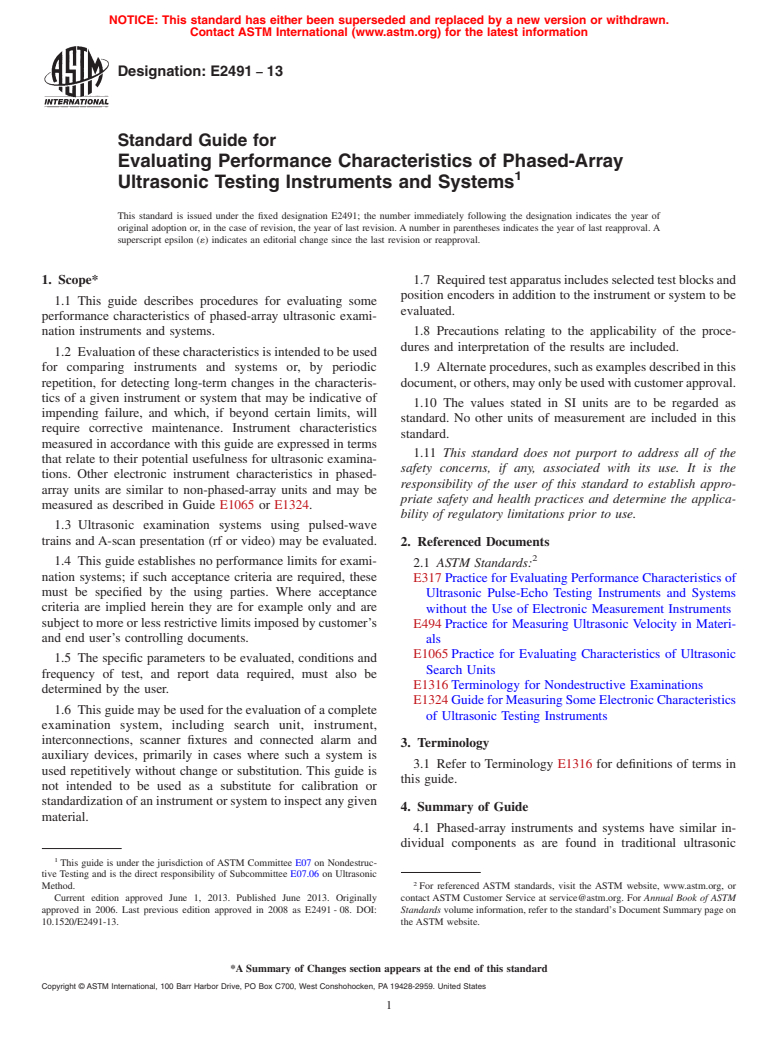
NOTICE: This standard has either been superseded and replaced by a new version or withdrawn.
Contact ASTM International (www.astm.org) for the latest information
Designation: E2491 − 13
Standard Guide for
Evaluating Performance Characteristics of Phased-Array
1
Ultrasonic Testing Instruments and Systems
This standard is issued under the fixed designation E2491; the number immediately following the designation indicates the year of
original adoption or, in the case of revision, the year of last revision. A number in parentheses indicates the year of last reapproval. A
superscript epsilon (´) indicates an editorial change since the last revision or reapproval.
1. Scope* 1.7 Requiredtestapparatusincludesselectedtestblocksand
position encoders in addition to the instrument or system to be
1.1 This guide describes procedures for evaluating some
evaluated.
performance characteristics of phased-array ultrasonic exami-
nation instruments and systems. 1.8 Precautions relating to the applicability of the proce-
dures and interpretation of the results are included.
1.2 Evaluationofthesecharacteristicsisintendedtobeused
for comparing instruments and systems or, by periodic 1.9 Alternateprocedures,suchasexamplesdescribedinthis
repetition, for detecting long-term changes in the characteris- document,orothers,mayonlybeusedwithcustomerapproval.
tics of a given instrument or system that may be indicative of
1.10 The values stated in SI units are to be regarded as
impending failure, and which, if beyond certain limits, will
standard. No other units of measurement are included in this
require corrective maintenance. Instrument characteristics
standard.
measured in accordance with this guide are expressed in terms
1.11 This standard does not purport to address all of the
that relate to their potential usefulness for ultrasonic examina-
safety concerns, if any, associated with its use. It is the
tions. Other electronic instrument characteristics in phased-
responsibility of the user of this standard to establish appro-
array units are similar to non-phased-array units and may be
priate safety and health practices and determine the applica-
measured as described in Guide E1065 or E1324.
bility of regulatory limitations prior to use.
1.3 Ultrasonic examination systems using pulsed-wave
trains and A-scan presentation (rf or video) may be evaluated.
2. Referenced Documents
2
1.4 This guide establishes no performance limits for exami-
2.1 ASTM Standards:
nation systems; if such acceptance criteria are required, these
E317 Practice for Evaluating Performance Characteristics of
must be specified by the using parties. Where acceptance
Ultrasonic Pulse-Echo Testing Instruments and Systems
criteria are implied herein they are for example only and are
without the Use of Electronic Measurement Instruments
subject to more or less restrictive limits imposed by customer’s
E494 Practice for Measuring Ultrasonic Velocity in Materi-
and end user’s controlling documents.
als
E1065 Practice for Evaluating Characteristics of Ultrasonic
1.5 The specific parameters to be evaluated, conditions and
Search Units
frequency of test, and report data required, must also be
E1316 Terminology for Nondestructive Examinations
determined by the user.
E1324 GuideforMeasuringSomeElectronicCharacteristics
1.6 This guide may be used for the evaluation of a complete
of Ultrasonic Testing Instruments
examination system, including search unit, instrument,
interconnections, scanner fixtures and connected alarm and
3. Terminology
auxiliary devices, primarily in cases where such a system is
3.1 Refer to Terminology E1316 for definitions of terms in
used repetitively without change or substitution. This guide is
this guide.
not intended to be used as a substitute for calibration or
standardization of an instrument or system to inspect any given
4. Summary of Guide
material.
4.1 Phased-array instruments and systems have similar in-
dividual components as are found in traditional ultrasonic
1
This guide is under the jurisdiction of ASTM Committee E07 on Nondestruc-
tive Testing and is the direct responsibility of Subcommittee E07.06 on Ultrasonic
2
Method. For referenced ASTM standards, visit the ASTM website, www.astm.org, or
Current edition approved June 1, 2013. Published June 2013. Originally contact ASTM Customer Service at service@astm.org. For Annual Book of ASTM
approved in 2006. Last previous edition approved in 2008 as E2491 - 08. DOI: Standards volume information, refer to the standard’s Document Summary page on
10.1520/E2491-13. the ASTM website.
*A Summary of Changes section appears at the end of this standard
Copyright © ASTM International, 100 Barr Harbor Drive, PO Box C700, West Conshohocken, PA 19428-2959. United States
1
---------------------- Page: 1 ----------------------
E2491 − 13
systems that are based on single channel or multiplexed 5. Significance and Use
pulse-echo units. These include pulsers, receivers, probes and
5.1 This guide is intended to eva
...
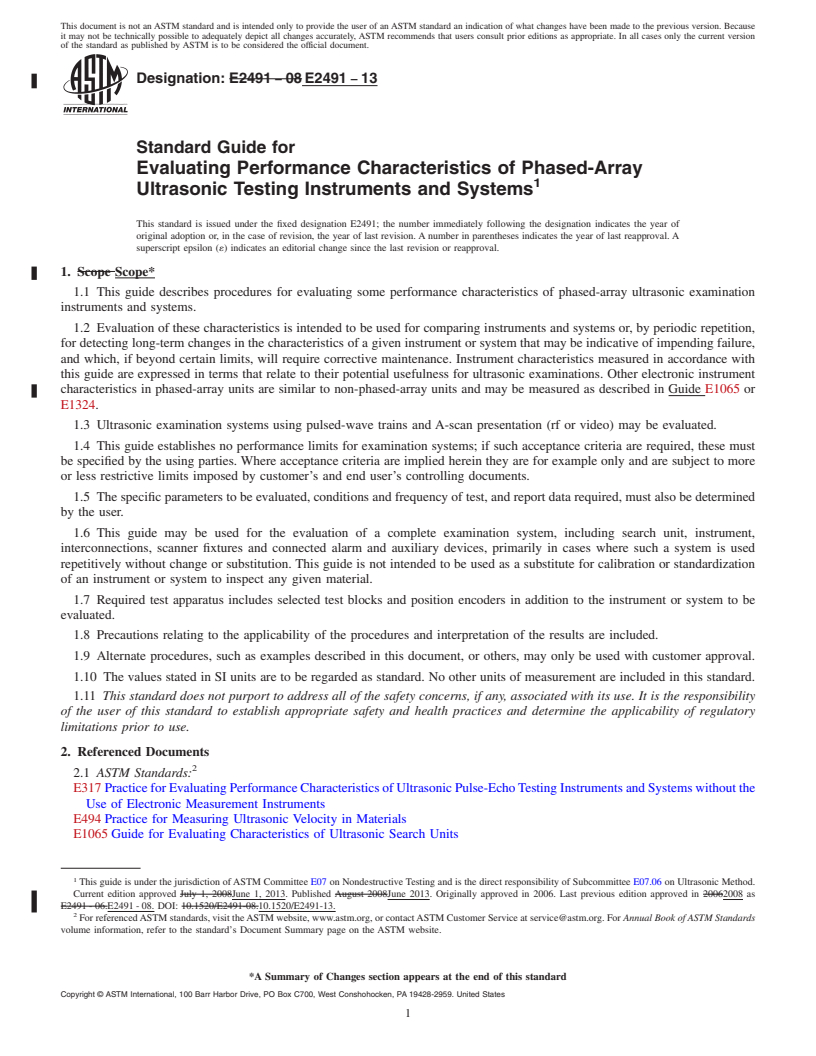
This document is not an ASTM standard and is intended only to provide the user of an ASTM standard an indication of what changes have been made to the previous version. Because
it may not be technically possible to adequately depict all changes accurately, ASTM recommends that users consult prior editions as appropriate. In all cases only the current version
of the standard as published by ASTM is to be considered the official document.
Designation: E2491 − 08 E2491 − 13
Standard Guide for
Evaluating Performance Characteristics of Phased-Array
1
Ultrasonic Testing Instruments and Systems
This standard is issued under the fixed designation E2491; the number immediately following the designation indicates the year of
original adoption or, in the case of revision, the year of last revision. A number in parentheses indicates the year of last reapproval. A
superscript epsilon (´) indicates an editorial change since the last revision or reapproval.
1. Scope Scope*
1.1 This guide describes procedures for evaluating some performance characteristics of phased-array ultrasonic examination
instruments and systems.
1.2 Evaluation of these characteristics is intended to be used for comparing instruments and systems or, by periodic repetition,
for detecting long-term changes in the characteristics of a given instrument or system that may be indicative of impending failure,
and which, if beyond certain limits, will require corrective maintenance. Instrument characteristics measured in accordance with
this guide are expressed in terms that relate to their potential usefulness for ultrasonic examinations. Other electronic instrument
characteristics in phased-array units are similar to non-phased-array units and may be measured as described in Guide E1065 or
E1324.
1.3 Ultrasonic examination systems using pulsed-wave trains and A-scan presentation (rf or video) may be evaluated.
1.4 This guide establishes no performance limits for examination systems; if such acceptance criteria are required, these must
be specified by the using parties. Where acceptance criteria are implied herein they are for example only and are subject to more
or less restrictive limits imposed by customer’s and end user’s controlling documents.
1.5 The specific parameters to be evaluated, conditions and frequency of test, and report data required, must also be determined
by the user.
1.6 This guide may be used for the evaluation of a complete examination system, including search unit, instrument,
interconnections, scanner fixtures and connected alarm and auxiliary devices, primarily in cases where such a system is used
repetitively without change or substitution. This guide is not intended to be used as a substitute for calibration or standardization
of an instrument or system to inspect any given material.
1.7 Required test apparatus includes selected test blocks and position encoders in addition to the instrument or system to be
evaluated.
1.8 Precautions relating to the applicability of the procedures and interpretation of the results are included.
1.9 Alternate procedures, such as examples described in this document, or others, may only be used with customer approval.
1.10 The values stated in SI units are to be regarded as standard. No other units of measurement are included in this standard.
1.11 This standard does not purport to address all of the safety concerns, if any, associated with its use. It is the responsibility
of the user of this standard to establish appropriate safety and health practices and determine the applicability of regulatory
limitations prior to use.
2. Referenced Documents
2
2.1 ASTM Standards:
E317 Practice for Evaluating Performance Characteristics of Ultrasonic Pulse-Echo Testing Instruments and Systems without the
Use of Electronic Measurement Instruments
E494 Practice for Measuring Ultrasonic Velocity in Materials
E1065 Guide for Evaluating Characteristics of Ultrasonic Search Units
1
This guide is under the jurisdiction of ASTM Committee E07 on Nondestructive Testing and is the direct responsibility of Subcommittee E07.06 on Ultrasonic Method.
Current edition approved July 1, 2008June 1, 2013. Published August 2008June 2013. Originally approved in 2006. Last previous edition approved in 20062008 as
E2491 - 06.E2491 - 08. DOI: 10.1520/E2491-08.10.1520/E2491-13.
2
For referenced ASTM standards, visit the ASTM website, www.astm.org, or contact ASTM Customer Service at service@astm.org. For Annual Book of ASTM Standards
volume information, refer to the standard’s Document Summary page on the ASTM website.
*A Summary of Changes section appears at the end of this standard
Copyright © ASTM International, 100 Barr Harbor Drive, PO Box C700, West Conshohocken, PA 19428-2959. United States
1
---------------------- Page: 1 ----------------------
E2491 − 13
E1316 Terminology for Nondestructive Examinations
E1324 Guide for Measuring Some Electronic Characteristics of Ultrasonic Testing Instruments
3. Terminology
3.1 Refer to Term
...


Questions, Comments and Discussion
Ask us and Technical Secretary will try to provide an answer. You can facilitate discussion about the standard in here.