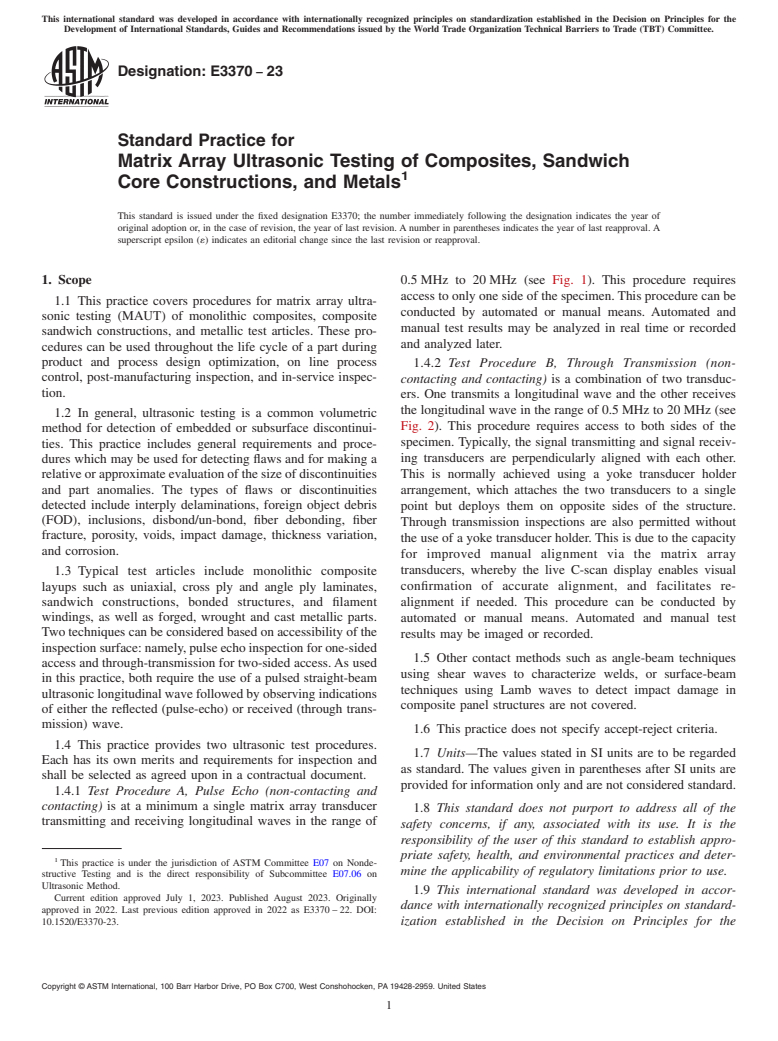
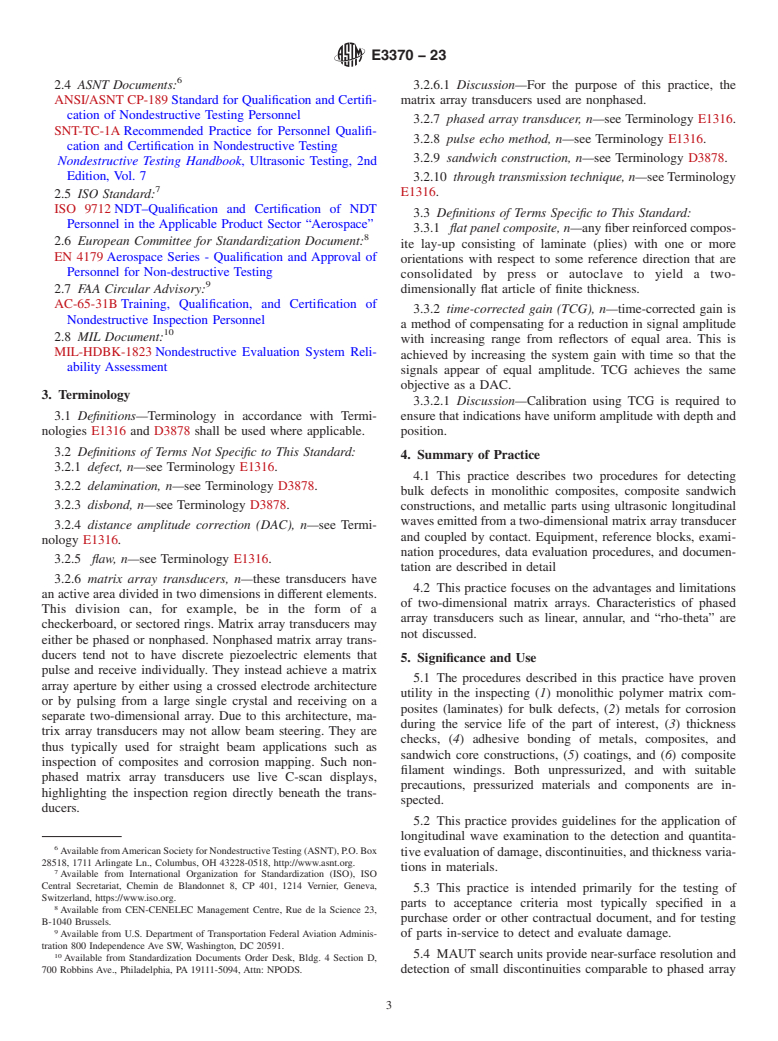
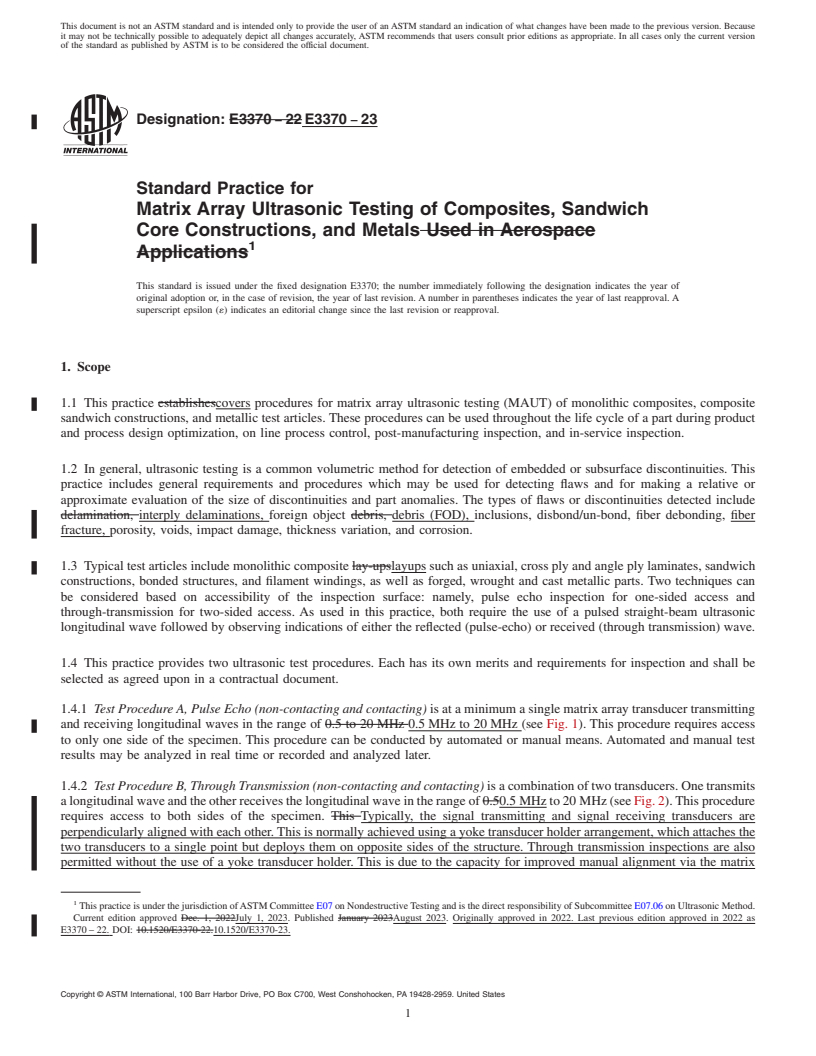
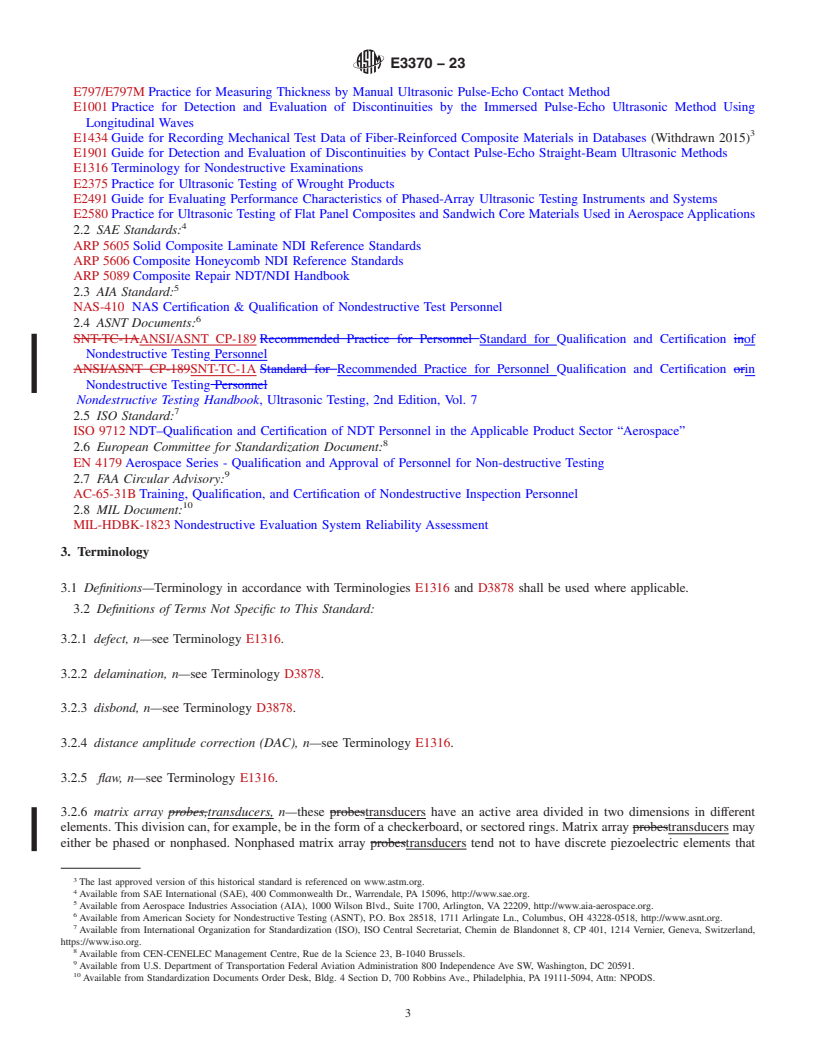
ASTM E3370-23
(Practice)Standard Practice for Matrix Array Ultrasonic Testing of Composites, Sandwich Core Constructions, and Metals
Standard Practice for Matrix Array Ultrasonic Testing of Composites, Sandwich Core Constructions, and Metals
SIGNIFICANCE AND USE
5.1 The procedures described in this practice have proven utility in the inspecting (1) monolithic polymer matrix composites (laminates) for bulk defects, (2) metals for corrosion during the service life of the part of interest, (3) thickness checks, (4) adhesive bonding of metals, composites, and sandwich core constructions, (5) coatings, and (6) composite filament windings. Both unpressurized, and with suitable precautions, pressurized materials and components are inspected.
5.2 This practice provides guidelines for the application of longitudinal wave examination to the detection and quantitative evaluation of damage, discontinuities, and thickness variations in materials.
5.3 This practice is intended primarily for the testing of parts to acceptance criteria most typically specified in a purchase order or other contractual document, and for testing of parts in-service to detect and evaluate damage.
5.4 MAUT search units provide near-surface resolution and detection of small discontinuities comparable to phased array transducers. They may or may not be capable of beam steering. The advantage of MAUT for straight-beam longitudinal wave inspections is the ability to provide real-time C-scan data, which facilitates data interpretation and shortens inspection time. Depending on inspection needs, data can be displayed as A-, B- or C-scans, or three-dimensional renderings. Toggling between pulse-echo and through transmission ultrasonic (TTU) modes without having to use another system or changing transducers is also possible.
5.5 The MAUT technique has proven utility in the inspection of multi-ply carbon-fiber reinforced laminates used in primary aircraft structures.11
5.6 For ultrasonic testing of laminate composites and sandwich core materials using conventional UT equipment consult Practice E2580. Consult Practice E114 for ultrasonic testing of materials by the pulse-echo method using straightbeam longitudinal waves introduced by a piezoelectric elemen...
SCOPE
1.1 This practice covers procedures for matrix array ultrasonic testing (MAUT) of monolithic composites, composite sandwich constructions, and metallic test articles. These procedures can be used throughout the life cycle of a part during product and process design optimization, on line process control, post-manufacturing inspection, and in-service inspection.
1.2 In general, ultrasonic testing is a common volumetric method for detection of embedded or subsurface discontinuities. This practice includes general requirements and procedures which may be used for detecting flaws and for making a relative or approximate evaluation of the size of discontinuities and part anomalies. The types of flaws or discontinuities detected include interply delaminations, foreign object debris (FOD), inclusions, disbond/un-bond, fiber debonding, fiber fracture, porosity, voids, impact damage, thickness variation, and corrosion.
1.3 Typical test articles include monolithic composite layups such as uniaxial, cross ply and angle ply laminates, sandwich constructions, bonded structures, and filament windings, as well as forged, wrought and cast metallic parts. Two techniques can be considered based on accessibility of the inspection surface: namely, pulse echo inspection for one-sided access and through-transmission for two-sided access. As used in this practice, both require the use of a pulsed straight-beam ultrasonic longitudinal wave followed by observing indications of either the reflected (pulse-echo) or received (through transmission) wave.
1.4 This practice provides two ultrasonic test procedures. Each has its own merits and requirements for inspection and shall be selected as agreed upon in a contractual document.
1.4.1 Test Procedure A, Pulse Echo (non-contacting and contacting) is at a minimum a single matrix array transducer transmitting and receiving longitudinal waves in the range of 0.5 MHz to 20 MHz (see Fig. 1). Th...
General Information
Buy Standard
Standards Content (Sample)
This international standard was developed in accordance with internationally recognized principles on standardization established in the Decision on Principles for the
Development of International Standards, Guides and Recommendations issued by the World Trade Organization Technical Barriers to Trade (TBT) Committee.
Designation: E3370 − 23
Standard Practice for
Matrix Array Ultrasonic Testing of Composites, Sandwich
1
Core Constructions, and Metals
This standard is issued under the fixed designation E3370; the number immediately following the designation indicates the year of
original adoption or, in the case of revision, the year of last revision. A number in parentheses indicates the year of last reapproval. A
superscript epsilon (´) indicates an editorial change since the last revision or reapproval.
1. Scope 0.5 MHz to 20 MHz (see Fig. 1). This procedure requires
access to only one side of the specimen. This procedure can be
1.1 This practice covers procedures for matrix array ultra-
conducted by automated or manual means. Automated and
sonic testing (MAUT) of monolithic composites, composite
manual test results may be analyzed in real time or recorded
sandwich constructions, and metallic test articles. These pro-
and analyzed later.
cedures can be used throughout the life cycle of a part during
product and process design optimization, on line process
1.4.2 Test Procedure B, Through Transmission (non-
control, post-manufacturing inspection, and in-service inspec-
contacting and contacting) is a combination of two transduc-
tion.
ers. One transmits a longitudinal wave and the other receives
the longitudinal wave in the range of 0.5 MHz to 20 MHz (see
1.2 In general, ultrasonic testing is a common volumetric
Fig. 2). This procedure requires access to both sides of the
method for detection of embedded or subsurface discontinui-
specimen. Typically, the signal transmitting and signal receiv-
ties. This practice includes general requirements and proce-
dures which may be used for detecting flaws and for making a ing transducers are perpendicularly aligned with each other.
relative or approximate evaluation of the size of discontinuities This is normally achieved using a yoke transducer holder
and part anomalies. The types of flaws or discontinuities
arrangement, which attaches the two transducers to a single
detected include interply delaminations, foreign object debris
point but deploys them on opposite sides of the structure.
(FOD), inclusions, disbond/un-bond, fiber debonding, fiber
Through transmission inspections are also permitted without
fracture, porosity, voids, impact damage, thickness variation,
the use of a yoke transducer holder. This is due to the capacity
and corrosion.
for improved manual alignment via the matrix array
transducers, whereby the live C-scan display enables visual
1.3 Typical test articles include monolithic composite
confirmation of accurate alignment, and facilitates re-
layups such as uniaxial, cross ply and angle ply laminates,
sandwich constructions, bonded structures, and filament alignment if needed. This procedure can be conducted by
windings, as well as forged, wrought and cast metallic parts. automated or manual means. Automated and manual test
Two techniques can be considered based on accessibility of the
results may be imaged or recorded.
inspection surface: namely, pulse echo inspection for one-sided
1.5 Other contact methods such as angle-beam techniques
access and through-transmission for two-sided access. As used
using shear waves to characterize welds, or surface-beam
in this practice, both require the use of a pulsed straight-beam
techniques using Lamb waves to detect impact damage in
ultrasonic longitudinal wave followed by observing indications
composite panel structures are not covered.
of either the reflected (pulse-echo) or received (through trans-
mission) wave.
1.6 This practice does not specify accept-reject criteria.
1.4 This practice provides two ultrasonic test procedures.
1.7 Units—The values stated in SI units are to be regarded
Each has its own merits and requirements for inspection and
as standard. The values given in parentheses after SI units are
shall be selected as agreed upon in a contractual document.
provided for information only and are not considered standard.
1.4.1 Test Procedure A, Pulse Echo (non-contacting and
contacting) is at a minimum a single matrix array transducer
1.8 This standard does not purport to address all of the
transmitting and receiving longitudinal waves in the range of
safety concerns, if any, associated with its use. It is the
responsibility of the user of this standard to establish appro-
priate safety, health, and environmental practices and deter-
1
This practice is under the jurisdiction of ASTM Committee E07 on Nonde-
mine the applicability of regulatory limitations prior to use.
structive Testing and is the direct responsibility of Subcommittee E07.06 on
Ultrasonic Method.
1.9 This international standard was develo
...
This document is not an ASTM standard and is intended only to provide the user of an ASTM standard an indication of what changes have been made to the previous version. Because
it may not be technically possible to adequately depict all changes accurately, ASTM recommends that users consult prior editions as appropriate. In all cases only the current version
of the standard as published by ASTM is to be considered the official document.
Designation: E3370 − 22 E3370 − 23
Standard Practice for
Matrix Array Ultrasonic Testing of Composites, Sandwich
Core Constructions, and Metals Used in Aerospace
1
Applications
This standard is issued under the fixed designation E3370; the number immediately following the designation indicates the year of
original adoption or, in the case of revision, the year of last revision. A number in parentheses indicates the year of last reapproval. A
superscript epsilon (´) indicates an editorial change since the last revision or reapproval.
1. Scope
1.1 This practice establishescovers procedures for matrix array ultrasonic testing (MAUT) of monolithic composites, composite
sandwich constructions, and metallic test articles. These procedures can be used throughout the life cycle of a part during product
and process design optimization, on line process control, post-manufacturing inspection, and in-service inspection.
1.2 In general, ultrasonic testing is a common volumetric method for detection of embedded or subsurface discontinuities. This
practice includes general requirements and procedures which may be used for detecting flaws and for making a relative or
approximate evaluation of the size of discontinuities and part anomalies. The types of flaws or discontinuities detected include
delamination, interply delaminations, foreign object debris, debris (FOD), inclusions, disbond/un-bond, fiber debonding, fiber
fracture, porosity, voids, impact damage, thickness variation, and corrosion.
1.3 Typical test articles include monolithic composite lay-upslayups such as uniaxial, cross ply and angle ply laminates, sandwich
constructions, bonded structures, and filament windings, as well as forged, wrought and cast metallic parts. Two techniques can
be considered based on accessibility of the inspection surface: namely, pulse echo inspection for one-sided access and
through-transmission for two-sided access. As used in this practice, both require the use of a pulsed straight-beam ultrasonic
longitudinal wave followed by observing indications of either the reflected (pulse-echo) or received (through transmission) wave.
1.4 This practice provides two ultrasonic test procedures. Each has its own merits and requirements for inspection and shall be
selected as agreed upon in a contractual document.
1.4.1 Test Procedure A, Pulse Echo (non-contacting and contacting) is at a minimum a single matrix array transducer transmitting
and receiving longitudinal waves in the range of 0.5 to 20 MHz 0.5 MHz to 20 MHz (see Fig. 1). This procedure requires access
to only one side of the specimen. This procedure can be conducted by automated or manual means. Automated and manual test
results may be analyzed in real time or recorded and analyzed later.
1.4.2 Test Procedure B, Through Transmission (non-contacting and contacting) is a combination of two transducers. One transmits
a longitudinal wave and the other receives the longitudinal wave in the range of 0.50.5 MHz to 20 MHz (see Fig. 2). This procedure
requires access to both sides of the specimen. This Typically, the signal transmitting and signal receiving transducers are
perpendicularly aligned with each other. This is normally achieved using a yoke transducer holder arrangement, which attaches the
two transducers to a single point but deploys them on opposite sides of the structure. Through transmission inspections are also
permitted without the use of a yoke transducer holder. This is due to the capacity for improved manual alignment via the matrix
1
This practice is under the jurisdiction of ASTM Committee E07 on Nondestructive Testing and is the direct responsibility of Subcommittee E07.06 on Ultrasonic Method.
Current edition approved Dec. 1, 2022July 1, 2023. Published January 2023August 2023. Originally approved in 2022. Last previous edition approved in 2022 as
E3370 – 22. DOI: 10.1520/E3370-22.10.1520/E3370-23.
Copyright © ASTM International, 100 Barr Harbor Drive, PO Box C700, West Conshohocken, PA 19428-2959. United States
1
---------------------- Page: 1 ----------------------
E3370 − 23
FIG. 1 Test Procedure A, Pulse Echo Apparatus Set-up for a Composite Panel (Left) and Metal Plate (Right) Using One-sided Access
FIG. 2 Test Procedure B, Through Transmission Apparatus
Set-up using Two-sided Access
array transducers, whereby the live C-scan display enables visual confirmation of accurate alignment, and facilitates re-alignment
if needed. This procedure can be conducted by automated or manual means. Automated and manual test results may be imaged
o
...


Questions, Comments and Discussion
Ask us and Technical Secretary will try to provide an answer. You can facilitate discussion about the standard in here.