ASTM D2370-98
(Test Method)Standard Test Method for Tensile Properties of Organic Coatings
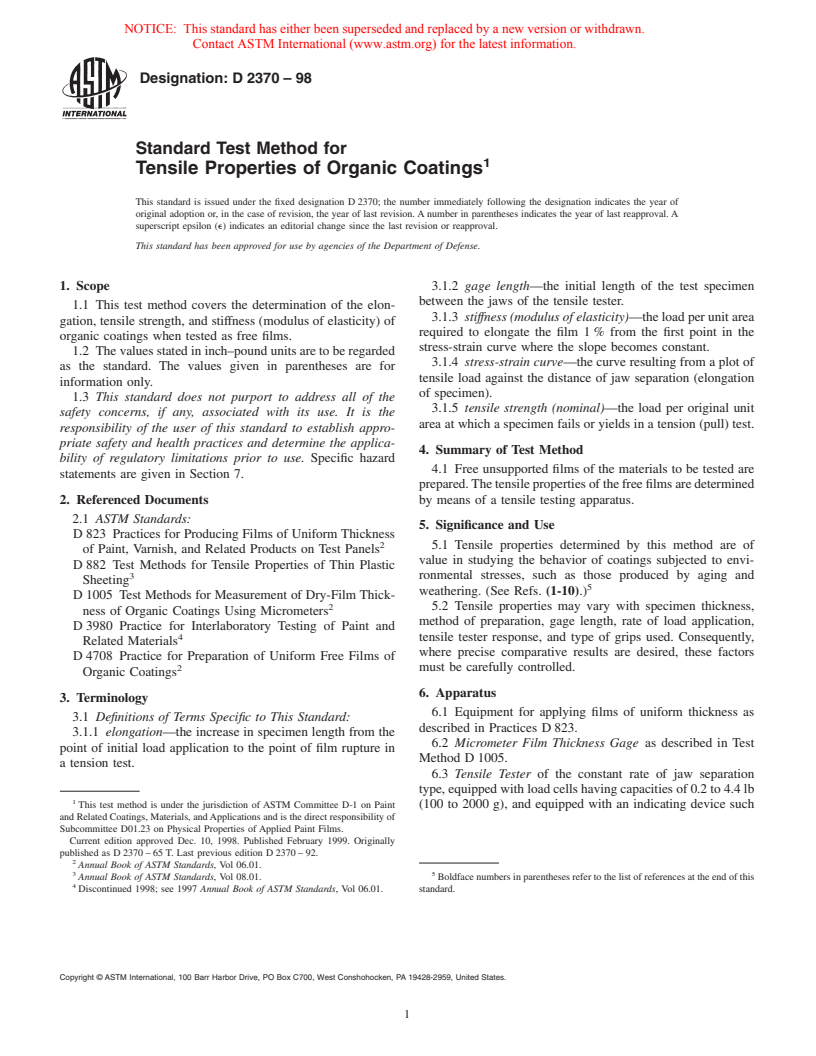
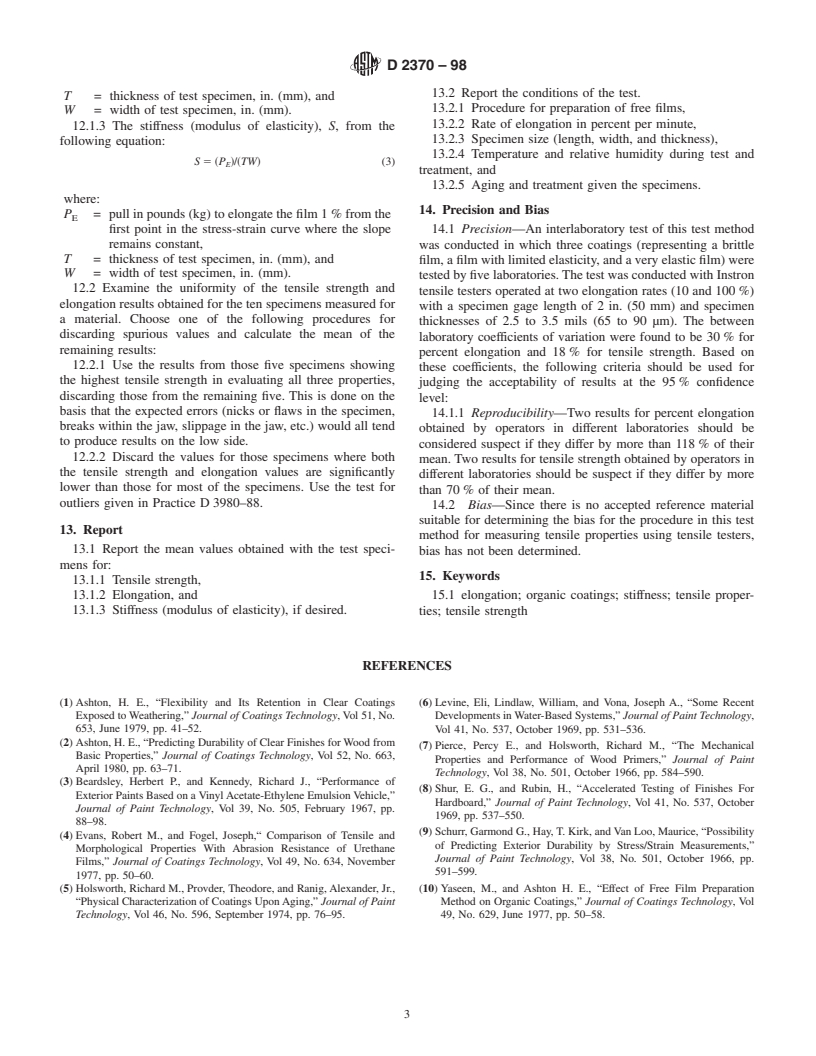
Standard Test Method for Tensile Properties of Organic Coatings
SCOPE
1.1 This test method covers the determination of the elongation, tensile strength, and stiffness (modulus of elasticity) of organic coatings when tested as free films.
1.2 This standard does not purport to address all of the safety problems, if any, associated with its use. It is the responsibility of the user of this standard to establish appropriate safety and health practices and determine the applicability of regulatory limitations prior to use.> Specific hazard statements are given in Section 7.
General Information
Relations
Standards Content (Sample)
Designation:D2370–98
Standard Test Method for
Tensile Properties of Organic Coatings
This standard is issued under the fixed designation D 2370; the number immediately following the designation indicates the year of
original adoption or, in the case of revision, the year of last revision. A number in parentheses indicates the year of last reapproval. A
superscript epsilon (e) indicates an editorial change since the last revision or reapproval.
This standard has been approved for use by agencies of the Department of Defense.
1. Scope 3.1.2 gage length—the initial length of the test specimen
between the jaws of the tensile tester.
1.1 This test method covers the determination of the elon-
3.1.3 stiffness (modulus of elasticity)—the load per unit area
gation, tensile strength, and stiffness (modulus of elasticity) of
required to elongate the film 1 % from the first point in the
organic coatings when tested as free films.
stress-strain curve where the slope becomes constant.
1.2 The values stated in inch–pound units are to be regarded
3.1.4 stress-strain curve—the curve resulting from a plot of
as the standard. The values given in parentheses are for
tensile load against the distance of jaw separation (elongation
information only.
of specimen).
1.3 This standard does not purport to address all of the
3.1.5 tensile strength (nominal)—the load per original unit
safety concerns, if any, associated with its use. It is the
area at which a specimen fails or yields in a tension (pull) test.
responsibility of the user of this standard to establish appro-
priate safety and health practices and determine the applica-
4. Summary of Test Method
bility of regulatory limitations prior to use. Specific hazard
4.1 Free unsupported films of the materials to be tested are
statements are given in Section 7.
prepared.Thetensilepropertiesofthefreefilmsaredetermined
2. Referenced Documents by means of a tensile testing apparatus.
2.1 ASTM Standards:
5. Significance and Use
D 823 Practices for Producing Films of Uniform Thickness
2 5.1 Tensile properties determined by this method are of
of Paint, Varnish, and Related Products on Test Panels
value in studying the behavior of coatings subjected to envi-
D 882 Test Methods for Tensile Properties of Thin Plastic
3 ronmental stresses, such as those produced by aging and
Sheeting
weathering. (See Refs. (1-10).)
D 1005 Test Methods for Measurement of Dry-Film Thick-
2 5.2 Tensile properties may vary with specimen thickness,
ness of Organic Coatings Using Micrometers
method of preparation, gage length, rate of load application,
D 3980 Practice for Interlaboratory Testing of Paint and
4 tensile tester response, and type of grips used. Consequently,
Related Materials
where precise comparative results are desired, these factors
D 4708 Practice for Preparation of Uniform Free Films of
2 must be carefully controlled.
Organic Coatings
6. Apparatus
3. Terminology
6.1 Equipment for applying films of uniform thickness as
3.1 Definitions of Terms Specific to This Standard:
described in Practices D 823.
3.1.1 elongation—the increase in specimen length from the
6.2 Micrometer Film Thickness Gage as described in Test
point of initial load application to the point of film rupture in
Method D 1005.
a tension test.
6.3 Tensile Tester of the constant rate of jaw separation
type, equipped with load cells having capacities of 0.2 to 4.4 lb
This test method is under the jurisdiction of ASTM Committee D-1 on Paint (100 to 2000 g), and equipped with an indicating device such
and Related Coatings, Materials, andApplications and is the direct responsibility of
Subcommittee D01.23 on Physical Properties of Applied Paint Films.
Current edition approved Dec. 10, 1998. Published February 1999. Originally
published as D 2370 – 65 T. Last previous edition D 2370 – 92.
Annual Book of ASTM Standards, Vol 06.01.
3 5
Annual Book of ASTM Standards, Vol 08.01. Boldface numbers in parentheses refer to the list of references at the end of this
Discontinued 1998; see 1997 Annual Book of ASTM Standards, Vol 06.01. standard.
Copyright © ASTM International, 100 Barr Harbor Drive, PO Box C700, West Conshohocken, PA 19428-2959, United States.
D2370–98
as an electronic constant speed chart recorder, a digital device 11. Procedure
that displays numerical values, or a printer that records the
11.1 Select a mutually agreed upon gage length in the range
numerical values.
of 1 to 5 in. (25 to 125 mm).
6.4 Precision Specimen Cutter having a double blade with
11.2 Prepare 10 test specimens for each material to be
a foot to hold the sample in place.
evaluated. These specimens should not exhibit any nicks or
6.5 Alternative Substrates on which test material can be
flaws.Measurethethicknessofeachspecimento 60.1mil(2.5
deposited.
µm) with a micrometer in accordance with Test Methods
6.5.1 Dental Tin Foil, preferably 1 mil (25 µm) thick.
D 1005, taking five measurements within the gage length area.
6.5.2 Sheet of FEP (fluorinated ethylene-propylene), pref-
11.3 Set the jaw separation of the tensile tester at the gage
erably 2 mils (50 µm) thick, coated with a dry lubricant.
length selected. Place the test specimen in the grips of the
testing machine, taking care to align the long axis of the
NOTE 1—Other substrates that may be suitable are 10-mil (250-µm)
thick polyethylene (7), photographic paper (8), polished steel (9), and specimen with an imaginary line joining the points of attach-
fluoropolymer coated metal panels.
ment of the grips to the machine. Tighten the grips evenly and
firmly to the degree necessary to minimize slipping of the
7. Hazards
specimen during test.
7.1 Mercury—Mercury is a toxic metallic liquid. Its vapors
NOTE 2—Mounting is facilitated by the use of air activated jaws.
are extremely hazardous. Small amounts of spilled mercury
Line-type jaws will minimize slippage and breakage. The application of
can vaporize sufficiently at room temperature to exceed the
pressure-sensitive cloth to the ends of the film can improve jaw grip.
threshold limit values (TLV) of the vapor. Use with adequate
11.4 Selectamutuallyagreeduponrateofelongation(strain
ventilation (in a hood) and clean up spills immediately. Wear
rate) that is in the range of 5 to 100 %/min. Set the crosshead
gloves when handling mercury. Keep containers closed. Drop-
speed of the tensile tester to provide this rate for the gage
lets of mercury can be picked up by using a small glass pipet
length chosen.
connected to a suction flask with a rubber hose.
NOTE 3—A rate of elongation should be selected that is optimum for
testing the types of materials to be evaluated. For relatively brittle films,
8. Test Specimens
elongationratesof5to20 %aresuggested.Forrelativelyextensiblefilms,
8.1 The test specimens shall be free films having a width
elongation rates of 50 to 100 % are suggested. (Refer to Test Methods
thatisbetween ⁄2and1in.(13and25mm).Nospecimenshall
D 882 for relation of elongation rate to elongation at break).
vary by more than 62 % in width along its entire length. The
11.5 Elongate the test specimen until rupture of the film
length shall be at least 2 in. (50 mm) longer than the gage
occurs and evaluate the stress-strain curve as follows:
length selected for the test.
11.5.1 Determine the specimen elongation by measuring the
8.2 Prepare free films by one of the procedures described in
increase in jaw separation from the point of original load
Test Method D 4708.
application to the point of rupture.
11.5.2 Measure the tensile pull in pounds (kg) required to
9. Calibration
rupture the film.
9.1 Balance, zero, and calibrate the load weighing and
11.5.3 If stiffness is desired, determine the tensile pull in
recording system of the tensile tester in accordance with
pounds (kg) to elongate the film 1 % from the first point in the
methods specified by the manufacturer.
stress-strain curve where the slope becomes constant.
11.6 Using the procedures in 11.1-11.5, run ten test speci-
10. Conditioning mens for each material under test.
10.1 Un
...


Questions, Comments and Discussion
Ask us and Technical Secretary will try to provide an answer. You can facilitate discussion about the standard in here.