ASTM C583-10
(Test Method)Standard Test Method for Modulus of Rupture of Refractory Materials at Elevated Temperatures
Standard Test Method for Modulus of Rupture of Refractory Materials at Elevated Temperatures
SIGNIFICANCE AND USE
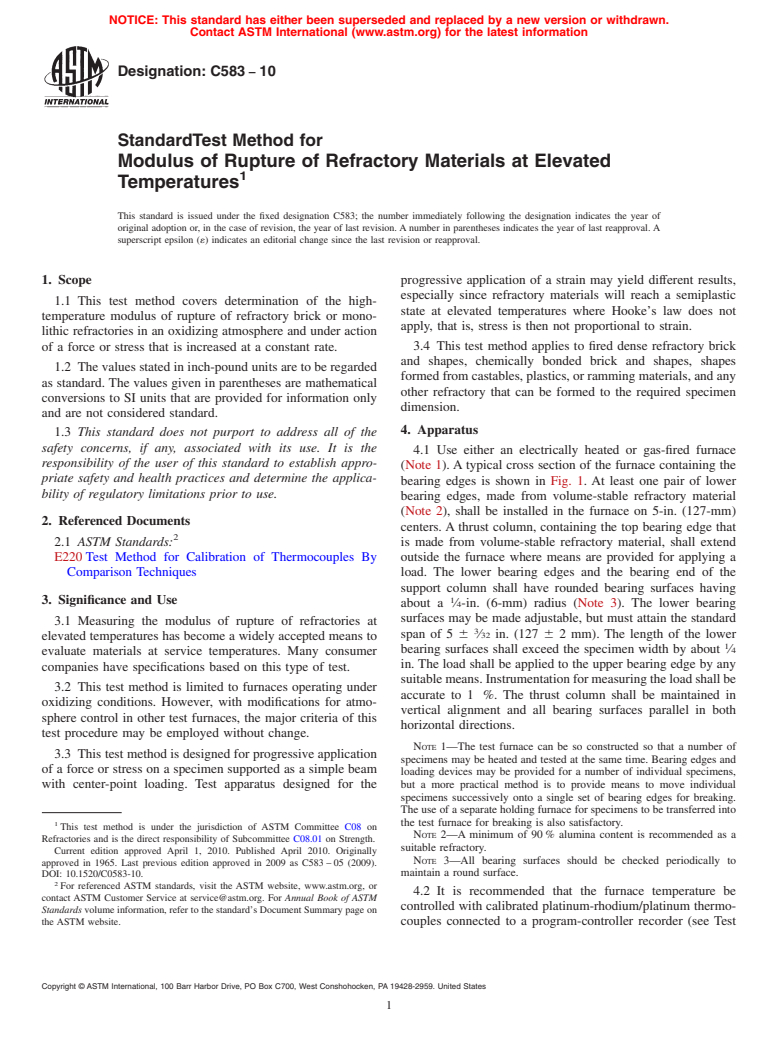
Measuring the modulus of rupture of refractories at elevated temperatures has become a widely accepted means to evaluate materials at service temperatures. Many consumer companies have specifications based on this type of test.
This test method is limited to furnaces operating under oxidizing conditions. However, with modifications for atmosphere control in other test furnaces, the major criteria of this test procedure may be employed without change.
This test method is designed for progressive application of a force or stress on a specimen supported as a simple beam with center-point loading. Test apparatus designed for the progressive application of a strain may yield different results, especially since refractory materials will reach a semiplastic state at elevated temperatures where Hooke's law does not apply, that is, stress is then not proportional to strain.
This test method applies to fired dense refractory brick and shapes, chemically bonded brick and shapes, shapes formed from castables, plastics, or ramming materials, and any other refractory that can be formed to the required specimen dimension.
SCOPE
1.1 This test method covers determination of the high-temperature modulus of rupture of refractory brick or monolithic refractories in an oxidizing atmosphere and under action of a force or stress that is increased at a constant rate.
1.2 The values stated in inch-pound units are to be regarded as standard. The values given in parentheses are mathematical conversions to SI units that are provided for information only and are not considered standard.
1.3 This standard does not purport to address all of the safety concerns, if any, associated with its use. It is the responsibility of the user of this standard to establish appropriate safety and health practices and determine the applicability of regulatory limitations prior to use.
General Information
Relations
Buy Standard
Standards Content (Sample)
NOTICE: This standard has either been superseded and replaced by a new version or withdrawn.
Contact ASTM International (www.astm.org) for the latest information
Designation: C583 − 10
StandardTest Method for
Modulus of Rupture of Refractory Materials at Elevated
1
Temperatures
This standard is issued under the fixed designation C583; the number immediately following the designation indicates the year of
original adoption or, in the case of revision, the year of last revision. A number in parentheses indicates the year of last reapproval. A
superscript epsilon (´) indicates an editorial change since the last revision or reapproval.
1. Scope progressive application of a strain may yield different results,
especially since refractory materials will reach a semiplastic
1.1 This test method covers determination of the high-
state at elevated temperatures where Hooke’s law does not
temperature modulus of rupture of refractory brick or mono-
apply, that is, stress is then not proportional to strain.
lithic refractories in an oxidizing atmosphere and under action
3.4 This test method applies to fired dense refractory brick
of a force or stress that is increased at a constant rate.
and shapes, chemically bonded brick and shapes, shapes
1.2 The values stated in inch-pound units are to be regarded
formed from castables, plastics, or ramming materials, and any
as standard. The values given in parentheses are mathematical
other refractory that can be formed to the required specimen
conversions to SI units that are provided for information only
dimension.
and are not considered standard.
4. Apparatus
1.3 This standard does not purport to address all of the
safety concerns, if any, associated with its use. It is the
4.1 Use either an electrically heated or gas-fired furnace
responsibility of the user of this standard to establish appro-
(Note 1). A typical cross section of the furnace containing the
priate safety and health practices and determine the applica-
bearing edges is shown in Fig. 1. At least one pair of lower
bility of regulatory limitations prior to use.
bearing edges, made from volume-stable refractory material
(Note 2), shall be installed in the furnace on 5-in. (127-mm)
2. Referenced Documents
centers. A thrust column, containing the top bearing edge that
2
2.1 ASTM Standards: is made from volume-stable refractory material, shall extend
E220 Test Method for Calibration of Thermocouples By outside the furnace where means are provided for applying a
Comparison Techniques load. The lower bearing edges and the bearing end of the
support column shall have rounded bearing surfaces having
3. Significance and Use 1
about a ⁄4-in. (6-mm) radius (Note 3). The lower bearing
surfaces may be made adjustable, but must attain the standard
3.1 Measuring the modulus of rupture of refractories at
3
span of 5 6 ⁄32 in. (127 6 2 mm). The length of the lower
elevated temperatures has become a widely accepted means to
1
bearing surfaces shall exceed the specimen width by about ⁄4
evaluate materials at service temperatures. Many consumer
in. The load shall be applied to the upper bearing edge by any
companies have specifications based on this type of test.
suitablemeans.Instrumentationformeasuringtheloadshallbe
3.2 This test method is limited to furnaces operating under
accurate to 1 %. The thrust column shall be maintained in
oxidizing conditions. However, with modifications for atmo-
vertical alignment and all bearing surfaces parallel in both
sphere control in other test furnaces, the major criteria of this
horizontal directions.
test procedure may be employed without change.
NOTE 1—The test furnace can be so constructed so that a number of
3.3 This test method is designed for progressive application
specimens may be heated and tested at the same time. Bearing edges and
of a force or stress on a specimen supported as a simple beam
loading devices may be provided for a number of individual specimens,
with center-point loading. Test apparatus designed for the but a more practical method is to provide means to move individual
specimens successively onto a single set of bearing edges for breaking.
The use of a separate holding furnace for specimens to be transferred into
1 the test furnace for breaking is also satisfactory.
This test method is under the jurisdiction of ASTM Committee C08 on
NOTE 2—A minimum of 90 % alumina content is recommended as a
Refractories and is the direct responsibility of Subcommittee C08.01 on Strength.
suitable refractory.
Current edition approved April 1, 2010. Published April 2010. Originally
NOTE 3—All bearing surfaces should be checked periodically to
approved in 1965. Last previous edition approved in 2009 as C583 – 05 (2009).
maintain a round surface.
DOI: 10.1520/C0583-10.
2
For referenced ASTM standards, visit the ASTM website, www.astm.org, or
4.2 It is recommended that the furnace temperature be
contact ASTM Customer Service at service@astm.org. For Annual Book of ASTM
controlled with calibrated
...
This document is not an ASTM standard and is intended only to provide the user of an ASTM standard an indication of what changes have been made to the previous version. Because
it may not be technically possible to adequately depict all changes accurately, ASTM recommends that users consult prior editions as appropriate. In all cases only the current version
of the standard as published by ASTM is to be considered the official document.
Designation:C583–05 (Reapproved 2009) Designation:C583–10
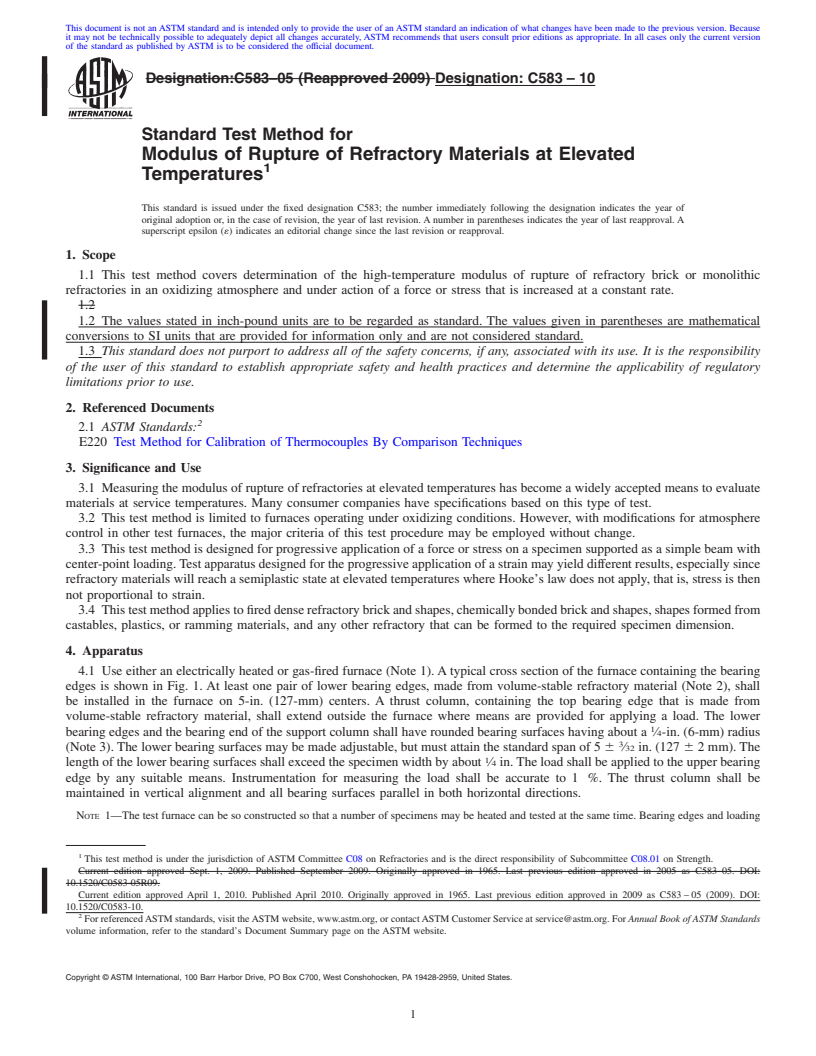
Standard Test Method for
Modulus of Rupture of Refractory Materials at Elevated
1
Temperatures
This standard is issued under the fixed designation C583; the number immediately following the designation indicates the year of
original adoption or, in the case of revision, the year of last revision. A number in parentheses indicates the year of last reapproval. A
superscript epsilon (´) indicates an editorial change since the last revision or reapproval.
1. Scope
1.1 This test method covers determination of the high-temperature modulus of rupture of refractory brick or monolithic
refractories in an oxidizing atmosphere and under action of a force or stress that is increased at a constant rate.
1.2
1.2 The values stated in inch-pound units are to be regarded as standard. The values given in parentheses are mathematical
conversions to SI units that are provided for information only and are not considered standard.
1.3 This standard does not purport to address all of the safety concerns, if any, associated with its use. It is the responsibility
of the user of this standard to establish appropriate safety and health practices and determine the applicability of regulatory
limitations prior to use.
2. Referenced Documents
2
2.1 ASTM Standards:
E220 Test Method for Calibration of Thermocouples By Comparison Techniques
3. Significance and Use
3.1 Measuring the modulus of rupture of refractories at elevated temperatures has become a widely accepted means to evaluate
materials at service temperatures. Many consumer companies have specifications based on this type of test.
3.2 This test method is limited to furnaces operating under oxidizing conditions. However, with modifications for atmosphere
control in other test furnaces, the major criteria of this test procedure may be employed without change.
3.3 This test method is designed for progressive application of a force or stress on a specimen supported as a simple beam with
center-point loading.Test apparatus designed for the progressive application of a strain may yield different results, especially since
refractory materials will reach a semiplastic state at elevated temperatures where Hooke’s law does not apply, that is, stress is then
not proportional to strain.
3.4 Thistestmethodappliestofireddenserefractorybrickandshapes,chemicallybondedbrickandshapes,shapesformedfrom
castables, plastics, or ramming materials, and any other refractory that can be formed to the required specimen dimension.
4. Apparatus
4.1 Use either an electrically heated or gas-fired furnace (Note 1).Atypical cross section of the furnace containing the bearing
edges is shown in Fig. 1. At least one pair of lower bearing edges, made from volume-stable refractory material (Note 2), shall
be installed in the furnace on 5-in. (127-mm) centers. A thrust column, containing the top bearing edge that is made from
volume-stable refractory material, shall extend outside the furnace where means are provided for applying a load. The lower
1
bearing edges and the bearing end of the support column shall have rounded bearing surfaces having about a ⁄4-in. (6-mm) radius
3
(Note 3). The lower bearing surfaces may be made adjustable, but must attain the standard span of 5 6 ⁄32 in. (127 6 2 mm). The
1
length of the lower bearing surfaces shall exceed the specimen width by about ⁄4 in.The load shall be applied to the upper bearing
edge by any suitable means. Instrumentation for measuring the load shall be accurate to 1 %. The thrust column shall be
maintained in vertical alignment and all bearing surfaces parallel in both horizontal directions.
NOTE 1—The test furnace can be so constructed so that a number of specimens may be heated and tested at the same time. Bearing edges and loading
1
This test method is under the jurisdiction of ASTM Committee C08 on Refractories and is the direct responsibility of Subcommittee C08.01 on Strength.
Current edition approved Sept. 1, 2009. Published September 2009. Originally approved in 1965. Last previous edition approved in 2005 as C583–05. DOI:
10.1520/C0583-05R09.
Current edition approved April 1, 2010. Published April 2010. Originally approved in 1965. Last previous edition approved in 2009 as C583 – 05 (2009). DOI:
10.1520/C0583-10.
2
For referencedASTM standards, visit theASTM website, www.astm.org, or contactASTM Customer Service at service@astm.org. ForAnnualBookofASTMStandards
volume information, refer to the standard’s Document Summary page on the ASTM website.
Copyright © ASTM Inter
...


Questions, Comments and Discussion
Ask us and Technical Secretary will try to provide an answer. You can facilitate discussion about the standard in here.