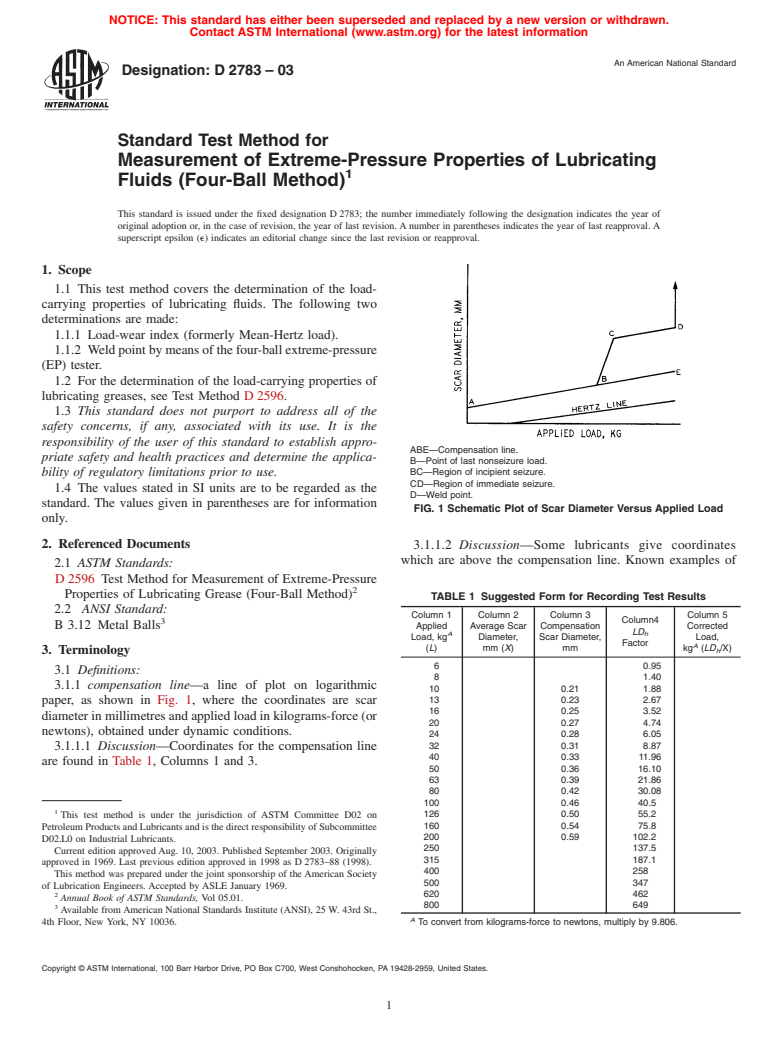
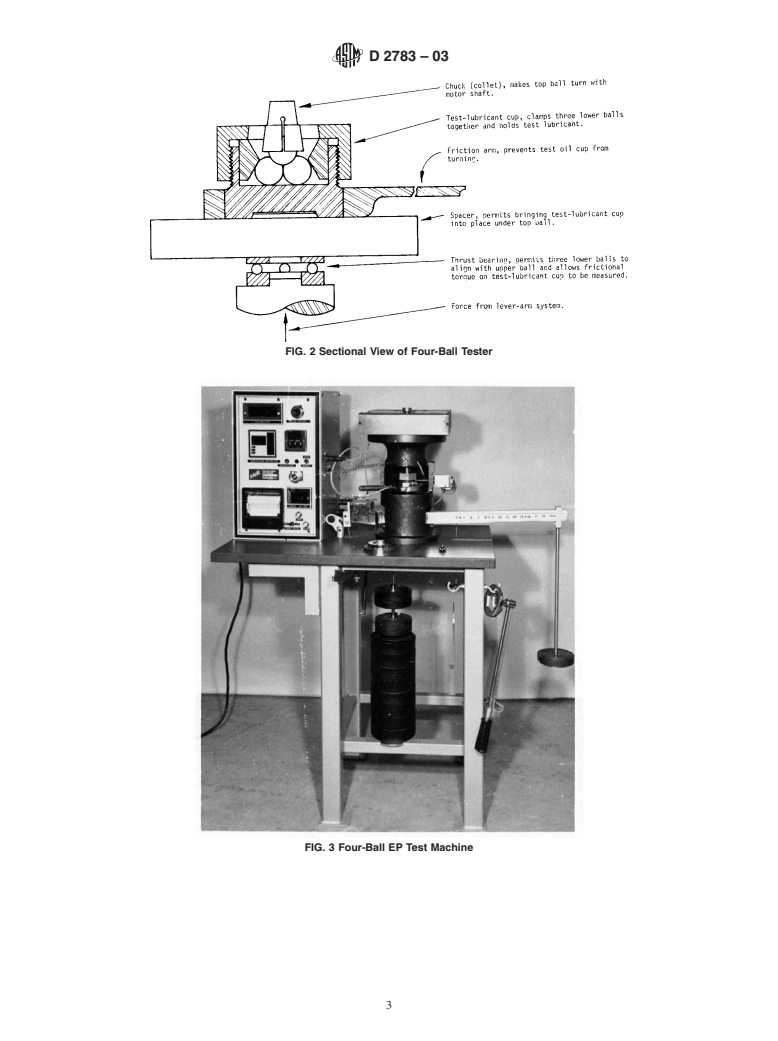
ASTM D2783-03
(Test Method)Standard Test Method for Measurement of Extreme-Pressure Properties of Lubricating Fluids (Four-Ball Method)
Standard Test Method for Measurement of Extreme-Pressure Properties of Lubricating Fluids (Four-Ball Method)
SIGNIFICANCE AND USE
This test method, used for specification purposes, differentiates between lubricating fluids having low, medium, and high level of extreme-pressure properties. The user of this method should determine to his own satisfaction whether results of this test procedure correlate with field performance or other bench test machines.
SCOPE
1.1 This test method covers the determination of the load-carrying properties of lubricating fluids. The following two determinations are made:
1.1.1 Load-wear index (formerly Mean-Hertz load).
1.1.2 Weld point by means of the four-ball extreme-pressure (EP) tester.
1.2 For the determination of the load-carrying properties of lubricating greases, see Test Method D 2596.
1.3 This standard does not purport to address all of the safety concerns, if any, associated with its use. It is the responsibility of the user of this standard to establish appropriate safety and health practices and determine the applicability of regulatory limitations prior to use.
1.4 The values stated in either inch-pound units or SI units are to be regarded separately as standard. Within the text, the SI units are shown in brackets. The values stated in each system are not exact equivalents; therefore, each system shall be used independently of the other. Combining values from the two systems may result in nonconformance with the standard.
General Information
Relations
Standards Content (Sample)
NOTICE: This standard has either been superseded and replaced by a new version or withdrawn.
Contact ASTM International (www.astm.org) for the latest information
An American National Standard
Designation:D2783–03
Standard Test Method for
Measurement of Extreme-Pressure Properties of Lubricating
1
Fluids (Four-Ball Method)
This standard is issued under the fixed designation D 2783; the number immediately following the designation indicates the year of
original adoption or, in the case of revision, the year of last revision. A number in parentheses indicates the year of last reapproval. A
superscript epsilon (e) indicates an editorial change since the last revision or reapproval.
1. Scope
1.1 This test method covers the determination of the load-
carrying properties of lubricating fluids. The following two
determinations are made:
1.1.1 Load-wear index (formerly Mean-Hertz load).
1.1.2 Weldpointbymeansofthefour-ballextreme-pressure
(EP) tester.
1.2 For the determination of the load-carrying properties of
lubricating greases, see Test Method D 2596.
1.3 This standard does not purport to address all of the
safety concerns, if any, associated with its use. It is the
responsibility of the user of this standard to establish appro-
ABE—Compensation line.
priate safety and health practices and determine the applica-
B—Point of last nonseizure load.
bility of regulatory limitations prior to use. BC—Region of incipient seizure.
CD—Region of immediate seizure.
1.4 The values stated in SI units are to be regarded as the
D—Weld point.
standard. The values given in parentheses are for information
FIG. 1 Schematic Plot of Scar Diameter Versus Applied Load
only.
2. Referenced Documents
3.1.1.2 Discussion—Some lubricants give coordinates
which are above the compensation line. Known examples of
2.1 ASTM Standards:
D 2596 Test Method for Measurement of Extreme-Pressure
2
Properties of Lubricating Grease (Four-Ball Method)
TABLE 1 Suggested Form for Recording Test Results
2.2 ANSI Standard:
Column 1 Column 2 Column 3 Column 5
Column4
3
B 3.12 Metal Balls
Applied Average Scar Compensation Corrected
LD
A h
Load, kg Diameter, Scar Diameter, Load,
Factor
A
(L) mm (X) mm kg (LD /X)
h
3. Terminology
6 0.95
3.1 Definitions:
8 1.40
3.1.1 compensation line—a line of plot on logarithmic
10 0.21 1.88
13 0.23 2.67
paper, as shown in Fig. 1, where the coordinates are scar
16 0.25 3.52
diameter in millimetres and applied load in kilograms-force (or
20 0.27 4.74
newtons), obtained under dynamic conditions.
24 0.28 6.05
32 0.31 8.87
3.1.1.1 Discussion—Coordinates for the compensation line
40 0.33 11.96
are found in Table 1, Columns 1 and 3.
50 0.36 16.10
63 0.39 21.86
80 0.42 30.08
100 0.46 40.5
1
This test method is under the jurisdiction of ASTM Committee D02 on 126 0.50 55.2
Petroleum Products and Lubricants and is the direct responsibility of Subcommittee 160 0.54 75.8
200 0.59 102.2
D02.L0 on Industrial Lubricants.
250 137.5
Current edition approved Aug. 10, 2003. Published September 2003. Originally
315 187.1
approved in 1969. Last previous edition approved in 1998 as D 2783–88 (1998).
400 258
This method was prepared under the joint sponsorship of the American Society
500 347
of Lubrication Engineers. Accepted by ASLE January 1969.
2 620 462
Annual Book of ASTM Standards, Vol 05.01.
800 649
3
Available fromAmerican National Standards Institute (ANSI), 25 W. 43rd St.,
A
4th Floor, New York, NY 10036. To convert from kilograms-force to newtons, multiply by 9.806.
Copyright © ASTM International, 100 Barr Harbor Drive, PO Box C700, West Conshohocken, PA 19428-2959, United States.
1
---------------------- Page: 1 ----------------------
D2783–03
such fluids are methyl phenyl silicone, chlorinated methyl 4. Summary of Test Method
phenyl silicone, silphenylene, phenyl ether, and some mixtures
4.1 The tester is operated with one steel ball under load
of petroleum oil and chlorinated paraffins.
rotating against three steel balls held stationary in the form of
3.1.2 compensationscardiameter—theaveragediameter,in
a cradle. Test lubricant covers the lower three balls. The
millimetres, of the wear scar on the stationary balls caused by
rotating speed is 1760 6 40 rpm. The machine and test
the rotating ball under an applied load in the presence of a
lubricant are brought to 18 to 35°C (65 to 95°F) and then a
lubricant, but without causing either seizure or welding.
series of tests of 10-s duration are made at increasing loads
3.1.2.1 Discussion—The wear scar obtained shall be within
until welding occurs. Ten tests are made below the welding
5 % of the values noted in Table 1, Column 3.
point. If ten loads have not been run when welding occurs and
3.1.3 corrected load—the load in kilograms-force (or new-
the scars at loads below seizure are within 5 % of the
tons) for each run obtained by multiplying the applied load by compensation line (AB Fig. 1) no further runs are necessary.
the ratio of the Hertz scar diameter to the measured scar
The total can
...


Questions, Comments and Discussion
Ask us and Technical Secretary will try to provide an answer. You can facilitate discussion about the standard in here.