ASTM D1790-99
(Test Method)Standard Test Method for Brittleness Temperature of Plastic Sheeting by Impact
Standard Test Method for Brittleness Temperature of Plastic Sheeting by Impact
SCOPE
1.1 This test method covers the determination of that temperature at which plastic sheeting 1.00 mm (0.040 in.) or less in thickness exhibits a brittle failure under specified impact conditions.
1.2 The values stated in SI units are to be regarded as the standard. The values given in parentheses are for information only.
Note 1—This test method was developed jointly with the Society of the Plastics Industry, primarily for use with plasticized vinyl sheetings. Its applicability to other plastic sheetings must be verified by the user.
1.3 This standard does not purport to address the safety concerns, if any, associated with its use. It is the responsibility of the user of this standard to establish appropriate safety and health practices and determine the applicability of regulatory limitations prior to use. Specific precautionary statements are given in Note 4.
Note 3—This test method is similar to ISO 8570-1991 in title only. The technical content is significantly different.
General Information
Relations
Standards Content (Sample)
NOTICE: This standard has either been superseded and replaced by a new version or discontinued.
Contact ASTM International (www.astm.org) for the latest information.
Designation: D 1790 – 99 An American National Standard
Standard Test Method for
Brittleness Temperature of Plastic Sheeting by Impact
This standard is issued under the fixed designation D 1790; the number immediately following the designation indicates the year of
original adoption or, in the case of revision, the year of last revision. A number in parentheses indicates the year of last reapproval. A
superscript epsilon (e) indicates an editorial change since the last revision or reapproval.
1. Scope * tested by this test method. The 80 %-passing value may be
determined by plotting the data on probability graph paper, as
1.1 This test method covers the determination of that
described in 9.1.
temperature at which plastic sheeting 1.00 mm (0.040 in.) or
3.1.2 General—Definitions of terms applying to this test
less in thickness exhibits a brittle failure under specified impact
method appear in Terminology D 883.
conditions.
1.2 The values stated in SI units are to be regarded as the
4. Significance and Use
standard. The values given in parentheses are for information
4.1 Data obtained by this test method may be used to predict
only.
the behavior of plastic sheeting at low temperatures only if the
NOTE 1—This test method was developed jointly with the Society of
conditions of deformation are similar to those specified in this
the Plastics Industry, primarily for use with plasticized vinyl sheetings. Its
test method. This test method is useful for specification testing
applicability to other plastic sheetings must be verified by the user.
and for comparative purposes, but does not necessarily mea-
1.3 This standard does not purport to address the safety
sure the lowest temperature at which the plastic sheeting may
concerns, if any, associated with its use. It is the responsibility
be used.
of the user of this standard to establish appropriate safety and
4.2 It has been demonstrated that on calendered sheeting the
health practices and determine the applicability of regulatory
brittleness temperature is sensitive to the direction of fold. It
limitations prior to use. Specific precautionary statements are
has also been demonstrated that the brittleness temperature is
given in Note 4.
sensitive to the direction of sampling. Therefore, it is impera-
tive that the procedure for taking specimens and folding be
NOTE 2—This test method is similar to ISO 8570-1991 in title only. The
followed explicitly.
technical content is significantly different.
5. Apparatus
2. Referenced Documents
2.1 ASTM Standards: 5.1 Cold Conditioning Chamber, at least 450 by 450 by 450
mm (18 by 18 by 18 in.). Suitable means (automatic or manual)
D 618 Practice for Conditioning Plastics and Electrical
Insulating Materials for Testing shall be provided for controlling the temperature of the
chamber to within 64°C of the desired value.
D 883 Terminology Relating to Plastics
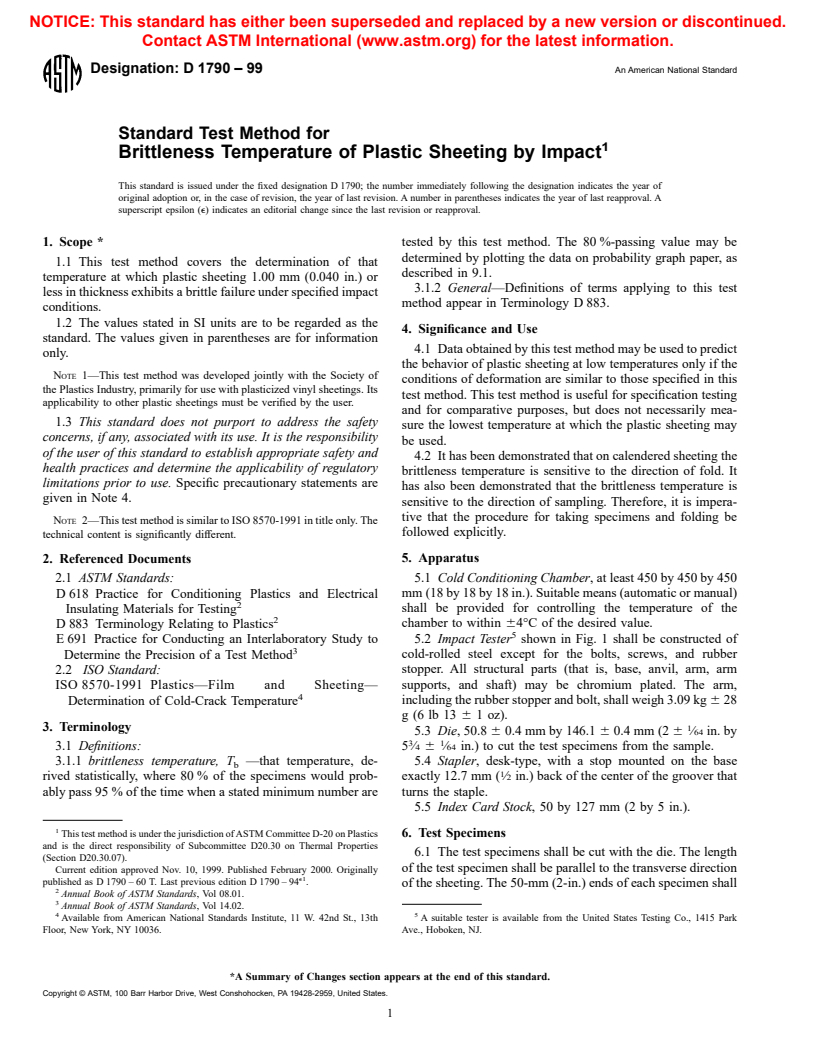
E 691 Practice for Conducting an Interlaboratory Study to 5.2 Impact Tester shown in Fig. 1 shall be constructed of
cold-rolled steel except for the bolts, screws, and rubber
Determine the Precision of a Test Method
2.2 ISO Standard: stopper. All structural parts (that is, base, anvil, arm, arm
ISO 8570-1991 Plastics—Film and Sheeting— supports, and shaft) may be chromium plated. The arm,
including the rubber stopper and bolt, shall weigh 3.09 kg 6 28
Determination of Cold-Crack Temperature
g(6lb13 6 1 oz).
3. Terminology
5.3 Die, 50.8 6 0.4 mm by 146.1 6 0.4 mm (2 6 ⁄64 in. by
3 1
3.1 Definitions: 5 ⁄4 6 ⁄64 in.) to cut the test specimens from the sample.
3.1.1 brittleness temperature, T —that temperature, de- 5.4 Stapler, desk-type, with a stop mounted on the base
b
rived statistically, where 80 % of the specimens would prob- exactly 12.7 mm ( ⁄2 in.) back of the center of the groover that
ably pass 95 % of the time when a stated minimum number are turns the staple.
5.5 Index Card Stock, 50 by 127 mm (2 by 5 in.).
This test method is under the jurisdiction of ASTM Committee D-20 on Plastics 6. Test Specimens
and is the direct responsibility of Subcommittee D20.30 on Thermal Properties
6.1 The test specimens shall be cut with the die. The length
(Section D20.30.07).
of the test specimen shall be parallel to the transverse direction
Current edition approved Nov. 10, 1999. Published February 2000. Originally
e1
published as D 1790 – 60 T. Last previous edition D 1790 – 94 .
of the sheeting. The 50-mm (2-in.) ends of each specimen shall
Annual Book of ASTM Standards, Vol 08.01.
Annual Book of ASTM Standards, Vol 14.02.
4 5
Available from American National Standards Institute, 11 W. 42nd St., 13th A suitable tester is available from the United States Testing Co., 1415 Park
Floor, New York, NY 10036. Ave., Hoboken, NJ.
*A Summary of Changes section appears at the end of this standard.
Copyright © ASTM, 100 Barr Harbor Drive, West Conshohocken, PA 19428-2959, United States.
D 1790
Metric Equivalents
1 1 7 1 1 1
in. ⁄8 ⁄4 ⁄16 ⁄2 1 2 ⁄2 3 4 ⁄2 12 14
mm 3.2 6.4 11.1 12.7 25.4 64 76 114 305 356
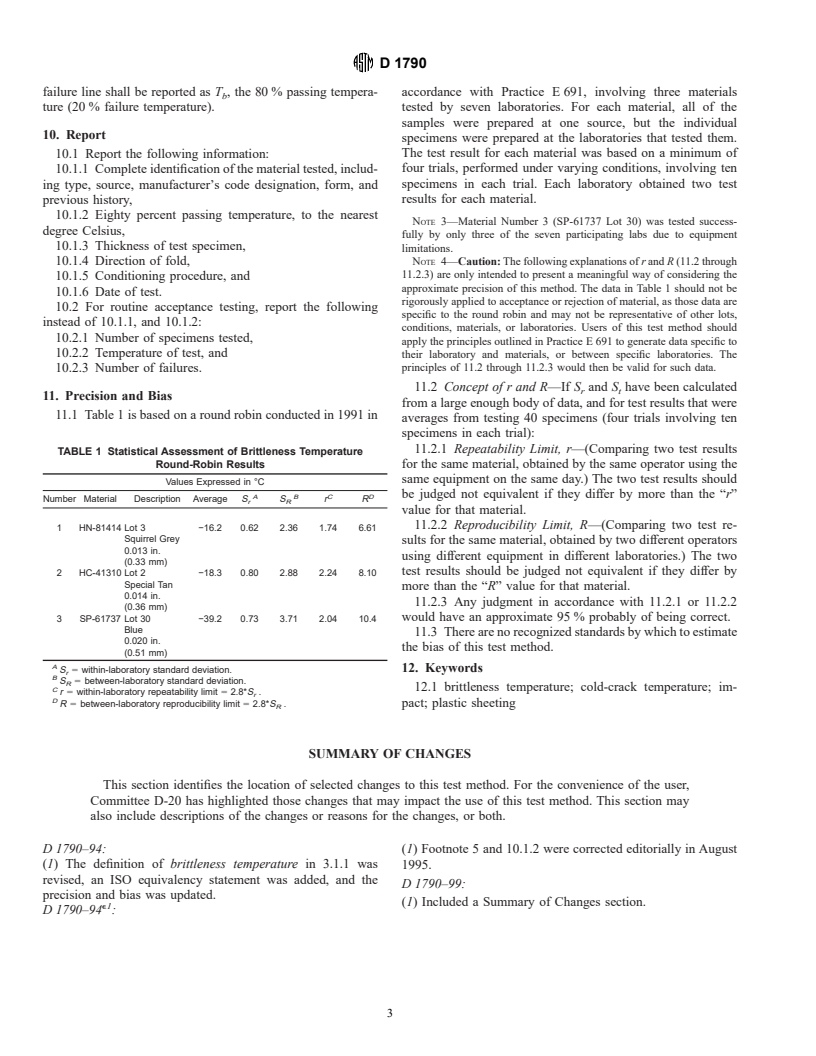
FIG. 1 Brittleness Temperature Impact Testing Machine
be so collected that a gradual, closed loop is formed at room of the card fitted into the groove in the anvil. Handle the card,
temperatures. The collected ends of the specimen and one end not the sample. Locate the bent loop of the sheeting on the
of the 50 by 127-mm (2 by 5-in.) card shall be matched exactly anvil with the loop centered on the anvil and facing away from
with the body of the loop lying on the card. Two staples shall the pivotal end of the impact arm.
be crimped through the matched ends of the specimen and
8.3 Allow the impact arm to fall free from a position within
card. These staples shall be 13 mm ( ⁄2 in.) from, and parallel
5° perpendicular to the base onto the bent loop. Repeat until
to, the 50-mm (2-in.) end of the stack.
each of the ten conditioned specimens has been tested.
6.2 Since it has been demonstrated that this test is sensitive
8.4 Remove the specimens and examine for failure. Partial
to the direction of fold on calendered sheeting, it is necessary
fracture shall be construed as failure as well as complete
to stipulate that all specimens be folded in the same direction.
division into two or more pieces.
It is recommended that, for materials with no grain, the
8.5 Adjust the temperature of the cold conditioning chamber
specimen be folded so that the surface last in contact with the
and condition a second group of ten specimens for 15 6 5 min
roll shall be inside the loop following the inherent shape of the
at a suitable temperature, as indicated by the results of testing
specimen; grained materials are to be tested with the grained
the first group of ten specimens. Repeat the testing procedure
surface on the inside of the loop.
and examination.
8.6 When using the standard graphic method to determine
7. Conditioning
the 80 %-passing temperature, it is necessary to repeat this
7.1 Conditioning—Condition the test specimens at 23 6
procedure of testing ten specimens at a series of temperatures
2°C (73.4 6 3.6°F) and 50 6 5 % relative humidity for not less
differing by uniform increments of 5°C. When using the
than 40 h prior to test in accordance with Procedure A of
probability graph pa
...


Questions, Comments and Discussion
Ask us and Technical Secretary will try to provide an answer. You can facilitate discussion about the standard in here.