ASTM G74-08
(Test Method)Standard Test Method for Ignition Sensitivity of Materials to Gaseous Fluid Impact
Standard Test Method for Ignition Sensitivity of Materials to Gaseous Fluid Impact
SIGNIFICANCE AND USE
This test evaluates the relative sensitivity of materials to dynamic pressure impacts by various gaseous fluid media (may include mixtures of gases).
Any change or variations in test specimen configurations, thickness, preparation, and cleanliness may cause a significant change in impact sensitivity/reaction.
A reaction is indicated by an abrupt increase in test specimen temperature or by obvious changes in odor, color, or material appearance, or a combination thereof, as observed during post test examinations. Odor alone is not considered positive evidence that a reaction has occurred.
Suggested criteria for test completion at a given pressure are:
Each specimen is subjected to five impacts.
A material passes if no reactions occur in 20 successive samples.
A material fails if one reaction occurs in a maximum of 20 or fewer successive samples.
Materials may be ranked by the maximum pressure (pressure threshold) at which they pass the test.
Material acceptance may be on the basis of passing at a selected pressure.
SCOPE
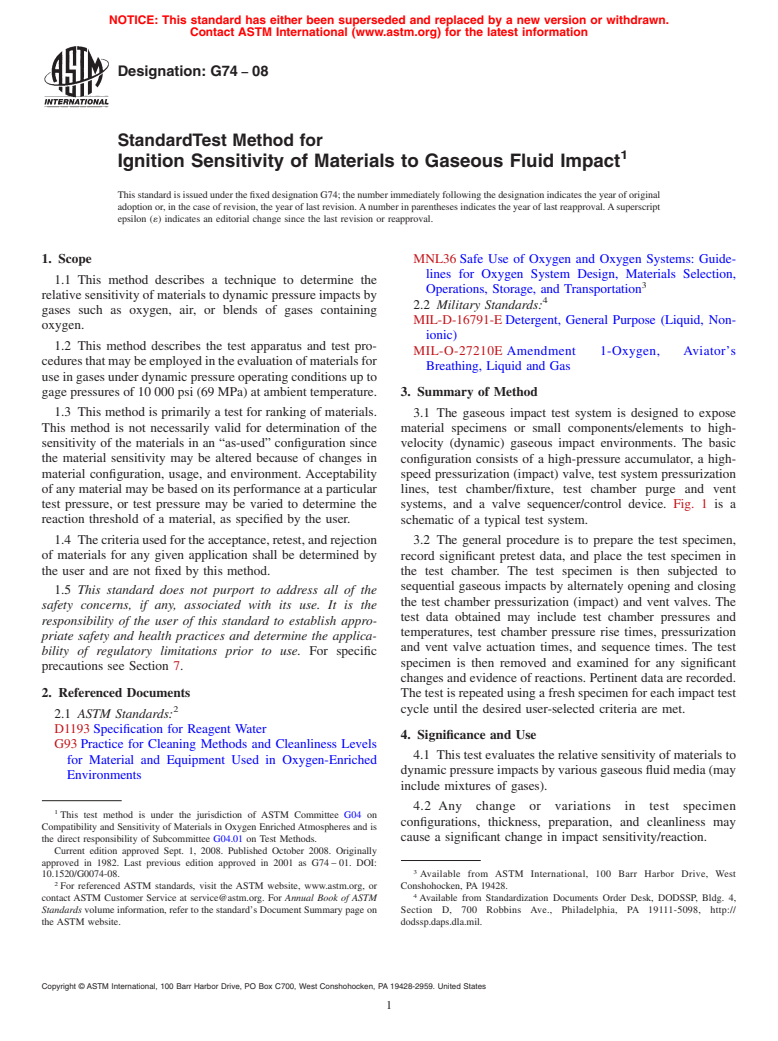
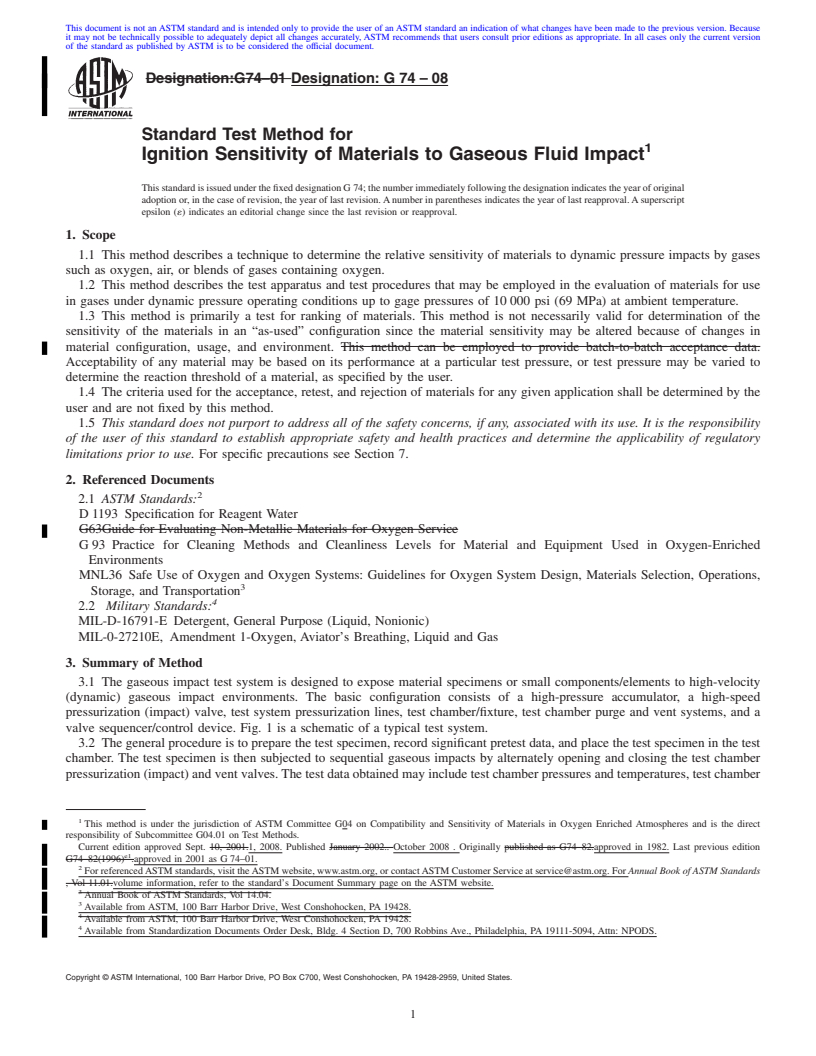
1.1 This method describes a technique to determine the relative sensitivity of materials to dynamic pressure impacts by gases such as oxygen, air, or blends of gases containing oxygen.
1.2 This method describes the test apparatus and test procedures that may be employed in the evaluation of materials for use in gases under dynamic pressure operating conditions up to gage pressures of 10 000 psi (69 MPa) at ambient temperature.
1.3 This method is primarily a test for ranking of materials. This method is not necessarily valid for determination of the sensitivity of the materials in an “as-used” configuration since the material sensitivity may be altered because of changes in material configuration, usage, and environment. Acceptability of any material may be based on its performance at a particular test pressure, or test pressure may be varied to determine the reaction threshold of a material, as specified by the user.
1.4 The criteria used for the acceptance, retest, and rejection of materials for any given application shall be determined by the user and are not fixed by this method.
1.5 This standard does not purport to address all of the safety concerns, if any, associated with its use. It is the responsibility of the user of this standard to establish appropriate safety and health practices and determine the applicability of regulatory limitations prior to use. For specific precautions see Section 7.
General Information
Relations
Buy Standard
Standards Content (Sample)
NOTICE: This standard has either been superseded and replaced by a new version or withdrawn.
Contact ASTM International (www.astm.org) for the latest information
Designation: G74 − 08
StandardTest Method for
1
Ignition Sensitivity of Materials to Gaseous Fluid Impact
This standard is issued under the fixed designation G74; the number immediately following the designation indicates the year of original
adoption or, in the case of revision, the year of last revision.Anumber in parentheses indicates the year of last reapproval.Asuperscript
epsilon (´) indicates an editorial change since the last revision or reapproval.
1. Scope MNL36 Safe Use of Oxygen and Oxygen Systems: Guide-
lines for Oxygen System Design, Materials Selection,
1.1 This method describes a technique to determine the
3
Operations, Storage, and Transportation
relative sensitivity of materials to dynamic pressure impacts by
4
2.2 Military Standards:
gases such as oxygen, air, or blends of gases containing
MIL-D-16791-E Detergent, General Purpose (Liquid, Non-
oxygen.
ionic)
1.2 This method describes the test apparatus and test pro-
MIL-O-27210E Amendment 1-Oxygen, Aviator’s
ceduresthatmaybeemployedintheevaluationofmaterialsfor
Breathing, Liquid and Gas
use in gases under dynamic pressure operating conditions up to
gage pressures of 10 000 psi (69 MPa) at ambient temperature. 3. Summary of Method
1.3 This method is primarily a test for ranking of materials. 3.1 The gaseous impact test system is designed to expose
This method is not necessarily valid for determination of the material specimens or small components/elements to high-
sensitivity of the materials in an “as-used” configuration since velocity (dynamic) gaseous impact environments. The basic
the material sensitivity may be altered because of changes in configuration consists of a high-pressure accumulator, a high-
material configuration, usage, and environment. Acceptability speed pressurization (impact) valve, test system pressurization
of any material may be based on its performance at a particular lines, test chamber/fixture, test chamber purge and vent
test pressure, or test pressure may be varied to determine the systems, and a valve sequencer/control device. Fig. 1 is a
reaction threshold of a material, as specified by the user. schematic of a typical test system.
1.4 The criteria used for the acceptance, retest, and rejection 3.2 The general procedure is to prepare the test specimen,
of materials for any given application shall be determined by record significant pretest data, and place the test specimen in
the user and are not fixed by this method. the test chamber. The test specimen is then subjected to
sequential gaseous impacts by alternately opening and closing
1.5 This standard does not purport to address all of the
the test chamber pressurization (impact) and vent valves. The
safety concerns, if any, associated with its use. It is the
test data obtained may include test chamber pressures and
responsibility of the user of this standard to establish appro-
temperatures, test chamber pressure rise times, pressurization
priate safety and health practices and determine the applica-
and vent valve actuation times, and sequence times. The test
bility of regulatory limitations prior to use. For specific
specimen is then removed and examined for any significant
precautions see Section 7.
changes and evidence of reactions. Pertinent data are recorded.
2. Referenced Documents The test is repeated using a fresh specimen for each impact test
2
cycle until the desired user-selected criteria are met.
2.1 ASTM Standards:
D1193 Specification for Reagent Water
4. Significance and Use
G93 Practice for Cleaning Methods and Cleanliness Levels
4.1 This test evaluates the relative sensitivity of materials to
for Material and Equipment Used in Oxygen-Enriched
dynamicpressureimpactsbyvariousgaseousfluidmedia(may
Environments
include mixtures of gases).
4.2 Any change or variations in test specimen
1
This test method is under the jurisdiction of ASTM Committee G04 on
configurations, thickness, preparation, and cleanliness may
Compatibility and Sensitivity of Materials in Oxygen EnrichedAtmospheres and is
the direct responsibility of Subcommittee G04.01 on Test Methods. cause a significant change in impact sensitivity/reaction.
Current edition approved Sept. 1, 2008. Published October 2008. Originally
approved in 1982. Last previous edition approved in 2001 as G74 – 01. DOI:
3
10.1520/G0074-08. Available from ASTM International, 100 Barr Harbor Drive, West
2
For referenced ASTM standards, visit the ASTM website, www.astm.org, or Conshohocken, PA 19428.
4
contact ASTM Customer Service at service@astm.org. For Annual Book of ASTM Available from Standardization Documents Order Desk, DODSSP, Bldg. 4,
Standards volume information, refer to the standard’s Document Summary page on Section D, 700 Robbins Ave., Philadelphia, PA 19111-5098, http://
the ASTM website. dodssp.daps.dla.mil.
Copyright © ASTM International, 100
...
This document is not an ASTM standard and is intended only to provide the user of an ASTM standard an indication of what changes have been made to the previous version. Because
it may not be technically possible to adequately depict all changes accurately, ASTM recommends that users consult prior editions as appropriate. In all cases only the current version
of the standard as published by ASTM is to be considered the official document.
Designation:G74–01 Designation: G 74 – 08
Standard Test Method for
1
Ignition Sensitivity of Materials to Gaseous Fluid Impact
ThisstandardisissuedunderthefixeddesignationG 74;thenumberimmediatelyfollowingthedesignationindicatestheyearoforiginal
adoption or, in the case of revision, the year of last revision.Anumber in parentheses indicates the year of last reapproval.Asuperscript
epsilon (´) indicates an editorial change since the last revision or reapproval.
1. Scope
1.1 This method describes a technique to determine the relative sensitivity of materials to dynamic pressure impacts by gases
such as oxygen, air, or blends of gases containing oxygen.
1.2 This method describes the test apparatus and test procedures that may be employed in the evaluation of materials for use
in gases under dynamic pressure operating conditions up to gage pressures of 10 000 psi (69 MPa) at ambient temperature.
1.3 This method is primarily a test for ranking of materials. This method is not necessarily valid for determination of the
sensitivity of the materials in an “as-used” configuration since the material sensitivity may be altered because of changes in
material configuration, usage, and environment. This method can be employed to provide batch-to-batch acceptance data.
Acceptability of any material may be based on its performance at a particular test pressure, or test pressure may be varied to
determine the reaction threshold of a material, as specified by the user.
1.4 The criteria used for the acceptance, retest, and rejection of materials for any given application shall be determined by the
user and are not fixed by this method.
1.5 This standard does not purport to address all of the safety concerns, if any, associated with its use. It is the responsibility
of the user of this standard to establish appropriate safety and health practices and determine the applicability of regulatory
limitations prior to use. For specific precautions see Section 7.
2. Referenced Documents
2
2.1 ASTM Standards:
D 1193 Specification for Reagent Water
G63Guide for Evaluating Non-Metallic Materials for Oxygen Service
G 93 Practice for Cleaning Methods and Cleanliness Levels for Material and Equipment Used in Oxygen-Enriched
Environments
MNL36 Safe Use of Oxygen and Oxygen Systems: Guidelines for Oxygen System Design, Materials Selection, Operations,
3
Storage, and Transportation
4
2.2 Military Standards:
MIL-D-16791-E Detergent, General Purpose (Liquid, Nonionic)
MIL-0-27210E, Amendment 1-Oxygen, Aviator’s Breathing, Liquid and Gas
3. Summary of Method
3.1 The gaseous impact test system is designed to expose material specimens or small components/elements to high-velocity
(dynamic) gaseous impact environments. The basic configuration consists of a high-pressure accumulator, a high-speed
pressurization (impact) valve, test system pressurization lines, test chamber/fixture, test chamber purge and vent systems, and a
valve sequencer/control device. Fig. 1 is a schematic of a typical test system.
3.2 The general procedure is to prepare the test specimen, record significant pretest data, and place the test specimen in the test
chamber. The test specimen is then subjected to sequential gaseous impacts by alternately opening and closing the test chamber
pressurization (impact) and vent valves.The test data obtained may include test chamber pressures and temperatures, test chamber
1
This method is under the jurisdiction of ASTM Committee G04 on Compatibility and Sensitivity of Materials in Oxygen Enriched Atmospheres and is the direct
responsibility of Subcommittee G04.01 on Test Methods.
Current edition approved Sept. 10, 2001.1, 2008. Published January 2002. October 2008 . Originally published as G74–82.approved in 1982. Last previous edition
e1
G74–82(1996) .approved in 2001 as G 74–01.
2
For referencedASTM standards, visit theASTM website, www.astm.org, or contactASTM Customer Service at service@astm.org. ForAnnualBookofASTMStandards
, Vol 11.01.volume information, refer to the standard’s Document Summary page on the ASTM website.
3
Annual Book of ASTM Standards, Vol 14.04.
3
Available from ASTM, 100 Barr Harbor Drive, West Conshohocken, PA 19428.
4
Available from ASTM, 100 Barr Harbor Drive, West Conshohocken, PA 19428.
4
Available from Standardization Documents Order Desk, Bldg. 4 Section D, 700 Robbins Ave., Philadelphia, PA 19111-5094, Attn: NPODS.
Copyright © ASTM International, 100 Barr Harbor Drive, PO Box C700, West Conshohocken, PA 19428-2959, United States.
1
---------------------- Page: 1 ----------------
...


Questions, Comments and Discussion
Ask us and Technical Secretary will try to provide an answer. You can facilitate discussion about the standard in here.