ASTM B962-15
(Test Method)Standard Test Methods for Density of Compacted or Sintered Powder Metallurgy (PM) Products Using Archimedes’ Principle
Standard Test Methods for Density of Compacted or Sintered Powder Metallurgy (PM) Products Using Archimedes’ Principle
SIGNIFICANCE AND USE
5.1 The volume of a complex shaped PM part cannot be measured accurately using micrometers or calipers. Since density is mass per unit volume, a precise method for measuring the volume is needed. Archimedes’ principle may be used to calculate the volume of water displaced by an immersed object. For this to be applicable to PM materials that contain surface connected porosity, the surface pores are sealed by oil impregnation or some other means.
5.2 The green density of compacted parts or test pieces is normally determined to assist during press set-up, or for quality control purposes. It is also used for determining the compressibility of base powders, mixed powders, and premixes.
5.3 The sintered density of sintered PM parts and sintered PM test specimens is used as a quality control measure.
5.4 The impregnated density of sintered bearings is normally measured for quality control purposes as bearings are generally supplied and used oil-impregnated.
SCOPE
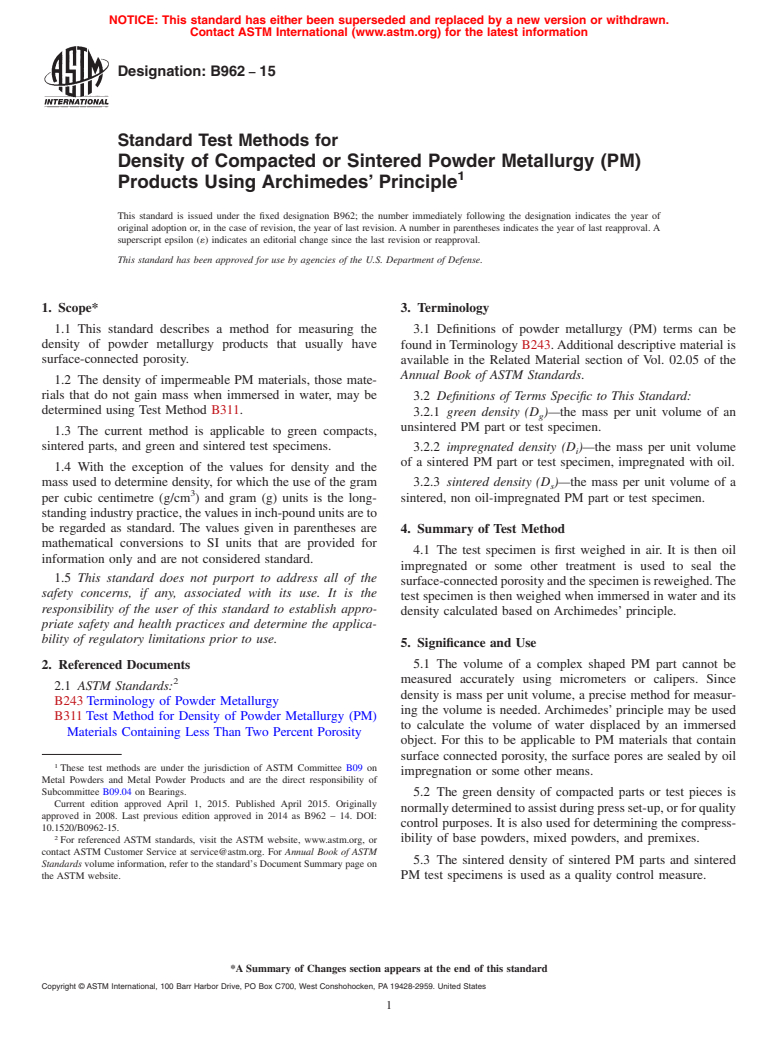
1.1 This standard describes a method for measuring the density of powder metallurgy products that usually have surface-connected porosity.
1.2 The density of impermeable PM materials, those materials that do not gain mass when immersed in water, may be determined using Test Method B311.
1.3 The current method is applicable to green compacts, sintered parts, and green and sintered test specimens.
1.4 With the exception of the values for density and the mass used to determine density, for which the use of the gram per cubic centimetre (g/cm3) and gram (g) units is the long-standing industry practice, the values in inch-pound units are to be regarded as standard. The values given in parentheses are mathematical conversions to SI units that are provided for information only and are not considered standard.
1.5 This standard does not purport to address all of the safety concerns, if any, associated with its use. It is the responsibility of the user of this standard to establish appropriate safety and health practices and determine the applicability of regulatory limitations prior to use.
General Information
Relations
Buy Standard
Standards Content (Sample)
NOTICE: This standard has either been superseded and replaced by a new version or withdrawn.
Contact ASTM International (www.astm.org) for the latest information
Designation: B962 − 15
Standard Test Methods for
Density of Compacted or Sintered Powder Metallurgy (PM)
1
Products Using Archimedes’ Principle
This standard is issued under the fixed designation B962; the number immediately following the designation indicates the year of
original adoption or, in the case of revision, the year of last revision.Anumber in parentheses indicates the year of last reapproval.A
superscript epsilon (´) indicates an editorial change since the last revision or reapproval.
This standard has been approved for use by agencies of the U.S. Department of Defense.
1. Scope* 3. Terminology
1.1 This standard describes a method for measuring the
3.1 Definitions of powder metallurgy (PM) terms can be
density of powder metallurgy products that usually have found in Terminology B243.Additional descriptive material is
surface-connected porosity.
available in the Related Material section of Vol. 02.05 of the
Annual Book of ASTM Standards.
1.2 The density of impermeable PM materials, those mate-
rials that do not gain mass when immersed in water, may be
3.2 Definitions of Terms Specific to This Standard:
determined using Test Method B311.
3.2.1 green density (D )—the mass per unit volume of an
g
unsintered PM part or test specimen.
1.3 The current method is applicable to green compacts,
sintered parts, and green and sintered test specimens. 3.2.2 impregnated density (D)—the mass per unit volume
i
of a sintered PM part or test specimen, impregnated with oil.
1.4 With the exception of the values for density and the
mass used to determine density, for which the use of the gram 3.2.3 sintered density (D )—the mass per unit volume of a
s
3
per cubic centimetre (g/cm ) and gram (g) units is the long- sintered, non oil-impregnated PM part or test specimen.
standingindustrypractice,thevaluesininch-poundunitsareto
be regarded as standard. The values given in parentheses are
4. Summary of Test Method
mathematical conversions to SI units that are provided for
4.1 The test specimen is first weighed in air. It is then oil
information only and are not considered standard.
impregnated or some other treatment is used to seal the
1.5 This standard does not purport to address all of the
surface-connectedporosityandthespecimenisreweighed.The
safety concerns, if any, associated with its use. It is the
test specimen is then weighed when immersed in water and its
responsibility of the user of this standard to establish appro-
density calculated based on Archimedes’ principle.
priate safety and health practices and determine the applica-
bility of regulatory limitations prior to use.
5. Significance and Use
5.1 The volume of a complex shaped PM part cannot be
2. Referenced Documents
2 measured accurately using micrometers or calipers. Since
2.1 ASTM Standards:
density is mass per unit volume, a precise method for measur-
B243Terminology of Powder Metallurgy
ing the volume is needed. Archimedes’principle may be used
B311Test Method for Density of Powder Metallurgy (PM)
to calculate the volume of water displaced by an immersed
Materials Containing Less Than Two Percent Porosity
object. For this to be applicable to PM materials that contain
surface connected porosity, the surface pores are sealed by oil
1
These test methods are under the jurisdiction of ASTM Committee B09 on
impregnation or some other means.
Metal Powders and Metal Powder Products and are the direct responsibility of
Subcommittee B09.04 on Bearings. 5.2 The green density of compacted parts or test pieces is
Current edition approved April 1, 2015. Published April 2015. Originally
normallydeterminedtoassistduringpressset-up,orforquality
approved in 2008. Last previous edition approved in 2014 as B962 – 14. DOI:
control purposes. It is also used for determining the compress-
10.1520/B0962-15.
2
ibility of base powders, mixed powders, and premixes.
For referenced ASTM standards, visit the ASTM website, www.astm.org, or
contact ASTM Customer Service at service@astm.org. For Annual Book of ASTM
5.3 The sintered density of sintered PM parts and sintered
Standards volume information, refer to the standard’s Document Summary page on
the ASTM website. PM test specimens is used as a quality control measure.
*A Summary of Changes section appears at the end of this standard
Copyright © ASTM International, 100 Barr Harbor Drive, PO Box C700, West Conshohocken, PA 19428-2959. United States
1
---------------------- Page: 1 ----------------------
B962 − 15
5.4 The impregnated density of sintered bearings is nor- 7.6 Vacuum Impregnation Apparatus—Equipment to im-
mally measured for quality control purposes as bearings are pregnate the part or test specimen with oil.
generally supplied and used oil-impregnated.
7.7 Thermometer—A thermometer with an accuracy of
1.0 °F (0.5 °C) to measure the temperature of the water.
6
...
This document is not an ASTM standard and is intended only to provide the user of an ASTM standard an indication of what changes have been made to the previous version. Because
it may not be technically possible to adequately depict all changes accurately, ASTM recommends that users consult prior editions as appropriate. In all cases only the current version
of the standard as published by ASTM is to be considered the official document.
Designation: B962 − 14 B962 − 15
Standard Test Methods for
Density of Compacted or Sintered Powder Metallurgy (PM)
1
Products Using Archimedes’ Principle
This standard is issued under the fixed designation B962; the number immediately following the designation indicates the year of
original adoption or, in the case of revision, the year of last revision. A number in parentheses indicates the year of last reapproval. A
superscript epsilon (´) indicates an editorial change since the last revision or reapproval.
This standard has been approved for use by agencies of the U.S. Department of Defense.
1. Scope*
1.1 This standard describes a method for measuring the density of powder metallurgy products that usually have
surface-connected porosity.
1.2 The density of impermeable PM materials, those materials that do not gain mass when immersed in water, may be
determined using Test Method B311.
1.3 The current method is applicable to green compacts, sintered parts, and green and sintered test specimens.
1.4 With the exception of the values for density and the mass used to determine density, for which the use of the gram per cubic
3
centimetre (g/cm ) and gram (g) units is the long-standing industry practice, the values in inch-pound units are to be regarded as
standard. The values given in parentheses are mathematical conversions to SI units that are provided for information only and are
not considered standard.
1.5 This standard does not purport to address all of the safety concerns, if any, associated with its use. It is the responsibility
of the user of this standard to establish appropriate safety and health practices and determine the applicability of regulatory
limitations prior to use.
2. Referenced Documents
2
2.1 ASTM Standards:
B243 Terminology of Powder Metallurgy
B311 Test Method for Density of Powder Metallurgy (PM) Materials Containing Less Than Two Percent Porosity
3. Terminology
3.1 Definitions of powder metallurgy (PM) terms can be found in Terminology B243. Additional descriptive material is
available in the Related Material section of Vol. 02.05 of the Annual Book of ASTM Standards.
3.2 Definitions of Terms Specific to This Standard:
3.2.1 green density (D )—the mass per unit volume of an unsintered PM part or test specimen.
g
3.2.2 impregnated density (D )—the mass per unit volume of a sintered PM part or test specimen, impregnated with oil.
i
3.2.3 sintered density (D )—the mass per unit volume of a sintered, non oil-impregnated PM part or test specimen.
s
4. Summary of Test Method
4.1 The test specimen is first weighed in air. It is then oil impregnated or some other treatment is used to seal the
surface-connected porosity and the specimen is reweighed. The test specimen is then weighed when immersed in water and its
density calculated based on Archimedes’ principle.
1
These test methods are under the jurisdiction of ASTM Committee B09 on Metal Powders and Metal Powder Products and are the direct responsibility of Subcommittee
B09.04 on Bearings.
Current edition approved Sept. 1, 2014April 1, 2015. Published September 2014April 2015. Originally approved in 2008. Last previous edition approved in 20132014 as
B962 – 13.14. DOI: 10.1520/B0962-14.10.1520/B0962-15.
2
For referenced ASTM standards, visit the ASTM website, www.astm.org, or contact ASTM Customer Service at service@astm.org. For Annual Book of ASTM Standards
volume information, refer to the standard’s Document Summary page on the ASTM website.
*A Summary of Changes section appears at the end of this standard
Copyright © ASTM International, 100 Barr Harbor Drive, PO Box C700, West Conshohocken, PA 19428-2959. United States
1
---------------------- Page: 1 ----------------------
B962 − 15
5. Significance and Use
5.1 The volume of a complex shaped PM part cannot be measured accurately using micrometers or calipers. Since density is
mass per unit volume, a precise method for measuring the volume is needed. Archimedes’ principle may be used to calculate the
volume of water displaced by an immersed object. For this to be applicable to PM materials that contain surface connected
porosity, the surface pores are sealed by oil impregnation or some other means.
5.2 The green density of compacted parts or test pieces is normally determined to assist during press set-up, or for quality
control purposes. It is also used for determining the compressibility of base powders, mixed powders, and premixes.
5.3 The sintered density of sintered PM parts and sintered PM test specimens is used as a quality control measure.
5.4
...


Questions, Comments and Discussion
Ask us and Technical Secretary will try to provide an answer. You can facilitate discussion about the standard in here.