ASTM E2092-09
(Test Method)Standard Test Method for Distortion Temperature in Three-Point Bending by Thermomechanical Analysis
Standard Test Method for Distortion Temperature in Three-Point Bending by Thermomechanical Analysis
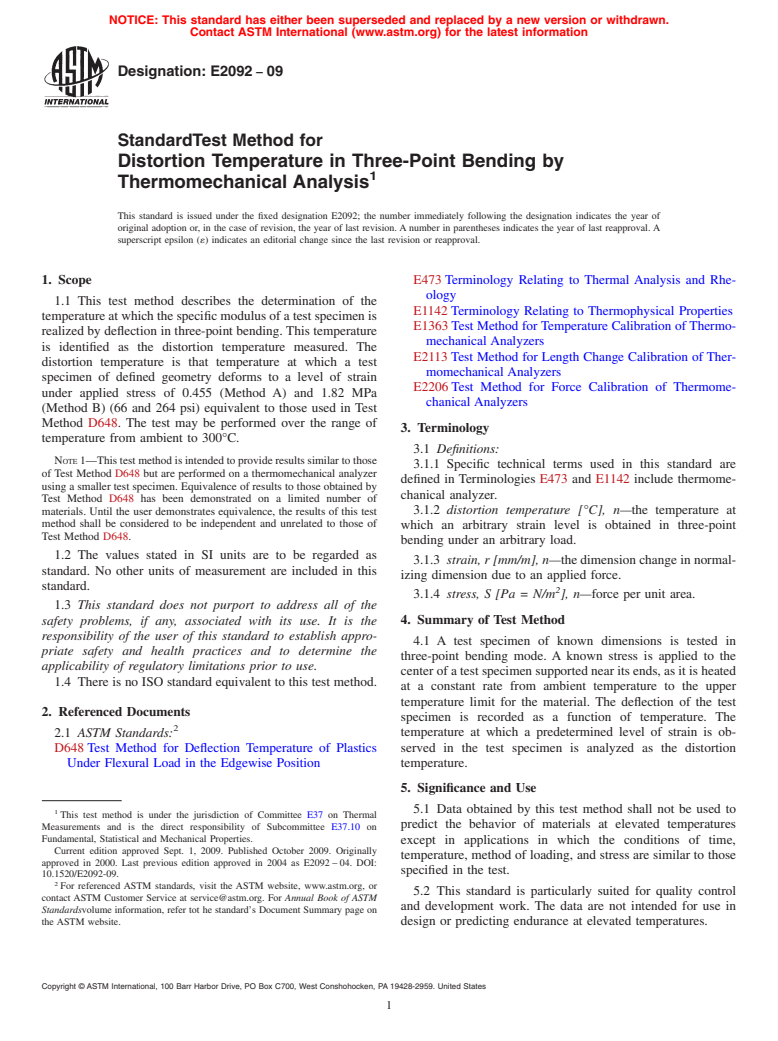
SIGNIFICANCE AND USE
Data obtained by this test method shall not be used to predict the behavior of materials at elevated temperatures except in applications in which the conditions of time, temperature, method of loading, and stress are similar to those specified in the test.
This standard is particularly suited for quality control and development work. The data are not intended for use in design or predicting endurance at elevated temperatures.
SCOPE
1.1 This test method describes the determination of the temperature at which the specific modulus of a test specimen is realized by deflection in three-point bending. This temperature is identified as the distortion temperature measured. The distortion temperature is that temperature at which a test specimen of defined geometry deforms to a level of strain under applied stress of 0.455 (Method A) and 1.82 MPa (Method B) (66 and 264 psi) equivalent to those used in Test Method D 648. The test may be performed over the range of temperature from ambient to 300°C.
Note 1—This test method is intended to provide results similar to those of Test Method D 648 but are performed on a thermomechanical analyzer using a smaller test specimen. Equivalence of results to those obtained by Test Method D 648 has been demonstrated on a limited number of materials. Until the user demonstrates equivalence, the results of this test method shall be considered to be independent and unrelated to those of Test Method D 648.
1.2 The values stated in SI units are to be regarded as standard. No other units of measurement are included in this standard.
1.3 This standard does not purport to address all of the safety problems, if any, associated with its use. It is the responsibility of the user of this standard to establish appropriate safety and health practices and to determine the applicability of regulatory limitations prior to use.
1.4 There is no ISO standard equivalent to this test method.
General Information
Relations
Buy Standard
Standards Content (Sample)
NOTICE: This standard has either been superseded and replaced by a new version or withdrawn.
Contact ASTM International (www.astm.org) for the latest information
Designation: E2092 − 09
StandardTest Method for
Distortion Temperature in Three-Point Bending by
1
Thermomechanical Analysis
This standard is issued under the fixed designation E2092; the number immediately following the designation indicates the year of
original adoption or, in the case of revision, the year of last revision. A number in parentheses indicates the year of last reapproval. A
superscript epsilon (´) indicates an editorial change since the last revision or reapproval.
1. Scope E473 Terminology Relating to Thermal Analysis and Rhe-
ology
1.1 This test method describes the determination of the
E1142 Terminology Relating to Thermophysical Properties
temperature at which the specific modulus of a test specimen is
E1363 Test Method for Temperature Calibration of Thermo-
realized by deflection in three-point bending. This temperature
mechanical Analyzers
is identified as the distortion temperature measured. The
E2113 Test Method for Length Change Calibration of Ther-
distortion temperature is that temperature at which a test
momechanical Analyzers
specimen of defined geometry deforms to a level of strain
E2206 Test Method for Force Calibration of Thermome-
under applied stress of 0.455 (Method A) and 1.82 MPa
chanical Analyzers
(Method B) (66 and 264 psi) equivalent to those used in Test
Method D648. The test may be performed over the range of
3. Terminology
temperature from ambient to 300°C.
3.1 Definitions:
NOTE1—This test methodisintendedtoprovideresultssimilartothose
3.1.1 Specific technical terms used in this standard are
of Test Method D648 but are performed on a thermomechanical analyzer
defined in Terminologies E473 and E1142 include thermome-
using a smaller test specimen. Equivalence of results to those obtained by
chanical analyzer.
Test Method D648 has been demonstrated on a limited number of
3.1.2 distortion temperature [°C], n—the temperature at
materials. Until the user demonstrates equivalence, the results of this test
method shall be considered to be independent and unrelated to those of
which an arbitrary strain level is obtained in three-point
Test Method D648.
bending under an arbitrary load.
1.2 The values stated in SI units are to be regarded as
3.1.3 strain, r [mm/m], n—the dimension change in normal-
standard. No other units of measurement are included in this
izing dimension due to an applied force.
standard.
2
3.1.4 stress, S [Pa = N/m ], n—force per unit area.
1.3 This standard does not purport to address all of the
safety problems, if any, associated with its use. It is the 4. Summary of Test Method
responsibility of the user of this standard to establish appro-
4.1 A test specimen of known dimensions is tested in
priate safety and health practices and to determine the
three-point bending mode. A known stress is applied to the
applicability of regulatory limitations prior to use.
center of a test specimen supported near its ends, as it is heated
1.4 There is no ISO standard equivalent to this test method.
at a constant rate from ambient temperature to the upper
temperature limit for the material. The deflection of the test
2. Referenced Documents
specimen is recorded as a function of temperature. The
2
temperature at which a predetermined level of strain is ob-
2.1 ASTM Standards:
D648 Test Method for Deflection Temperature of Plastics served in the test specimen is analyzed as the distortion
temperature.
Under Flexural Load in the Edgewise Position
5. Significance and Use
5.1 Data obtained by this test method shall not be used to
1
This test method is under the jurisdiction of Committee E37 on Thermal
predict the behavior of materials at elevated temperatures
Measurements and is the direct responsibility of Subcommittee E37.10 on
Fundamental, Statistical and Mechanical Properties.
except in applications in which the conditions of time,
Current edition approved Sept. 1, 2009. Published October 2009. Originally
temperature, method of loading, and stress are similar to those
approved in 2000. Last previous edition approved in 2004 as E2092 – 04. DOI:
specified in the test.
10.1520/E2092-09.
2
For referenced ASTM standards, visit the ASTM website, www.astm.org, or
5.2 This standard is particularly suited for quality control
contact ASTM Customer Service at service@astm.org. For Annual Book of ASTM
and development work. The data are not intended for use in
Standardsvolume information, refer tot he standard’s Document Summary page on
the ASTM website. design or predicting endurance at elevated temperatures.
Copyright © ASTM International, 100 Barr Harbor Drive, PO Box C700, West Conshohocken, PA 19428-2959. United States
1
---------------------- Page: 1 ----------------------
E2092 − 09
6. Apparatus 6.1.9 Data Collection Device, to provide a means of acquir-
ing, storing, and displaying measured or calculated signals, or
6.1
...
This document is not an ASTM standard and is intended only to provide the user of an ASTM standard an indication of what changes have been made to the previous version. Because
it may not be technically possible to adequately depict all changes accurately, ASTM recommends that users consult prior editions as appropriate. In all cases only the current version
of the standard as published by ASTM is to be considered the official document.
Designation:E2092–04 Designation: E 2092 – 09
Standard Test Method for
Distortion Temperature in Three-Point Bending by
1
Thermomechanical Analysis
This standard is issued under the fixed designation E 2092; the number immediately following the designation indicates the year of
original adoption or, in the case of revision, the year of last revision. A number in parentheses indicates the year of last reapproval. A
superscript epsilon (´) indicates an editorial change since the last revision or reapproval.
1. Scope
1.1 This test method describes the determination of the temperature at which the specific modulus of a test specimen is realized
by deflection in three-point bending. This temperature is identified as the distortion temperature measured. The distortion
temperature is that temperature at which a test specimen of defined geometry deforms to a level of strain under applied stress of
0.455 (Method A) and 1.82 MPa (Method B) (66 and 264 psi) equivalent to those used in Test Method D 648. The test may be
performed over the range of temperature from ambient to 300°C.
NOTE 1—ThistestmethodisintendedtoprovideresultssimilartothoseofTestMethodD 648butareperformedonathermomechanicalanalyzerusing
a smaller test specimen. Equivalence of results to those obtained by Test Method D 648 has been demonstrated on a limited number of materials. Until
the user demonstrates equivalence, the results of this test method shall be considered to be independent and unrelated to those of Test Method D 648.
1.2Electronic instrumentation or automated data analysis and reduction systems or treatments equivalent to this test method may
be used.
NOTE2—Since all electronic data treatments are not equivalent, the user shall verify equivalency to this test method.
1.3SI values are the standard.
1.4
1.2 The values stated in SI units are to be regarded as standard. No other units of measurement are included in this standard.
1.3 This standard does not purport to address all of the safety problems, if any, associated with its use. It is the responsibility
of the user of this standard to establish appropriate safety and health practices and to determine the applicability of regulatory
limitations prior to use.
1.5There1.4 There is no ISO standard equivalent to this test method.
2. Referenced Documents
2
2.1 ASTM Standards:
D 648 Test Method for Deflection Temperature of Plastics Under Flexural Load in the Edgewise Position
E 473 Terminology Relating to Thermal Analysis and Rheology
E 1142 Terminology Relating to Thermophysical Properties
E 1363 Test Method for Temperature Calibration of ThermomechanicalAnalyzers Test Method for Temperature Calibration of
Thermomechanical Analyzers
E2113 Test Method for Length Change Calibration of Thermomechanical Analyzers
E 2206 Test Method for Force Calibration Of Thermomechnical Analyzers
3. Terminology
3.1 Definitions—Specific technical terms used in this standard are defined in Terminologies E 473 and E 1142. include
thermomechanical analyzer.
3.1.1 distortion temperature [°C], n—the temperature at which an arbitrary strain level is obtained in three-point bending under
an arbitrary load.
3.1.2 strain, r [mm/m], n—the dimension change in normalizing dimension due to an applied force.
2
3.1.3 stress, S [Pa = N/m ], n—force per unit area.
1
This test method is under the jurisdiction of Committee E37 on Thermal Measurements and is the direct responsibility of Subcommittee E37.10 on Fundamental,
Statistical and Mechanical Properties.
Current edition approved MarchSept. 1, 2004.2009. Published April 2004.October 2009. Originally approved in 2000. Last previous edition approved in 20032004 as
E2092–03.E2092–04.
2
For referenced ASTM standards, visit the ASTM website, www.astm.org, or contact ASTM Customer Service at service@astm.org. For Annual Book of ASTM
Standardsvolume information, refer tot he standard’s Document Summary page on the ASTM website.
Copyright © ASTM International, 100 Barr Harbor Drive, PO Box C700, West Conshohocken, PA 19428-2959, United States.
1
---------------------- Page: 1 ----------------------
E2092–09
4. Summary of Test Method
4.1 A test specimen of known dimensions is tested in three-point bending mode. A known stress is applied to the center of a
test specimen supported near its ends, as it is heated at a constant rate from ambient temperature to the upper temperature limit
for the material. The deflection of the test specimen is recorded as a function of temperature. The temperature at which a
predetermined level of strain is observed in the test
...


Questions, Comments and Discussion
Ask us and Technical Secretary will try to provide an answer. You can facilitate discussion about the standard in here.