ASTM D5379/D5379M-12
(Test Method)Standard Test Method for Shear Properties of Composite Materials by the V-Notched Beam Method
Standard Test Method for Shear Properties of Composite Materials by the V-Notched Beam Method
SIGNIFICANCE AND USE
5.1 This test method is designed to produce shear property data for material specifications, research and development, quality assurance, and structural design and analysis. Either in-plane or interlaminar shear properties may be evaluated, depending upon the orientation of the material coordinate system relative to the loading axis. Factors that influence the shear response and should therefore be reported include the following: material, methods of material preparation and lay-up, specimen stacking sequence, specimen preparation, specimen conditioning, environment of testing, specimen alignment and gripping, speed of testing, time at temperature, void content, and volume percent reinforcement.
5.2 In anisotropic materials, properties may be obtained in any of the six possible shear planes by orienting the testing plane of the specimen with the desired material plane (1-2 or 2-1, 1-3 or 3-1, 2-3 or 3-2). Only a single shear plane may be evaluated for any given specimen. Properties, in the test direction, which may be obtained from this test method, include the following:
5.2.1 Shear stress/strain response,
5.2.2 Ultimate strength,
5.2.3 Ultimate strain, and
5.2.4 Shear chord modulus of elasticity.
SCOPE
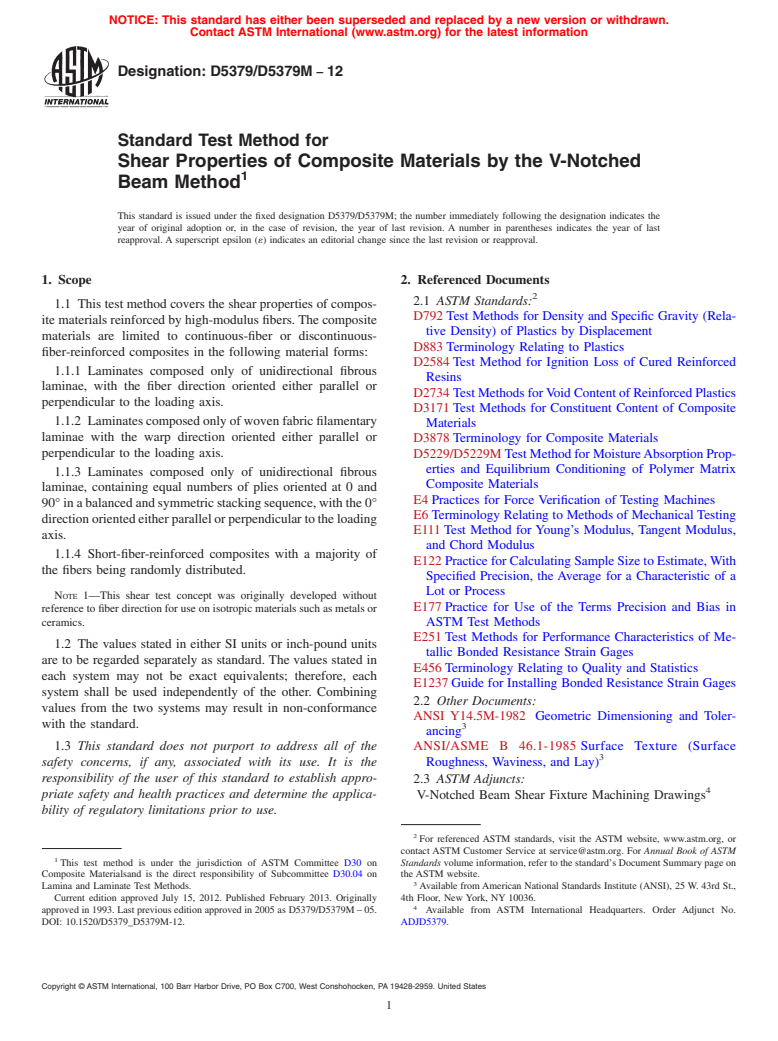
1.1 This test method covers the shear properties of composite materials reinforced by high-modulus fibers. The composite materials are limited to continuous-fiber or discontinuous-fiber-reinforced composites in the following material forms:
1.1.1 Laminates composed only of unidirectional fibrous laminae, with the fiber direction oriented either parallel or perpendicular to the loading axis.
1.1.2 Laminates composed only of woven fabric filamentary laminae with the warp direction oriented either parallel or perpendicular to the loading axis.
1.1.3 Laminates composed only of unidirectional fibrous laminae, containing equal numbers of plies oriented at 0 and 90° in a balanced and symmetric stacking sequence, with the 0° direction oriented either parallel or perpendicular to the loading axis.
1.1.4 Short-fiber-reinforced composites with a majority of the fibers being randomly distributed. Note 1—This shear test concept was originally developed without reference to fiber direction for use on isotropic materials such as metals or ceramics.
1.2 The values stated in either SI units or inch-pound units are to be regarded separately as standard. The values stated in each system may not be exact equivalents; therefore, each system shall be used independently of the other. Combining values from the two systems may result in non-conformance with the standard.
1.3 This standard does not purport to address all of the safety concerns, if any, associated with its use. It is the responsibility of the user of this standard to establish appropriate safety and health practices and determine the applicability of regulatory limitations prior to use.
General Information
Relations
Buy Standard
Standards Content (Sample)
NOTICE: This standard has either been superseded and replaced by a new version or withdrawn.
Contact ASTM International (www.astm.org) for the latest information
Designation: D5379/D5379M − 12
Standard Test Method for
Shear Properties of Composite Materials by the V-Notched
1
Beam Method
This standard is issued under the fixed designation D5379/D5379M; the number immediately following the designation indicates the
year of original adoption or, in the case of revision, the year of last revision. A number in parentheses indicates the year of last
reapproval. A superscript epsilon (´) indicates an editorial change since the last revision or reapproval.
1. Scope 2. Referenced Documents
2
2.1 ASTM Standards:
1.1 This test method covers the shear properties of compos-
D792Test Methods for Density and Specific Gravity (Rela-
itematerialsreinforcedbyhigh-modulusfibers.Thecomposite
tive Density) of Plastics by Displacement
materials are limited to continuous-fiber or discontinuous-
D883Terminology Relating to Plastics
fiber-reinforced composites in the following material forms:
D2584Test Method for Ignition Loss of Cured Reinforced
1.1.1 Laminates composed only of unidirectional fibrous
Resins
laminae, with the fiber direction oriented either parallel or
D2734TestMethodsforVoidContentofReinforcedPlastics
perpendicular to the loading axis.
D3171Test Methods for Constituent Content of Composite
1.1.2 Laminatescomposedonlyofwovenfabricfilamentary
Materials
laminae with the warp direction oriented either parallel or
D3878Terminology for Composite Materials
perpendicular to the loading axis. D5229/D5229MTestMethodforMoistureAbsorptionProp-
erties and Equilibrium Conditioning of Polymer Matrix
1.1.3 Laminates composed only of unidirectional fibrous
Composite Materials
laminae, containing equal numbers of plies oriented at 0 and
E4Practices for Force Verification of Testing Machines
90°inabalancedandsymmetricstackingsequence,withthe0°
E6Terminology Relating to Methods of MechanicalTesting
directionorientedeitherparallelorperpendiculartotheloading
E111Test Method for Young’s Modulus, Tangent Modulus,
axis.
and Chord Modulus
1.1.4 Short-fiber-reinforced composites with a majority of
E122PracticeforCalculatingSampleSizetoEstimate,With
the fibers being randomly distributed.
Specified Precision, the Average for a Characteristic of a
Lot or Process
NOTE 1—This shear test concept was originally developed without
E177Practice for Use of the Terms Precision and Bias in
referencetofiberdirectionforuseonisotropicmaterialssuchasmetalsor
ceramics. ASTM Test Methods
E251Test Methods for Performance Characteristics of Me-
1.2 The values stated in either SI units or inch-pound units
tallic Bonded Resistance Strain Gages
are to be regarded separately as standard. The values stated in
E456Terminology Relating to Quality and Statistics
each system may not be exact equivalents; therefore, each
E1237Guide for Installing Bonded Resistance Strain Gages
system shall be used independently of the other. Combining
2.2 Other Documents:
values from the two systems may result in non-conformance
ANSI Y14.5M-1982 Geometric Dimensioning and Toler-
with the standard.
3
ancing
1.3 This standard does not purport to address all of the ANSI/ASME B 46.1-1985 Surface Texture (Surface
3
Roughness, Waviness, and Lay)
safety concerns, if any, associated with its use. It is the
responsibility of the user of this standard to establish appro-
2.3 ASTM Adjuncts:
4
priate safety and health practices and determine the applica-
V-Notched Beam Shear Fixture Machining Drawings
bility of regulatory limitations prior to use.
2
For referenced ASTM standards, visit the ASTM website, www.astm.org, or
contact ASTM Customer Service at service@astm.org. For Annual Book of ASTM
1
This test method is under the jurisdiction of ASTM Committee D30 on Standards volume information, refer to the standard’s Document Summary page on
Composite Materialsand is the direct responsibility of Subcommittee D30.04 on the ASTM website.
3
Lamina and Laminate Test Methods. Available fromAmerican National Standards Institute (ANSI), 25 W. 43rd St.,
Current edition approved July 15, 2012. Published February 2013. Originally 4th Floor, New York, NY 10036.
4
approved in 1993. Last previous edition approved in 2005 as D5379/D5379M–05. Available from ASTM International Headquarters. Order Adjunct No.
DOI: 10.1520/D5379_D5379M-12. ADJD5379.
Copyright © ASTM International, 100 Barr Harbor Drive, PO Box C700, West Conshohocken, PA 19428-2959. United States
1
---------------------- Page: 1 ----------------------
D5379/D5379M − 12
3. Terminology 3.3.2 CV—coefficient of variation statistic of a sample
population for a given property (in percent).
3.1 Definitions—Terminology D3878 defines terms relating
su
3.3.3 F —ultimate shear strength in the test direction.
to high-modulus fibers and their composites. Terminology
u
D883definestermsrelatingtoplastics.TerminologyE6defines
3.3.4 F —ultimate strength in the test direction.
terms
...
This document is not an ASTM standard and is intended only to provide the user of an ASTM standard an indication of what changes have been made to the previous version. Because
it may not be technically possible to adequately depict all changes accurately, ASTM recommends that users consult prior editions as appropriate. In all cases only the current version
of the standard as published by ASTM is to be considered the official document.
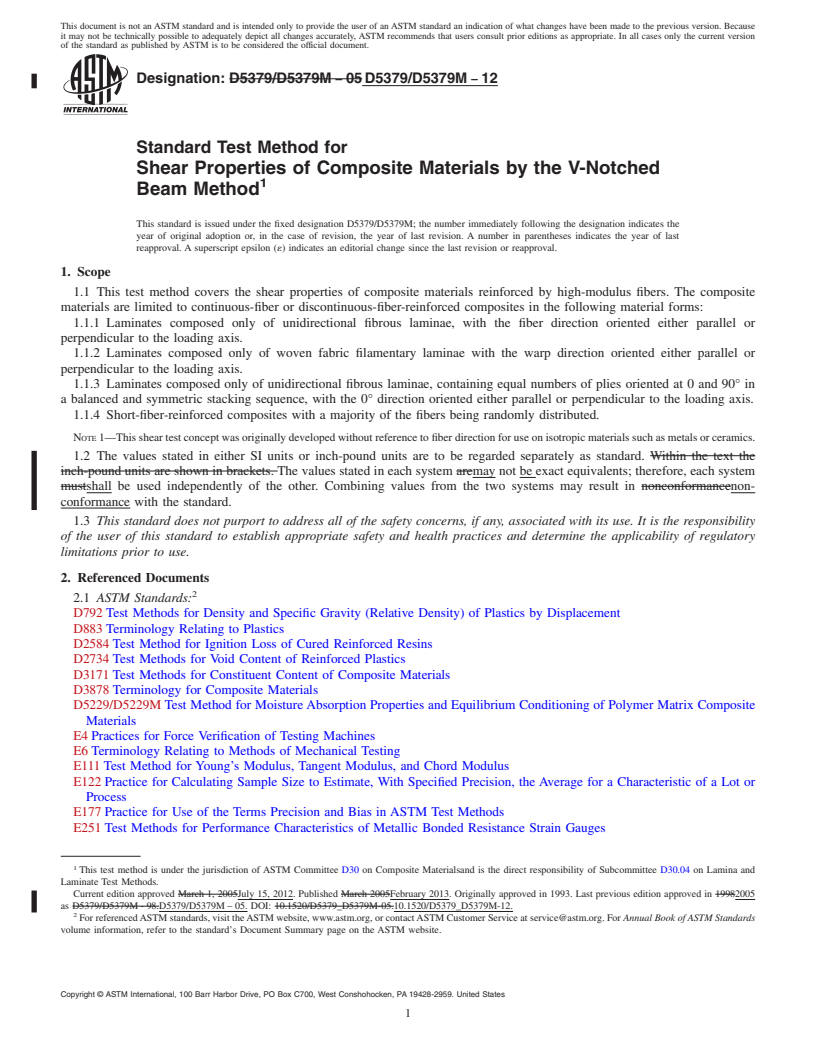
Designation: D5379/D5379M − 05 D5379/D5379M − 12
Standard Test Method for
Shear Properties of Composite Materials by the V-Notched
1
Beam Method
This standard is issued under the fixed designation D5379/D5379M; the number immediately following the designation indicates the
year of original adoption or, in the case of revision, the year of last revision. A number in parentheses indicates the year of last
reapproval. A superscript epsilon (´) indicates an editorial change since the last revision or reapproval.
1. Scope
1.1 This test method covers the shear properties of composite materials reinforced by high-modulus fibers. The composite
materials are limited to continuous-fiber or discontinuous-fiber-reinforced composites in the following material forms:
1.1.1 Laminates composed only of unidirectional fibrous laminae, with the fiber direction oriented either parallel or
perpendicular to the loading axis.
1.1.2 Laminates composed only of woven fabric filamentary laminae with the warp direction oriented either parallel or
perpendicular to the loading axis.
1.1.3 Laminates composed only of unidirectional fibrous laminae, containing equal numbers of plies oriented at 0 and 90° in
a balanced and symmetric stacking sequence, with the 0° direction oriented either parallel or perpendicular to the loading axis.
1.1.4 Short-fiber-reinforced composites with a majority of the fibers being randomly distributed.
NOTE 1—This shear test concept was originally developed without reference to fiber direction for use on isotropic materials such as metals or ceramics.
1.2 The values stated in either SI units or inch-pound units are to be regarded separately as standard. Within the text the
inch-pound units are shown in brackets. The values stated in each system aremay not be exact equivalents; therefore, each system
mustshall be used independently of the other. Combining values from the two systems may result in nonconformancenon-
conformance with the standard.
1.3 This standard does not purport to address all of the safety concerns, if any, associated with its use. It is the responsibility
of the user of this standard to establish appropriate safety and health practices and determine the applicability of regulatory
limitations prior to use.
2. Referenced Documents
2
2.1 ASTM Standards:
D792 Test Methods for Density and Specific Gravity (Relative Density) of Plastics by Displacement
D883 Terminology Relating to Plastics
D2584 Test Method for Ignition Loss of Cured Reinforced Resins
D2734 Test Methods for Void Content of Reinforced Plastics
D3171 Test Methods for Constituent Content of Composite Materials
D3878 Terminology for Composite Materials
D5229/D5229M Test Method for Moisture Absorption Properties and Equilibrium Conditioning of Polymer Matrix Composite
Materials
E4 Practices for Force Verification of Testing Machines
E6 Terminology Relating to Methods of Mechanical Testing
E111 Test Method for Young’s Modulus, Tangent Modulus, and Chord Modulus
E122 Practice for Calculating Sample Size to Estimate, With Specified Precision, the Average for a Characteristic of a Lot or
Process
E177 Practice for Use of the Terms Precision and Bias in ASTM Test Methods
E251 Test Methods for Performance Characteristics of Metallic Bonded Resistance Strain Gauges
1
This test method is under the jurisdiction of ASTM Committee D30 on Composite Materialsand is the direct responsibility of Subcommittee D30.04 on Lamina and
Laminate Test Methods.
Current edition approved March 1, 2005July 15, 2012. Published March 2005February 2013. Originally approved in 1993. Last previous edition approved in 19982005
as D5379/D5379M - 98.D5379/D5379M – 05. DOI: 10.1520/D5379_D5379M-05.10.1520/D5379_D5379M-12.
2
For referenced ASTM standards, visit the ASTM website, www.astm.org, or contact ASTM Customer Service at service@astm.org. For Annual Book of ASTM Standards
volume information, refer to the standard’s Document Summary page on the ASTM website.
Copyright © ASTM International, 100 Barr Harbor Drive, PO Box C700, West Conshohocken, PA 19428-2959. United States
1
---------------------- Page: 1 ----------------------
D5379/D5379M − 12
E456 Terminology Relating to Quality and Statistics
E1237 Guide for Installing Bonded Resistance Strain Gages
2.2 Other Documents:
3
ANSI Y14.5M-1982 Geometric Dimensioning and Tolerancing
3
ANSI/ASME B 46.1-1985 Surface Texture (Surface Roughness, Waviness, and Lay)
2.3 ASTM Adjuncts:
4
V-Notched Beam Shear Fixture Machining Drawings
3. Terminology
3.1 Definitions—Terminology D3878 defines terms relating t
...


Questions, Comments and Discussion
Ask us and Technical Secretary will try to provide an answer. You can facilitate discussion about the standard in here.