ASTM F1269-13
(Test Method)Standard Test Methods for Destructive Shear Testing of Ball Bonds
Standard Test Methods for Destructive Shear Testing of Ball Bonds
SIGNIFICANCE AND USE
5.1 Failure of microelectronic devices is often due to the failure of an interconnection bond. The most common type of interconnection bond is the thermosonic gold or copper wire bond. A very important element of this interconnection is the first bond or ball bond. These test methods can assist in maintaining control of the process for making ball bonds. They can be used to distinguish between weak and nonadherent ball bonds, of both, and bonds that are acceptably strong.
5.2 These test methods are appropriate for on-line use in process control, for process development, for purchase specifications, and for research in support of improved yield and reliability. Since the ball shearing method tests only the first bond in a microelectronic wire bond interconnection system, it must be used in a complementary fashion5 ,6 with the wire bond pull test.3
SCOPE
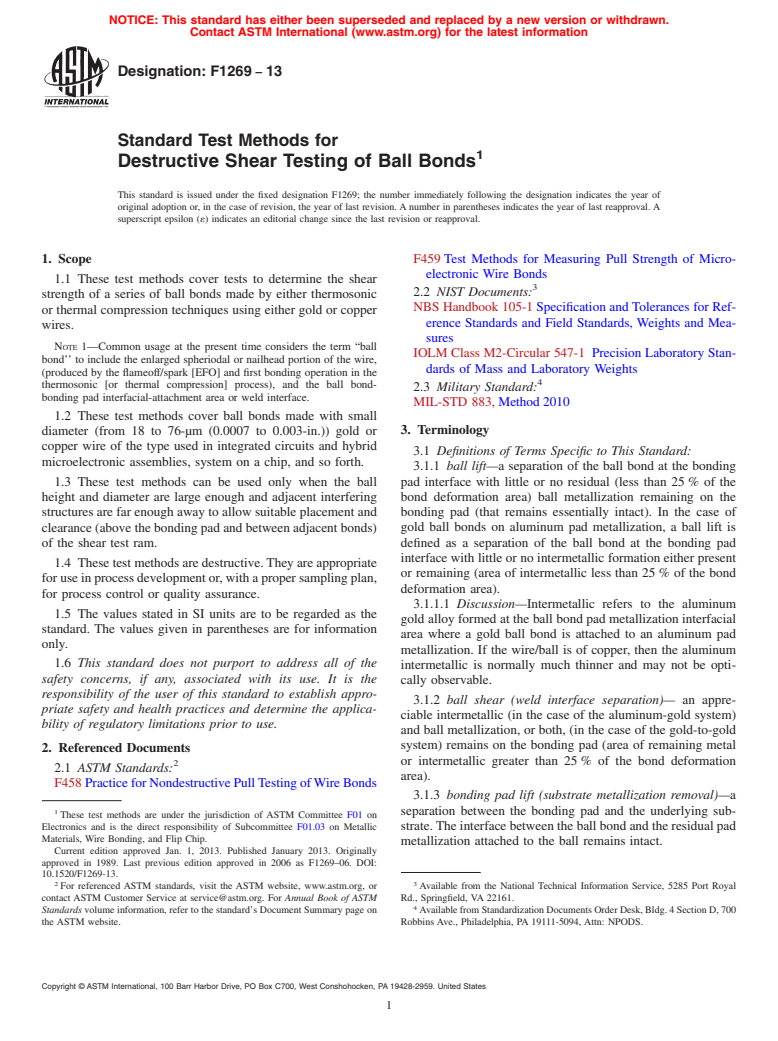
1.1 These test methods cover tests to determine the shear strength of a series of ball bonds made by either thermosonic or thermal compression techniques using either gold or copper wires. Note 1—Common usage at the present time considers the term “ball bond'' to include the enlarged spheriodal or nailhead portion of the wire, (produced by the flameoff/spark [EFO] and first bonding operation in the thermosonic [or thermal compression] process), and the ball bond-bonding pad interfacial-attachment area or weld interface.
1.2 These test methods cover ball bonds made with small diameter (from 18 to 76-μm (0.0007 to 0.003-in.)) gold or copper wire of the type used in integrated circuits and hybrid microelectronic assemblies, system on a chip, and so forth.
1.3 These test methods can be used only when the ball height and diameter are large enough and adjacent interfering structures are far enough away to allow suitable placement and clearance (above the bonding pad and between adjacent bonds) of the shear test ram.
1.4 These test methods are destructive. They are appropriate for use in process development or, with a proper sampling plan, for process control or quality assurance.
1.5 The values stated in SI units are to be regarded as the standard. The values given in parentheses are for information only.
1.6 This standard does not purport to address all of the safety concerns, if any, associated with its use. It is the responsibility of the user of this standard to establish appropriate safety and health practices and determine the applicability of regulatory limitations prior to use.
General Information
Relations
Buy Standard
Standards Content (Sample)
NOTICE: This standard has either been superseded and replaced by a new version or withdrawn.
Contact ASTM International (www.astm.org) for the latest information
Designation: F1269 − 13
Standard Test Methods for
1
Destructive Shear Testing of Ball Bonds
This standard is issued under the fixed designation F1269; the number immediately following the designation indicates the year of
original adoption or, in the case of revision, the year of last revision.Anumber in parentheses indicates the year of last reapproval.A
superscript epsilon (´) indicates an editorial change since the last revision or reapproval.
1. Scope F459Test Methods for Measuring Pull Strength of Micro-
electronic Wire Bonds
1.1 These test methods cover tests to determine the shear
3
2.2 NIST Documents:
strength of a series of ball bonds made by either thermosonic
NBS Handbook 105-1Specification and Tolerances for Ref-
or thermal compression techniques using either gold or copper
erence Standards and Field Standards, Weights and Mea-
wires.
sures
NOTE 1—Common usage at the present time considers the term “ball
IOLM Class M2-Circular 547-1 Precision Laboratory Stan-
bond’’ to include the enlarged spheriodal or nailhead portion of the wire,
dards of Mass and Laboratory Weights
(produced by the flameoff/spark [EFO] and first bonding operation in the
4
thermosonic [or thermal compression] process), and the ball bond-
2.3 Military Standard:
bonding pad interfacial-attachment area or weld interface.
MIL-STD 883,Method2010
1.2 These test methods cover ball bonds made with small
diameter (from 18 to 76-µm (0.0007 to 0.003-in.)) gold or 3. Terminology
copper wire of the type used in integrated circuits and hybrid
3.1 Definitions of Terms Specific to This Standard:
microelectronic assemblies, system on a chip, and so forth.
3.1.1 ball lift—a separation of the ball bond at the bonding
1.3 These test methods can be used only when the ball pad interface with little or no residual (less than 25% of the
height and diameter are large enough and adjacent interfering bond deformation area) ball metallization remaining on the
structuresarefarenoughawaytoallowsuitableplacementand bonding pad (that remains essentially intact). In the case of
clearance(abovethebondingpadandbetweenadjacentbonds) gold ball bonds on aluminum pad metallization, a ball lift is
of the shear test ram. defined as a separation of the ball bond at the bonding pad
interface with little or no intermetallic formation either present
1.4 Thesetestmethodsaredestructive.Theyareappropriate
or remaining (area of intermetallic less than 25% of the bond
foruseinprocessdevelopmentor,withapropersamplingplan,
deformation area).
for process control or quality assurance.
3.1.1.1 Discussion—Intermetallic refers to the aluminum
1.5 The values stated in SI units are to be regarded as the
gold alloy formed at the ball bond pad metallization interfacial
standard. The values given in parentheses are for information
area where a gold ball bond is attached to an aluminum pad
only.
metallization. If the wire/ball is of copper, then the aluminum
1.6 This standard does not purport to address all of the
intermetallic is normally much thinner and may not be opti-
safety concerns, if any, associated with its use. It is the
cally observable.
responsibility of the user of this standard to establish appro-
3.1.2 ball shear (weld interface separation)— an appre-
priate safety and health practices and determine the applica-
ciable intermetallic (in the case of the aluminum-gold system)
bility of regulatory limitations prior to use.
and ball metallization, or both, (in the case of the gold-to-gold
system) remains on the bonding pad (area of remaining metal
2. Referenced Documents
or intermetallic greater than 25% of the bond deformation
2
2.1 ASTM Standards:
area).
F458PracticeforNondestructivePullTestingofWireBonds
3.1.3 bonding pad lift (substrate metallization removal)—a
1 separation between the bonding pad and the underlying sub-
These test methods are under the jurisdiction of ASTM Committee F01 on
Electronics and is the direct responsibility of Subcommittee F01.03 on Metallic
strate.Theinterfacebetweentheballbondandtheresidualpad
Materials, Wire Bonding, and Flip Chip.
metallization attached to the ball remains intact.
Current edition approved Jan. 1, 2013. Published January 2013. Originally
approved in 1989. Last previous edition approved in 2006 as F1269–06. DOI:
10.1520/F1269-13.
2 3
For referenced ASTM standards, visit the ASTM website, www.astm.org, or Available from the National Technical Information Service, 5285 Port Royal
contact ASTM Customer Service at service@astm.org. For Annual Book of ASTM Rd., Springfield, VA 22161.
4
Standards volume information, refer to the standard’s Document Summary page on AvailablefromStandardizationDocumentsOrderDesk,Bldg.4SectionD,700
the ASTM website. Robbins Ave., Philadelphia, PA 19111-5094, Attn: NPODS.
Copyright © ASTM International, 100 Barr Harbor Drive, PO Box C700, West Consho
...
This document is not an ASTM standard and is intended only to provide the user of an ASTM standard an indication of what changes have been made to the previous version. Because
it may not be technically possible to adequately depict all changes accurately, ASTM recommends that users consult prior editions as appropriate. In all cases only the current version
of the standard as published by ASTM is to be considered the official document.
Designation: F1269 − 13 F1269 − 13
Standard Test Methods for
1
Destructive Shear Testing of Ball Bonds
This standard is issued under the fixed designation F1269; the number immediately following the designation indicates the year of
original adoption or, in the case of revision, the year of last revision. A number in parentheses indicates the year of last reapproval. A
superscript epsilon (´) indicates an editorial change since the last revision or reapproval.
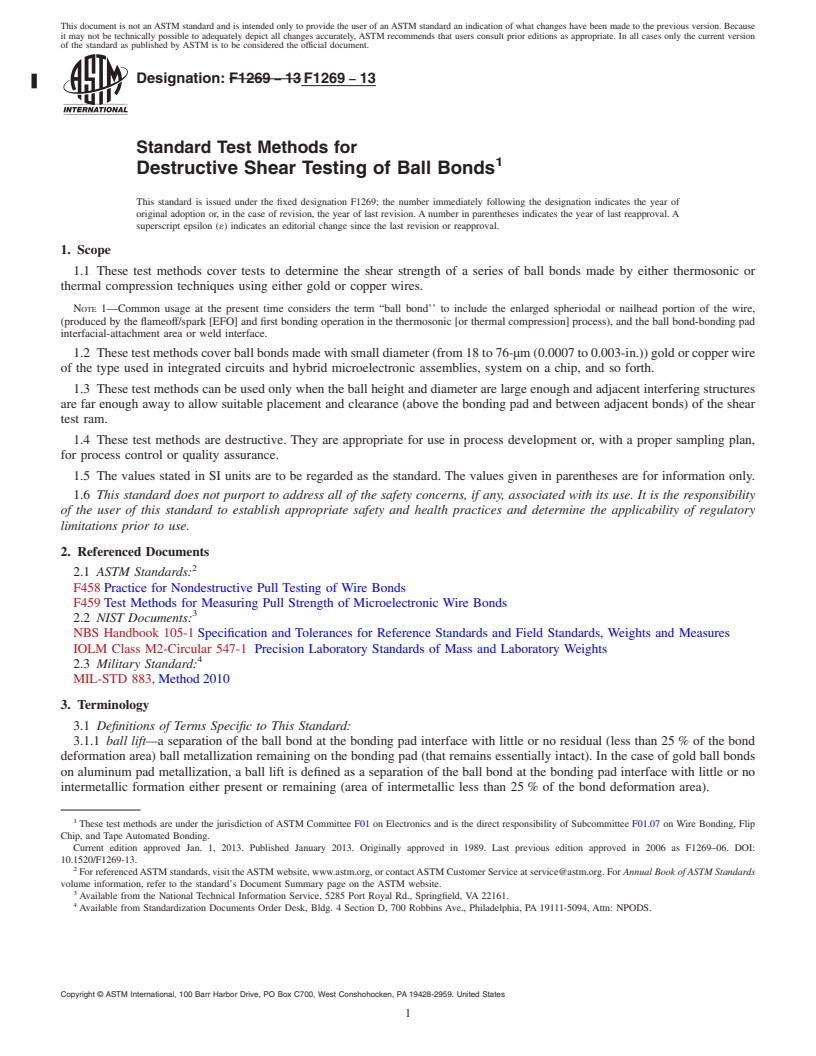
1. Scope
1.1 These test methods cover tests to determine the shear strength of a series of ball bonds made by either thermosonic or
thermal compression techniques using either gold or copper wires.
NOTE 1—Common usage at the present time considers the term “ball bond’’ to include the enlarged spheriodal or nailhead portion of the wire,
(produced by the flameoff/spark [EFO] and first bonding operation in the thermosonic [or thermal compression] process), and the ball bond-bonding pad
interfacial-attachment area or weld interface.
1.2 These test methods cover ball bonds made with small diameter (from 18 to 76-μm (0.0007 to 0.003-in.)) gold or copper wire
of the type used in integrated circuits and hybrid microelectronic assemblies, system on a chip, and so forth.
1.3 These test methods can be used only when the ball height and diameter are large enough and adjacent interfering structures
are far enough away to allow suitable placement and clearance (above the bonding pad and between adjacent bonds) of the shear
test ram.
1.4 These test methods are destructive. They are appropriate for use in process development or, with a proper sampling plan,
for process control or quality assurance.
1.5 The values stated in SI units are to be regarded as the standard. The values given in parentheses are for information only.
1.6 This standard does not purport to address all of the safety concerns, if any, associated with its use. It is the responsibility
of the user of this standard to establish appropriate safety and health practices and determine the applicability of regulatory
limitations prior to use.
2. Referenced Documents
2
2.1 ASTM Standards:
F458 Practice for Nondestructive Pull Testing of Wire Bonds
F459 Test Methods for Measuring Pull Strength of Microelectronic Wire Bonds
3
2.2 NIST Documents:
NBS Handbook 105-1 Specification and Tolerances for Reference Standards and Field Standards, Weights and Measures
IOLM Class M2-Circular 547-1 Precision Laboratory Standards of Mass and Laboratory Weights
4
2.3 Military Standard:
MIL-STD 883, Method 2010
3. Terminology
3.1 Definitions of Terms Specific to This Standard:
3.1.1 ball lift—a separation of the ball bond at the bonding pad interface with little or no residual (less than 25 % of the bond
deformation area) ball metallization remaining on the bonding pad (that remains essentially intact). In the case of gold ball bonds
on aluminum pad metallization, a ball lift is defined as a separation of the ball bond at the bonding pad interface with little or no
intermetallic formation either present or remaining (area of intermetallic less than 25 % of the bond deformation area).
1
These test methods are under the jurisdiction of ASTM Committee F01 on Electronics and is the direct responsibility of Subcommittee F01.07 on Wire Bonding, Flip
Chip, and Tape Automated Bonding.
Current edition approved Jan. 1, 2013. Published January 2013. Originally approved in 1989. Last previous edition approved in 2006 as F1269–06. DOI:
10.1520/F1269-13.
2
For referenced ASTM standards, visit the ASTM website, www.astm.org, or contact ASTM Customer Service at service@astm.org. For Annual Book of ASTM Standards
volume information, refer to the standard’s Document Summary page on the ASTM website.
3
Available from the National Technical Information Service, 5285 Port Royal Rd., Springfield, VA 22161.
4
Available from Standardization Documents Order Desk, Bldg. 4 Section D, 700 Robbins Ave., Philadelphia, PA 19111-5094, Attn: NPODS.
Copyright © ASTM International, 100 Barr Harbor Drive, PO Box C700, West Conshohocken, PA 19428-2959. United States
1
---------------------- Page: 1 ----------------------
F1269 − 13
3.1.1.1 Discussion—
Intermetallic refers to the aluminum gold alloy formed at the ball bond pad metallization interfacial area where a gold ball bond
is attached to an aluminum pad metallization. If the wire/ball is of copper, then the aluminum intermetallic is normally much
thinner and may not be optically observable.
3.1.2 ball shear (weld interface separation)— an appreciable intermetallic (in the ca
...


Questions, Comments and Discussion
Ask us and Technical Secretary will try to provide an answer. You can facilitate discussion about the standard in here.