ASTM F16-67(2000)
(Test Method)Standard Test Methods for Measuring Diameter or Thickness of Wire and Ribbon for Electronic Devices and Lamps
Standard Test Methods for Measuring Diameter or Thickness of Wire and Ribbon for Electronic Devices and Lamps
SCOPE
1.1 These test methods cover procedures for measuring the diameter or thickness of round and flat wire (ribbon) 0.060 in. (1.52 mm) maximum used in electronic devices and lamps. They are intended primarily for referee use, for laboratory measuring, and for certifying size of standard samples used for checking other measuring equipment that may be agreed upon between the supplier and the purchaser.
1.2 The values stated in inch-pound units are to be regarded as the standard. The values in parentheses are for information only.
1.3 This standard does not purport to address all of the safety concerns, if any, associated with its use. It is the responsibility of the user of this standard to establish appropriate safety and health practices and determine the applicability of regulatory limitations prior to use.
General Information
Relations
Standards Content (Sample)
NOTICE: This standard has either been superseded and replaced by a new version or withdrawn.
Contact ASTM International (www.astm.org) for the latest information
Designation:F 16–67(Reapproved2000)
Standard Test Methods for
Measuring Diameter or Thickness of Wire and Ribbon for
Electronic Devices and Lamps
ThisstandardisissuedunderthefixeddesignationF16;thenumberimmediatelyfollowingthedesignationindicatestheyearoforiginal
adoption or, in the case of revision, the year of last revision.Anumber in parentheses indicates the year of last reapproval.Asuperscript
epsilon (e) indicates an editorial change since the last revision or reapproval.
1. Scope 3.2 Apparatus A, shown in Fig. 1, shall have the following
features:
1.1 These test methods cover procedures for measuring the
3.2.1 An adjustable anvil of the size and shape specified for
diameter or thickness of round and flat wire (ribbon) 0.060 in.
the material to be inspected. The anvil shall be nonrotating and
(1.52 mm) maximum used in electronic devices and lamps.
shall be adjustable for position by means of a micrometer or
They are intended primarily for referee use, for laboratory
precision adjusting screw, with means for locking the anvil in
measuring, and for certifying size of standard samples used for
any set position after adjustments have been made.
checking other measuring equipment that may be agreed upon
3.2.2 Asensing anvil of the size and shape specified for the
between the supplier and the purchaser.
material to be measured, linked directly to a sensing and
1.2 The values stated in inch-pound units are to be regarded
indicating device of specified precision and sensitivity.
as the standard. The values in parentheses are for information
3.2.3 The adjustable fixed anvil and sensing anvil and the
only.
sensing device shall be rigidly mounted with both anvils in
1.3 This standard does not purport to address all of the
alignmentonthesameaxis.Thesensinganvilshallbemovable
safety concerns, if any, associated with its use. It is the
with provisions for retracting the anvil for placing the speci-
responsibility of the user of this standard to establish appro-
men in the measuring position.
priate safety and health practices and determine the applica-
3.2.4 Both anvils shall be properly fitted, lapped, and
bility of regulatory limitations prior to use.
polished so the contacting surfaces are flat and parallel within
2. Summary of Test Method the accuracy specified.
3.2.5 The sensing device shall be provided with a means for
2.1 In order to provide reliable determinations of physical
setting the indicator hand or scale to zero, and a calibrated
dimensions of wire and ribbon products, these test methods are
scale or dial for setting the sensing anvil measuring pressure to
designed to measure mechanically the diameter or thickness
thespecifiedvaluerequiredformeasuring.Thissettingshallbe
with a high degree of precision. These test methods are based
accurate to within6 10 % of the set value.
on the use of a sensitive measuring head with calibrated
3.3 Apparatus B, shown in Fig. 2, shall meet the require-
pressure settings, shaped measuring anvils to reduce errors
ments specified for Apparatus A in 3.2 with the following
caused by material curvature or waviness, and a method for
additional features:
presetting the anvil spacing by means of gage blocks or
3.3.1 The fixed anvil and support to which it is attached
cylindrical master standards.
shallbefreetomovealongthemeasuringaxisbutshallbeheld
3. Apparatus
in line with the sensing anvil by means of cantilever springs so
that parallelism with the sensing anvil is maintained. The
3.1 Eitheroftwogeneraltypesofapparatusmaybeusedfor
opposite end of the movable anvil support shall terminate in a
measuring, depending on the accuracy desired and on the
ball contact having a diameter from 0.19 to 0.25 in. (4.8 to 6.4
availability of certified cylindrical master standards for gage
mm). The total pressure of the support and springs shall exert
setting, as follows:
a force of 500 6 10 g on the gage block.
3.1.1 Apparatus A— For use with cylindrical master stan-
3.3.2 The gage block for setting shall be located directly in
dards for gage setting.
contact with the movable anvil support ball contact. The
3.1.2 Apparatus B— For use with gage block standards for
opposite side of the gage block shall be supported at three
gage setting.
places by hardened steel balls 0.09 to 0.12 in. (2.4 to 3.2 mm)
in diameter and equilaterally spaced to form a triangle.
These test methods are under the jurisdiction of ASTM Committee F01 on
3.3.3 The three ball contacts shall be securely fixed to a
Electronics and are the direct responsibility of Subcommittee F01.03 on Metallic
support table and shall be movable for setting the measuring
Materials.
device by means of a precision adjusting screw. Provision shall
Current edition approved Dec. 12, 1967. Published February 1968. Originally
published as F 16 – 61 T. Last previous edition F 16 – 67. be made for securely locking the table in place after setting.
Copyright © ASTM International, 100 Barr Harbor Drive, PO Box C700, West Conshohocken, PA 19428-2959, United States.
F 16–67 (2000)
causes (see 5.1) of inaccurate measurements. The measuring
devices shall be used in a small gage laboratory with tempera-
ture variations kept to within6 5°C. The equipment shall be
laid out on a clean surface with tools and gage blocks on foam
rubber pads. All equipment used for measuring, and the
material samples, shall be stabilized by leaving them together
in the gage room for at least 1 h. Gage blocks shall be handled
with tongs to prevent temperature variations.
5.3 Gage blocks shall be recalibrated at least once every
year, using the block calibration size for the calibration setting.
Blocks must be carefully cleaned and handled to prevent
uneven wear with consequent introduction of errors into the
gage setting.
5.4 The device shall be cleaned, calibrated, and set for
measuring by means of certified gage blocks or cylindrical
master standards as specified in Section 10.
6. Setting MeasuringApparatus
6.1 Set the measuring apparatus by means of standards so
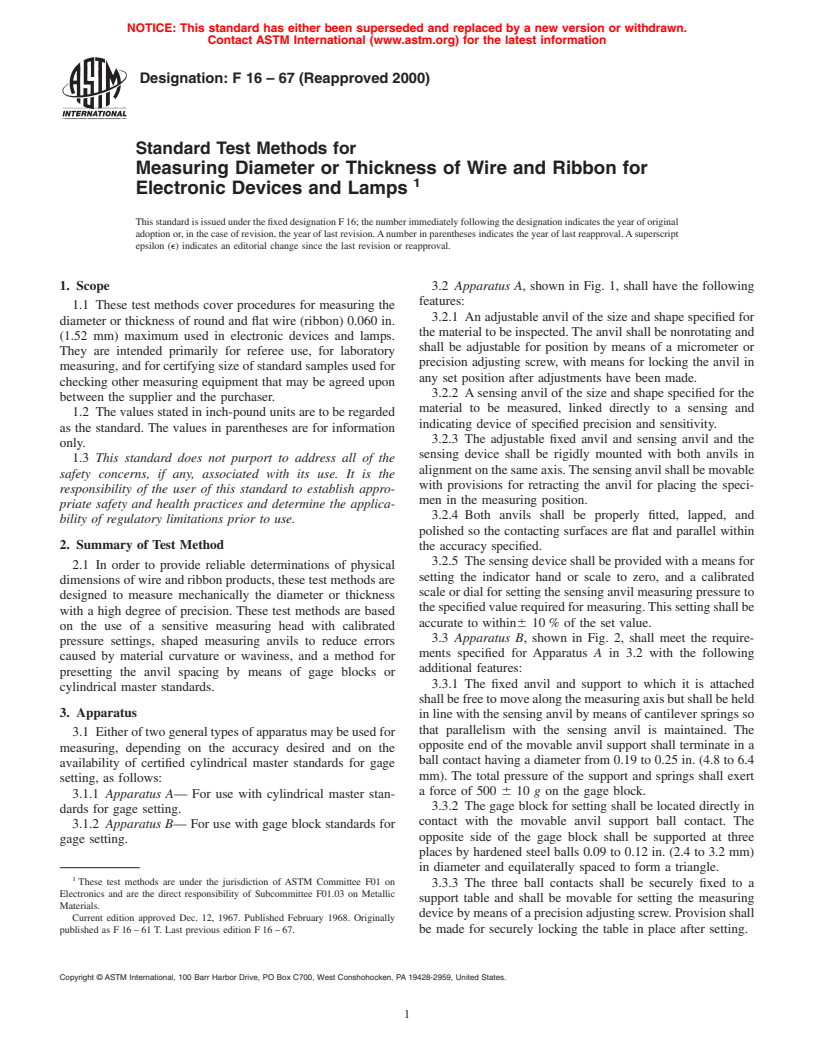
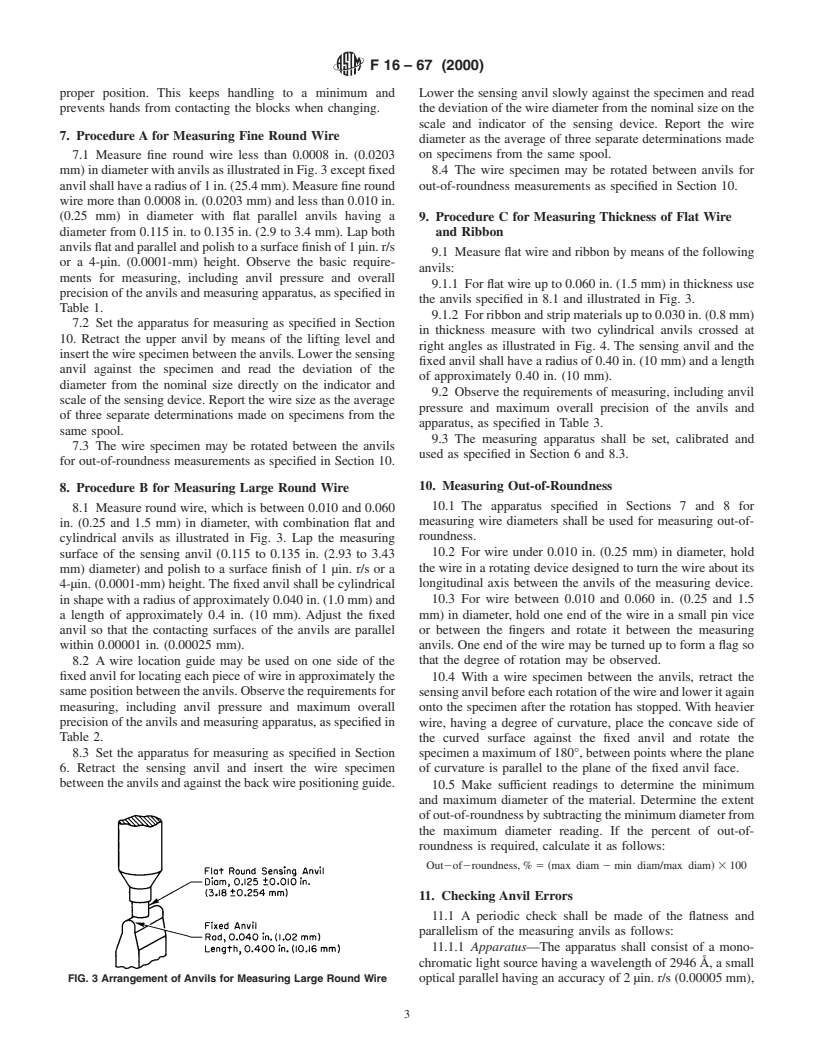
FIG. 1 Measuring Apparatus A for Use with Cylindrical Master
that the indicator hand or scale of the sensing device is at zero
Standards for Gage Setting
when adjusted for the nominal size of the material to be
measured. This shall be done by means of certified cylindrical
master standards for Apparatus A and by means of certified
gage blocks for Apparatus B.
6.2 Cylindrical master standards shall be certified for diam-
eter, roundness, and surface finish by a metrology laboratory.
The master cylinders of wire shall be made of hardened steel
having a Rockwell hardness of C63 to C65, and lapped to a
finish of 1 µin. rms or a 4-µin. height (0.0001 mm).
6.3 Gage blocks shall be certified for length, flatness,
parallelism, and surface finish by a metrology laboratory. The
exact thickness of the blocks shall be reported to the nearest
microinch (0.000025 mm) as measured near the center of each
block. The surface finish shall be equivalent to 1 µin. rms or a
4-µin. (0.0001-mm) height or better.
6.4 Set Apparatus A for the nominal material size to be
measured by placing a cylindrical master standard between the
two anvils and adjusting the fixed anvil adjusting screw to get
FIG. 2 Measuring Apparatus B for Use with Gage Block
a zero reading on the sensing device. Raise and lower the
Standards for Gage Setting
sensing anvil against the standard several times and readjust
4. Test Specimens
the screw until three consecutive zero readings are obtained.
6.5 Set Apparatus B for nominal material size to be mea-
4.1 Test specimens shall be selected at least 3 ft (0.9 m)
sured by means of gage blocks. Select two blocks with a
from the end of a spool or coil of material and shall be straight
difference equal to the nominal size of the material. Use the
and free from kinks, dents, or other damage that would
exact length of the blocks as taken from the last certification.
interfere with measuring accuracy.
Place the longer block between the three-ball support table and
4.2 Wire or fine ribbon shall be drawn from the spool under
the ball end of the anvil support block, and carefully seat near
uniformly low tension to prevent elongation. If the material is
the center of the block. Turn the adjusting screw until the
obviously contaminated with oil, dirt, or other foreign matter,
indicator on the sensing device is on zero. Raise the ball end of
it shall be drawn gently through a lint-free cloth, wet with a
the anvil support block, remove the longer gage block, and
suitable solvent.
replace it with the shorter block in the same position. This in
5. Test Conditions
effect lowers the fixed measuring anvil from the first zero
5.1 The measuring device shall be used in a location that is setting by an amount equal to the nominal size of the material
clean and free of dust and lint. Vibration, drafts, direct heat to be measured. Leave this gage block in place while measure-
from lamps, and temperature variations shall be minimized. ments are being made.
The equipment shall be kept clean and covered when not in 6.6 To keep the effect of temperature variations to a mini-
use. mum, handle each block with insulated tongs when placed into
5.2 For fine wire, smaller than 0.0008 in. (0.02 mm) in position. Both blocks may also be inserted and interchanged by
diameter, extra precautions shall be taken to avoid all possible means of a shifting device for moving either block into the
F 16–67 (2000)
proper position. This keeps handling to a minimum and Lower the sensing anvil slowly against the specimen and read
prevents hands from contacting the blocks when changing. the deviation of the wire diameter from the nominal size on the
scale and indicator of the sensing device. Report the wire
7. ProcedureAfor Measuring Fine Round Wire
diameter as the average of three separate determinations made
on specimens from the same spool.
7.1 Measure fine round wire less than 0.0008 in. (0.0203
mm)indiameterwithanvilsasillustratedinFig.3exceptfixed 8.4 The wire specimen may be rotated between anvils for
anvilshallhavearadiusof1in.(25.4mm).Measurefineround out-of-roundness measurements as specified in Section 10.
...


Questions, Comments and Discussion
Ask us and Technical Secretary will try to provide an answer. You can facilitate discussion about the standard in here.