ASTM F2136-01
(Test Method)Standard Test Method for Notched, Constant Ligament-Stress (NCLS) Test to Determine Slow-Crack-Growth Resistance of HDPE Resins or HDPE Corrugated Pipe
Standard Test Method for Notched, Constant Ligament-Stress (NCLS) Test to Determine Slow-Crack-Growth Resistance of HDPE Resins or HDPE Corrugated Pipe
SCOPE
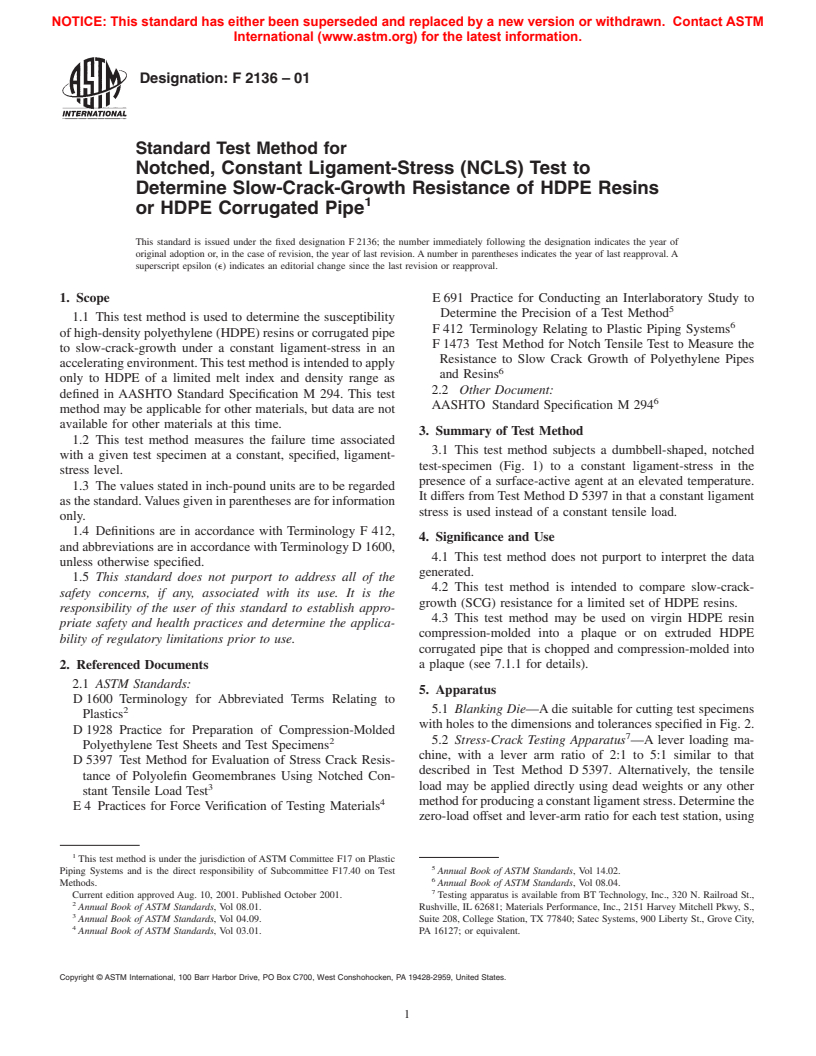
1.1 This test method is used to determine the susceptibility of high-density polyethylene (HDPE) resins or corrugated pipe to slow-crack-growth under a constant ligament-stress in an accelerating environment. This test method is intended to apply only to HDPE of a limited melt index and density range as defined in AASHTO Standard Specification M 294. This test method may be applicable for other materials, but data are not available for other materials at this time.
1.2 This test method measures the failure time associated with a given test specimen at a constant, specified, ligament-stress level.
1.3 The values stated in inch-pound units are to be regarded as the standard. Values given in parentheses are for information only.
1.4 Definitions are in accordance with Terminology F 412, and abbreviations are in accordance with Terminology D 1600, unless otherwise specified.
1.5 This standard does not purport to address all of the safety concerns, if any, associated with its use. It is the responsibility of the user of this standard to establish appropriate safety and health practices and determine the applicability of regulatory limitations prior to use.
General Information
Relations
Standards Content (Sample)
NOTICE: This standard has either been superseded and replaced by a new version or withdrawn. Contact ASTM
International (www.astm.org) for the latest information.
Designation:F2136–01
Standard Test Method for
Notched, Constant Ligament-Stress (NCLS) Test to
Determine Slow-Crack-Growth Resistance of HDPE Resins
or HDPE Corrugated Pipe
This standard is issued under the fixed designation F 2136; the number immediately following the designation indicates the year of
original adoption or, in the case of revision, the year of last revision. A number in parentheses indicates the year of last reapproval. A
superscript epsilon (e) indicates an editorial change since the last revision or reapproval.
1. Scope E 691 Practice for Conducting an Interlaboratory Study to
Determine the Precision of a Test Method
1.1 This test method is used to determine the susceptibility
F 412 Terminology Relating to Plastic Piping Systems
of high-density polyethylene (HDPE) resins or corrugated pipe
F 1473 Test Method for Notch Tensile Test to Measure the
to slow-crack-growth under a constant ligament-stress in an
Resistance to Slow Crack Growth of Polyethylene Pipes
acceleratingenvironment.Thistestmethodisintendedtoapply
and Resins
only to HDPE of a limited melt index and density range as
2.2 Other Document:
defined in AASHTO Standard Specification M 294. This test
AASHTO Standard Specification M 294
method may be applicable for other materials, but data are not
available for other materials at this time.
3. Summary of Test Method
1.2 This test method measures the failure time associated
3.1 This test method subjects a dumbbell-shaped, notched
with a given test specimen at a constant, specified, ligament-
test-specimen (Fig. 1) to a constant ligament-stress in the
stress level.
presence of a surface-active agent at an elevated temperature.
1.3 The values stated in inch-pound units are to be regarded
It differs from Test Method D 5397 in that a constant ligament
asthestandard.Valuesgiveninparenthesesareforinformation
stress is used instead of a constant tensile load.
only.
1.4 Definitions are in accordance with Terminology F 412,
4. Significance and Use
and abbreviations are in accordance withTerminology D 1600,
4.1 This test method does not purport to interpret the data
unless otherwise specified.
generated.
1.5 This standard does not purport to address all of the
4.2 This test method is intended to compare slow-crack-
safety concerns, if any, associated with its use. It is the
growth (SCG) resistance for a limited set of HDPE resins.
responsibility of the user of this standard to establish appro-
4.3 This test method may be used on virgin HDPE resin
priate safety and health practices and determine the applica-
compression-molded into a plaque or on extruded HDPE
bility of regulatory limitations prior to use.
corrugated pipe that is chopped and compression-molded into
a plaque (see 7.1.1 for details).
2. Referenced Documents
2.1 ASTM Standards:
5. Apparatus
D 1600 Terminology for Abbreviated Terms Relating to
5.1 Blanking Die—Adie suitable for cutting test specimens
Plastics
with holes to the dimensions and tolerances specified in Fig. 2.
D 1928 Practice for Preparation of Compression-Molded
5.2 Stress-Crack Testing Apparatus —A lever loading ma-
Polyethylene Test Sheets and Test Specimens
chine, with a lever arm ratio of 2:1 to 5:1 similar to that
D 5397 Test Method for Evaluation of Stress Crack Resis-
described in Test Method D 5397. Alternatively, the tensile
tance of Polyolefin Geomembranes Using Notched Con-
3 load may be applied directly using dead weights or any other
stant Tensile Load Test
4 methodforproducingaconstantligamentstress.Determinethe
E 4 Practices for Force Verification of Testing Materials
zero-load offset and lever-arm ratio for each test station, using
This test method is under the jurisdiction of ASTM Committee F17 on Plastic
Piping Systems and is the direct responsibility of Subcommittee F17.40 on Test Annual Book of ASTM Standards, Vol 14.02.
Methods. Annual Book of ASTM Standards, Vol 08.04.
Current edition approved Aug. 10, 2001. Published October 2001. Testing apparatus is available from BT Technology, Inc., 320 N. Railroad St.,
Annual Book of ASTM Standards, Vol 08.01. Rushville, IL 62681; Materials Performance, Inc., 2151 Harvey Mitchell Pkwy, S.,
Annual Book of ASTM Standards, Vol 04.09. Suite 208, College Station, TX 77840; Satec Systems, 900 Liberty St., Grove City,
Annual Book of ASTM Standards, Vol 03.01. PA 16127; or equivalent.
Copyright © ASTM International, 100 Barr Harbor Drive, PO Box C700, West Conshohocken, PA 19428-2959, United States.
NOTICE: This standard has either been superseded and replaced by a new version or withdrawn. Contact ASTM
International (www.astm.org) for the latest information.
F2136
T = thickness.
W = specimen width.
NOTE 1—ThetestspecimenisintendedtohavethesamegeometryusedforTestMethodD 5397specimens.Thelengthofthespecimencanbechanged
to suit the design of the test apparatus. However, there should be a constant neck section with length at least 0.5 in. (13 mm) long.
NOTE 2—Itispreferabletomodifythespecimendiesothattheattachmentholesarepunchedoutatthesametimeasthespecimenratherthanpunching
or machining them into the specimen at a later time. If the attachment holes are introduced at a later time, it is extremely important that they be carefully
aligned so as to avoid adding a twisting component to the stress being placed on the specimen.
FIG. 1 Specimen Geometry—Test Specimen Dimensions
a force standard that complies with Practices E 4. The load on notching procedure and type of apparatus used. The approxi-
the specimen shall be accurate to 0.5 % of the calculated or mate thickness of the blade should be 0.2 to 0.3 mm.
applied load. The bath solution temperature shall be set at 122
NOTE 1—Around robin was conducted to determine the effect of types
6 2°F (50 6 1°C).
of blades on the notch depth. In this study, several types of steel blades
5.3 Notching Device —Notch depth is an important vari-
(single-edge, double-edge, and so forth) from various manufacturers were
able that must be controlled. Paragraph 7.2.1 describes the
used by the round-robin participants. The round robin consisted of seven
laboratories using two types of resins molded into plaques. The standard
deviation of the test results within laboratories is less than 610 %.
Notching apparatus is available from BT Technology, Inc., 320 N. Railroad
5.4 Micrometer, capable of measuring to 60.001 in.
Street, Rushville, IL 62681; Satec Systems, 900 Liberty St., Grove City, PA16127;
or equivalent. (60.025 mm).
NOTICE: This standard has either been superseded and replaced by a new version or withdrawn. Contact ASTM
International (www.astm.org) for the latest information.
F2136
specimen. Compression mold a plaque as previously stated. If
different materials are used for the inner and outer wall of dual
wall pipe, each wall must be tested separately.
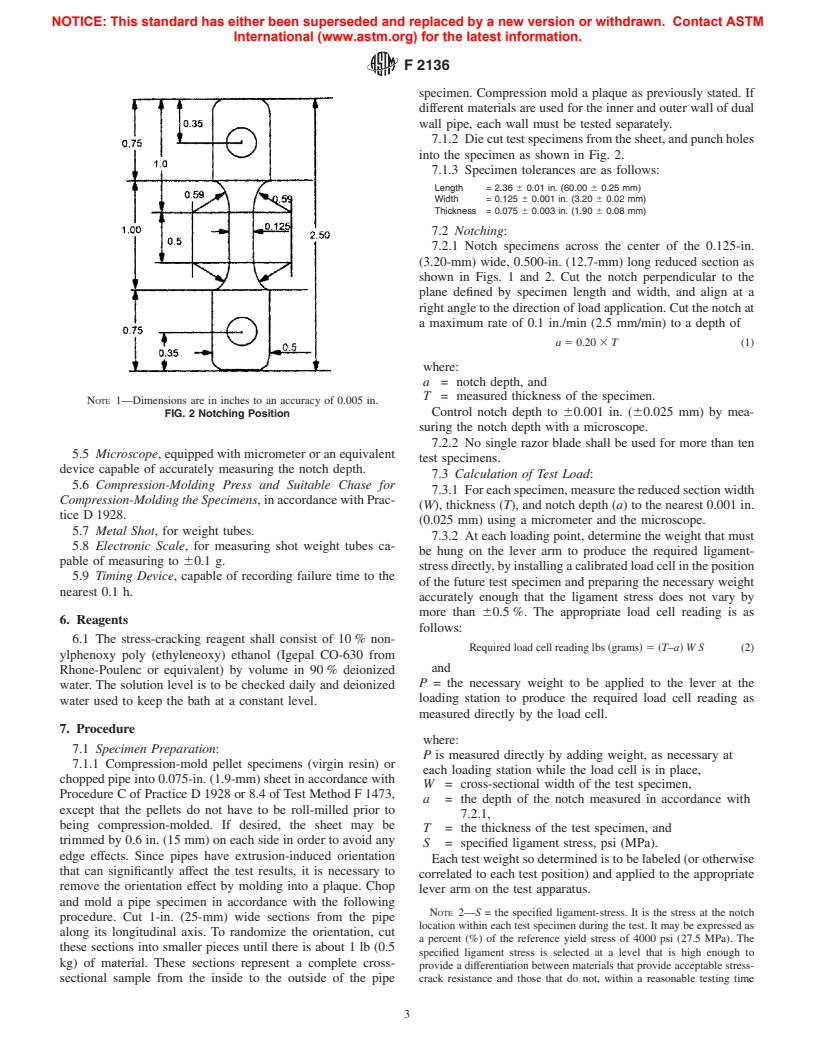
7.1.2 Diecuttestspecimensfromthesheet,andpunchholes
into the specimen as shown in Fig. 2.
7.1.3 Specimen tolerances are as follows:
Length = 2.36 6 0.01 in. (60.00 6 0.25 mm)
Width = 0.125 6 0.001 in. (3.20 6 0.02 mm)
Thickness = 0.075 6 0.003 in. (1.90 6 0.08 mm)
7.2 Notching:
7.2.1 Notch specimens across the center of the 0.125-in.
(3.20-mm) wide, 0.500-in. (12.7-mm) long reduced section as
shown in Figs. 1 and 2. Cut the notch perpendicular to the
plane defined by specimen length and width, and align at a
right angle to the direction of load application. Cut the notch at
a maximum rate of 0.1 in./min (2.5 mm/min) to a depth of
a 5 0.20 3T (1)
where:
a = notch depth, and
T = measured thickness of the specimen.
NOTE 1—Dimensions are in inches to an accuracy of 0.005 in.
Control notch depth to 60.001 in. (60.025 mm) by mea-
FIG. 2 Notching Position
suring the notch depth with a microscope.
7.2.2 No single razor blade shall be used for more than ten
5.5 Microscope, equipped with micrometer or an equivalent
test specimens.
device capable of accurately measuring the notch depth.
7.3 Calculation of Test Load:
5.6 Compression-Molding Press and Suitable Chase for
7.3.1 For each specimen, measure the reduced section width
Compression-M
...


Questions, Comments and Discussion
Ask us and Technical Secretary will try to provide an answer. You can facilitate discussion about the standard in here.