ASTM D4417-14
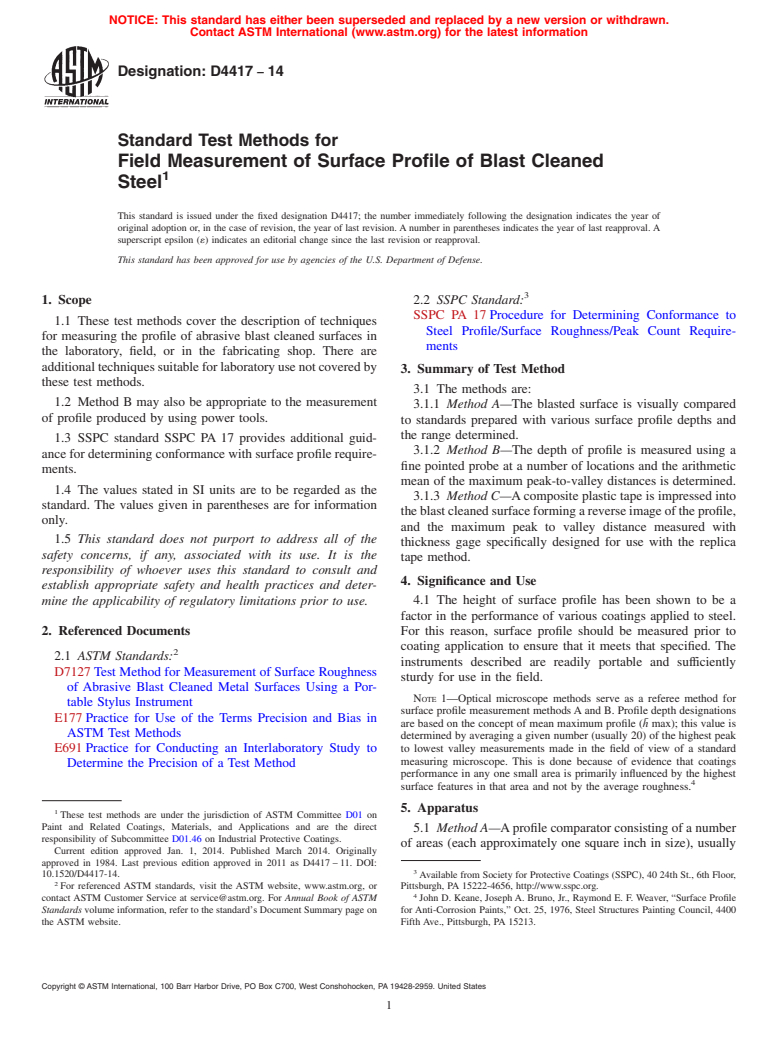
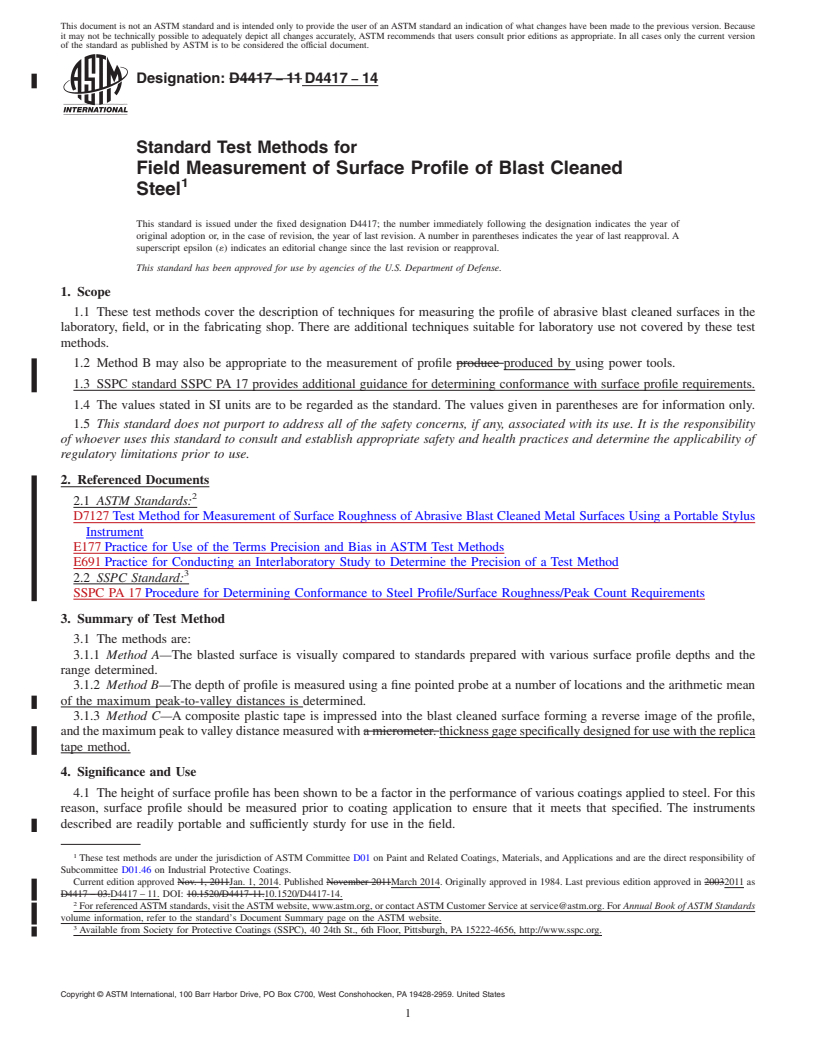
(Test Method)Standard Test Methods for Field Measurement of Surface Profile of Blast Cleaned Steel
Standard Test Methods for Field Measurement of Surface Profile of Blast Cleaned Steel
SIGNIFICANCE AND USE
4.1 The height of surface profile has been shown to be a factor in the performance of various coatings applied to steel. For this reason, surface profile should be measured prior to coating application to ensure that it meets that specified. The instruments described are readily portable and sufficiently sturdy for use in the field.Note 1—Optical microscope methods serve as a referee method for surface profile measurement methods A and B. Profile depth designations are based on the concept of mean maximum profile ( h max); this value is determined by averaging a given number (usually 20) of the highest peak to lowest valley measurements made in the field of view of a standard measuring microscope. This is done because of evidence that coatings performance in any one small area is primarily influenced by the highest surface features in that area and not by the average roughness.4
SCOPE
1.1 These test methods cover the description of techniques for measuring the profile of abrasive blast cleaned surfaces in the laboratory, field, or in the fabricating shop. There are additional techniques suitable for laboratory use not covered by these test methods.
1.2 Method B may also be appropriate to the measurement of profile produced by using power tools.
1.3 SSPC standard SSPC PA 17 provides additional guidance for determining conformance with surface profile requirements.
1.4 The values stated in SI units are to be regarded as the standard. The values given in parentheses are for information only.
1.5 This standard does not purport to address all of the safety concerns, if any, associated with its use. It is the responsibility of whoever uses this standard to consult and establish appropriate safety and health practices and determine the applicability of regulatory limitations prior to use.
General Information
Relations
Buy Standard
Standards Content (Sample)
NOTICE: This standard has either been superseded and replaced by a new version or withdrawn.
Contact ASTM International (www.astm.org) for the latest information
Designation:D4417 −14
Standard Test Methods for
Field Measurement of Surface Profile of Blast Cleaned
1
Steel
This standard is issued under the fixed designation D4417; the number immediately following the designation indicates the year of
original adoption or, in the case of revision, the year of last revision. A number in parentheses indicates the year of last reapproval. A
superscript epsilon (´) indicates an editorial change since the last revision or reapproval.
This standard has been approved for use by agencies of the U.S. Department of Defense.
3
1. Scope 2.2 SSPC Standard:
SSPC PA 17 Procedure for Determining Conformance to
1.1 These test methods cover the description of techniques
Steel Profile/Surface Roughness/Peak Count Require-
for measuring the profile of abrasive blast cleaned surfaces in
ments
the laboratory, field, or in the fabricating shop. There are
additionaltechniquessuitableforlaboratoryusenotcoveredby
3. Summary of Test Method
these test methods.
3.1 The methods are:
1.2 Method B may also be appropriate to the measurement
3.1.1 Method A—The blasted surface is visually compared
of profile produced by using power tools.
to standards prepared with various surface profile depths and
the range determined.
1.3 SSPC standard SSPC PA 17 provides additional guid-
3.1.2 Method B—The depth of profile is measured using a
ance for determining conformance with surface profile require-
fine pointed probe at a number of locations and the arithmetic
ments.
mean of the maximum peak-to-valley distances is determined.
1.4 The values stated in SI units are to be regarded as the
3.1.3 Method C—Acomposite plastic tape is impressed into
standard. The values given in parentheses are for information
theblastcleanedsurfaceformingareverseimageoftheprofile,
only.
and the maximum peak to valley distance measured with
1.5 This standard does not purport to address all of the
thickness gage specifically designed for use with the replica
safety concerns, if any, associated with its use. It is the
tape method.
responsibility of whoever uses this standard to consult and
4. Significance and Use
establish appropriate safety and health practices and deter-
mine the applicability of regulatory limitations prior to use. 4.1 The height of surface profile has been shown to be a
factor in the performance of various coatings applied to steel.
2. Referenced Documents For this reason, surface profile should be measured prior to
coating application to ensure that it meets that specified. The
2
2.1 ASTM Standards:
instruments described are readily portable and sufficiently
D7127 Test Method for Measurement of Surface Roughness
sturdy for use in the field.
of Abrasive Blast Cleaned Metal Surfaces Using a Por-
NOTE 1—Optical microscope methods serve as a referee method for
table Stylus Instrument
surface profile measurement methodsAand B. Profile depth designations
E177 Practice for Use of the Terms Precision and Bias in
¯
are based on the concept of mean maximum profile (h max); this value is
ASTM Test Methods
determined by averaging a given number (usually 20) of the highest peak
E691 Practice for Conducting an Interlaboratory Study to to lowest valley measurements made in the field of view of a standard
measuring microscope. This is done because of evidence that coatings
Determine the Precision of a Test Method
performance in any one small area is primarily influenced by the highest
4
surface features in that area and not by the average roughness.
5. Apparatus
1
These test methods are under the jurisdiction of ASTM Committee D01 on
Paint and Related Coatings, Materials, and Applications and are the direct
5.1 MethodA—Aprofile comparator consisting of a number
responsibility of Subcommittee D01.46 on Industrial Protective Coatings.
of areas (each approximately one square inch in size), usually
Current edition approved Jan. 1, 2014. Published March 2014. Originally
approved in 1984. Last previous edition approved in 2011 as D4417 – 11. DOI:
3
10.1520/D4417-14. Available from Society for Protective Coatings (SSPC), 40 24th St., 6th Floor,
2
For referenced ASTM standards, visit the ASTM website, www.astm.org, or Pittsburgh, PA 15222-4656, http://www.sspc.org.
4
contact ASTM Customer Service at service@astm.org. For Annual Book of ASTM John D. Keane, Joseph A. Bruno, Jr., Raymond E. F. Weaver, “Surface Profile
Standards volume information, refer to the standard’s Document Summary page on for Anti-Corrosion Paints,” Oct. 25, 1976, Steel Structures Painting Council, 4400
the ASTM website. Fifth Ave., Pittsburgh, PA 15213.
Copyright © ASTM International, 100 Barr Harbor Drive, PO Box C700, West Conshohocken, PA 19428-2959. United States
1
---------------------- Page: 1 ----------------------
D4417−14
1) The tape consists of a compressible foam coated onto an incompressible polyester substrate.
2)
...
This document is not an ASTM standard and is intended only to provide the user of an ASTM standard an indication of what changes have been made to the previous version. Because
it may not be technically possible to adequately depict all changes accurately, ASTM recommends that users consult prior editions as appropriate. In all cases only the current version
of the standard as published by ASTM is to be considered the official document.
Designation: D4417 − 11 D4417 − 14
Standard Test Methods for
Field Measurement of Surface Profile of Blast Cleaned
1
Steel
This standard is issued under the fixed designation D4417; the number immediately following the designation indicates the year of
original adoption or, in the case of revision, the year of last revision. A number in parentheses indicates the year of last reapproval. A
superscript epsilon (´) indicates an editorial change since the last revision or reapproval.
This standard has been approved for use by agencies of the U.S. Department of Defense.
1. Scope
1.1 These test methods cover the description of techniques for measuring the profile of abrasive blast cleaned surfaces in the
laboratory, field, or in the fabricating shop. There are additional techniques suitable for laboratory use not covered by these test
methods.
1.2 Method B may also be appropriate to the measurement of profile produce produced by using power tools.
1.3 SSPC standard SSPC PA 17 provides additional guidance for determining conformance with surface profile requirements.
1.4 The values stated in SI units are to be regarded as the standard. The values given in parentheses are for information only.
1.5 This standard does not purport to address all of the safety concerns, if any, associated with its use. It is the responsibility
of whoever uses this standard to consult and establish appropriate safety and health practices and determine the applicability of
regulatory limitations prior to use.
2. Referenced Documents
2
2.1 ASTM Standards:
D7127 Test Method for Measurement of Surface Roughness of Abrasive Blast Cleaned Metal Surfaces Using a Portable Stylus
Instrument
E177 Practice for Use of the Terms Precision and Bias in ASTM Test Methods
E691 Practice for Conducting an Interlaboratory Study to Determine the Precision of a Test Method
3
2.2 SSPC Standard:
SSPC PA 17 Procedure for Determining Conformance to Steel Profile/Surface Roughness/Peak Count Requirements
3. Summary of Test Method
3.1 The methods are:
3.1.1 Method A—The blasted surface is visually compared to standards prepared with various surface profile depths and the
range determined.
3.1.2 Method B—The depth of profile is measured using a fine pointed probe at a number of locations and the arithmetic mean
of the maximum peak-to-valley distances is determined.
3.1.3 Method C—A composite plastic tape is impressed into the blast cleaned surface forming a reverse image of the profile,
and the maximum peak to valley distance measured with a micrometer. thickness gage specifically designed for use with the replica
tape method.
4. Significance and Use
4.1 The height of surface profile has been shown to be a factor in the performance of various coatings applied to steel. For this
reason, surface profile should be measured prior to coating application to ensure that it meets that specified. The instruments
described are readily portable and sufficiently sturdy for use in the field.
1
These test methods are under the jurisdiction of ASTM Committee D01 on Paint and Related Coatings, Materials, and Applications and are the direct responsibility of
Subcommittee D01.46 on Industrial Protective Coatings.
Current edition approved Nov. 1, 2011Jan. 1, 2014. Published November 2011March 2014. Originally approved in 1984. Last previous edition approved in 20032011 as
D4417 – 03.D4417 – 11. DOI: 10.1520/D4417-11.10.1520/D4417-14.
2
For referenced ASTM standards, visit the ASTM website, www.astm.org, or contact ASTM Customer Service at service@astm.org. For Annual Book of ASTM Standards
volume information, refer to the standard’s Document Summary page on the ASTM website.
3
Available from Society for Protective Coatings (SSPC), 40 24th St., 6th Floor, Pittsburgh, PA 15222-4656, http://www.sspc.org.
Copyright © ASTM International, 100 Barr Harbor Drive, PO Box C700, West Conshohocken, PA 19428-2959. United States
1
---------------------- Page: 1 ----------------------
D4417 − 14
1) The tape consists of a compressible foam coated onto an incompressible polyester substrate.
2) In use, the tape is compressed (“burnished”) against the roughened surface to be measured.
3) After burnishing, the foam retains an impression of the surface.
4) Subsequent measurement of the replica’s thickness, minus that of the substrate, yields surface roughness.
FIG. 1 Illustration of Replica Tape Principle of Measurement
NOTE 1—Optical microscope methods serve as a referee method for surface profile measurement. measurement methods A and B. Profile depth
designations are based on the co
...


Questions, Comments and Discussion
Ask us and Technical Secretary will try to provide an answer. You can facilitate discussion about the standard in here.