ASTM F2203-13
(Test Method)Standard Test Method for Linear Measurement Using Precision Steel Rule
Standard Test Method for Linear Measurement Using Precision Steel Rule
SIGNIFICANCE AND USE
4.1 This test method provides a means for measuring linear dimensions. Accurate measurement of dimensions can be critical to meeting specifications and characterizing process performance.
4.2 This test method should not be applied to tolerance ranges of less than 3 mm (1/8 in.) when it is preferable that test error does not exceed 30 % of tolerance range. See Precision and Bias Section for gage repeatability and reproducibility results.
4.3 This test method does not address acceptability criteria. These need to be jointly determined by the user and producer of the product.
SCOPE
1.1 This test method covers the measurement of linear dimension of flexible packages and packaging materials. It is recommended for use with an allowable tolerance range of 3 mm (1/8 in.) or greater based on gage repeatability and reproducibility presented in the Precision and Bias section.
1.2 The values stated in either SI units or inch-pound units are to be regarded separately as standard. The values stated in each system may not be exact equivalents; therefore, each system shall be used independently of the other. Combining values from the two systems may result in non-conformance with the standard.
General Information
Relations
Buy Standard
Standards Content (Sample)
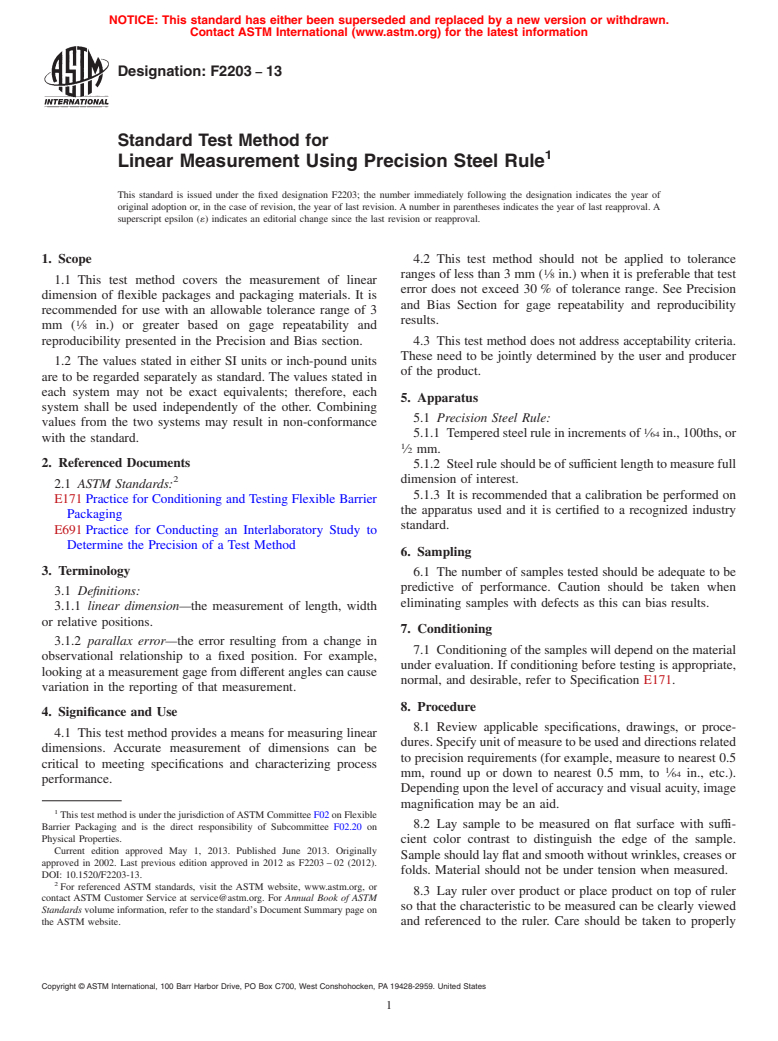
NOTICE: This standard has either been superseded and replaced by a new version or withdrawn.
Contact ASTM International (www.astm.org) for the latest information
Designation: F2203 − 13
Standard Test Method for
1
Linear Measurement Using Precision Steel Rule
This standard is issued under the fixed designation F2203; the number immediately following the designation indicates the year of
original adoption or, in the case of revision, the year of last revision. A number in parentheses indicates the year of last reapproval. A
superscript epsilon (´) indicates an editorial change since the last revision or reapproval.
1. Scope 4.2 This test method should not be applied to tolerance
1
ranges of less than 3 mm ( ⁄8 in.) when it is preferable that test
1.1 This test method covers the measurement of linear
error does not exceed 30 % of tolerance range. See Precision
dimension of flexible packages and packaging materials. It is
and Bias Section for gage repeatability and reproducibility
recommended for use with an allowable tolerance range of 3
results.
1
mm ( ⁄8 in.) or greater based on gage repeatability and
reproducibility presented in the Precision and Bias section. 4.3 This test method does not address acceptability criteria.
These need to be jointly determined by the user and producer
1.2 The values stated in either SI units or inch-pound units
of the product.
are to be regarded separately as standard. The values stated in
each system may not be exact equivalents; therefore, each
5. Apparatus
system shall be used independently of the other. Combining
5.1 Precision Steel Rule:
values from the two systems may result in non-conformance
1
5.1.1 Tempered steel rule in increments of ⁄64 in., 100ths, or
with the standard.
1
⁄2 mm.
2. Referenced Documents
5.1.2 Steel rule should be of sufficient length to measure full
2 dimension of interest.
2.1 ASTM Standards:
5.1.3 It is recommended that a calibration be performed on
E171 Practice for Conditioning and Testing Flexible Barrier
the apparatus used and it is certified to a recognized industry
Packaging
standard.
E691 Practice for Conducting an Interlaboratory Study to
Determine the Precision of a Test Method
6. Sampling
3. Terminology
6.1 The number of samples tested should be adequate to be
predictive of performance. Caution should be taken when
3.1 Definitions:
eliminating samples with defects as this can bias results.
3.1.1 linear dimension—the measurement of length, width
or relative positions.
7. Conditioning
3.1.2 parallax error—the error resulting from a change in
7.1 Conditioning of the samples will depend on the material
observational relationship to a fixed position. For example,
under evaluation. If conditioning before testing is appropriate,
looking at a measurement gage from different angles can cause
normal, and desirable, refer to Specification E171.
variation in the reporting of that measurement.
8. Procedure
4. Significance and Use
8.1 Review applicable specifications, drawings, or proce-
4.1 This test method provides a means for measuring linear
dures. Specify unit of measure to be used and directions related
dimensions. Accurate measurement of dimensions can be
to precision requirements (for example, measure to nearest 0.5
critical to meeting specifications and characterizing process
1
mm, round up or down to nearest 0.5 mm, to ⁄64 in., etc.).
performance.
Depending upon the level of accuracy and visual acuity, image
magnification may be an aid.
1
This test method is under the jurisdiction ofASTM Committee F02 on Flexible
8.2 Lay sample to be measured on flat surface with suffi-
Barrier Packaging and is the direct responsibility of Subcommittee F02.20 on
Physical Properties.
cient color contrast to distinguish the edge of the sample.
Current edition approved May 1, 2013. Published June 2013. Originally
Sample should lay flat and smooth without wrinkles, creases or
approved in 2002. Last previous edition approved in 2012 as F2203 – 02 (2012).
folds. Material should not be under tension when measured.
DOI: 10.1520/F2203-13.
2
For referenced ASTM standards, visit the ASTM website, www.astm.org, or
8.3 Lay ruler over product or place product on top of ruler
contact ASTM Customer Service at service@astm.org. For Annual Book of ASTM
so that the characteristic to be measured can be clearly viewed
Standards volume information, refer to the standard’s Document Summary page on
the ASTM website. and referenced to the ruler. Care should be taken to properly
Copyright © ASTM International, 100 Barr Harbor Drive, PO Box C700, West Conshohocken, PA 19428-2959. United States
1
---------------------- Page: 1 ----------------------
F2203 − 13
TABLE 1 Description of Materials Measured in Round Robin
seven laboratories measuring 13 dimensional attributes of five
Studies
packaging materials. Materials and measurement attributes are
Measurement Measurement Ruler Scaling
listed in Table 1. Measurements taken included use of steel
Material Type
Set Characteristic Applied
rules scale
...
This document is not an ASTM standard and is intended only to provide the user of an ASTM standard an indication of what changes have been made to the previous version. Because
it may not be technically possible to adequately depict all changes accurately, ASTM recommends that users consult prior editions as appropriate. In all cases only the current version
of the standard as published by ASTM is to be considered the official document.
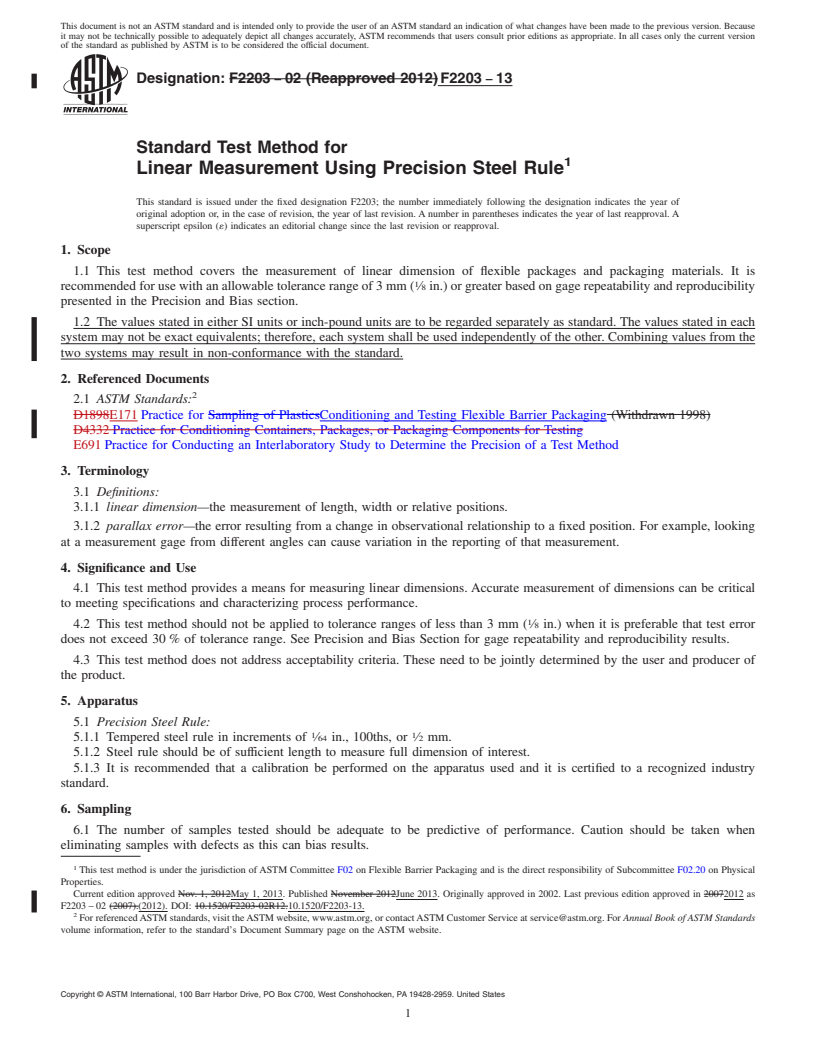
Designation: F2203 − 02 (Reapproved 2012) F2203 − 13
Standard Test Method for
1
Linear Measurement Using Precision Steel Rule
This standard is issued under the fixed designation F2203; the number immediately following the designation indicates the year of
original adoption or, in the case of revision, the year of last revision. A number in parentheses indicates the year of last reapproval. A
superscript epsilon (´) indicates an editorial change since the last revision or reapproval.
1. Scope
1.1 This test method covers the measurement of linear dimension of flexible packages and packaging materials. It is
1
recommended for use with an allowable tolerance range of 3 mm ( ⁄8 in.) or greater based on gage repeatability and reproducibility
presented in the Precision and Bias section.
1.2 The values stated in either SI units or inch-pound units are to be regarded separately as standard. The values stated in each
system may not be exact equivalents; therefore, each system shall be used independently of the other. Combining values from the
two systems may result in non-conformance with the standard.
2. Referenced Documents
2
2.1 ASTM Standards:
D1898E171 Practice for Sampling of PlasticsConditioning and Testing Flexible Barrier Packaging (Withdrawn 1998)
D4332 Practice for Conditioning Containers, Packages, or Packaging Components for Testing
E691 Practice for Conducting an Interlaboratory Study to Determine the Precision of a Test Method
3. Terminology
3.1 Definitions:
3.1.1 linear dimension—the measurement of length, width or relative positions.
3.1.2 parallax error—the error resulting from a change in observational relationship to a fixed position. For example, looking
at a measurement gage from different angles can cause variation in the reporting of that measurement.
4. Significance and Use
4.1 This test method provides a means for measuring linear dimensions. Accurate measurement of dimensions can be critical
to meeting specifications and characterizing process performance.
1
4.2 This test method should not be applied to tolerance ranges of less than 3 mm ( ⁄8 in.) when it is preferable that test error
does not exceed 30 % of tolerance range. See Precision and Bias Section for gage repeatability and reproducibility results.
4.3 This test method does not address acceptability criteria. These need to be jointly determined by the user and producer of
the product.
5. Apparatus
5.1 Precision Steel Rule:
1 1
5.1.1 Tempered steel rule in increments of ⁄64 in., 100ths, or ⁄2 mm.
5.1.2 Steel rule should be of sufficient length to measure full dimension of interest.
5.1.3 It is recommended that a calibration be performed on the apparatus used and it is certified to a recognized industry
standard.
6. Sampling
6.1 The number of samples tested should be adequate to be predictive of performance. Caution should be taken when
eliminating samples with defects as this can bias results.
1
This test method is under the jurisdiction of ASTM Committee F02 on Flexible Barrier Packaging and is the direct responsibility of Subcommittee F02.20 on Physical
Properties.
Current edition approved Nov. 1, 2012May 1, 2013. Published November 2012June 2013. Originally approved in 2002. Last previous edition approved in 20072012 as
F2203 – 02 (2007).(2012). DOI: 10.1520/F2203-02R12.10.1520/F2203-13.
2
For referenced ASTM standards, visit the ASTM website, www.astm.org, or contact ASTM Customer Service at service@astm.org. For Annual Book of ASTM Standards
volume information, refer to the standard’s Document Summary page on the ASTM website.
Copyright © ASTM International, 100 Barr Harbor Drive, PO Box C700, West Conshohocken, PA 19428-2959. United States
1
---------------------- Page: 1 ----------------------
F2203 − 13
TABLE 1 Description of Materials Measured in Round Robin
Studies
Measurement Measurement Ruler Scaling
Material Type
Set Characteristic Applied
A Foil Web Web Width in.
B Paper Web Web Width in.
C Spunbonded Olefin Web Web Width mm
D Printed Foil Web Print Repeat Length in.
E Printed Paper Web Print Repeat Length in.
F Printed Spunbonded Olefin Print Repeat Length mm
Web
G Forming Film Web Web Width mm
H Finished Pouch Dimension A in.
I Finished Pouch Dimension B in.
J Finished Pouch Dimension C in.
K Finished Pouch Dimension D in.
L Finished Pouch Dimension E in.
M Finished Pouch Dimension F in.
6.2 See Practice D1898 for guidance on sampling practices.
7. Conditioning
7.1 Conditioning of the samples will depend on the material under evaluation. If conditioning before testing is appropriate,
norma
...


Questions, Comments and Discussion
Ask us and Technical Secretary will try to provide an answer. You can facilitate discussion about the standard in here.