ASTM D344-97
(Test Method)Standard Test Method for Relative Hiding Power of Paints by the Visual Evaluation of Brushouts
Standard Test Method for Relative Hiding Power of Paints by the Visual Evaluation of Brushouts
SCOPE
1.1 This test method provides for the qualitative and quantitative visual determination of the hiding power of a test paint relative to that of a comparison paint.
1.2 This test method describes only a brushout application procedure in specific detail, but its concepts are valid for other methods of application as well.
1.3 The values stated in inch-pound units are to be regarded as the standard. The values given in parentheses are for information only.
1.4 This standard does not purport to address all of the safety concerns, if any, associated with its use. It is the responsibility of the user of this standard to establish appropriate safety and health practices and determine the applicability of regulatory limitations prior to use.
General Information
Relations
Standards Content (Sample)
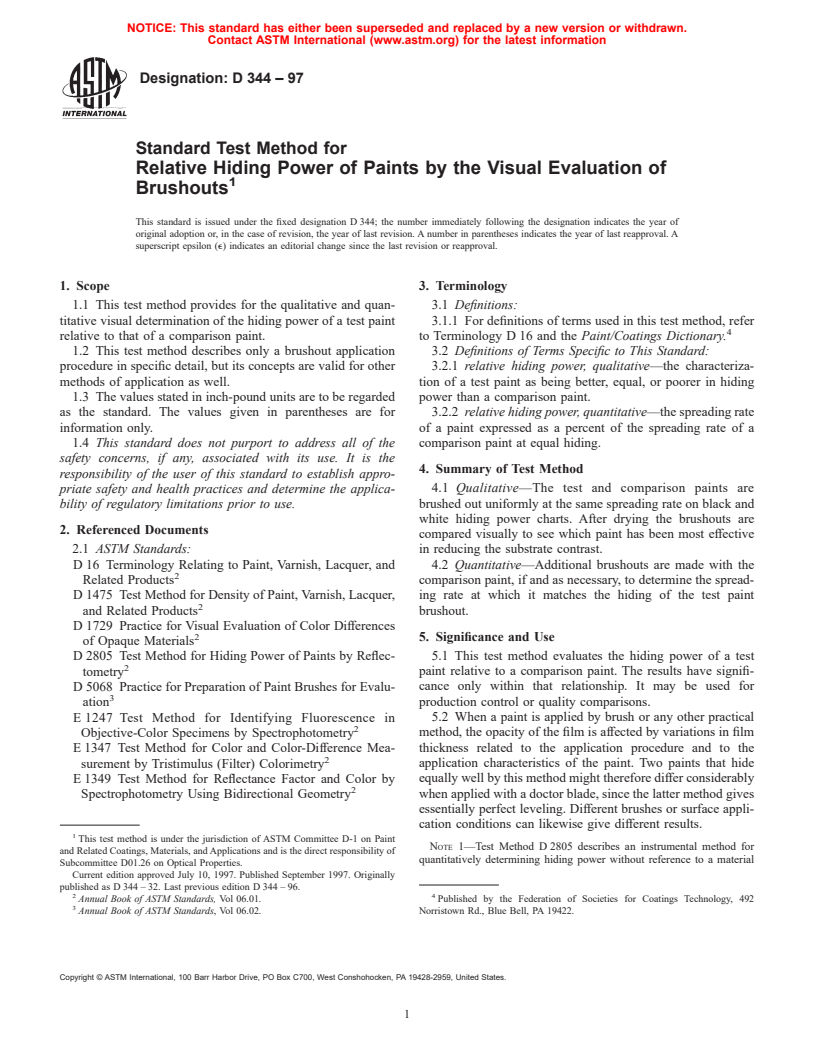
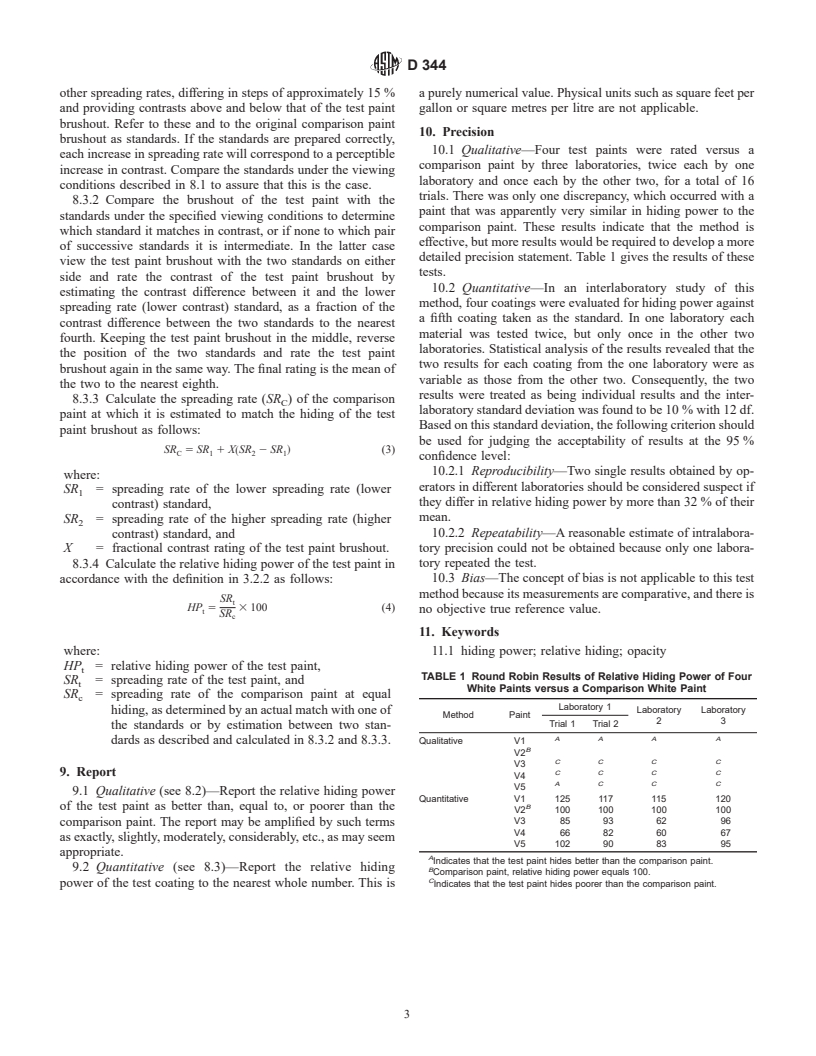
NOTICE: This standard has either been superseded and replaced by a new version or withdrawn.
Contact ASTM International (www.astm.org) for the latest information
Designation: D 344 – 97
Standard Test Method for
Relative Hiding Power of Paints by the Visual Evaluation of
Brushouts
This standard is issued under the fixed designation D 344; the number immediately following the designation indicates the year of
original adoption or, in the case of revision, the year of last revision. A number in parentheses indicates the year of last reapproval. A
superscript epsilon (e) indicates an editorial change since the last revision or reapproval.
1. Scope 3. Terminology
1.1 This test method provides for the qualitative and quan- 3.1 Definitions:
titative visual determination of the hiding power of a test paint 3.1.1 For definitions of terms used in this test method, refer
relative to that of a comparison paint. to Terminology D 16 and the Paint/Coatings Dictionary.
1.2 This test method describes only a brushout application 3.2 Definitions of Terms Specific to This Standard:
procedure in specific detail, but its concepts are valid for other 3.2.1 relative hiding power, qualitative—the characteriza-
methods of application as well. tion of a test paint as being better, equal, or poorer in hiding
1.3 The values stated in inch-pound units are to be regarded power than a comparison paint.
as the standard. The values given in parentheses are for 3.2.2 relative hiding power, quantitative—the spreading rate
information only. of a paint expressed as a percent of the spreading rate of a
1.4 This standard does not purport to address all of the comparison paint at equal hiding.
safety concerns, if any, associated with its use. It is the
4. Summary of Test Method
responsibility of the user of this standard to establish appro-
priate safety and health practices and determine the applica- 4.1 Qualitative—The test and comparison paints are
brushed out uniformly at the same spreading rate on black and
bility of regulatory limitations prior to use.
white hiding power charts. After drying the brushouts are
2. Referenced Documents
compared visually to see which paint has been most effective
2.1 ASTM Standards: in reducing the substrate contrast.
D 16 Terminology Relating to Paint, Varnish, Lacquer, and 4.2 Quantitative—Additional brushouts are made with the
Related Products comparison paint, if and as necessary, to determine the spread-
D 1475 Test Method for Density of Paint, Varnish, Lacquer, ing rate at which it matches the hiding of the test paint
and Related Products brushout.
D 1729 Practice for Visual Evaluation of Color Differences
2 5. Significance and Use
of Opaque Materials
5.1 This test method evaluates the hiding power of a test
D 2805 Test Method for Hiding Power of Paints by Reflec-
tometry paint relative to a comparison paint. The results have signifi-
cance only within that relationship. It may be used for
D 5068 Practice for Preparation of Paint Brushes for Evalu-
ation production control or quality comparisons.
5.2 When a paint is applied by brush or any other practical
E 1247 Test Method for Identifying Fluorescence in
Objective-Color Specimens by Spectrophotometry method, the opacity of the film is affected by variations in film
thickness related to the application procedure and to the
E 1347 Test Method for Color and Color-Difference Mea-
surement by Tristimulus (Filter) Colorimetry application characteristics of the paint. Two paints that hide
equally well by this method might therefore differ considerably
E 1349 Test Method for Reflectance Factor and Color by
Spectrophotometry Using Bidirectional Geometry when applied with a doctor blade, since the latter method gives
essentially perfect leveling. Different brushes or surface appli-
cation conditions can likewise give different results.
This test method is under the jurisdiction of ASTM Committee D-1 on Paint
NOTE 1—Test Method D 2805 describes an instrumental method for
and Related Coatings, Materials, and Applications and is the direct responsibility of
quantitatively determining hiding power without reference to a material
Subcommittee D01.26 on Optical Properties.
Current edition approved July 10, 1997. Published September 1997. Originally
published as D 344 – 32. Last previous edition D 344 – 96.
2 4
Annual Book of ASTM Standards, Vol 06.01. Published by the Federation of Societies for Coatings Technology, 492
Annual Book of ASTM Standards, Vol 06.02. Norristown Rd., Blue Bell, PA 19422.
Copyright © ASTM International, 100 Barr Harbor Drive, PO Box C700, West Conshohocken, PA 19428-2959, United States.
D 344
paint standard. The paint film is applied at a uniform thickness (for
7.3 Calculate to three significant figures the volume V in
example, with a doctor blade), the film thickness is measured rigorously,
millilitres to apply for the selected spreading rate SR as
and the opacity is evaluated photometrically. Hiding power is thereby
follows:
determined with a high degree of precision.
100 4074.6
5.3 Test Method D 344 is less precise than Test Method V~mL! 5 5 (1)
2 2
SR m /L! SR~ft /gal!
~
D 2805, but is more practical because it is responsive to the
application characteristics of paints, and is simpler in concept
7.4 Calculate to three significant figures, the weight W in
and execution.
grams corresponding to the volume V (mL) as follows:
6. Apparatus
W~g! 5 V~mL! 3 D~g/mL!
6.1 Balance, top-loading laboratory balance having a capac-
ity of 100 g and sensitivity of 0.1 g.
7.5 To prepare a brushout, first stir the paint well. Then
6.2 Syringe, 10-mL capacity. precondition the brush by dipping it into the paint and working
6.3 Paint Brush, ferrule 2 in. (50 mm) wide and ⁄16in. (14
it out on a smooth, nonporous surface as described in Practice
mm) thick, tapered polyester filaments 2 ⁄4 in. (70 mm) long D 5068. Take up the desired volume of paint in the syringe and
with flagged chisel trim tip.
weigh it with the brush in the empty container. Place the test
6.4 Container, ⁄2-pint can or 250-mL beaker. chart on a level bench top, distribute the paint evenly over the
6.5 Test Surface, a smooth-surfaced paper chart having test area of the chart, then brush the paint out uniformly within
adjacent black and white areas and coated with a suitable the test area. Set the brushout aside to dry in a horizontal
varnish or lacquer so as to render the surface impervious to position, protected adequately from dust and under normal
paint liquids. The black and white areas of the chart shall have room conditions of ventilation and temperature. Reweigh the
luminous reflectance factors of 1 % maximum and 75 % empty syringe with the brush and container. The loss of weight
minimum, respectively, when tested in accordance with Test
represents the actual weight of paint applied to the test surface
Methods E 1347 or E 1349. The white areas of the charts used as opposed to the intended weight calculated from 7.3 and 7.4.
in any one testing program shall not differ in their reflectance
If there is a discrepancy do not attempt to correct it by
factors by more than 1 %, and shall be nonfluorescent. Any removing or applying paint since this would disturb the
suitable regular design of contrasting areas may be used. The
leveling of the brushout. Instead, calculate the actual spreading
chart shall have a defined test area of 0.1 m . Larger test areas rate as follows:
may be used if available, with appropriate modification of the
B
SR 5 3 SR (2)
indicated calculations. A B
A
6.6 Illumination, a light source providing diffuse light of
reasonable intensity, preferably northern sky light or an ap-
where:
proximation of same. (See Practice D 1729).
SR = actual spreading rate,
A
B = intended weight,
7. Preparation of Brushouts
A = actual weight, and
7.1 Select a convenient and suitable spreading rate, mutu-
SR = intended spreading rate.
B
ally agreeable to all parties involved in the testing program,
and preferably in the range from 400 to 800 ft /gal (9.8 to 19.6
8. Evaluation Procedure
m /L). In any case, the spreading rate shall not be so low that
8.1 Viewing conditions—When the test and comparison
the substrate contrast is difficult to see, nor so high that it is
paint brushouts are thoroughly dry, place them vertically side
difficult to app
...


Questions, Comments and Discussion
Ask us and Technical Secretary will try to provide an answer. You can facilitate discussion about the standard in here.