ASTM A531/A531M-13
(Practice)Standard Practice for Ultrasonic Examination of Turbine-Generator Steel Retaining Rings
Standard Practice for Ultrasonic Examination of Turbine-Generator Steel Retaining Rings
ABSTRACT
This test method covers the procedures for the standard practice of performing ultrasonic shear and longitudinal wave examinations on turbine-generator steel retaining rings. A pulsed reflection-type ultrasonic instrument shall be used for the tests. Scanning of steel specimens may be performed by either the contact (stationary) or immersion (rotating) methods, both of which may be executed in either the axial or circumferential directions. Tests shall be performed after specimens have gone through final processing and heat treatment for properties, and the circumferential and axial faces machined flat and parallel to one another. Also prior to testing, surface examinations shall be made for surface roughness and tears, loose scales, machining or grinding particles, paint, and other foreign and extraneous matter. Suitable couplant liquids, capable of conducting ultrasonic vibrations, shall be used to couple the transducer to test surfaces.
SCOPE
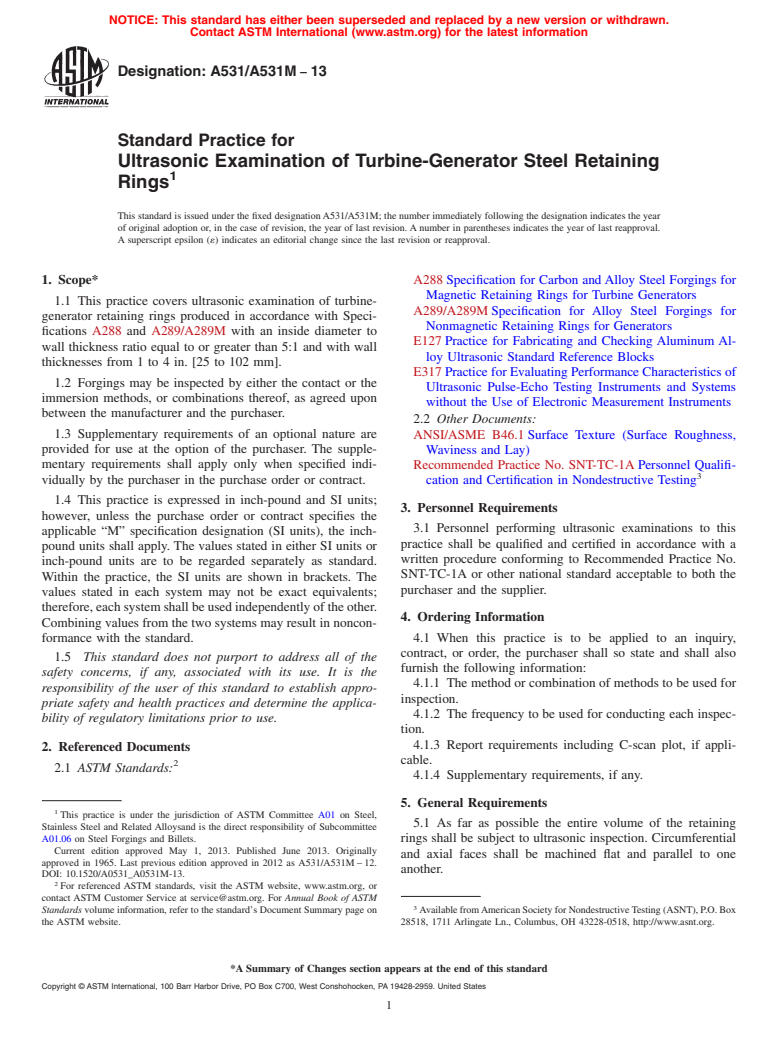
1.1 This practice covers ultrasonic examination of turbine-generator retaining rings produced in accordance with Specifications A288 and A289/A289M with an inside diameter to wall thickness ratio equal to or greater than 5:1 and with wall thicknesses from 1 to 4 in. [25 to 102 mm].
1.2 Forgings may be inspected by either the contact or the immersion methods, or combinations thereof, as agreed upon between the manufacturer and the purchaser.
1.3 Supplementary requirements of an optional nature are provided for use at the option of the purchaser. The supplementary requirements shall apply only when specified individually by the purchaser in the purchase order or contract.
1.4 This practice is expressed in inch-pound and SI units; however, unless the purchase order or contract specifies the applicable “M” specification designation (SI units), the inch-pound units shall apply. The values stated in either SI units or inch-pound units are to be regarded separately as standard. Within the practice, the SI units are shown in brackets. The values stated in each system may not be exact equivalents; therefore, each system shall be used independently of the other. Combining values from the two systems may result in nonconformance with the standard.
1.5 This standard does not purport to address all of the safety concerns, if any, associated with its use. It is the responsibility of the user of this standard to establish appropriate safety and health practices and determine the applicability of regulatory limitations prior to use.
General Information
Relations
Buy Standard
Standards Content (Sample)
NOTICE: This standard has either been superseded and replaced by a new version or withdrawn.
Contact ASTM International (www.astm.org) for the latest information
Designation: A531/A531M − 13
Standard Practice for
Ultrasonic Examination of Turbine-Generator Steel Retaining
1
Rings
This standard is issued under the fixed designationA531/A531M; the number immediately following the designation indicates the year
of original adoption or, in the case of revision, the year of last revision.Anumber in parentheses indicates the year of last reapproval.
A superscript epsilon (´) indicates an editorial change since the last revision or reapproval.
1. Scope* A288Specification for Carbon andAlloy Steel Forgings for
Magnetic Retaining Rings for Turbine Generators
1.1 This practice covers ultrasonic examination of turbine-
A289/A289MSpecification for Alloy Steel Forgings for
generator retaining rings produced in accordance with Speci-
Nonmagnetic Retaining Rings for Generators
fications A288 and A289/A289M with an inside diameter to
E127Practice for Fabricating and Checking Aluminum Al-
wall thickness ratio equal to or greater than 5:1 and with wall
loy Ultrasonic Standard Reference Blocks
thicknesses from 1 to 4 in. [25 to 102 mm].
E317Practice for Evaluating Performance Characteristics of
1.2 Forgings may be inspected by either the contact or the
Ultrasonic Pulse-Echo Testing Instruments and Systems
immersion methods, or combinations thereof, as agreed upon
without the Use of Electronic Measurement Instruments
between the manufacturer and the purchaser.
2.2 Other Documents:
1.3 Supplementary requirements of an optional nature are
ANSI/ASME B46.1Surface Texture (Surface Roughness,
provided for use at the option of the purchaser. The supple- Waviness and Lay)
mentary requirements shall apply only when specified indi-
Recommended Practice No. SNT-TC-1APersonnel Qualifi-
3
vidually by the purchaser in the purchase order or contract. cation and Certification in Nondestructive Testing
1.4 This practice is expressed in inch-pound and SI units;
3. Personnel Requirements
however, unless the purchase order or contract specifies the
3.1 Personnel performing ultrasonic examinations to this
applicable “M” specification designation (SI units), the inch-
practice shall be qualified and certified in accordance with a
pound units shall apply. The values stated in either SI units or
written procedure conforming to Recommended Practice No.
inch-pound units are to be regarded separately as standard.
SNT-TC-1A or other national standard acceptable to both the
Within the practice, the SI units are shown in brackets. The
purchaser and the supplier.
values stated in each system may not be exact equivalents;
therefore,eachsystemshallbeusedindependentlyoftheother.
4. Ordering Information
Combining values from the two systems may result in noncon-
formance with the standard. 4.1 When this practice is to be applied to an inquiry,
contract, or order, the purchaser shall so state and shall also
1.5 This standard does not purport to address all of the
furnish the following information:
safety concerns, if any, associated with its use. It is the
4.1.1 The method or combination of methods to be used for
responsibility of the user of this standard to establish appro-
inspection.
priate safety and health practices and determine the applica-
4.1.2 The frequency to be used for conducting each inspec-
bility of regulatory limitations prior to use.
tion.
4.1.3 Report requirements including C-scan plot, if appli-
2. Referenced Documents
cable.
2
2.1 ASTM Standards:
4.1.4 Supplementary requirements, if any.
5. General Requirements
1
This practice is under the jurisdiction of ASTM Committee A01 on Steel,
5.1 As far as possible the entire volume of the retaining
Stainless Steel and Related Alloysand is the direct responsibility of Subcommittee
A01.06 on Steel Forgings and Billets.
rings shall be subject to ultrasonic inspection. Circumferential
Current edition approved May 1, 2013. Published June 2013. Originally
and axial faces shall be machined flat and parallel to one
approved in 1965. Last previous edition approved in 2012 as A531/A531M–12.
another.
DOI: 10.1520/A0531_A0531M-13.
2
For referenced ASTM standards, visit the ASTM website, www.astm.org, or
contact ASTM Customer Service at service@astm.org. For Annual Book of ASTM
3
Standards volume information, refer to the standard’s Document Summary page on AvailablefromAmericanSocietyforNondestructiveTesting(ASNT),P.O.Box
the ASTM website. 28518, 1711 Arlingate Ln., Columbus, OH 43228-0518, http://www.asnt.org.
*A Summary of Changes section appears at the end of this standard
Copyright © ASTM International, 100 Barr Harbor Drive, PO Box C700, West Conshohocken, PA 19428-2959. United States
1
---------------------- Page: 1 ----------------------
A531/A531M − 13
5.2 The ultrasonic inspection shall be performed after final 6.2 Amplifier—The amplifier and display shall provide lin-
processing and heat treatment for properti
...
This document is not an ASTM standard and is intended only to provide the user of an ASTM standard an indication of what changes have been made to the previous version. Because
it may not be technically possible to adequately depict all changes accurately, ASTM recommends that users consult prior editions as appropriate. In all cases only the current version
of the standard as published by ASTM is to be considered the official document.
Designation: A531/A531M − 12 A531/A531M − 13
Standard Practice for
Ultrasonic Examination of Turbine-Generator Steel Retaining
1
Rings
This standard is issued under the fixed designation A531/A531M; the number immediately following the designation indicates the year
of original adoption or, in the case of revision, the year of last revision. A number in parentheses indicates the year of last reapproval.
A superscript epsilon (´) indicates an editorial change since the last revision or reapproval.
1. Scope*
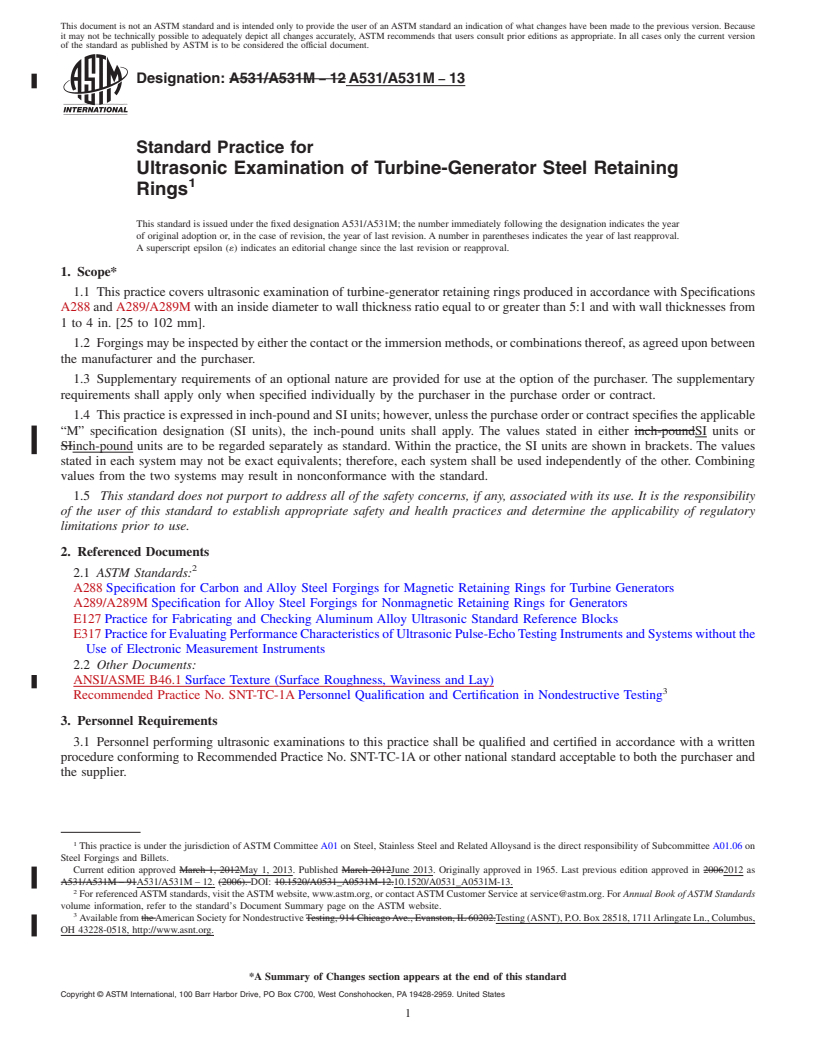
1.1 This practice covers ultrasonic examination of turbine-generator retaining rings produced in accordance with Specifications
A288 and A289/A289M with an inside diameter to wall thickness ratio equal to or greater than 5:1 and with wall thicknesses from
1 to 4 in. [25 to 102 mm].
1.2 Forgings may be inspected by either the contact or the immersion methods, or combinations thereof, as agreed upon between
the manufacturer and the purchaser.
1.3 Supplementary requirements of an optional nature are provided for use at the option of the purchaser. The supplementary
requirements shall apply only when specified individually by the purchaser in the purchase order or contract.
1.4 This practice is expressed in inch-pound and SI units; however, unless the purchase order or contract specifies the applicable
“M” specification designation (SI units), the inch-pound units shall apply. The values stated in either inch-poundSI units or
SIinch-pound units are to be regarded separately as standard. Within the practice, the SI units are shown in brackets. The values
stated in each system may not be exact equivalents; therefore, each system shall be used independently of the other. Combining
values from the two systems may result in nonconformance with the standard.
1.5 This standard does not purport to address all of the safety concerns, if any, associated with its use. It is the responsibility
of the user of this standard to establish appropriate safety and health practices and determine the applicability of regulatory
limitations prior to use.
2. Referenced Documents
2
2.1 ASTM Standards:
A288 Specification for Carbon and Alloy Steel Forgings for Magnetic Retaining Rings for Turbine Generators
A289/A289M Specification for Alloy Steel Forgings for Nonmagnetic Retaining Rings for Generators
E127 Practice for Fabricating and Checking Aluminum Alloy Ultrasonic Standard Reference Blocks
E317 Practice for Evaluating Performance Characteristics of Ultrasonic Pulse-Echo Testing Instruments and Systems without the
Use of Electronic Measurement Instruments
2.2 Other Documents:
ANSI/ASME B46.1 Surface Texture (Surface Roughness, Waviness and Lay)
3
Recommended Practice No. SNT-TC-1A Personnel Qualification and Certification in Nondestructive Testing
3. Personnel Requirements
3.1 Personnel performing ultrasonic examinations to this practice shall be qualified and certified in accordance with a written
procedure conforming to Recommended Practice No. SNT-TC-1A or other national standard acceptable to both the purchaser and
the supplier.
1
This practice is under the jurisdiction of ASTM Committee A01 on Steel, Stainless Steel and Related Alloysand is the direct responsibility of Subcommittee A01.06 on
Steel Forgings and Billets.
Current edition approved March 1, 2012May 1, 2013. Published March 2012June 2013. Originally approved in 1965. Last previous edition approved in 20062012 as
A531/A531M – 91A531/A531M – 12. (2006). DOI: 10.1520/A0531_A0531M-12.10.1520/A0531_A0531M-13.
2
For referenced ASTM standards, visit the ASTM website, www.astm.org, or contact ASTM Customer Service at service@astm.org. For Annual Book of ASTM Standards
volume information, refer to the standard’s Document Summary page on the ASTM website.
3
Available from the American Society for Nondestructive Testing, 914 Chicago Ave., Evanston, IL 60202.Testing (ASNT), P.O. Box 28518, 1711 Arlingate Ln., Columbus,
OH 43228-0518, http://www.asnt.org.
*A Summary of Changes section appears at the end of this standard
Copyright © ASTM International, 100 Barr Harbor Drive, PO Box C700, West Conshohocken, PA 19428-2959. United States
1
---------------------- Page: 1 ----------------------
A531/A531M − 13
4. Ordering Information
4.1 When this practice is to be applied to an inquiry, contract, or order, the purchaser shall so state and shall also furnish the
following information:
4.1.1 The method or combination of methods to be used for inspection.
4.1.2 The frequency to be used for conducting each inspection.
4.1.3 Report requirements including C-sc
...


Questions, Comments and Discussion
Ask us and Technical Secretary will try to provide an answer. You can facilitate discussion about the standard in here.