ASTM E114-10
(Practice)Standard Practice for Ultrasonic Pulse-Echo Straight-Beam Contact Testing
Standard Practice for Ultrasonic Pulse-Echo Straight-Beam Contact Testing
SIGNIFICANCE AND USE
This practice employs the use of normal-incident, or straight beam, longitudinal wave ultrasound for the detection and evaluation of discontinuities in materials requiring volumetric examination.
Although not all requirements of this practice can be applied universally to all inspection situations and materials, it does provide the basis for establishing contractual criteria between suppliers and purchasers of materials for performing contact longitudinal wave pulse-echo examination and may be used as a guide for writing detailed procedures for particular applications.
Types of information that may be obtained from the pulsed-echo straight-beam practice are as follows:
Apparent discontinuity size (see Note 1) by comparison of the signal amplitudes from the test piece to the amplitudes obtained from a reference standard.
Depth location of discontinuities by calibrating the horizontal scale of the A-scan display.
Material properties as indicated by the relative sound attenuation or velocity changes of compared items.
The extent of bond and unbond (or fusion and lack of fusion) between two ultrasonic conducting materials if geometry and materials permit.
Note 1—The term “apparent” is emphasized since true size depends on orientation, composition, and geometry of the discontinuity and equipment limitations.
SCOPE
1.1 This practice covers ultrasonic examination of materials by the pulse-echo method using straight-beam longitudinal waves introduced by direct contact of the search unit with the material being examined.
1.2 This practice shall be applicable to development of an examination procedure agreed upon by the users of the document.
1.3 The values stated in inch-pound units are to be regarded as standard. The values given in parentheses are mathematical conversions to SI units that are provided for information only and are not considered standard.
1.4 This standard does not purport to address all of the safety concerns, if any, associated with its use. It is the responsibility of the user of this standard to establish appropriate safety and health practices and determine the applicability of regulatory limitations prior to use.
General Information
Relations
Buy Standard
Standards Content (Sample)
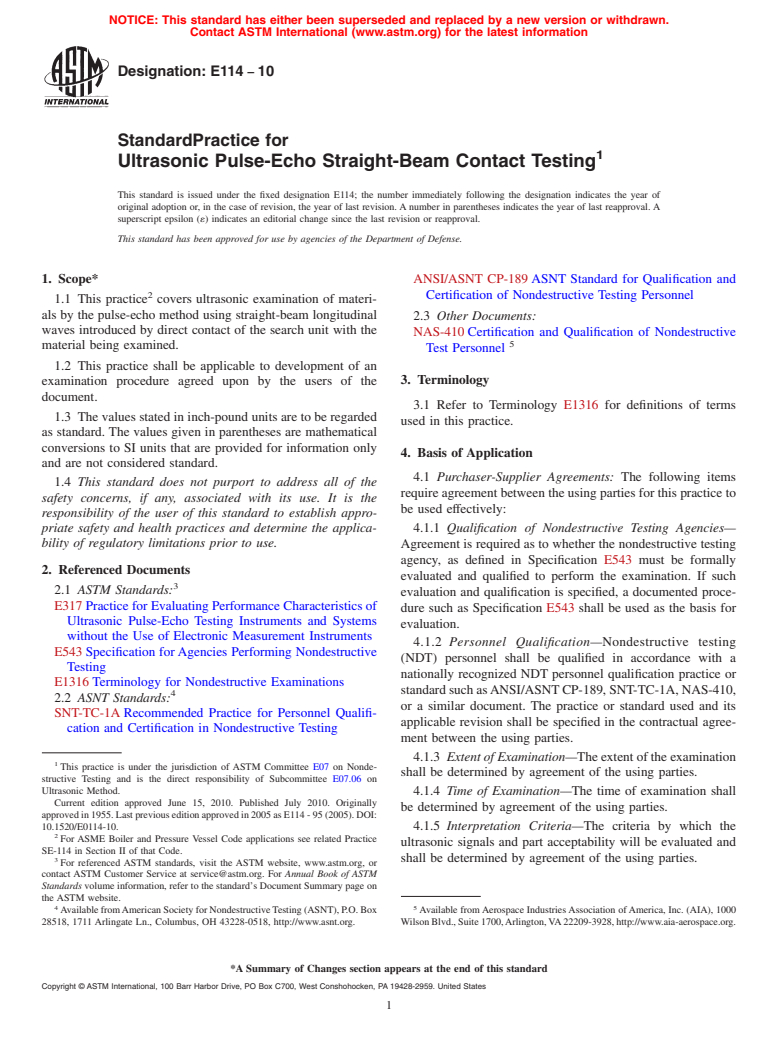
NOTICE: This standard has either been superseded and replaced by a new version or withdrawn.
Contact ASTM International (www.astm.org) for the latest information
Designation: E114 − 10
StandardPractice for
1
Ultrasonic Pulse-Echo Straight-Beam Contact Testing
This standard is issued under the fixed designation E114; the number immediately following the designation indicates the year of
original adoption or, in the case of revision, the year of last revision. A number in parentheses indicates the year of last reapproval. A
superscript epsilon (´) indicates an editorial change since the last revision or reapproval.
This standard has been approved for use by agencies of the Department of Defense.
1. Scope* ANSI/ASNT CP-189 ASNT Standard for Qualification and
2
Certification of Nondestructive Testing Personnel
1.1 This practice covers ultrasonic examination of materi-
als by the pulse-echo method using straight-beam longitudinal
2.3 Other Documents:
waves introduced by direct contact of the search unit with the
NAS-410 Certification and Qualification of Nondestructive
5
material being examined.
Test Personnel
1.2 This practice shall be applicable to development of an
3. Terminology
examination procedure agreed upon by the users of the
document.
3.1 Refer to Terminology E1316 for definitions of terms
1.3 The values stated in inch-pound units are to be regarded
used in this practice.
as standard. The values given in parentheses are mathematical
conversions to SI units that are provided for information only
4. Basis of Application
and are not considered standard.
4.1 Purchaser-Supplier Agreements: The following items
1.4 This standard does not purport to address all of the
require agreement between the using parties for this practice to
safety concerns, if any, associated with its use. It is the
be used effectively:
responsibility of the user of this standard to establish appro-
priate safety and health practices and determine the applica- 4.1.1 Qualification of Nondestructive Testing Agencies—
bility of regulatory limitations prior to use. Agreement is required as to whether the nondestructive testing
agency, as defined in Specification E543 must be formally
2. Referenced Documents
evaluated and qualified to perform the examination. If such
3
2.1 ASTM Standards:
evaluation and qualification is specified, a documented proce-
E317 Practice for Evaluating Performance Characteristics of
dure such as Specification E543 shall be used as the basis for
Ultrasonic Pulse-Echo Testing Instruments and Systems
evaluation.
without the Use of Electronic Measurement Instruments
4.1.2 Personnel Qualification—Nondestructive testing
E543 Specification for Agencies Performing Nondestructive
(NDT) personnel shall be qualified in accordance with a
Testing
nationally recognized NDT personnel qualification practice or
E1316 Terminology for Nondestructive Examinations
standardsuchasANSI/ASNTCP-189,SNT-TC-1A,NAS-410,
4
2.2 ASNT Standards:
or a similar document. The practice or standard used and its
SNT-TC-1A Recommended Practice for Personnel Qualifi-
applicable revision shall be specified in the contractual agree-
cation and Certification in Nondestructive Testing
ment between the using parties.
4.1.3 Extent of Examination—The extent of the examination
1
This practice is under the jurisdiction of ASTM Committee E07 on Nonde-
shall be determined by agreement of the using parties.
structive Testing and is the direct responsibility of Subcommittee E07.06 on
Ultrasonic Method.
4.1.4 Time of Examination—The time of examination shall
Current edition approved June 15, 2010. Published July 2010. Originally
be determined by agreement of the using parties.
approvedin1955.Lastpreviouseditionapprovedin2005asE114 - 95(2005).DOI:
10.1520/E0114-10. 4.1.5 Interpretation Criteria—The criteria by which the
2
For ASME Boiler and Pressure Vessel Code applications see related Practice
ultrasonic signals and part acceptability will be evaluated and
SE-114 in Section II of that Code.
shall be determined by agreement of the using parties.
3
For referenced ASTM standards, visit the ASTM website, www.astm.org, or
contact ASTM Customer Service at service@astm.org. For Annual Book of ASTM
Standards volume information, refer to the standard’s Document Summary page on
the ASTM website.
4 5
AvailablefromAmericanSocietyforNondestructiveTesting(ASNT),P.O.Box Available fromAerospace IndustriesAssociation ofAmerica, Inc. (AIA), 1000
28518, 1711 Arlingate Ln., Columbus, OH 43228-0518, http://www.asnt.org. WilsonBlvd.,Suite1700,Arlington,VA22209-3928,http://www.aia-aerospace.org.
*A Summary of Changes section appears at the end of this standard
Copyright © ASTM International, 100 Barr Harbor Drive, PO Box C700, West Conshohocken, PA 19428-2959. United States
1
---------------------- Page: 1 ----------------------
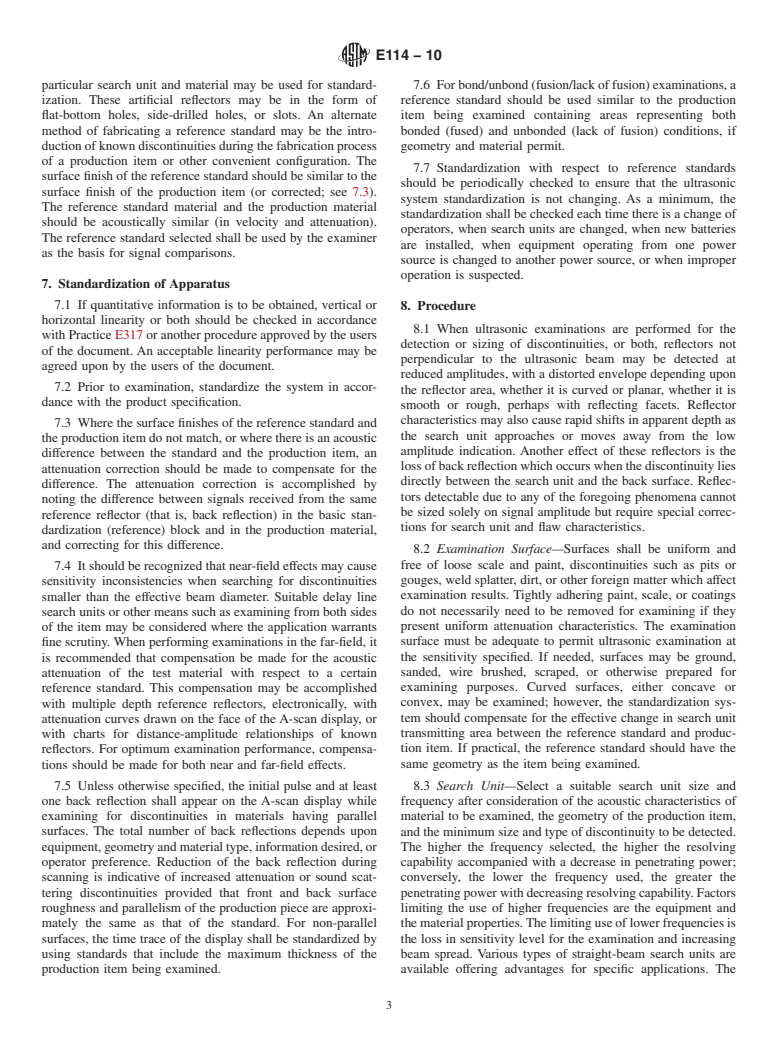
E114 − 10
5. Significance and Use search unit and examination material must be maintained such
that the contact area is held constant while maintaining
5.1 This practice employs t
...
This document is not an ASTM standard and is intended only to provide the user of an ASTM standard an indication of what changes have been made to the previous version. Because
it may not be technically possible to adequately depict all changes accurately, ASTM recommends that users consult prior editions as appropriate. In all cases only the current version
of the standard as published by ASTM is to be considered the official document.
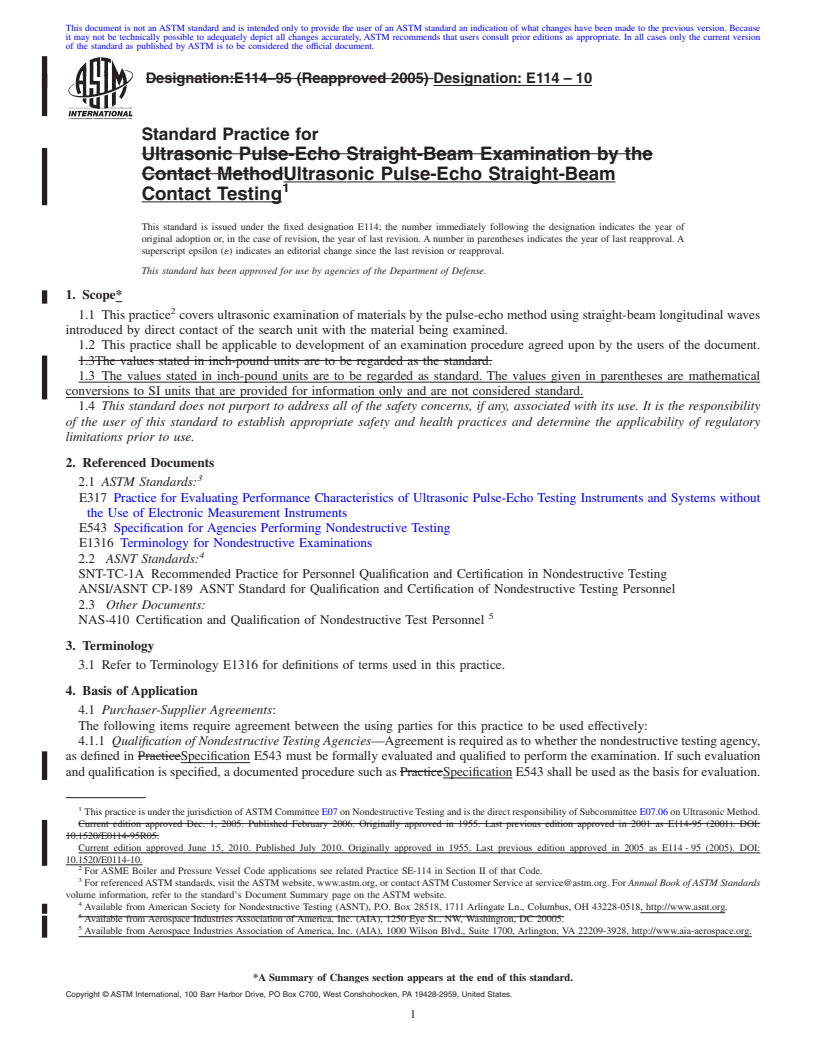
Designation:E114–95 (Reapproved 2005) Designation:E114–10
Standard Practice for
Ultrasonic Pulse-Echo Straight-Beam Examination by the
Contact MethodUltrasonic Pulse-Echo Straight-Beam
1
Contact Testing
This standard is issued under the fixed designation E114; the number immediately following the designation indicates the year of
original adoption or, in the case of revision, the year of last revision. A number in parentheses indicates the year of last reapproval. A
superscript epsilon (´) indicates an editorial change since the last revision or reapproval.
This standard has been approved for use by agencies of the Department of Defense.
1. Scope*
2
1.1 This practice covers ultrasonic examination of materials by the pulse-echo method using straight-beam longitudinal waves
introduced by direct contact of the search unit with the material being examined.
1.2 This practice shall be applicable to development of an examination procedure agreed upon by the users of the document.
1.3The values stated in inch-pound units are to be regarded as the standard.
1.3 The values stated in inch-pound units are to be regarded as standard. The values given in parentheses are mathematical
conversions to SI units that are provided for information only and are not considered standard.
1.4 This standard does not purport to address all of the safety concerns, if any, associated with its use. It is the responsibility
of the user of this standard to establish appropriate safety and health practices and determine the applicability of regulatory
limitations prior to use.
2. Referenced Documents
3
2.1 ASTM Standards:
E317 Practice for Evaluating Performance Characteristics of Ultrasonic Pulse-Echo Testing Instruments and Systems without
the Use of Electronic Measurement Instruments
E543 Specification for Agencies Performing Nondestructive Testing
E1316 Terminology for Nondestructive Examinations
4
2.2 ASNT Standards:
SNT-TC-1A Recommended Practice for Personnel Qualification and Certification in Nondestructive Testing
ANSI/ASNT CP-189 ASNT Standard for Qualification and Certification of Nondestructive Testing Personnel
2.3 Other Documents:
5
NAS-410 Certification and Qualification of Nondestructive Test Personnel
3. Terminology
3.1 Refer to Terminology E1316 for definitions of terms used in this practice.
4. Basis of Application
4.1 Purchaser-Supplier Agreements:
The following items require agreement between the using parties for this practice to be used effectively:
4.1.1 Qualification of Nondestructive Testing Agencies—Agreement is required as to whether the nondestructive testing agency,
as defined in PracticeSpecification E543 must be formally evaluated and qualified to perform the examination. If such evaluation
and qualification is specified, a documented procedure such as PracticeSpecification E543 shall be used as the basis for evaluation.
1
This practice is under the jurisdiction ofASTM Committee E07 on NondestructiveTesting and is the direct responsibility of Subcommittee E07.06 on Ultrasonic Method.
Current edition approved Dec. 1, 2005. Published February 2006. Originally approved in 1955. Last previous edition approved in 2001 as E114-95 (2001). DOI:
10.1520/E0114-95R05.
Current edition approved June 15, 2010. Published July 2010. Originally approved in 1955. Last previous edition approved in 2005 as E114 - 95 (2005). DOI:
10.1520/E0114-10.
2
For ASME Boiler and Pressure Vessel Code applications see related Practice SE-114 in Section II of that Code.
3
For referencedASTM standards, visit theASTM website, www.astm.org, or contactASTM Customer Service at service@astm.org. For Annual Book of ASTM Standards
volume information, refer to the standard’s Document Summary page on the ASTM website.
4
Available from American Society for Nondestructive Testing (ASNT), P.O. Box 28518, 1711 Arlingate Ln., Columbus, OH 43228-0518, http://www.asnt.org.
5
Available from Aerospace Industries Association of America, Inc. (AIA), 1250 Eye St., NW, Washington, DC 20005.
5
Available from Aerospace Industries Association of America, Inc. (AIA), 1000 Wilson Blvd., Suite 1700, Arlington, VA 22209-3928, http://www.aia-aerospace.org.
*A Summary of Changes section appears at the end of this standard.
Copyright © ASTM International, 100 Barr Harbor Drive, PO Box C700, West Conshohocken, PA 19428-2959, United States.
1
---------------------- Page: 1 ----------------------
E114–10
4.1.2 Personnel Qualification—Nondestructive testing (NDT) personnel shall be qualified in accordance with a nationally
recognized NDT personnel qualificatio
...


Questions, Comments and Discussion
Ask us and Technical Secretary will try to provide an answer. You can facilitate discussion about the standard in here.