ASTM A247-10
(Test Method)Standard Test Method for Evaluating the Microstructure of Graphite in Iron Castings
Standard Test Method for Evaluating the Microstructure of Graphite in Iron Castings
SIGNIFICANCE AND USE
The comparison of observed graphite particles with the structures shown in the charts give only purely descriptive information on the type, distribution, and size of the graphite in the sample being evaluated. It does not indicate except in a very broad way the origin of the graphite, or the suitability of the iron-carbon alloy for a particular service.
SCOPE
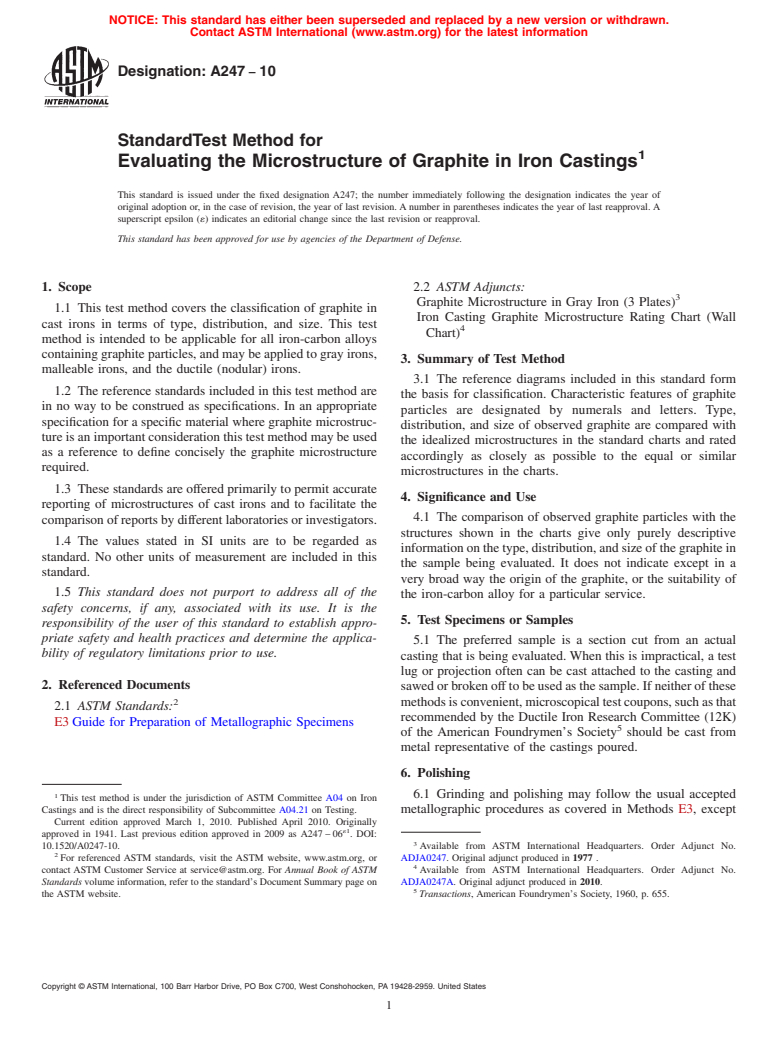
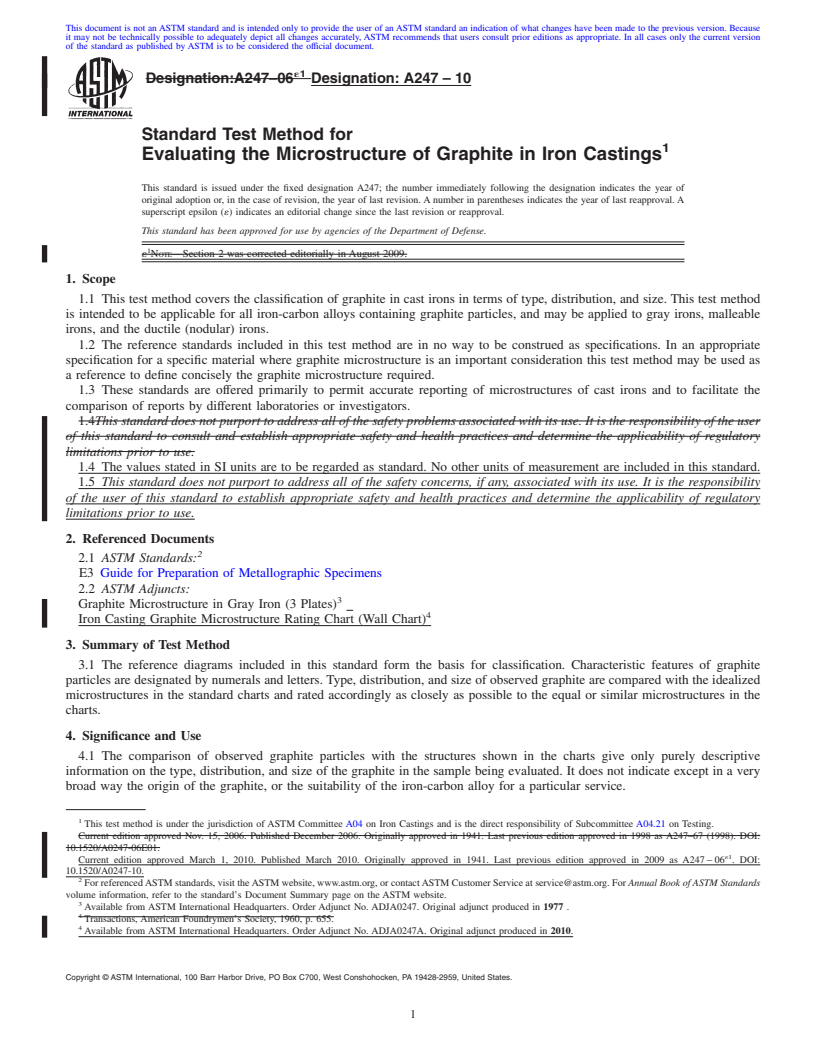
1.1 This test method covers the classification of graphite in cast irons in terms of type, distribution, and size. This test method is intended to be applicable for all iron-carbon alloys containing graphite particles, and may be applied to gray irons, malleable irons, and the ductile (nodular) irons.
1.2 The reference standards included in this test method are in no way to be construed as specifications. In an appropriate specification for a specific material where graphite microstructure is an important consideration this test method may be used as a reference to define concisely the graphite microstructure required.
1.3 These standards are offered primarily to permit accurate reporting of microstructures of cast irons and to facilitate the comparison of reports by different laboratories or investigators.
1.4 The values stated in SI units are to be regarded as standard. No other units of measurement are included in this standard.
1.5 This standard does not purport to address all of the safety concerns, if any, associated with its use. It is the responsibility of the user of this standard to establish appropriate safety and health practices and determine the applicability of regulatory limitations prior to use.
General Information
Relations
Buy Standard
Standards Content (Sample)
NOTICE: This standard has either been superseded and replaced by a new version or withdrawn.
Contact ASTM International (www.astm.org) for the latest information
Designation: A247 − 10
StandardTest Method for
1
Evaluating the Microstructure of Graphite in Iron Castings
This standard is issued under the fixed designation A247; the number immediately following the designation indicates the year of
original adoption or, in the case of revision, the year of last revision. A number in parentheses indicates the year of last reapproval. A
superscript epsilon (´) indicates an editorial change since the last revision or reapproval.
This standard has been approved for use by agencies of the Department of Defense.
1. Scope 2.2 ASTM Adjuncts:
3
Graphite Microstructure in Gray Iron (3 Plates)
1.1 This test method covers the classification of graphite in
Iron Casting Graphite Microstructure Rating Chart (Wall
cast irons in terms of type, distribution, and size. This test
4
Chart)
method is intended to be applicable for all iron-carbon alloys
containing graphite particles, and may be applied to gray irons,
3. Summary of Test Method
malleable irons, and the ductile (nodular) irons.
3.1 The reference diagrams included in this standard form
1.2 The reference standards included in this test method are
the basis for classification. Characteristic features of graphite
in no way to be construed as specifications. In an appropriate
particles are designated by numerals and letters. Type,
specification for a specific material where graphite microstruc-
distribution, and size of observed graphite are compared with
ture is an important consideration this test method may be used
the idealized microstructures in the standard charts and rated
as a reference to define concisely the graphite microstructure
accordingly as closely as possible to the equal or similar
required.
microstructures in the charts.
1.3 These standards are offered primarily to permit accurate
4. Significance and Use
reporting of microstructures of cast irons and to facilitate the
4.1 The comparison of observed graphite particles with the
comparisonofreportsbydifferentlaboratoriesorinvestigators.
structures shown in the charts give only purely descriptive
1.4 The values stated in SI units are to be regarded as
informationonthetype,distribution,andsizeofthegraphitein
standard. No other units of measurement are included in this
the sample being evaluated. It does not indicate except in a
standard.
very broad way the origin of the graphite, or the suitability of
1.5 This standard does not purport to address all of the
the iron-carbon alloy for a particular service.
safety concerns, if any, associated with its use. It is the
5. Test Specimens or Samples
responsibility of the user of this standard to establish appro-
priate safety and health practices and determine the applica-
5.1 The preferred sample is a section cut from an actual
bility of regulatory limitations prior to use.
casting that is being evaluated. When this is impractical, a test
lug or projection often can be cast attached to the casting and
2. Referenced Documents
sawedorbrokenofftobeusedasthesample.Ifneitherofthese
2 methodsisconvenient,microscopicaltestcoupons,suchasthat
2.1 ASTM Standards:
recommended by the Ductile Iron Research Committee (12K)
E3 Guide for Preparation of Metallographic Specimens
5
of the American Foundrymen’s Society should be cast from
metal representative of the castings poured.
6. Polishing
1
6.1 Grinding and polishing may follow the usual accepted
This test method is under the jurisdiction of ASTM Committee A04 on Iron
Castings and is the direct responsibility of Subcommittee A04.21 on Testing. metallographic procedures as covered in Methods E3, except
Current edition approved March 1, 2010. Published April 2010. Originally
´1
approved in 1941. Last previous edition approved in 2009 as A247 – 06 . DOI:
3
10.1520/A0247-10. Available from ASTM International Headquarters. Order Adjunct No.
2
For referenced ASTM standards, visit the ASTM website, www.astm.org, or ADJA0247. Original adjunct produced in 1977 .
4
contact ASTM Customer Service at service@astm.org. For Annual Book of ASTM Available from ASTM International Headquarters. Order Adjunct No.
Standards volume information, refer to the standard’s Document Summary page on ADJA0247A. Original adjunct produced in 2010.
5
the ASTM website. Transactions, American Foundrymen’s Society, 1960, p. 655.
Copyright © ASTM International, 100 Barr Harbor Drive, PO Box C700, West Conshohocken, PA 19428-2959. United States
1
---------------------- Page: 1 ----------------------
A247 − 10
TABLE 1 Graphite Size
that care must be taken that the graphite is retained at the
A
polished surface and not torn or dragged out. Use of diamond Size Class Maximum Dimension at × 100, mm
powder polishing compound in one of the final stages of
1 128
polishing is very effective in retaining the graphite at the
264
polished surface.
332
416
7. Classification of Graphit
...
This document is not anASTM standard and is intended only to provide the user of anASTM standard an indication of what changes have been made to the previous version. Because
it may not be technically possible to adequately depict all changes accurately, ASTM recommends that users consult prior editions as appropriate. In all cases only the current version
of the standard as published by ASTM is to be considered the official document.
´1
Designation:A247–06 Designation:A247–10
Standard Test Method for
1
Evaluating the Microstructure of Graphite in Iron Castings
This standard is issued under the fixed designation A247; the number immediately following the designation indicates the year of
original adoption or, in the case of revision, the year of last revision. A number in parentheses indicates the year of last reapproval. A
superscript epsilon (´) indicates an editorial change since the last revision or reapproval.
This standard has been approved for use by agencies of the Department of Defense.
1
´ NOTE—Section 2 was corrected editorially in August 2009.
1. Scope
1.1 This test method covers the classification of graphite in cast irons in terms of type, distribution, and size. This test method
is intended to be applicable for all iron-carbon alloys containing graphite particles, and may be applied to gray irons, malleable
irons, and the ductile (nodular) irons.
1.2 The reference standards included in this test method are in no way to be construed as specifications. In an appropriate
specification for a specific material where graphite microstructure is an important consideration this test method may be used as
a reference to define concisely the graphite microstructure required.
1.3 These standards are offered primarily to permit accurate reporting of microstructures of cast irons and to facilitate the
comparison of reports by different laboratories or investigators.
1.4This standard does not purport to address all of the safety problems associated with its use. It is the responsibility of the user
of this standard to consult and establish appropriate safety and health practices and determine the applicability of regulatory
limitations prior to use.
1.4 The values stated in SI units are to be regarded as standard. No other units of measurement are included in this standard.
1.5 This standard does not purport to address all of the safety concerns, if any, associated with its use. It is the responsibility
of the user of this standard to establish appropriate safety and health practices and determine the applicability of regulatory
limitations prior to use.
2. Referenced Documents
2
2.1 ASTM Standards:
E3 Guide for Preparation of Metallographic Specimens
2.2 ASTM Adjuncts:
3
Graphite Microstructure in Gray Iron (3 Plates)
4
Iron Casting Graphite Microstructure Rating Chart (Wall Chart)
3. Summary of Test Method
3.1 The reference diagrams included in this standard form the basis for classification. Characteristic features of graphite
particles are designated by numerals and letters. Type, distribution, and size of observed graphite are compared with the idealized
microstructures in the standard charts and rated accordingly as closely as possible to the equal or similar microstructures in the
charts.
4. Significance and Use
4.1 The comparison of observed graphite particles with the structures shown in the charts give only purely descriptive
information on the type, distribution, and size of the graphite in the sample being evaluated. It does not indicate except in a very
broad way the origin of the graphite, or the suitability of the iron-carbon alloy for a particular service.
1
This test method is under the jurisdiction of ASTM Committee A04 on Iron Castings and is the direct responsibility of Subcommittee A04.21 on Testing.
Current edition approved Nov. 15, 2006. Published December 2006. Originally approved in 1941. Last previous edition approved in 1998 as A247–67 (1998). DOI:
10.1520/A0247-06E01.
´1
Current edition approved March 1, 2010. Published March 2010. Originally approved in 1941. Last previous edition approved in 2009 as A247 – 06 . DOI:
10.1520/A0247-10.
2
For referencedASTM standards, visit theASTM website, www.astm.org, or contactASTM Customer Service at service@astm.org. For Annual Book ofASTM Standards
volume information, refer to the standard’s Document Summary page on the ASTM website.
3
Available from ASTM International Headquarters. Order Adjunct No. ADJA0247. Original adjunct produced in 1977 .
4
Transactions, American Foundrymen’s Society, 1960, p. 655.
4
Available from ASTM International Headquarters. Order Adjunct No. ADJA0247A. Original adjunct produced in 2010.
Copyright © ASTM International, 100 Barr Harbor Drive, PO Box C700, West Conshohocken, PA 19428-2959, United States.
1
---------------------- Page: 1 ----------------------
A247–10
5. Test Specimens or Samples
5.1 The preferred sample is a section cut from an actual casting that is being evaluated. When this is impractical, a test
...


Questions, Comments and Discussion
Ask us and Technical Secretary will try to provide an answer. You can facilitate discussion about the standard in here.